
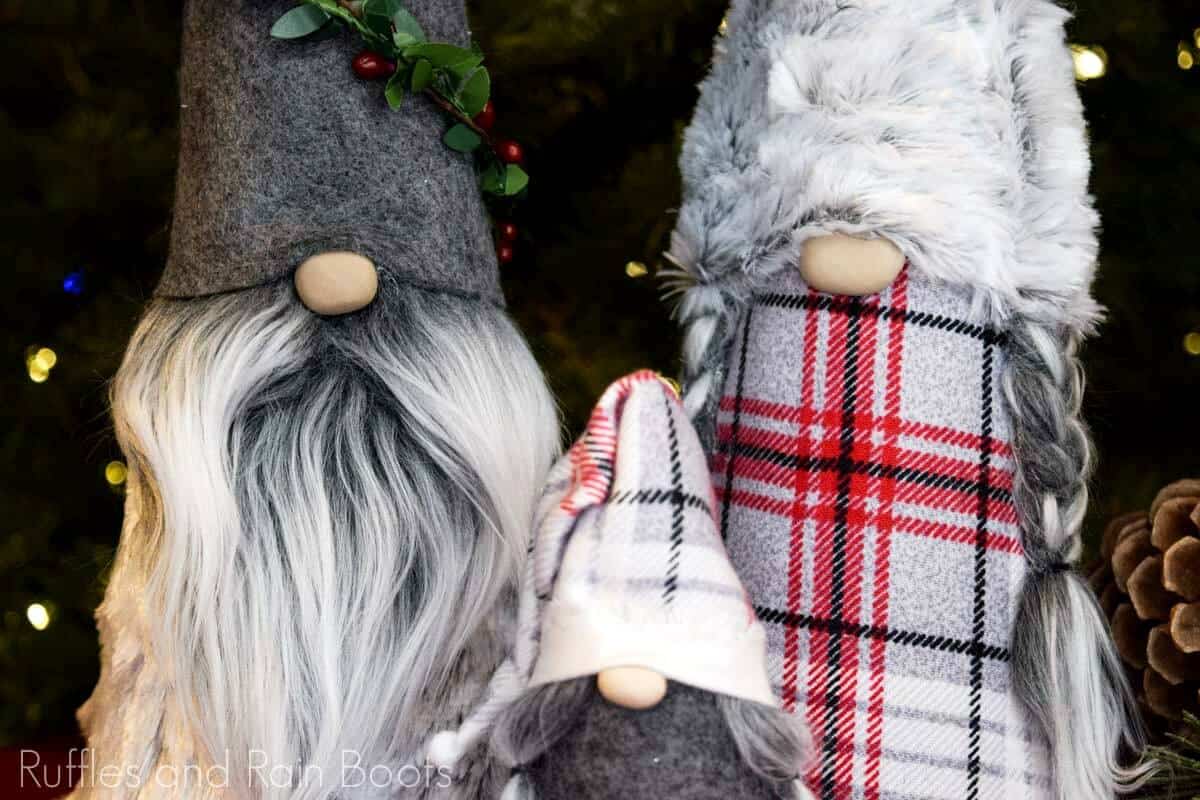
How to Make a Gnome Family in 15 Minutes with a Cone Gnome
You can learn how to make a gnome the easiest way using this no-sew cone gnome tutorial. I’ve made it simple, fast, and most of all fun to make a family of coordinating Christmas gnomes for your home or for others.
What You'll Find On This Page
How to Make a Cone Gnome – No-Sew Tutorial
Here at Ruffles and Rain Boots, I love to share gnome tutorials. No really. If you’re new here, this is site is a black hole of a million different ways to make gnomes, tomten, nisser, gonks, or any other name you have for these cuties.
RELATED READING: More Christmas Gnome Tutorials – A Lot More!
Christmas gnomes are some of the most popular here on ‘the Boots and if you’d like to learn how to make a gnome for the holidays, you’ve definitely come to the right place. Let’s get started.
DIY Christmas Gnome Tutorials
If you’re looking for the best DIY Christmas gnome tutorials, you have come to the right place. Check out all of my favorite tomte tutorials for the holidays!

No Time to Make This Now?
Need supplies? Click here for everything you need and all of it will be to you in no time! Until then, pin this to your favorite Christmas crafts project board on Pinterest.
This article contains partner links. As an Amazon Associate, I could earn from qualifying purchases.
Tips When Learning How to Make Gnomes
If you describe yourself as “not too crafty,” don’t worry – these are easy! Below, I’m answering your gnome-making questions:
How Can I Make a No-Sew Gnome?
There are a few options to create a no-sew gnome. First, you can make a sock gnome – learn how to make a sock gnome here. A second no-sew gnome is made using a pattern specifically designed for the glue gun (coming soon). Another way to make a gnome with no sewing is with paper maché cones like I use in this tutorial.
How Do I Make a Gnome Hat?
Although there are many ways to make a gnome hat (patterns for tall, decorative hats, bendy gnome hats, and floppy hats), the easiest is to roll a cone shape from a rounded off triangle. We will use this method in this tutorial twice, so you’ll be sure to get the hang of it before you leave.
How Do I Cut Faux Fur to Make a Gnome Beard?
I get this question about 5 times a day between this site, social media, and our fast-growing YouTube channel. And I’ll let you in on a secret: it’s super easy, just put down the scissors. :) Pick up a razor blade or an Exacto knife and you’re more than halfway done making a beard for your gnomes. You can watch my “How to make a gnome beard” video tutorial here.
Can I Use Faux Fur to Make Braids for Gnomes?
You likely know that you can use fur, wool fiber, and fabric for gnome beards, but can you use faux fur to make gnome braids? Yes! I was nervous to try it because I didn’t want to waste any fur, but let me tell you – it’s not difficult as long as you go slow. I’ll show you how to make gnome braids from faux fur. If you want to make braids from felted yarn or wool, see this gnome with braids tutorial. If you’d like to see gnome braids made with wool fiber, click here.
How to Make a No-Sew Cone Gnome
If you are a visual learner like I am, you can follow the DIY cone gnome full video tutorial here. If you’d like to read it, the steps are below.
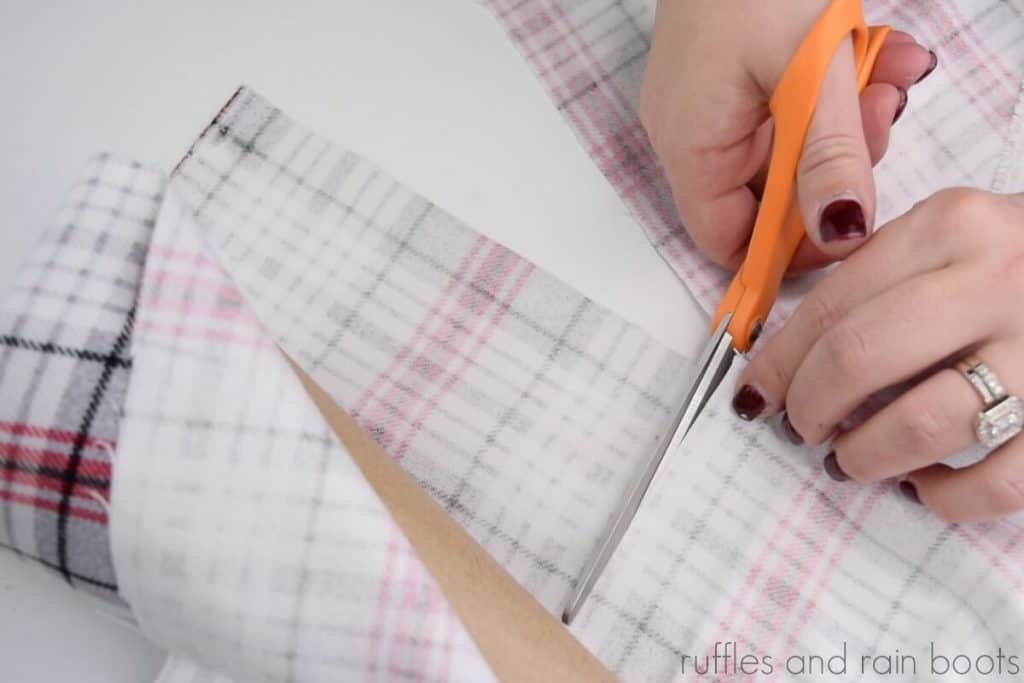
Lay out the fabric for the body of the gnome and measure just more than halfway up from the bottom of the gnome. Add an inch to an inch and a half to the bottom and a half inch to the edge and cut. For more detail, please watch the full video tutorial.
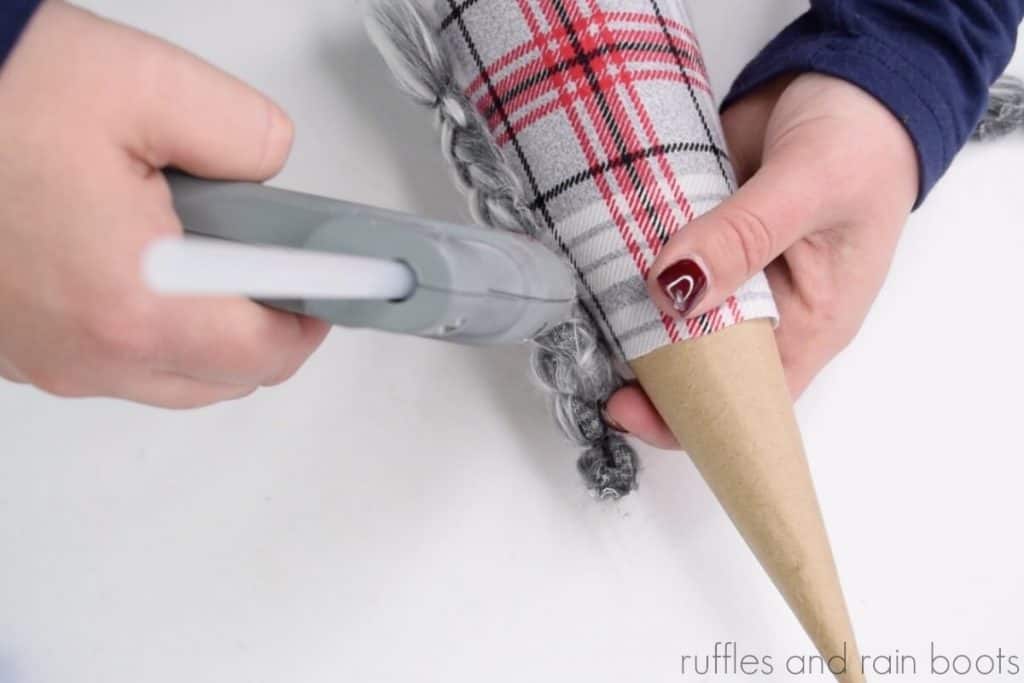
Position the fabric in place on the front of the gnome body and tack only the front in place with a couple of drops of hot glue.
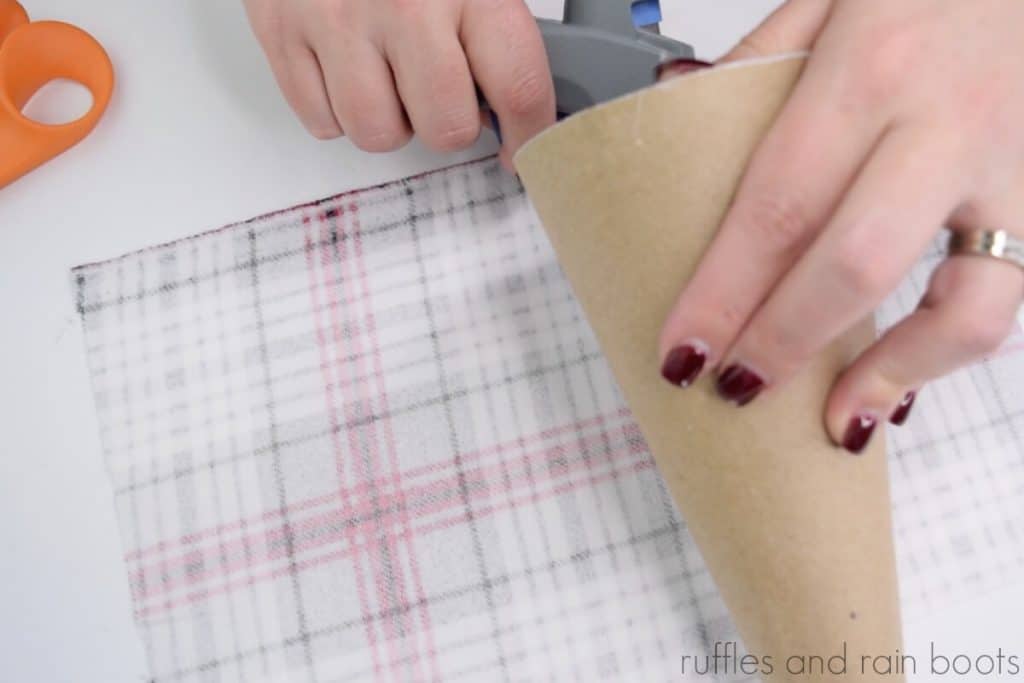
Glue the fabric around the gnome, rolling and smoothing.
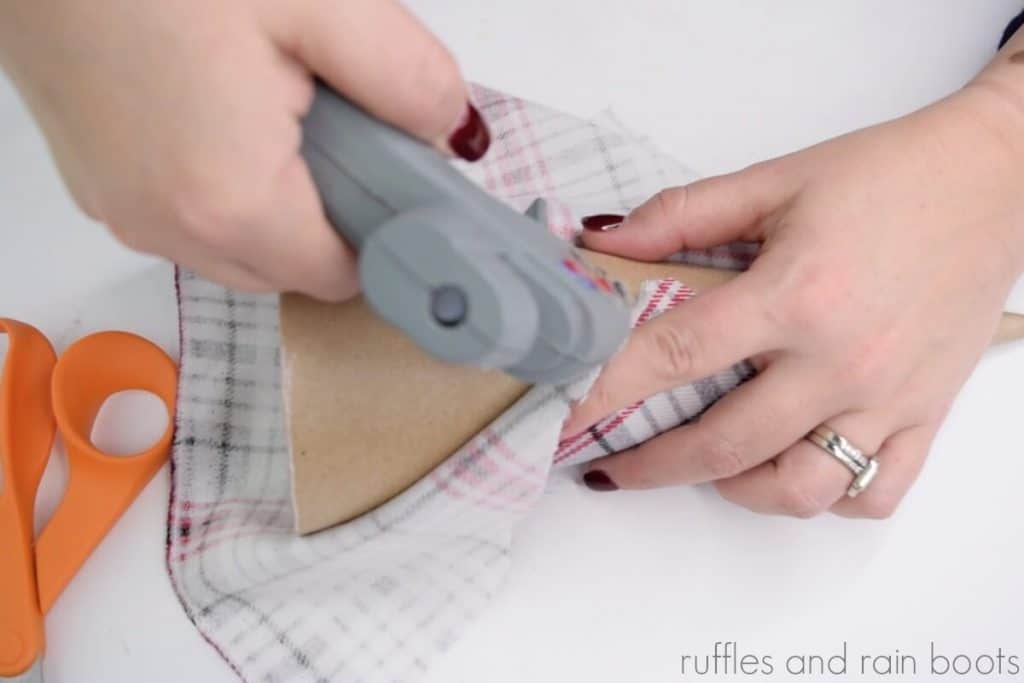
Once the fabric has been wrapped, fold over the edge to create a hem and adhere to the body with hot glue.
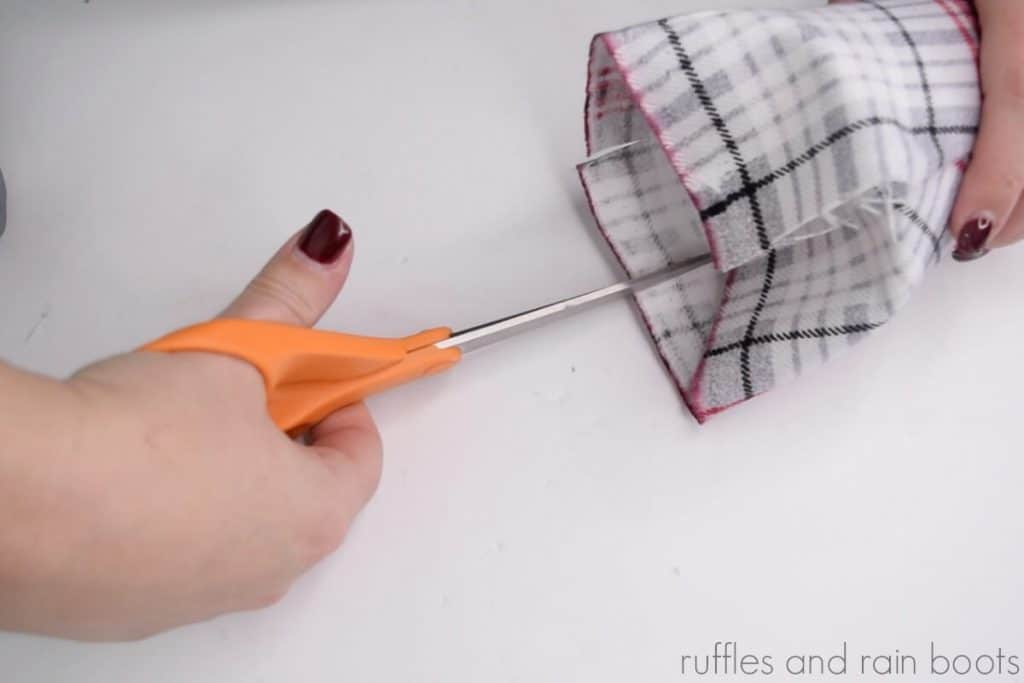
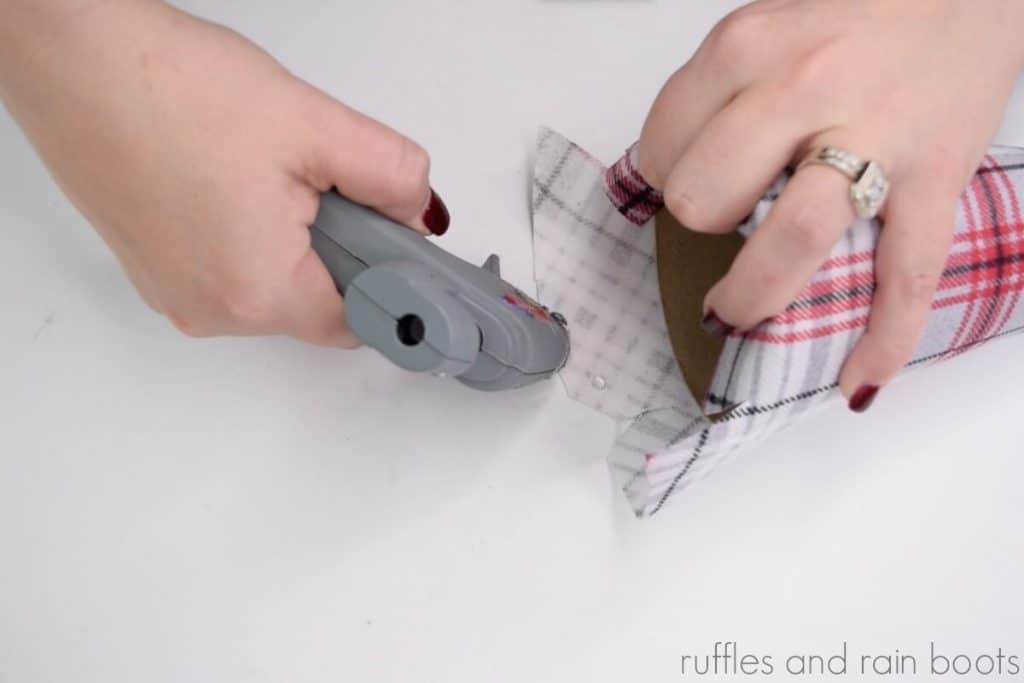
Cut off all but an inch and a half of fabric around the bottom of the cone. It doesn’t have to be straight or perfect. Snip the fabric every inch or so almost to the cone edge.
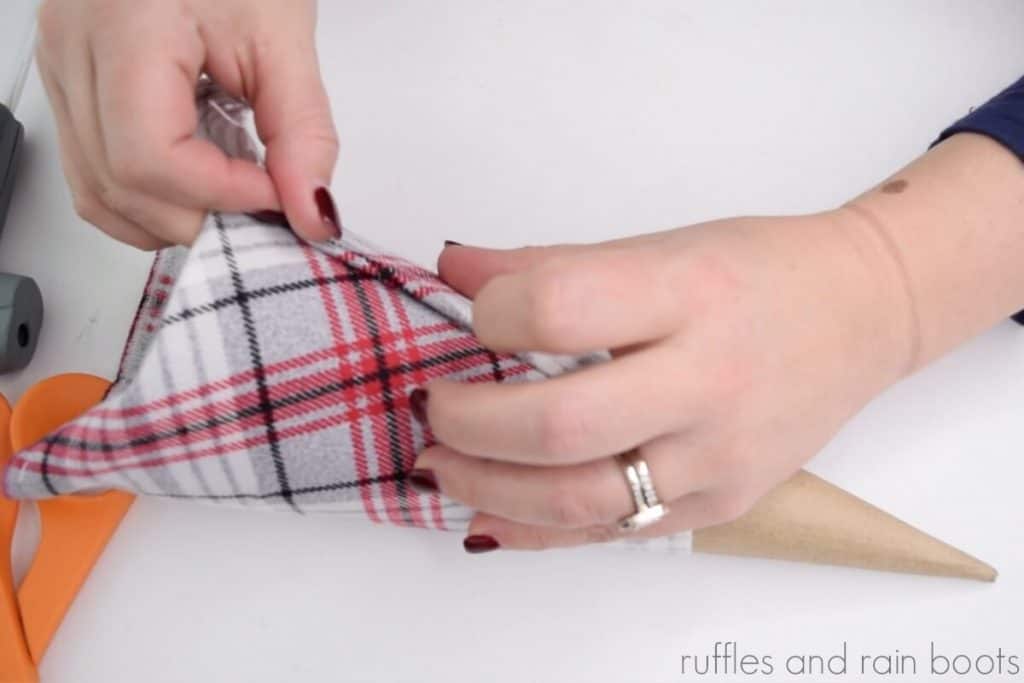
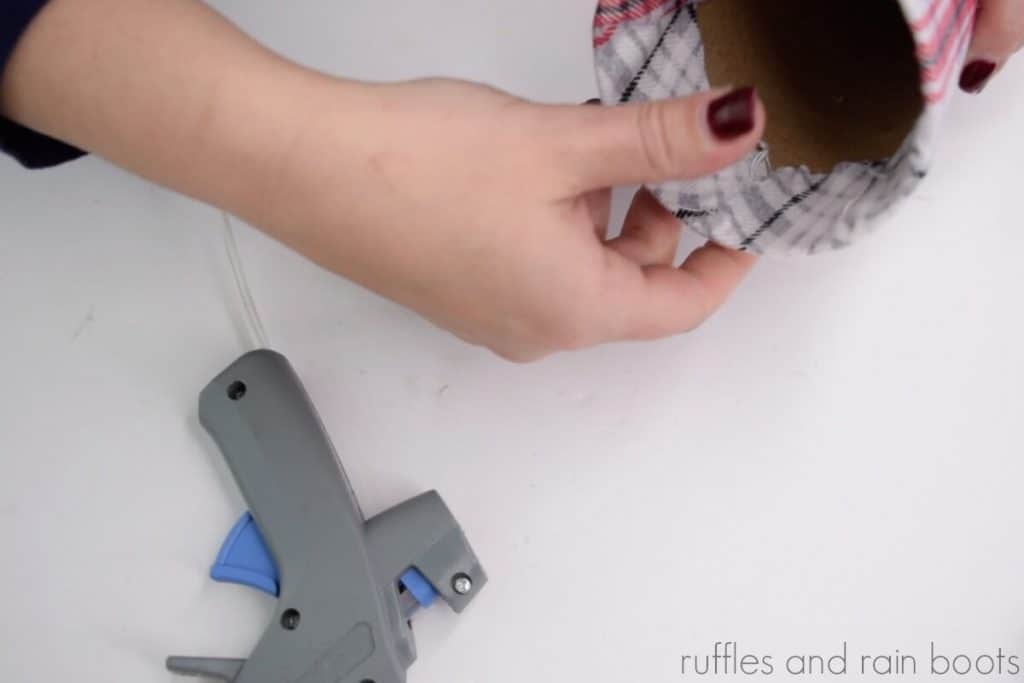
Add drops of glue to each flap and fold into the center of the cone. Complete all flaps.
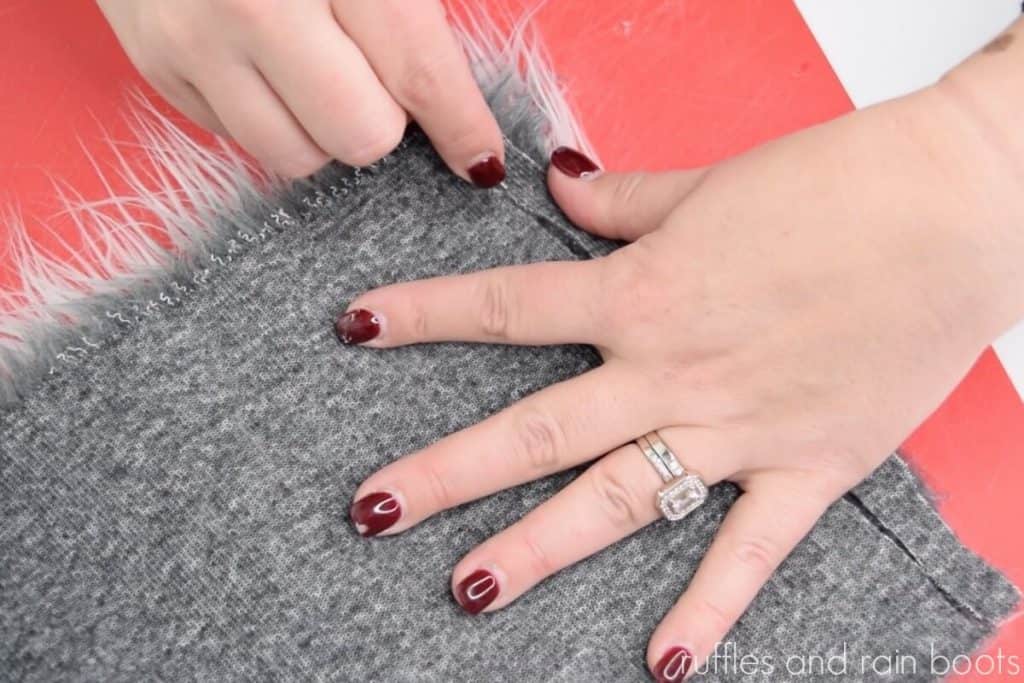
To make the braids, cut three strips of faux fur (see video if you’ve never cut faux fur before). Each strip should be half an inch.
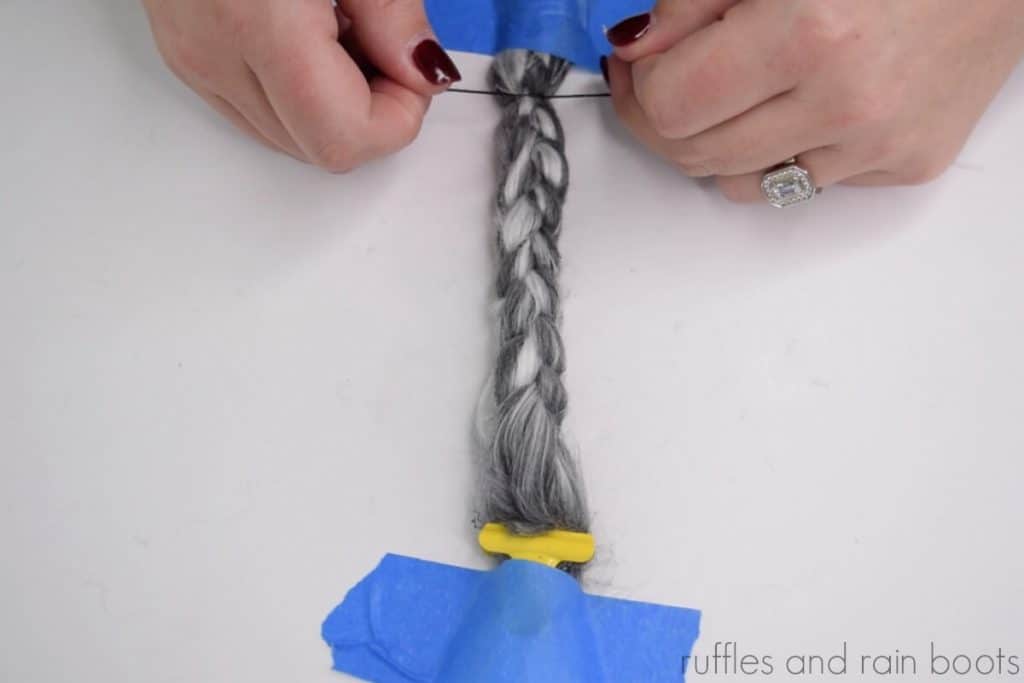
Clip all strands together at one end and tape it down so it is stable (you can also use a clipboard). Begin braiding, pulling gently on each strand as you go. Remember, the top of the braid is thicker than the bottom.
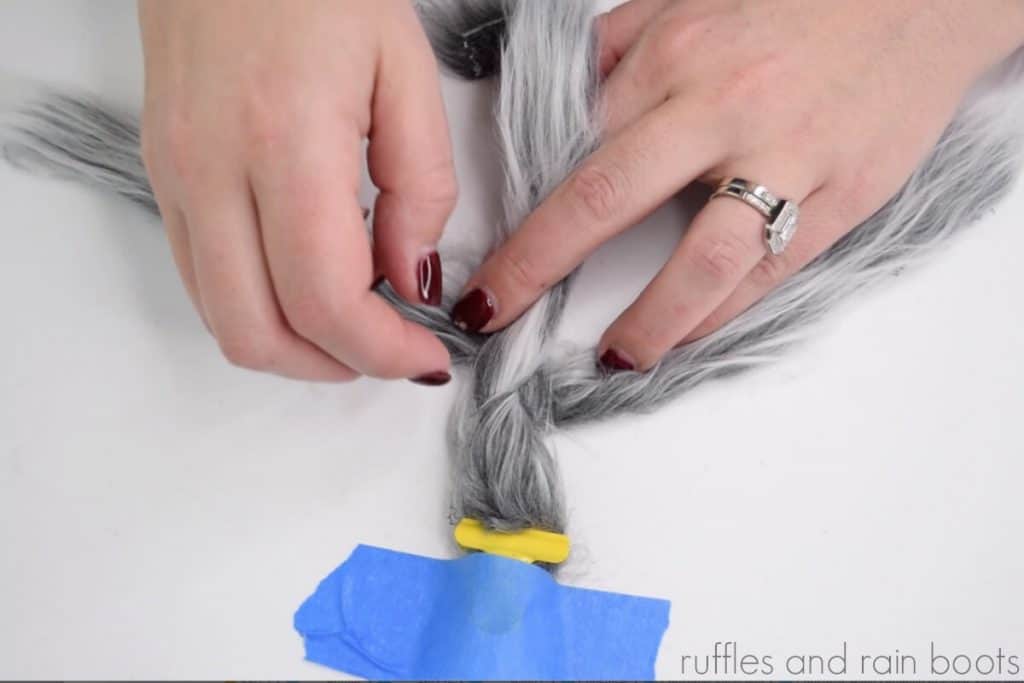
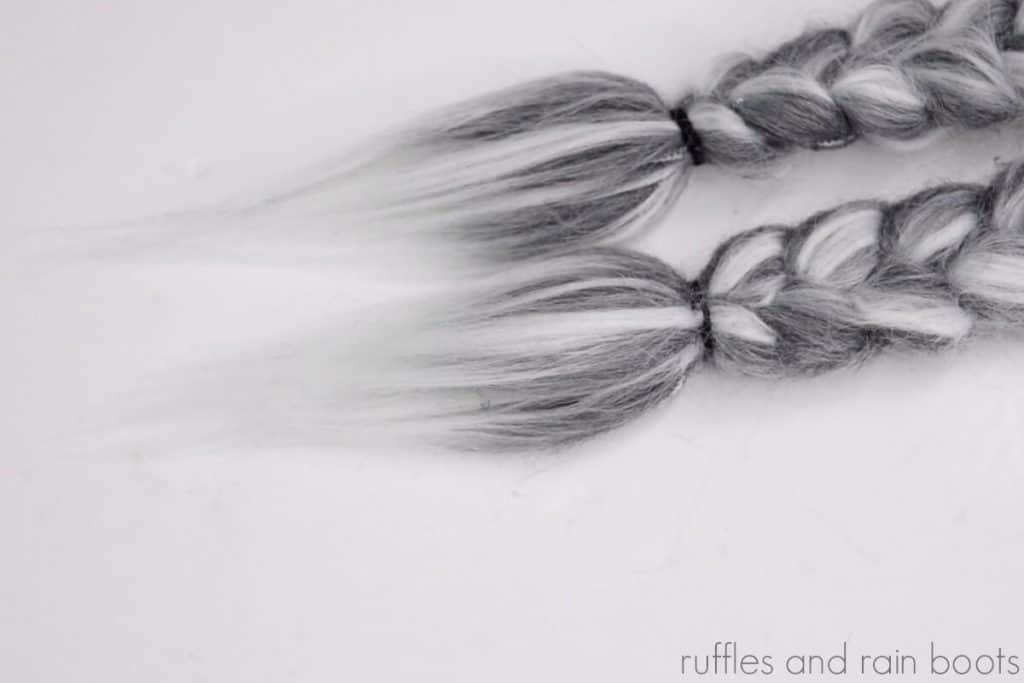
Braid until about one and a half inches from the bottom and secure with tape. Use string or rubber bands to secure the bottom of the braid. Repeat steps 7-9 for the other braid.
To make the braids even, cut only the fur backing in short amounts measuring them against each other often.
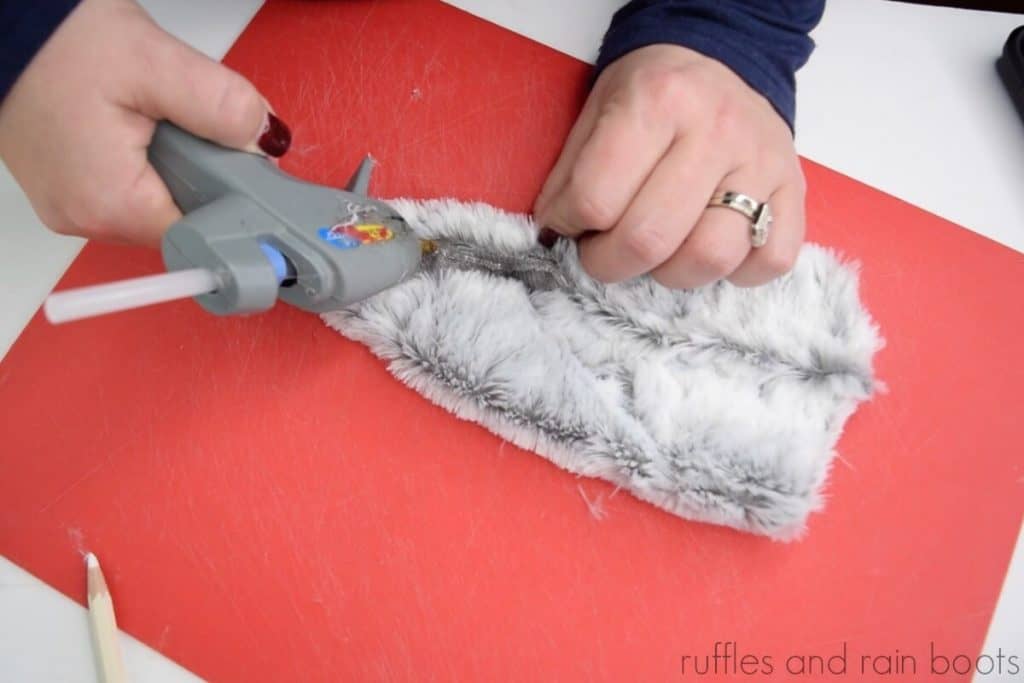
Hot glue the braids to the sides of the cone. Take note of where the braids fall before securing.
Cut a rounded triangle for the hat, allowing for a small hem from hot glue.
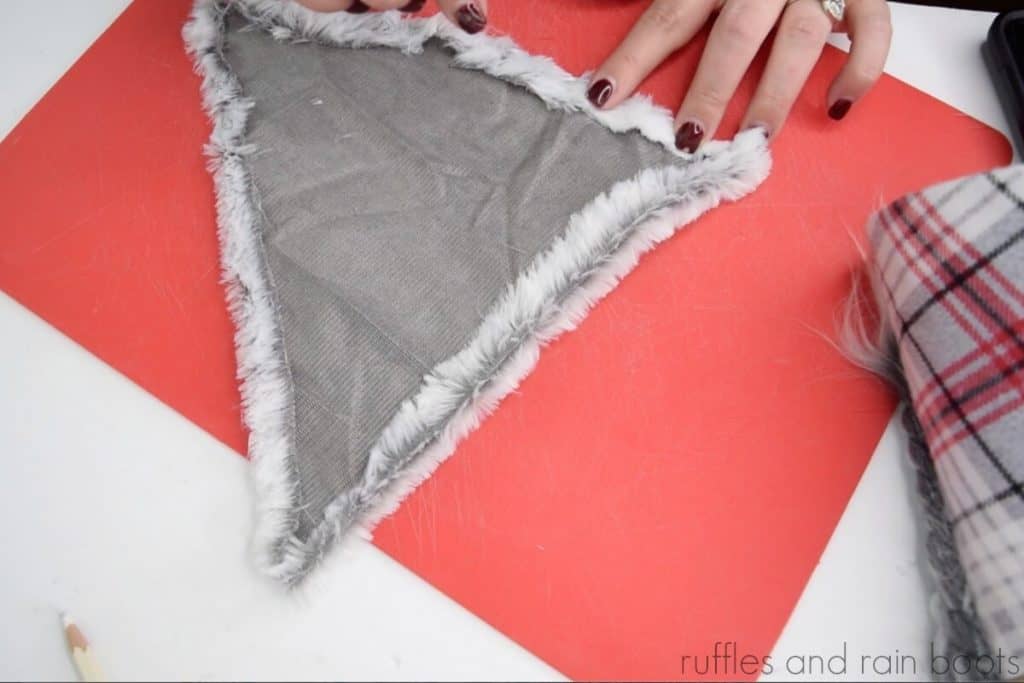
Glue the long sides of the hat piece together to form the gnome hat.
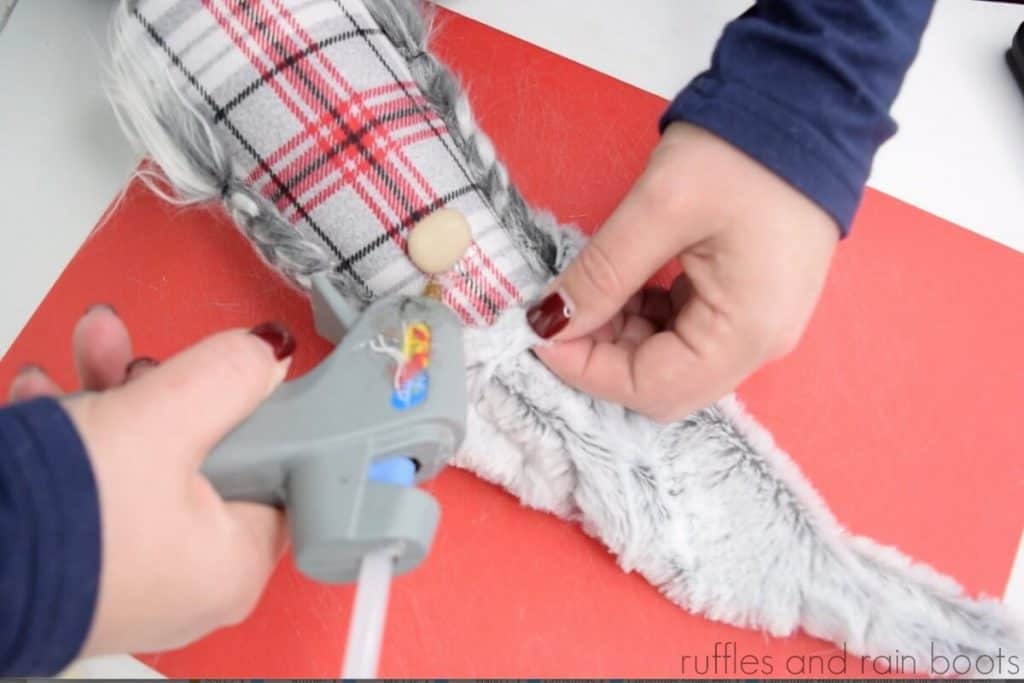
Attach the nose with glue to the middle of the gnome body AFTER fitting the hat to your desired position (do not glue until the nose is on). Once the nose is on, glue the hat down to the body.
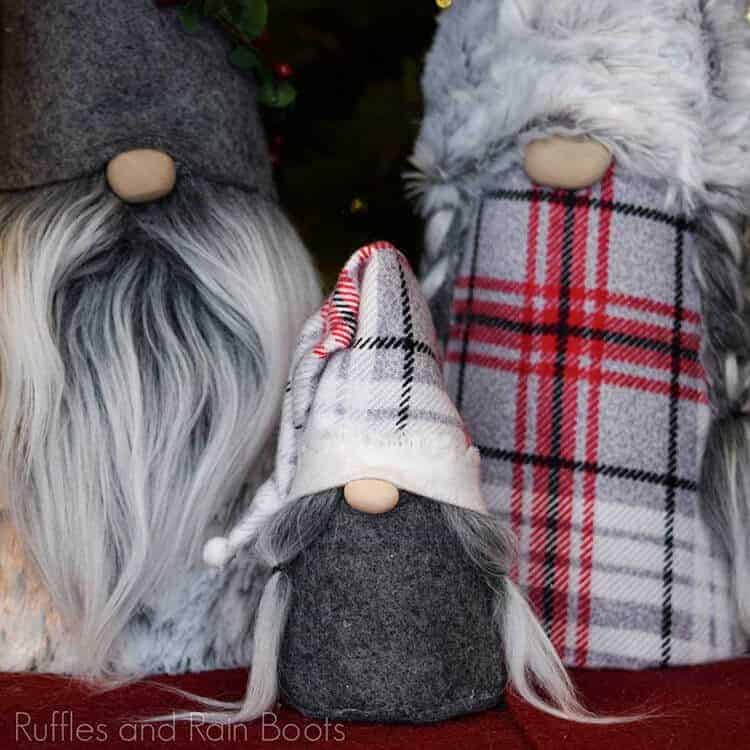
Repeat all steps to make the male and children gnomes. To make the beard, cut a small triangle of faux fur and glue to the front of the cone gnome after covering.
To make the child’s braids, cut a small, thin rectangle of faux fur and tie it off just under the fabric backing before placing on the body.
More Gnome Tutorials You Might Like
- DIY Coffee Creamer Bottle Gnome – This easy DIY makes the perfect use of a coffee creamer bottle and I share three different hat styles!
- Treasure Gnome Pattern – If you want to make a cute hook hat gnome, you can’t do better than this adorable guy.
- Stout Gnome Pattern – When you like ’em chunky, you like ’em chunky. This fella is thick.
Please Share This on Facebook or Save to Pinterest
Your shares are how this site grows and I am sincerely grateful. Please share with friends in a crafting group on Facebook or save to your favorite DIY Pinterest board. Thank you!
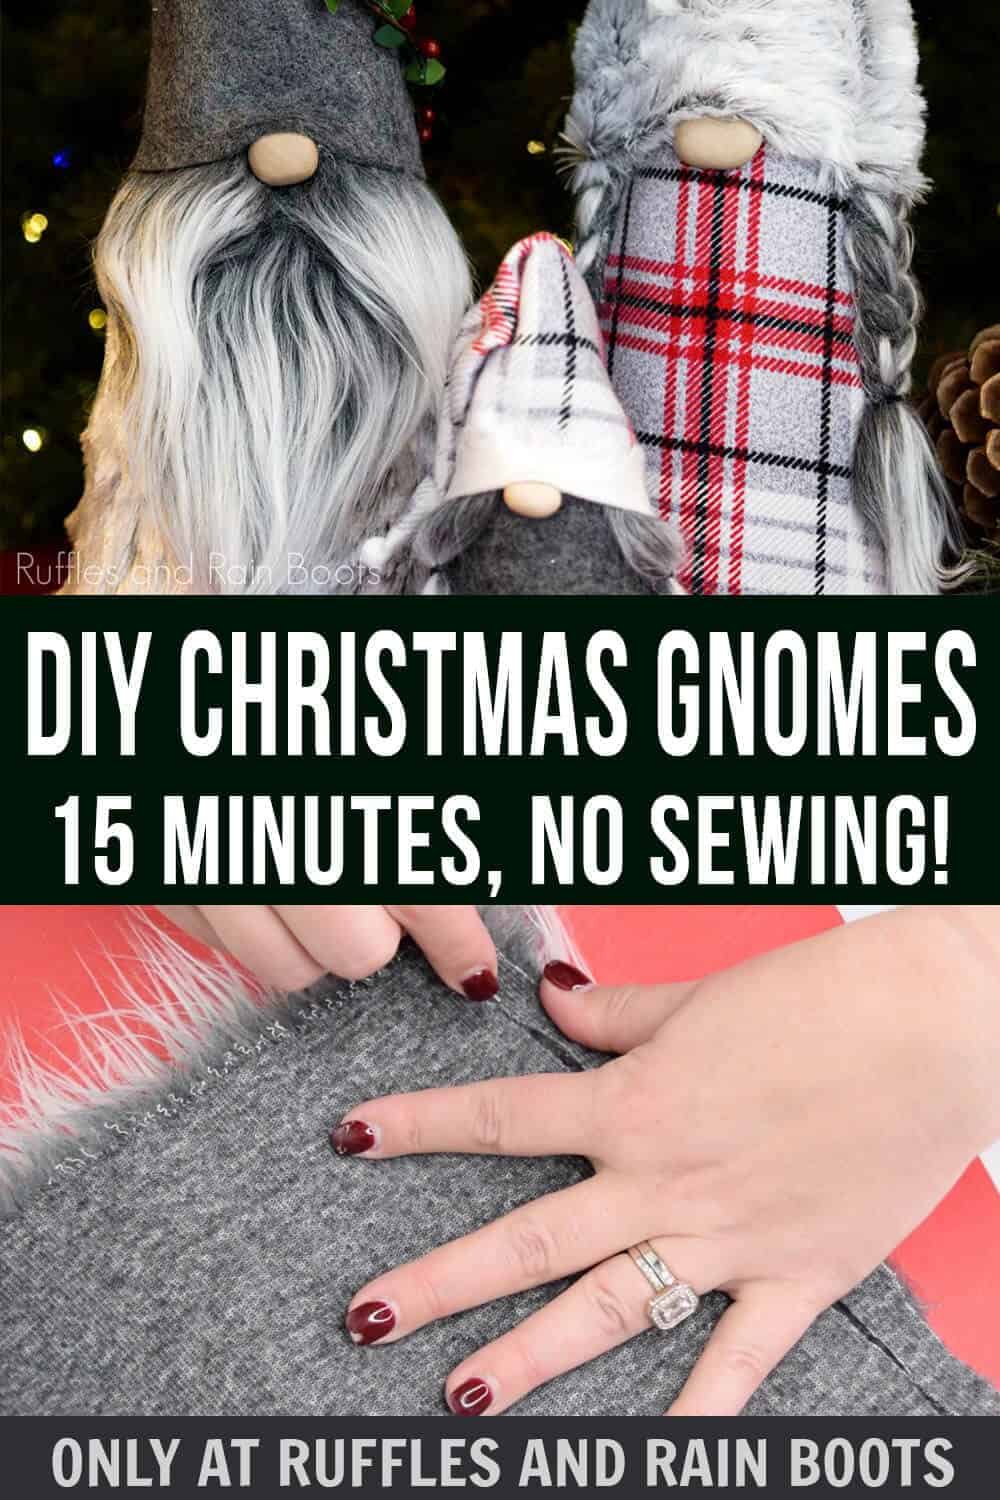
15 Minute Cone Gnome Tutorial

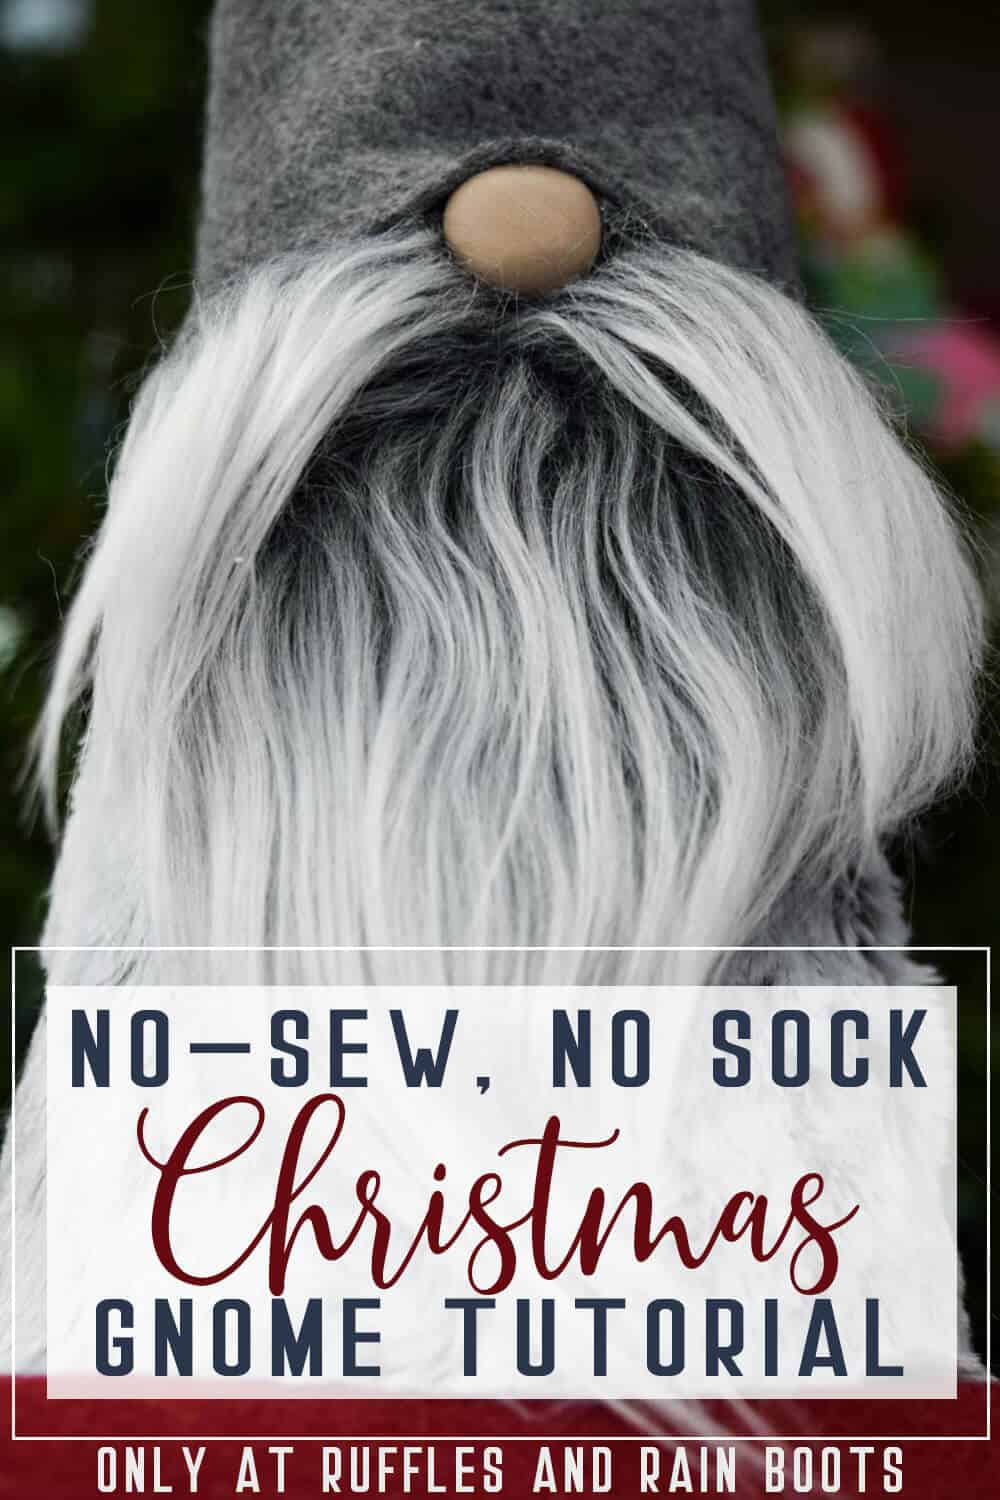
Learn how to make a Christmas gnome without sewing and without using socks. By the end, you will also know how to properly cut faux fur to make beards, mustaches, and braids.
Materials
- Paper Mache Cones (I used two 13.75 inch and 1 4 inch) found here
- Christmas fabric in coordinating colors and styles (1/2 yard light gray minky, 1/4 yard plaid)
- Felt (I used a dark gray craft felt sheet 12x18 inches)
- High-quality faux fur (either 12" square, 20" square, or 1/4 yard (this is my favorite for small cuts)
- Items for the noses (I made clay noses, but wood beads, buttons, or anything else will work)
- Tie for Braids (I used embroidery thread)
Tools
- Glue gun and glue sticks
- Scissors and Exacto knife or razor blade
- Clip (for braids)
- Tape to hold down braids
Instructions
- Lay out the fabric for the body of the gnome and measure just more than halfway up from the bottom of the gnome. Add an inch to an inch and a half to the bottom and a half inch to the edge and cut. For more detail, please watch the full video tutorial.
- Position the fabric in place on the front of the gnome body and tack only the front in place with a couple of drops of hot glue.
- Glue the fabric around the gnome, rolling and smoothing.
- Once the fabric has been wrapped, fold over the edge to create a hem and adhere to the body with hot glue.
- Cut off all but an inch and a half of fabric around the bottom of the cone. It doesn't have to be straight or perfect. Snip the fabric every inch or so almost to the cone edge.
- Add drops of glue to each flap and fold into the center of the cone. Complete all flaps.
- To make the braids, cut three strips of faux fur (see video if you've never cut faux fur before). Each strip should be half an inch.
- Clip all strands together at one end and tape it down so it is stable (you can also use a clipboard). Begin braiding, pulling gently on each strand as you go. Remember, the top of the braid is thicker than the bottom.
- Braid until about one and a half inches from the bottom and secure with tape. Use string or rubber bands to secure the bottom of the braid. Repeat steps 7-9 for the other braid.
- To make the braids even, cut only the fur backing in short amounts measuring them against each other often.
- Hot glue the braids to the sides of the cone. Take note of where the braids fall before securing.
- Cut a rounded triangle for the hat, allowing for a small hem from hot glue.
- Glue the long sides of the hat piece together to form the gnome hat.
- Attach the nose with glue to the middle of the gnome body AFTER fitting the hat to your desired position (do not glue until the nose is on). Once the nose is on, glue the hat down to the body.
- Repeat all steps to make the male and children gnomes.
- To make the beard, cut a small triangle of faux fur and glue to the front of the cone gnome after covering.
- To make the child's braids, cut a small, thin rectangle of faux fur and tie it off just under the fabric backing before placing on the body.
Notes
- If you want a tall hat which stands up, use felt or use fabric stuffed with poly fill.
- Be sure to only cut the backing when working with faux fur. This is why a knife or razor blade is best.
- Watch the video tutorial if this is your first time working with faux fur or making gnomes.
Recommended Products
As an Amazon Associate and member of other affiliate programs, I earn from qualifying purchases.


Hello, My name is Amy. I have recently started making gnomes and found your video tutorials on YouTube as well as your website. You have been such a tremendous help! I absolutely love your gnomes and think they are just the sweetest! They look awesome and so professional and polished! One thing I am stuck on.. And haven’t been able to find a good tutorial or any really on making little boots for my gnomes. I was hoping you could offer some advice or maybe even a tutorial? 😁
Thanks so much for your time,
Amy Clawson
I’m so glad to hear the videos and tutorials have been helpful, Amy. I am working on a tutorial right now for the gnome boots! I have all of the supplies in and will shoot it soon, showing a few ways we can make our own gnome shoes instead of relying on the ornaments or doll shoes.
Wow… Wow…. Your Gnomes are very cute and awesome….
How do I subscribe on your website?
Thank you so much, Gerda. You can sign up at the link below to get my emails or follow on Facebook, whichever you prefer. All of my tutorials are free, so there is no membership paywall or anything. :)
Email: https://rufflesandrainboots.com/go/email-signup/
Facebook: https://facebook.com/rufflesAndRainBoots/
JUST LOVE THOSE CUTE LITTLE GNOBES!! THEY ARE SO CUTE! I AM GOING TO TRY AN MAKE ONE; TO SEE IF; MY GNOBE; TURNS OUT AS PRETTY AN CUTE AS YOURS…….THANKS; SO MUCH AN SEND ME MORE CUTE; AN EASY THINGS TO DO FOR ALL HOLIDAYS……LOL❤❤❤
Have fun, Vivian. I’m sure having a great time creating all of them. ;)