
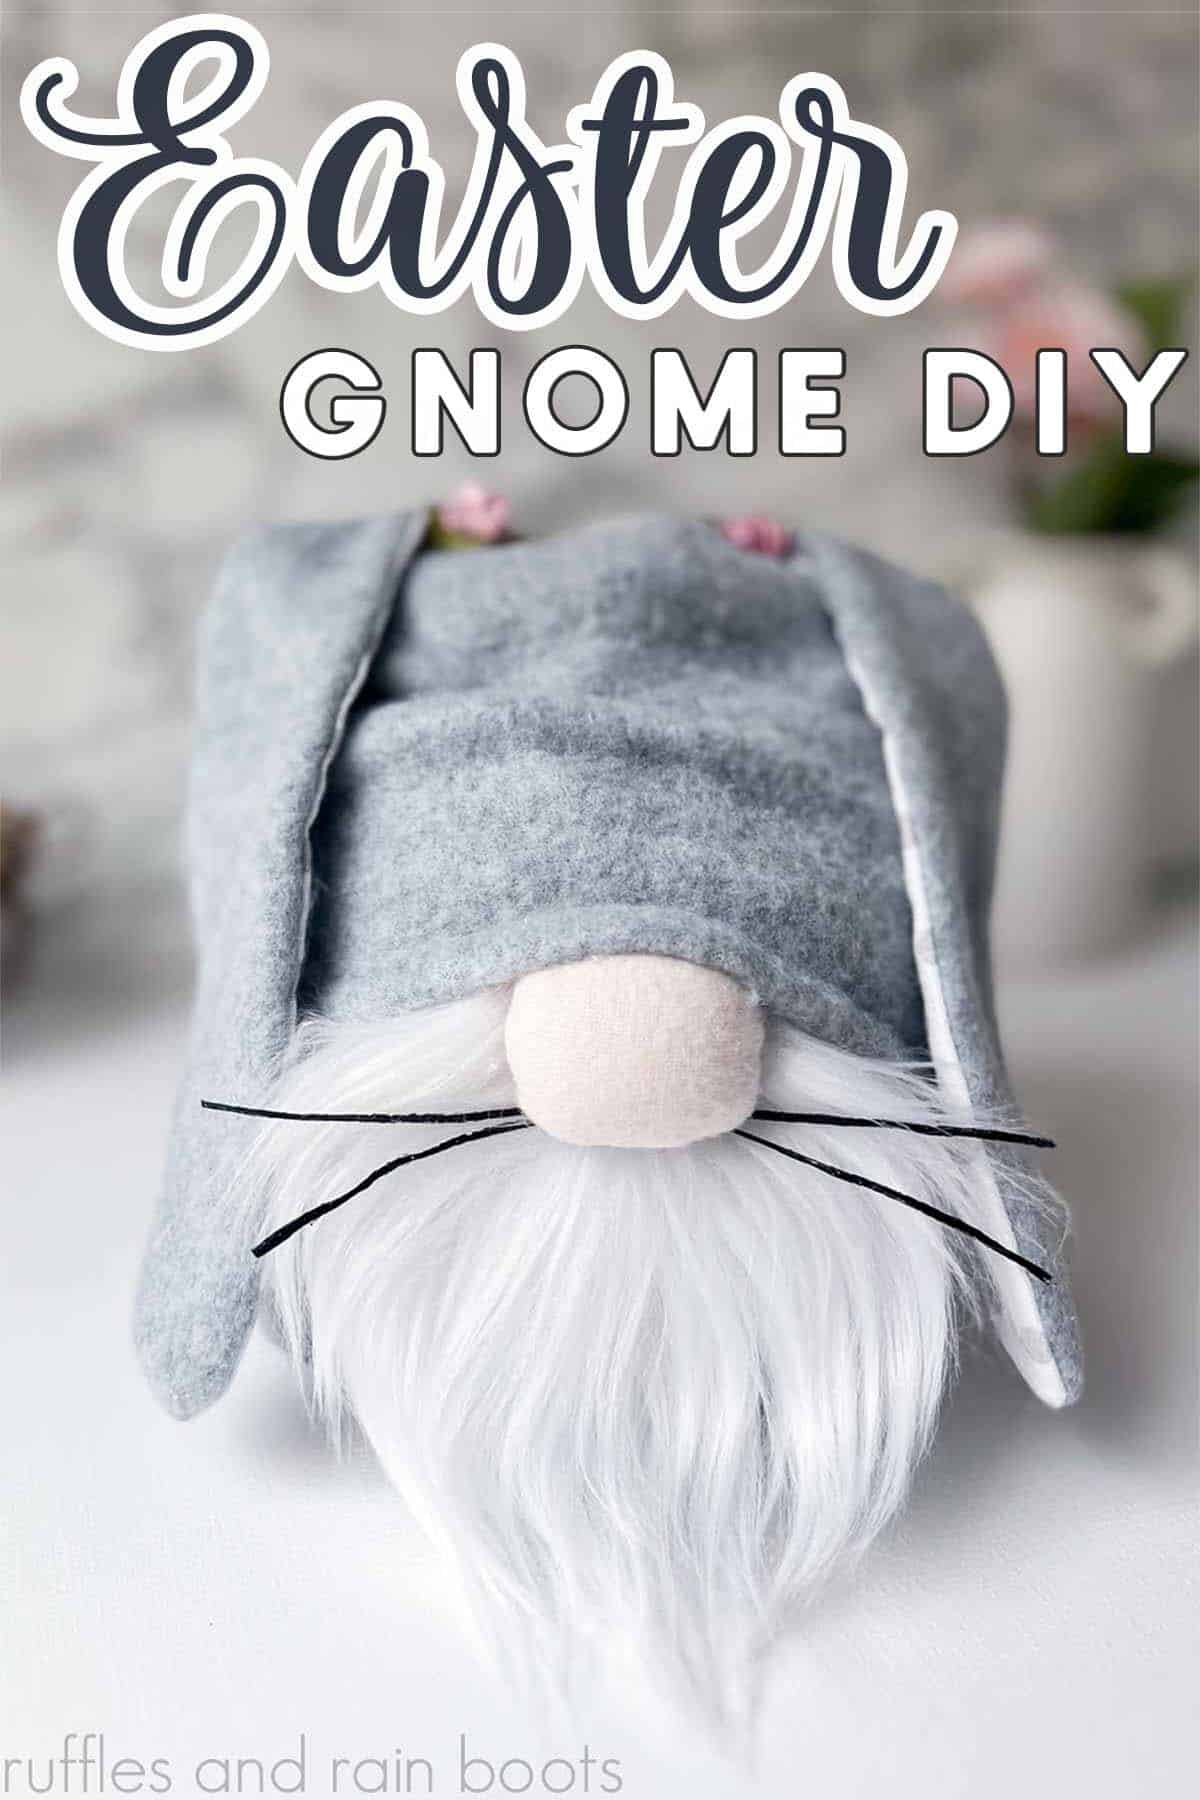
DIY Stout Short Gnome Pattern
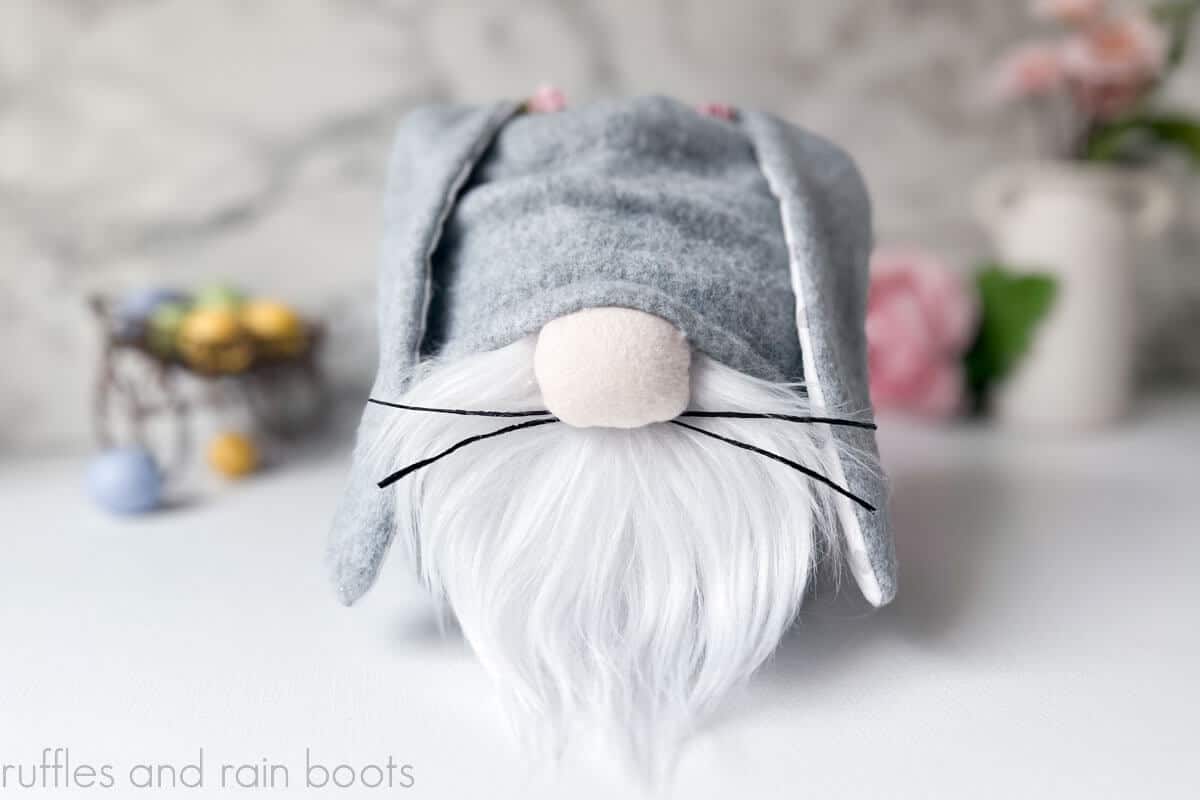
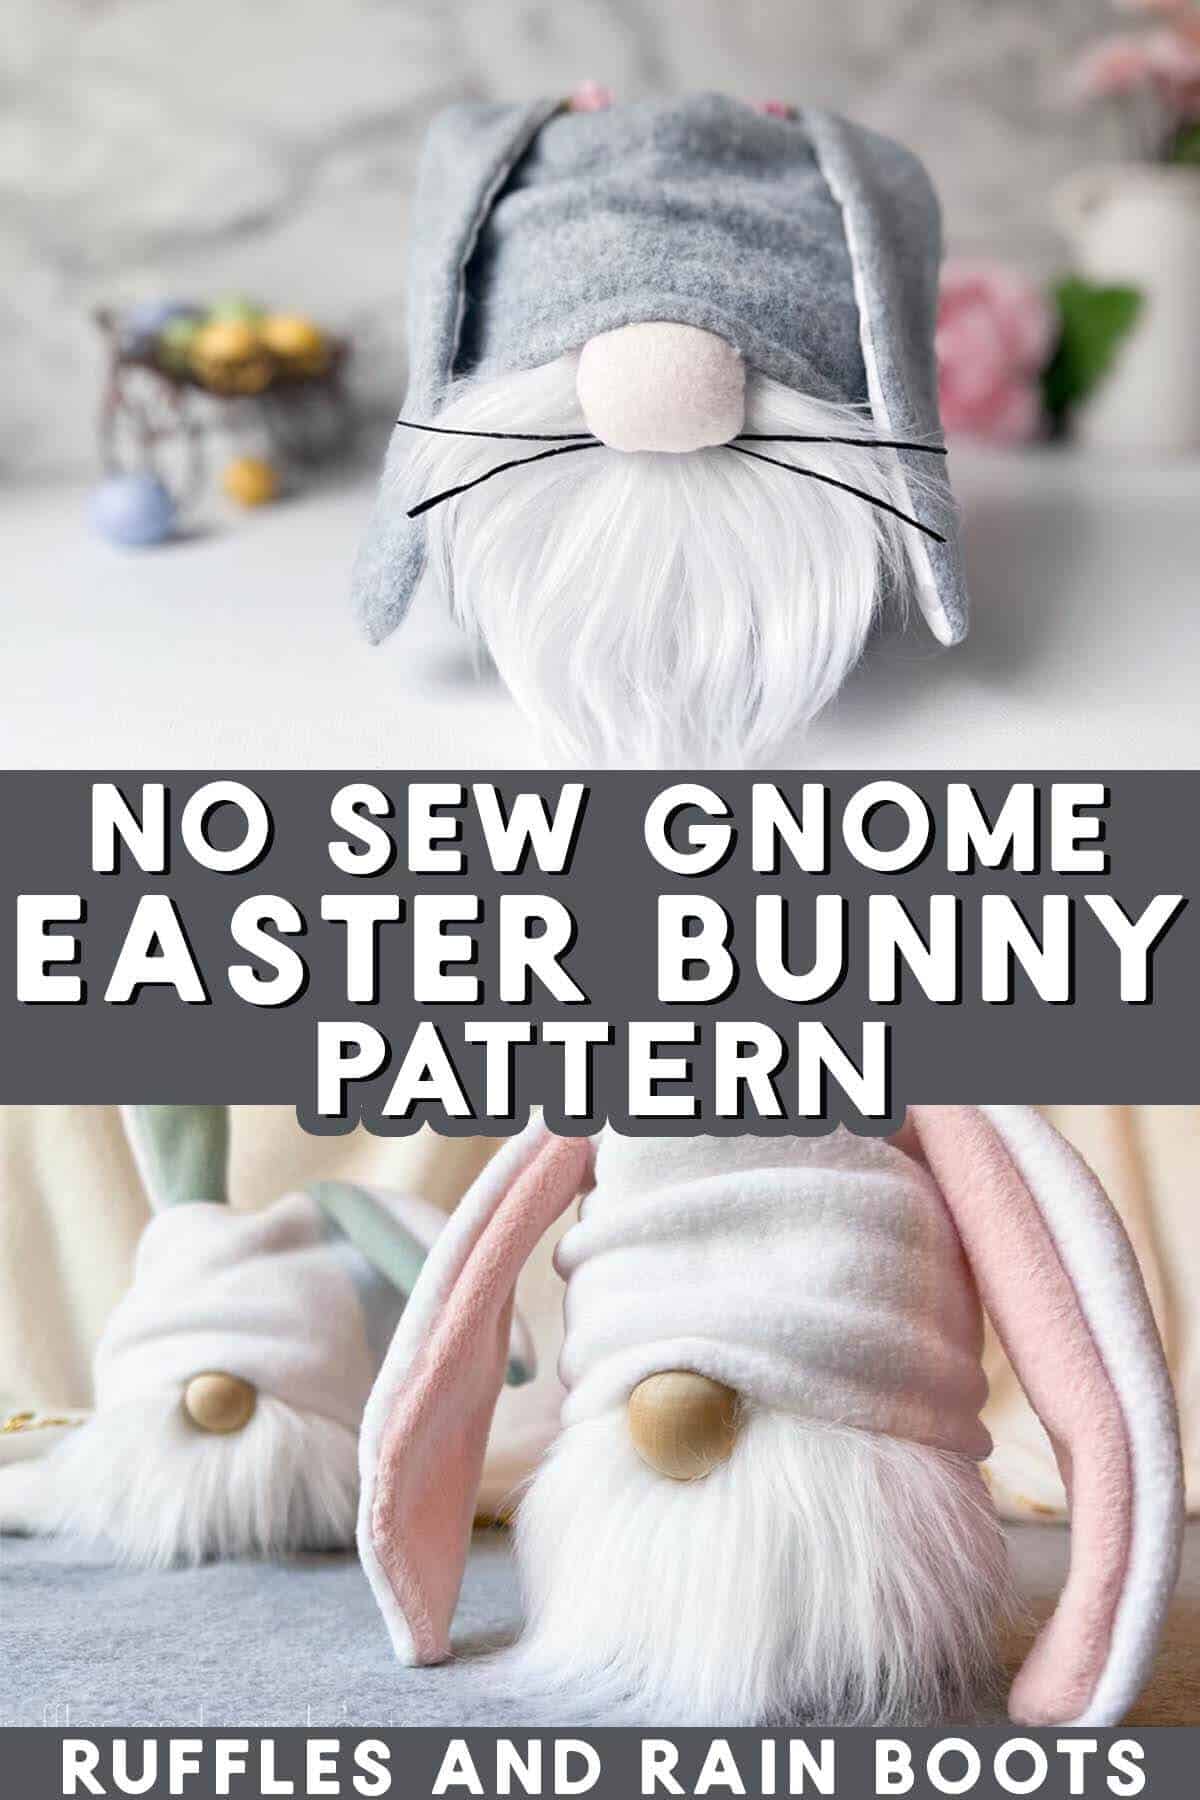
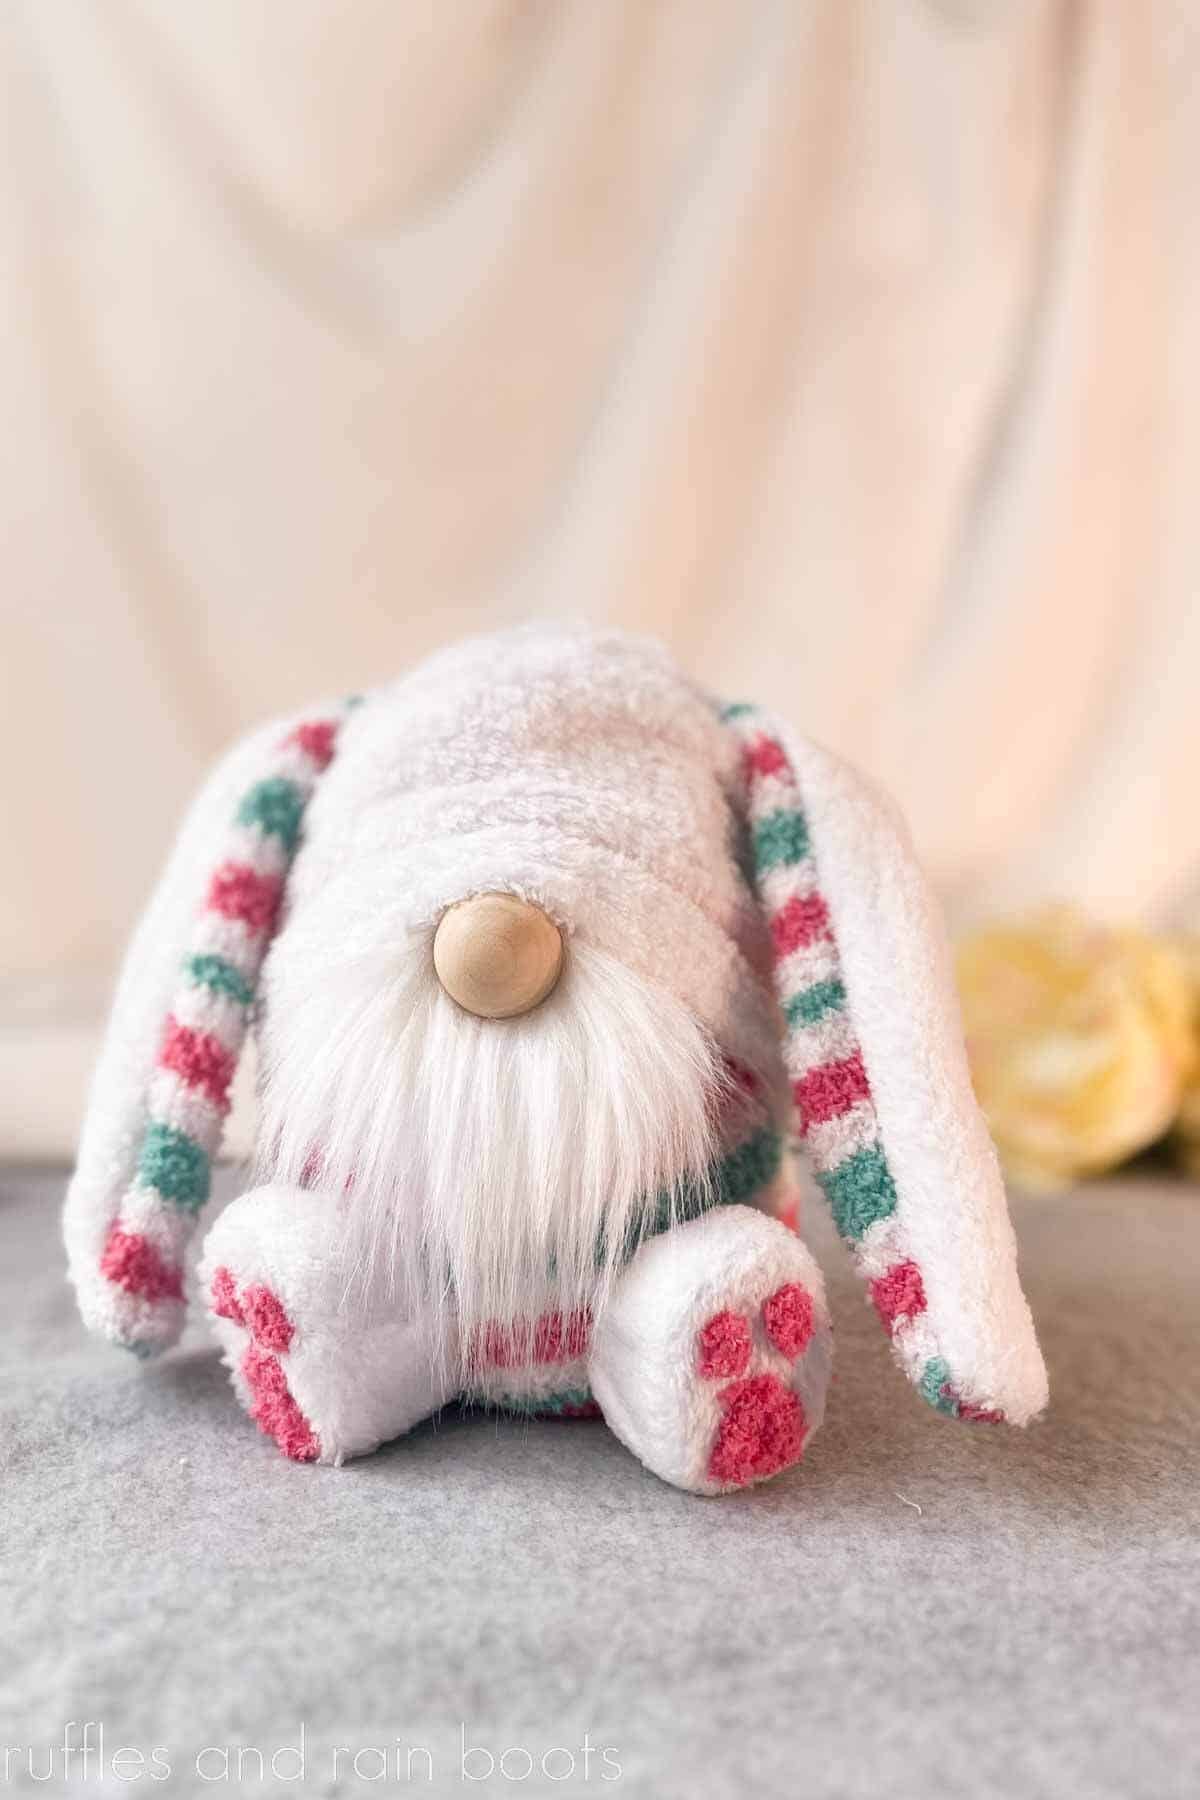
This adorable bunny gnome for Easter is a new pattern featuring these fabulous, floppy ears! The knockout stout short gnome pattern packs a LOT into an adorable, 6 inch tall package and can be made with or without the long bunny ears add on.
This gnome pattern for beginners can be sewn or assembled with a hot glue gun, making it a fun 40 or so minutes to spend time in the craft room. Scroll down to see a couple of examples from the pattern to give you even more ideas.
RELATED READING: Look at the Feet on This Easter Bunny Gnome!
What You'll Find On This Page
Cute and Easy 6 Inch Gnome Pattern
Here at Ruffles and Rain Boots, I am nearly settled into the new craft room. And by settled, I find myself saying “now where could I have put that” about 100 times a day.
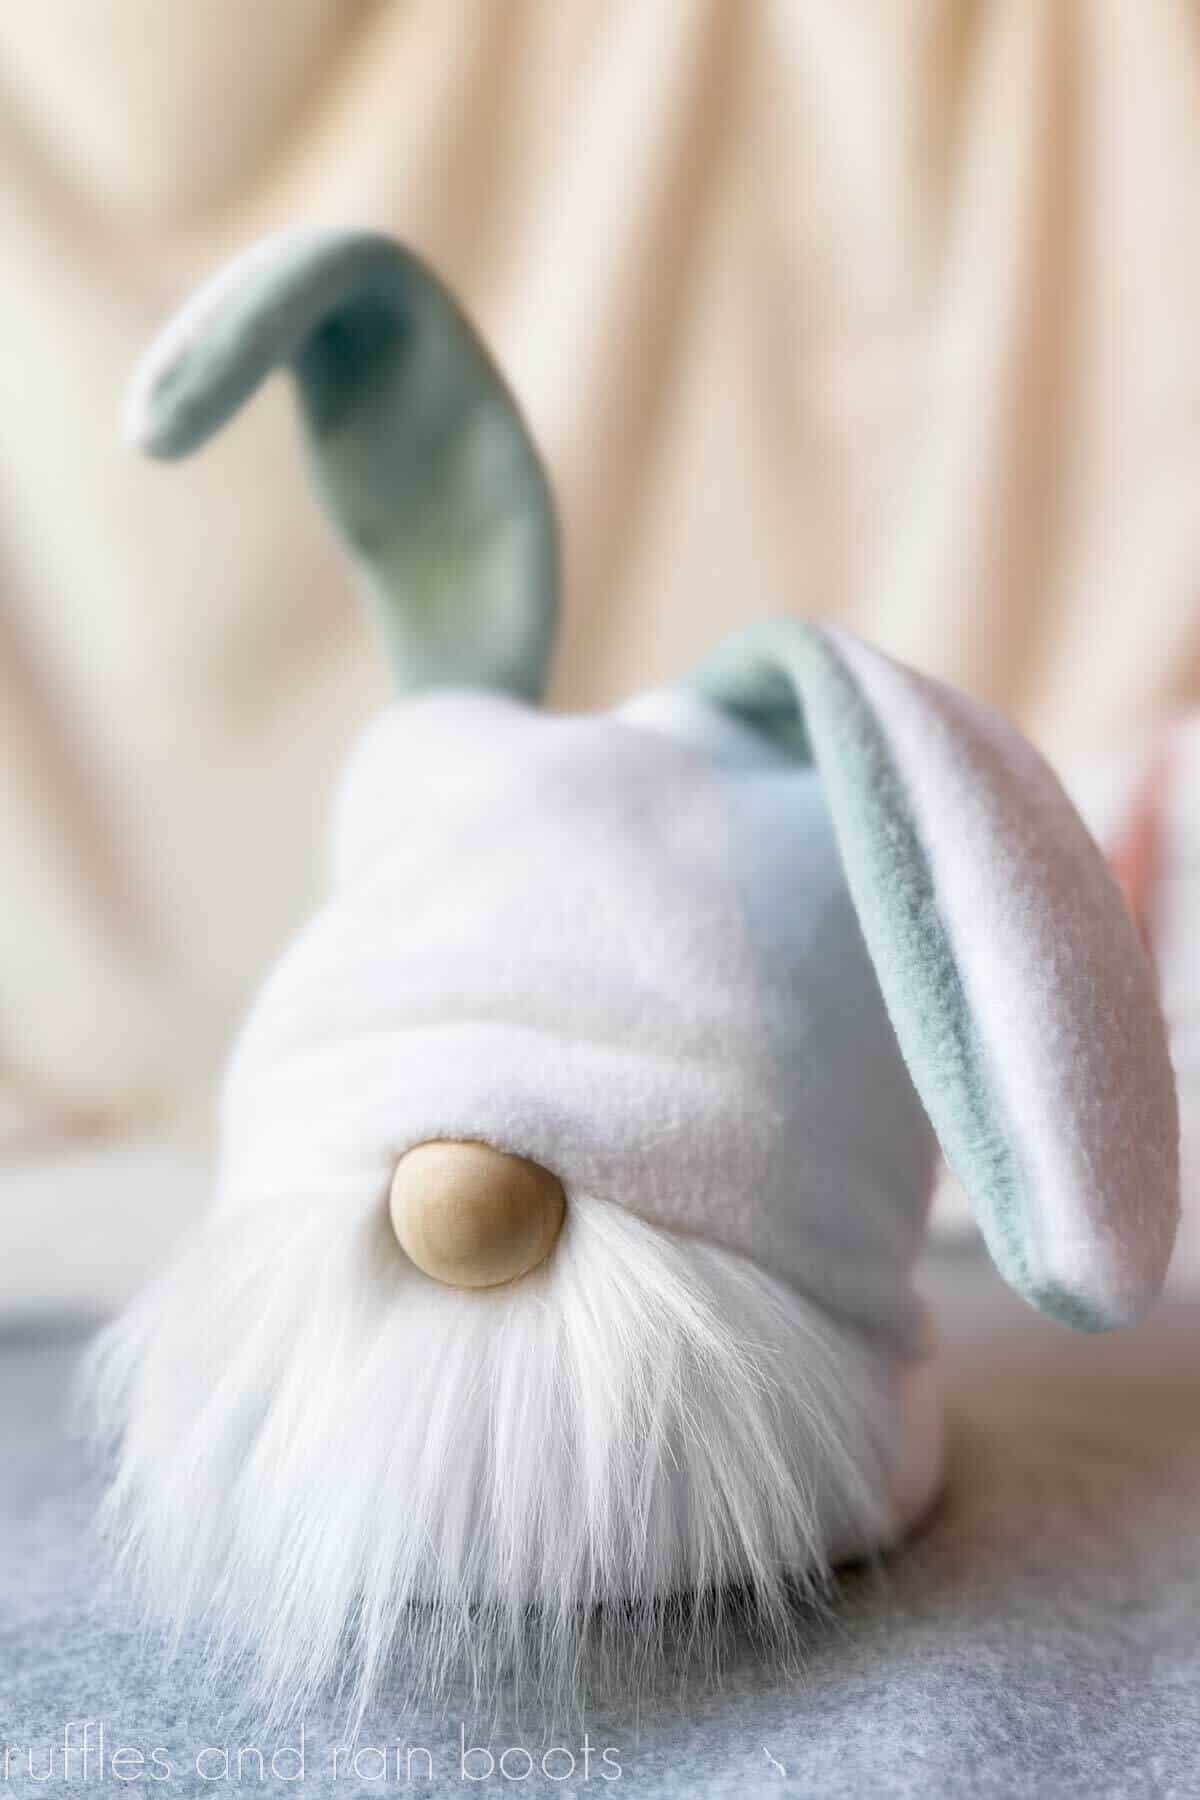
It’s still coming together but because I’ve made so much progress, I was able to create this new gnome pattern! This guy is… STOUT. He can be made in two sizes and even includes a bonus bunny ear add-on to create this adorable floppy-ear gnome.
I am super excited to share this with you and I hope you love it as much as I do. In the pattern, I share additional options and will provide some pictures of those here. Be sure to join us on the YouTube channel for those videos!
RELATED READING: Easter Gnome Garland (Perfect for Scraps)
No Time to Make This Now? Save or Share for later
If you are gathering ideas or need to check your craft stash before getting started, save this to a DIY pin board or share with a crafty Facebook group. Use the sharing buttons and it will make this easy to find later.
As an Amazon Associate, I could earn from qualifying purchases. There could be affiliate links within this article.
Stout Gnome Video Tutorials
As with all of my gnome inspiration, each of these gnomes comes with a complete video tutorial. My videos walk you through each step and share details on construction and gnome-making.
The playlist for the Knockout Stout Gnome Pattern is here. Be sure to subscribe and follow along – we have a lot of fun on the channel.
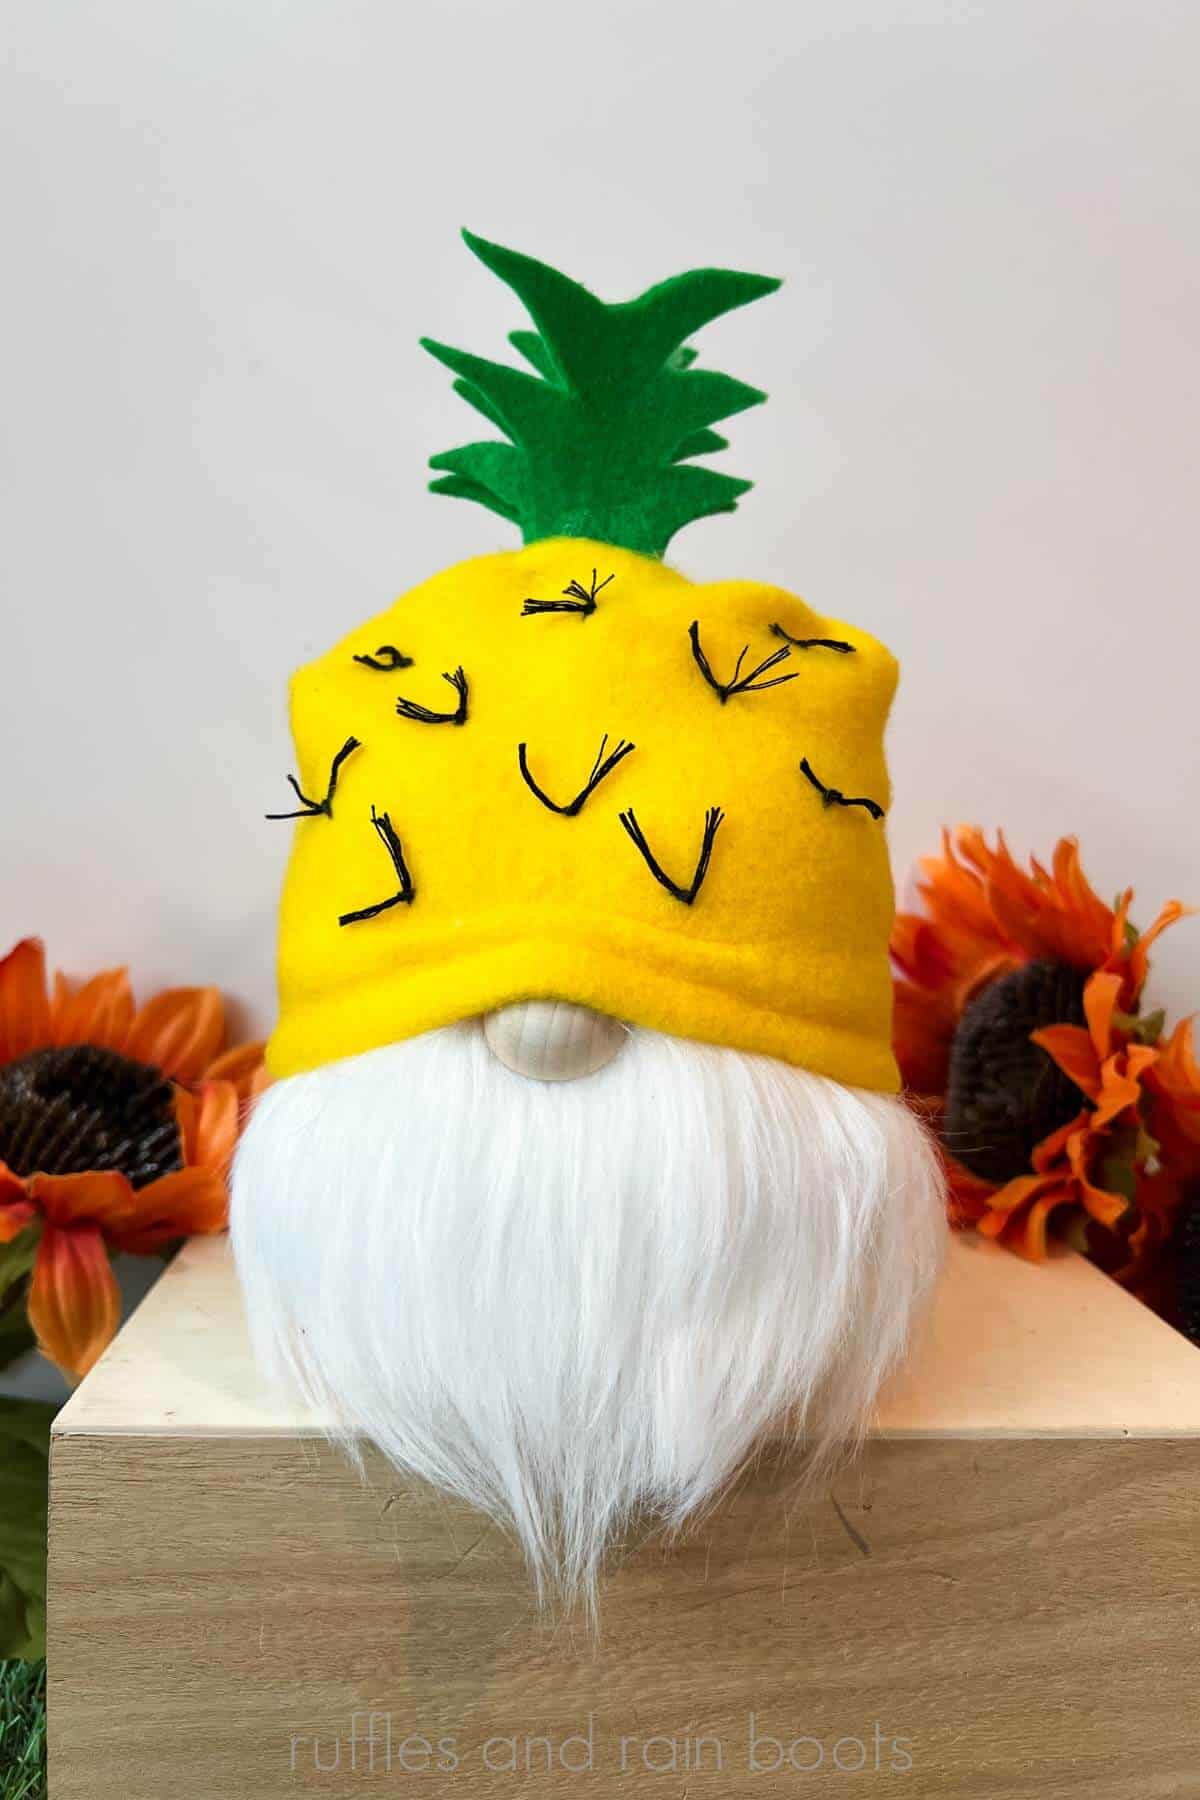
Variation: Pineapple Gnome with Cute Embellishments
For years, I’ve been asked to create some fun themed gnomes. When I look at this body style, I couldn’t help but answer with this adorable pineapple gnome! The adjustment I made for the pattern is to cut some a crown leaf topper (2 pieces of felt) and pop it into the center of the hat.
You can see the DIY pineapple gnome video tutorial. I’d love to hear what you think of the embellishments.
Variation: Stout Short Gnome with Cap Gnome Hat
This pattern includes a hat, two body sizes, and a long, floppy ear addition which will be detailed below. However, that is not the only look which can be achieved using this pattern.
The hat can be assembled without the ears and produces a rounded cap style gnome hat (with or without arms). One example of this capped hat style is below, made with a 1 inch brim for a tailored appearance. For more of a slouchy hat look in front, create a 1/2 inch brim, scrunch the fabric, and glue into place.
Variation: Dollar Tree Easter Gnome with Bunny Ears and Feet
This adorable Dollar Tree Easter bunny gnome is cming soon to the channel (and included in the pattern). Use the party favor booties to create the pudgy body, ears, and adorable feet using dollar store socks and an automotive department staple!
RELATED READING: Bunny Gnome Wine Bottle Topper (from a Sweater!)
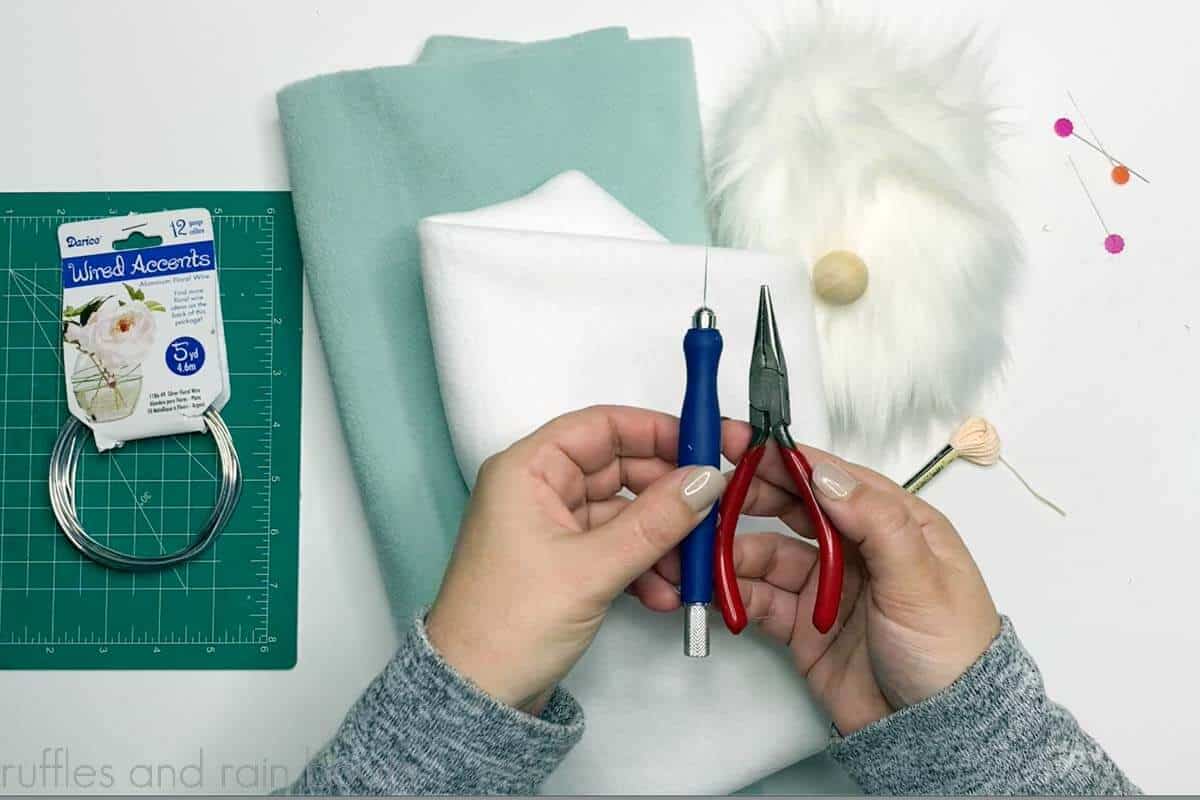
Materials for the Stout Floppy Ear Bunny Gnome Pattern
I have a few options in the pattern, but here are the basic supplies and materials you will need to create this gnome. As an aside, the bunny ear inserts can be cut from fleece, cotton, or flannel.
- Stout Gnome Pattern with Bonus
- Fleece in two colors (or cotton or flannel for the ear inset)
- Faux Fur
- Gnome Nose
- Embroidery Thread and ModPodge (to add whiskers)
- Basic Gnome Making Supplies (listed below)
Instructions to Make This Easter Bunny Gnome
Get the Knockout Stout gnome pattern, download, and print the pattern pages. I recommend you watch the video tutorial before starting. Note: you can transfer the patterns to something like a file folder or flexible plastic cutting board to strengthen them or use the printer paper
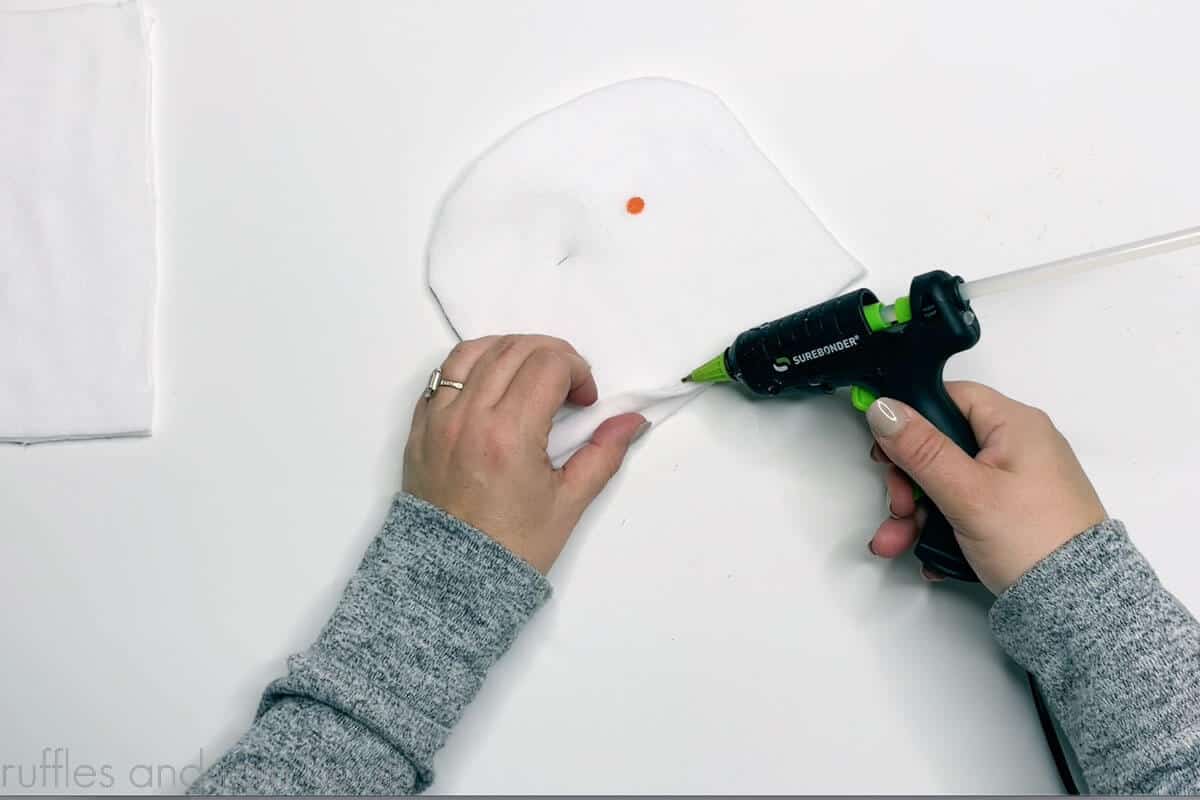
First, create the brim on the wrong sides of each of the hat pieces by either gluing or sewing the brim in place. Pin the hat pieces right sides together once completed.
Glue or sew the ears by placing the right sides of the fabric together. Once assembled, turn right sides out using needle nose pliers or hemostats.
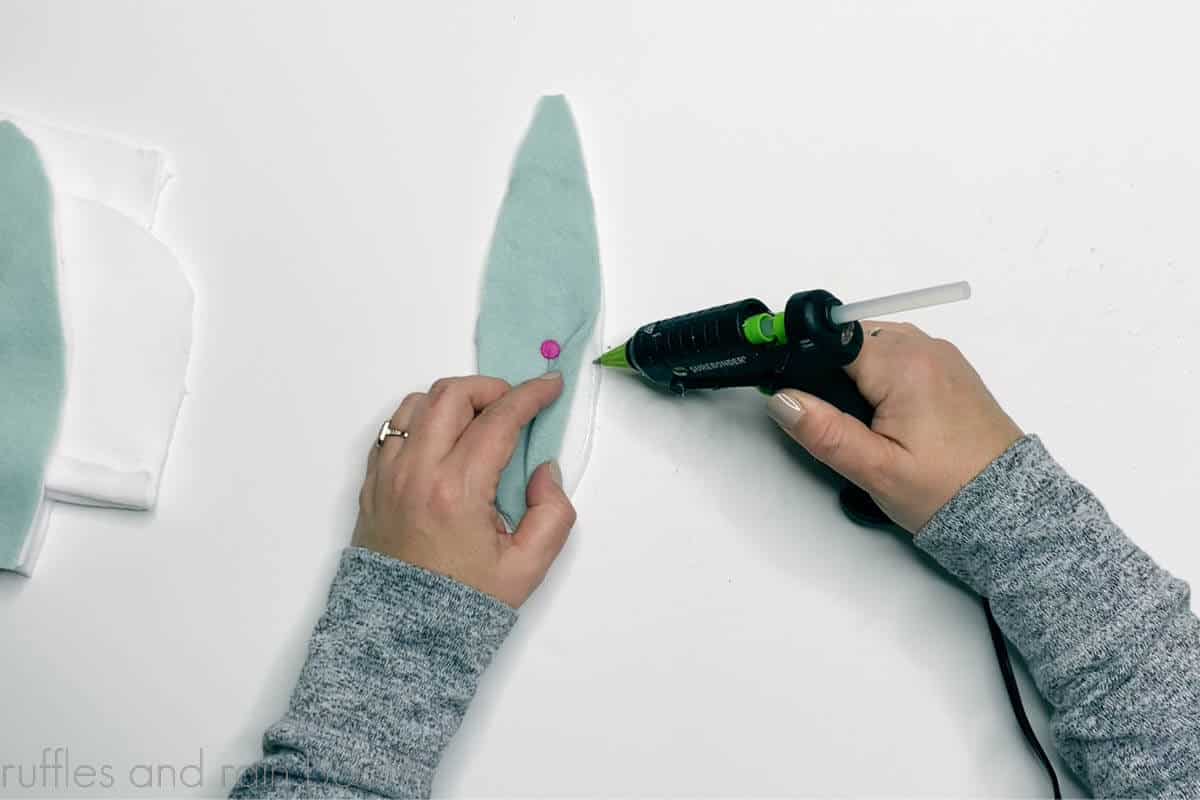
Position the ears between the layers of the hat and secure. Please reference the pattern for detailed instructions and additional placement options.
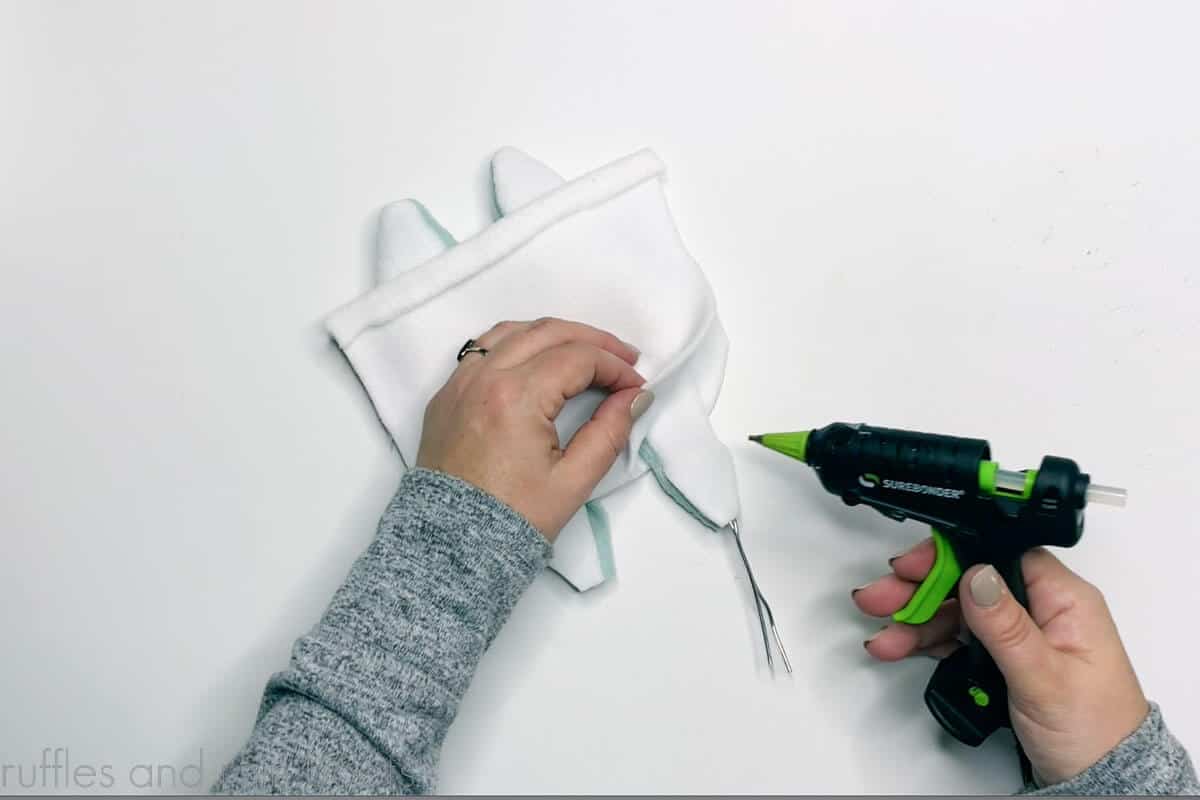
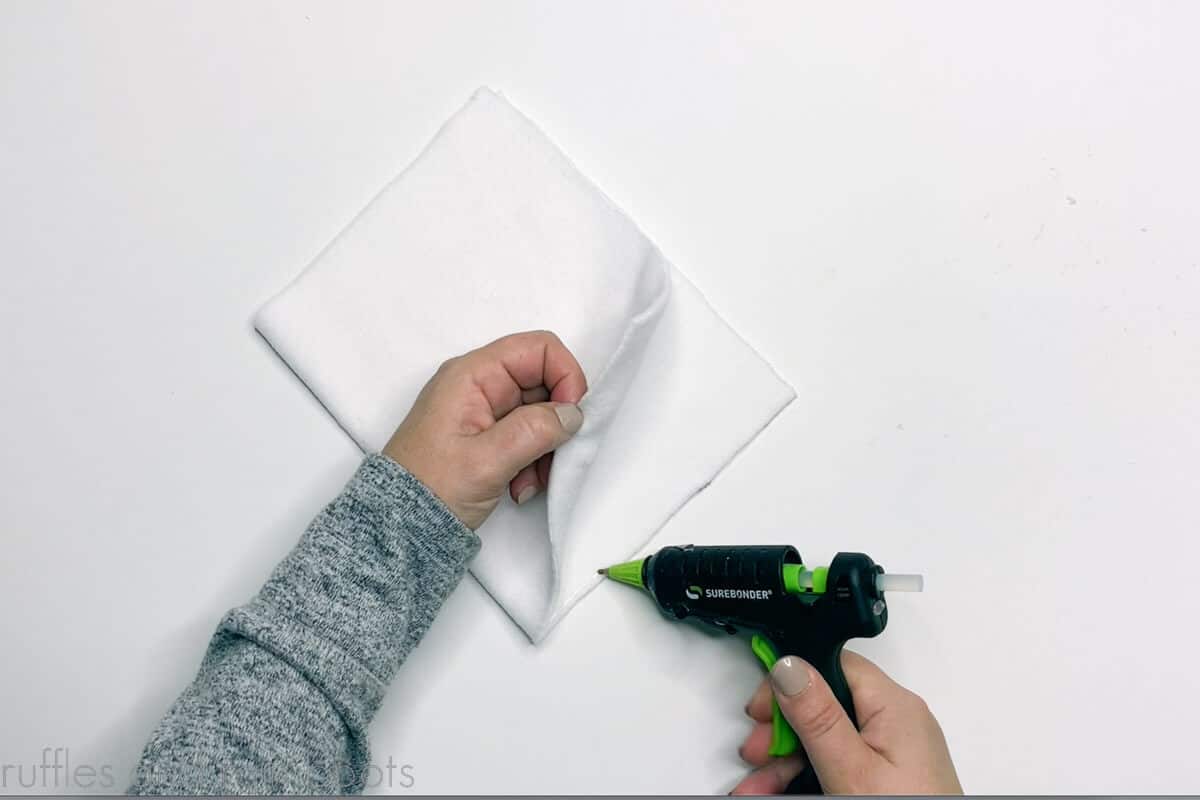
Pin together the body piece and hat per the instructions. Glue or sew the body’s vertical and bottom edge. When secure, pull apart the sides and create the diamond bottom.
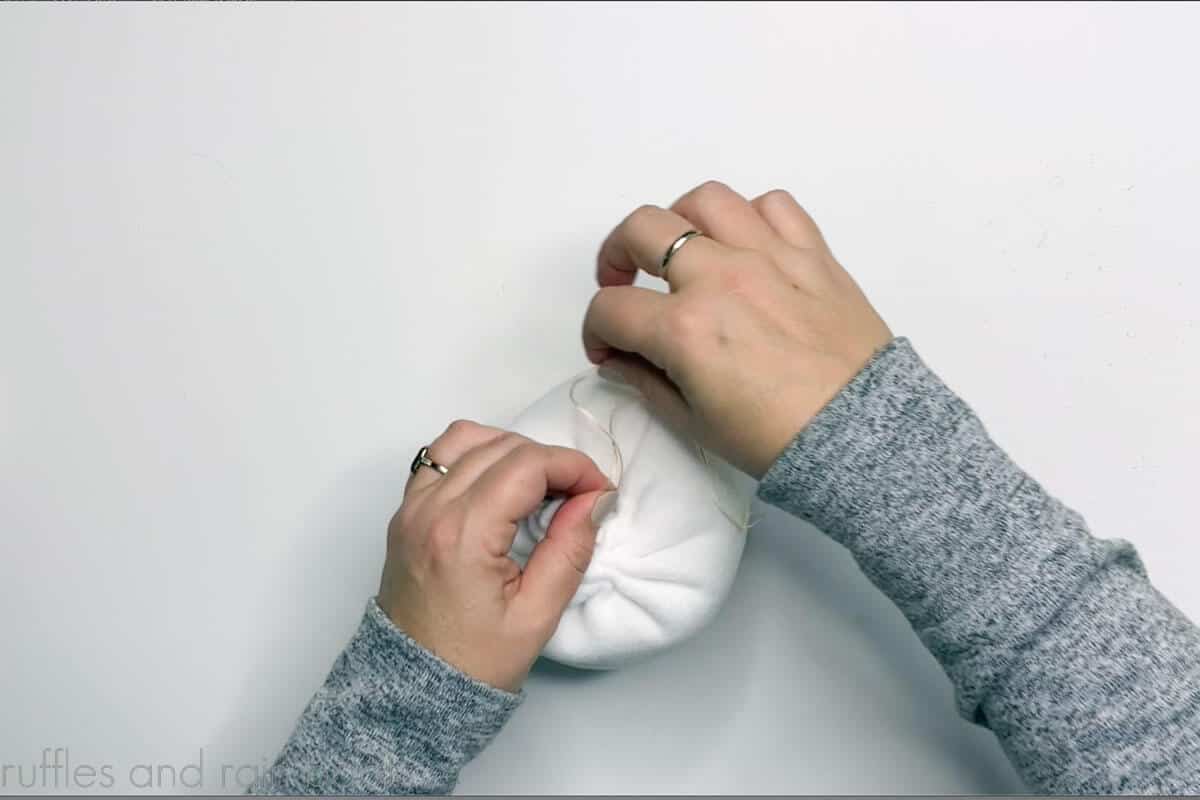
Add weight and stuffing to the body. Use embroidery thread and a needle to create a running stitch near the top of the body to secure.
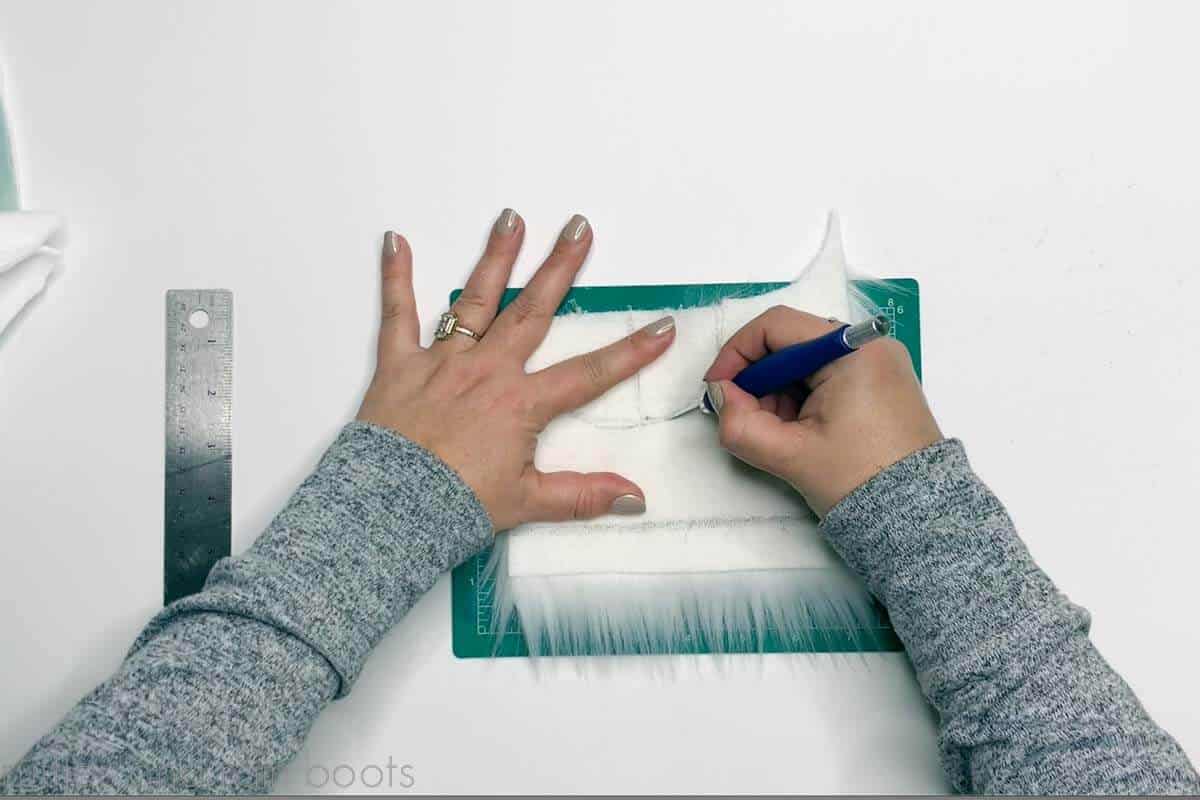
Cut a faux fur gnome beard using the X-Acto knife, split the fur in the center, and glue the wood round to the fur’s fabric backing. Cut and assemble a pompom tail from faux fur per the pattern instructions.
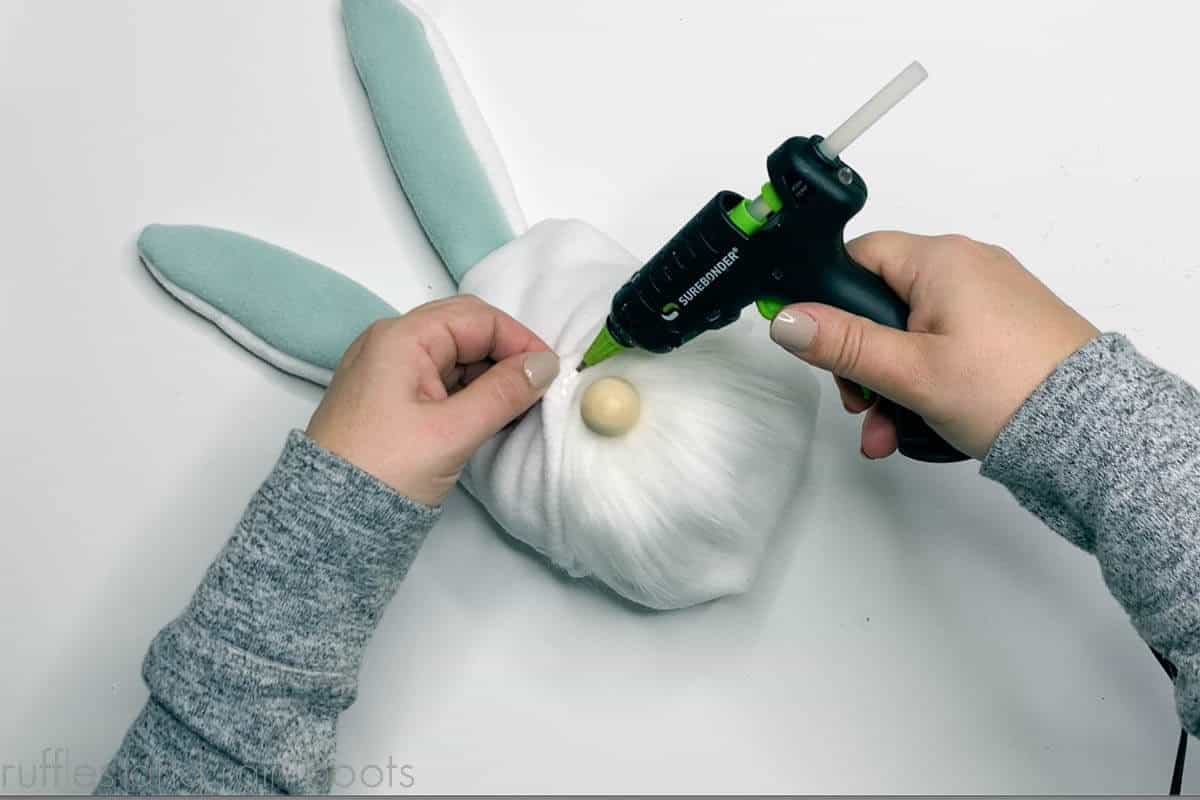
Glue the beard on to the gnome, add on the nose and hat, and secure everything. Glue on the bunny tail and decorate!
More Gnome Patterns and Crafts You Might Like
- Easter Sock Gnome – This adorable gnome can be made in no time at all using some felt, fur, and a few finds from the dollar store.
- Cute Rabbit Gnome – Another easy sock gnome but not like you’ve ever seen before (this is genius)!
- Treat Container for Easter – Make your own sweets holder that looks sweet on is own.
Please Save or Share This Adorable Gnome DIY
Your shares are how this site grows and I am sincerely grateful. Please save this to a DIY gnome pin board or share it with a crafty group on Facebook.
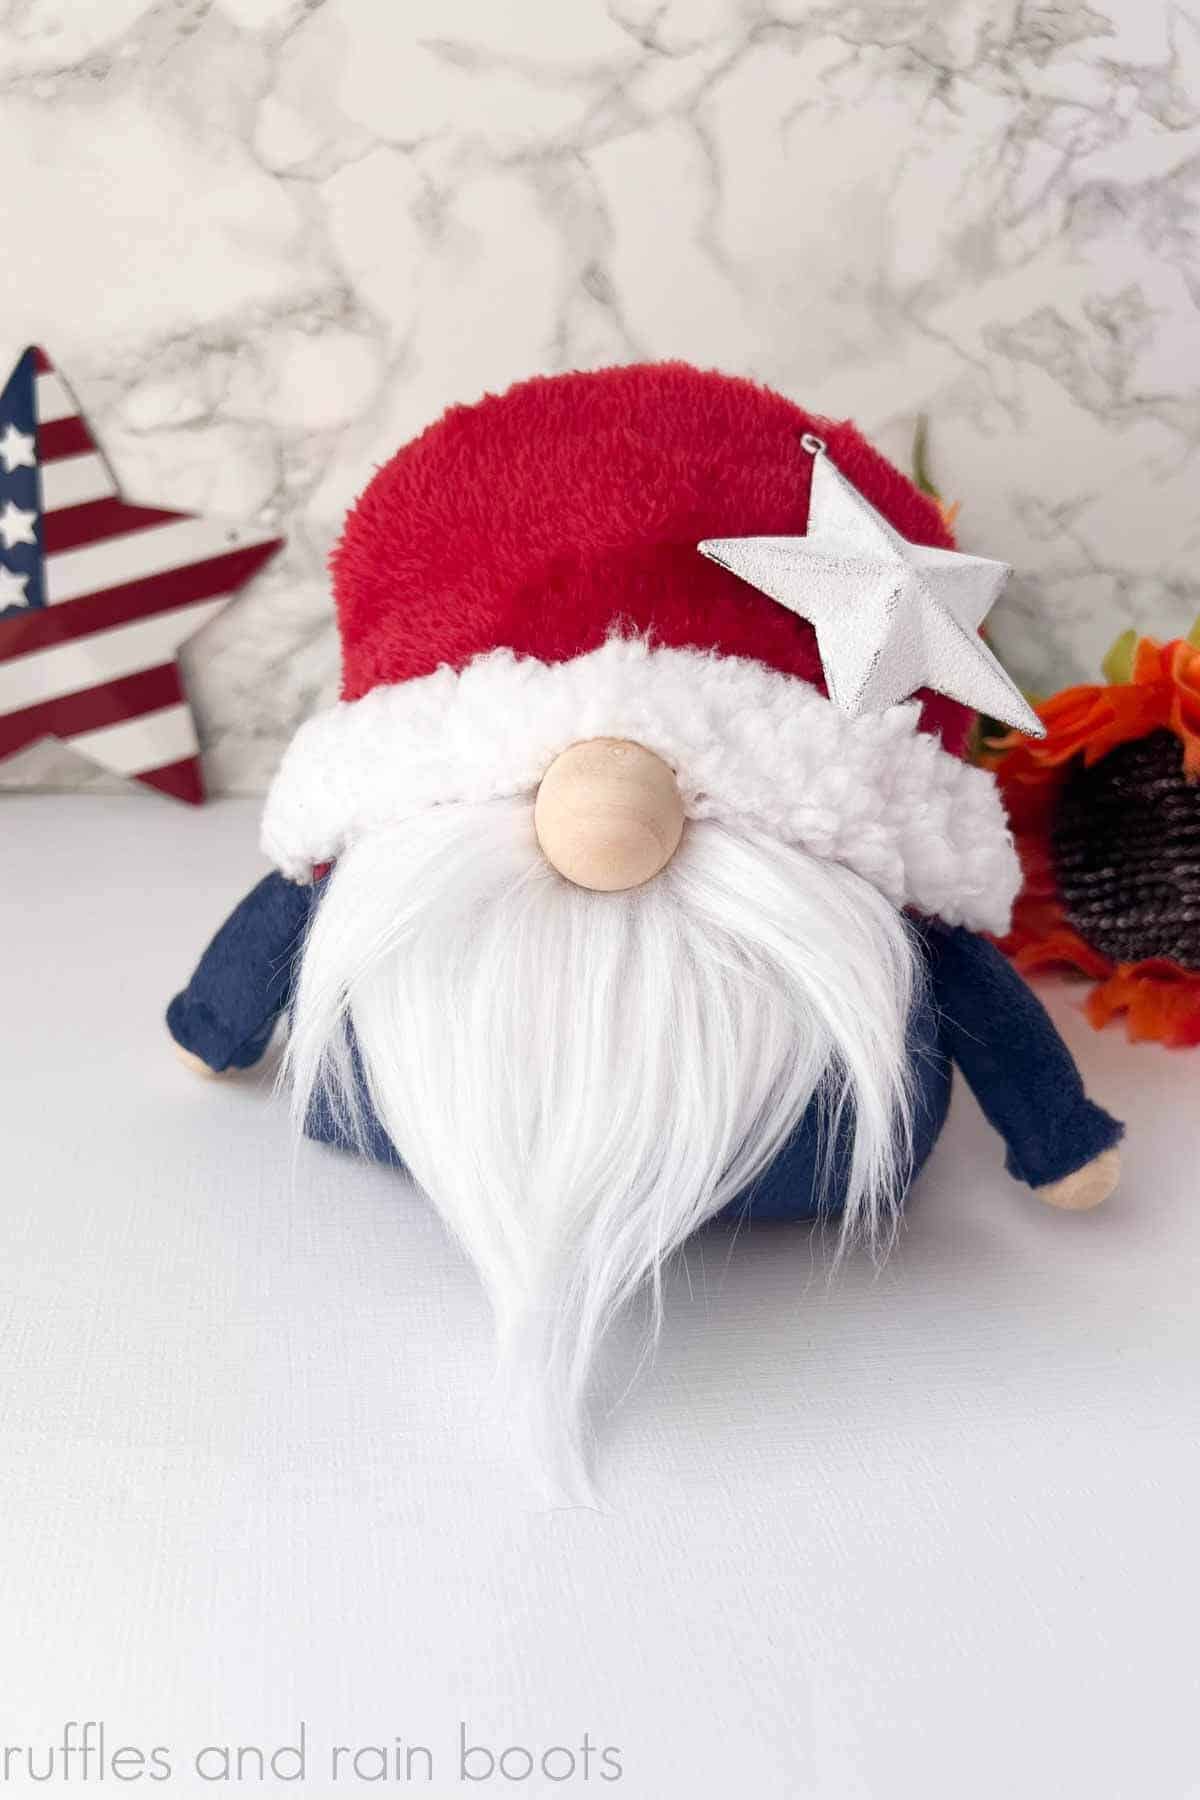
Stout Gnome and Gnome Bunny
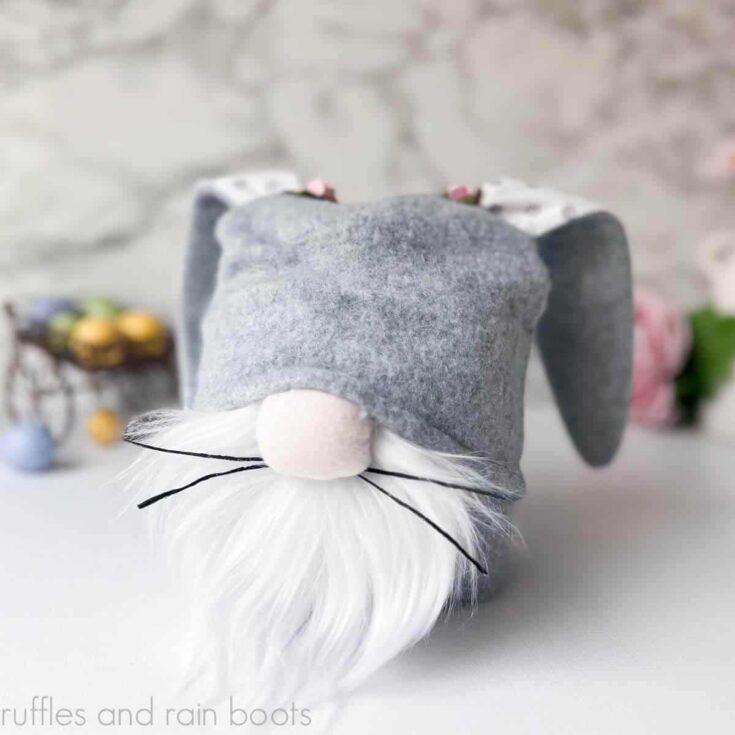
Using the knockout stout gnome pattern, sew or hot glue this adorable cutie with or without the ears. Included in the full pattern are a gnome body, a hat, and extras like long, floppy bunny ears and even dollar store construction ideas and tips. Use fleece to create this adorable 6-6.5 inch tall gnome for tiered trays, bookcases, gifts, and decor.
Materials
- Knockout Stout Gnome Pattern
- Fleece
- Faux Fur
- Embroidery Thread
- 1 inch Wood Ball or Other Nose
- 1 Cup (or more) Poly Pellets
- Poly-Fil
Tools
- Hot Glue and Glue Sticks
- Optional, Sewing Machine
- Embroidery Needle
- X-Acto Knife
- Scissors
Instructions
Gnome Instructions
- Cut the pattern pieces (2 hat, 1 body) from fleece. Each cut is detailed in the pattern, including the direction of the stretch. NOTE: + indicate the bunny addition references.
- Create a brim by turning up 1/2 inch on the wrong sides of the fabric for each hat piece. + Ears should be assembled next and turned out.
- Glue or sew the right sides of the hat together, leaving only the brim side open. + Position the ears as described below before joining.
- Create the body by folding right sides together, fold on the left. Glue or sew the right and bottom edges together. Pull apart the body and create the box pleat bottom. Turn right sides out.
- Add one cup of the Poly Pellets for weight and one cup Poly-Fil for stuffing, leaving one inch open at the top.
- Use the embroidery thread and needle to create a running stitch one inch down from the top edge of the body, cinch, and secure.
- Cut a U- or V-shaped beard from the faux fur using the X-Acto knife and glue to the body. Add on the nose by splitting the fur to the fabric backing, adding hot glue, and pressing the wood ball into it until set.
- Slip on the hat and secure with glue over the nose and around the sides and back. + Add on whiskers, if desired.
Bunny Add-On
- Cut the pattern pieces and 2 sets of ears. Note: cotton or flannel can be used for the floppy ear inside panel.
- Place fabric for each ear right sides together and glue or sew per the pattern, stopping when indicated.
- Turn right sides out and rub the seams between your fingers to settle.
- Place the completed ears in between the hat pieces and glue or sew the ears into the construction.
- Stiffen embroidery thread with ModPodge to create whiskers and glue under the bunny gnome nose.
Recommended Products
As an Amazon Associate and member of other affiliate programs, I earn from qualifying purchases.


Meet the Creator
Hi there, I’m Sarah Nenni-Daher. I’m a crafty gal and always have at least 14 projects going at once. I am a crafter, designer, DIYer, and pattern maker. I share my creations here and in the Ruffles and Rain Boots® Shop.
Here at Ruffles and Rain Boots®, you’ll find DIY gnomes, crafts, gifts, cupcakes, laser crafts, and so much more. I love sharing video tutorials over on YouTube and chatting with other crafters in my Facebook groups. We’d love to have you!