
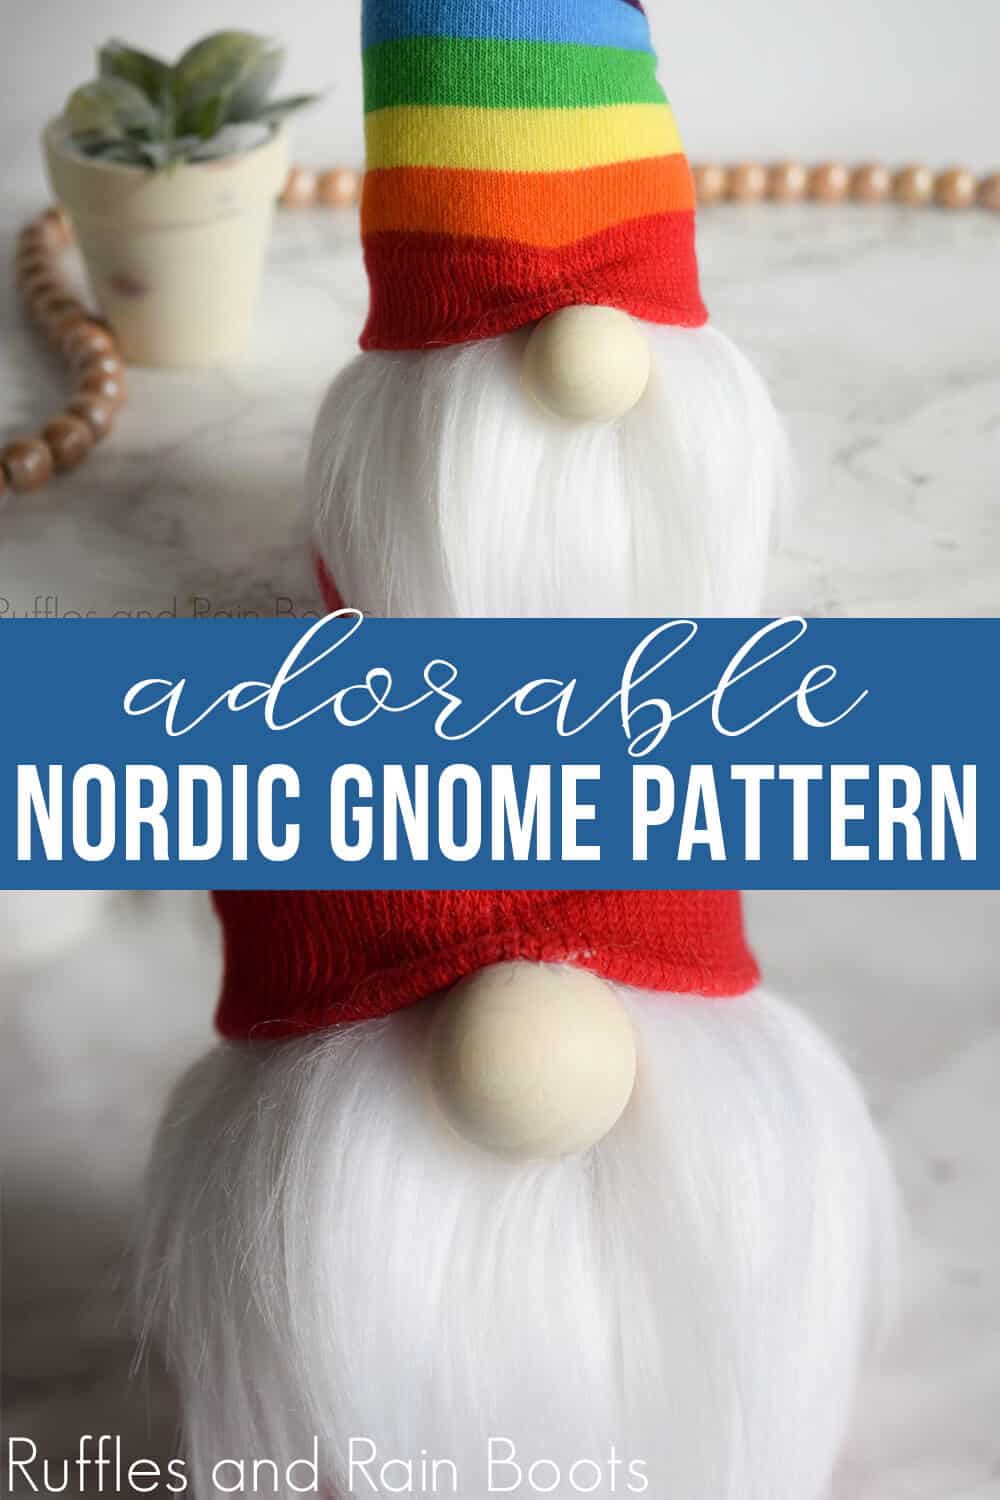
Make This DIY Nordic Gnome with a Twisty Hat
Make this Nordic gnome with a twisty hat to add a little whimsy and magic into your day. They make the perfect friend to welcome guests in an entryway.
Gnome with Twisty Hat Tutorial
Here at Ruffles and Rain Boots, I love making gnomes. If you’re new here, it’s like a gnome rabbit hole (you’ve been warned).
I just really can’t get enough of them, friends. From Christmas gnomes to other holiday cuties, it’s fun to explore different styles and methods. For example:
- Christmas Gnomes – No-sew ornaments, cone-style gnomes, and so much more!
- DIY Sock Gnome Tutorials – No sewing skills? No problem – these guys come together in just 20-minutes.
But today, we’re making a fun gnome my daughter requested for her room: a rainbow gnome with a twisty hat. We set out dying wool for this and our experiment FAILED. Note: do not use leftover Easter egg dye to color Merino wool if you want to use it as a beard.
Let’s get started with what DID work.
No Time to Make This Now? Pin it for Later
If you’re scrolling and want to come back to this, pin it to your favorite crafts or gnome board on Pinterest.
As an Amazon Associate, I could earn from qualifying purchases.
Tips for Making a Twisty Hat Gnome
So I messed up one before getting this right (just being honest). So I’m going to tell you what NOT to do in addition to how to actually make a twisty hat gnome that looks good.
- Get a loooooong sock – this rainbow knee-high sock is perfect.
- Before you cut and sew the sock hat, be sure to make the body and measure how tall you want your finished hat.
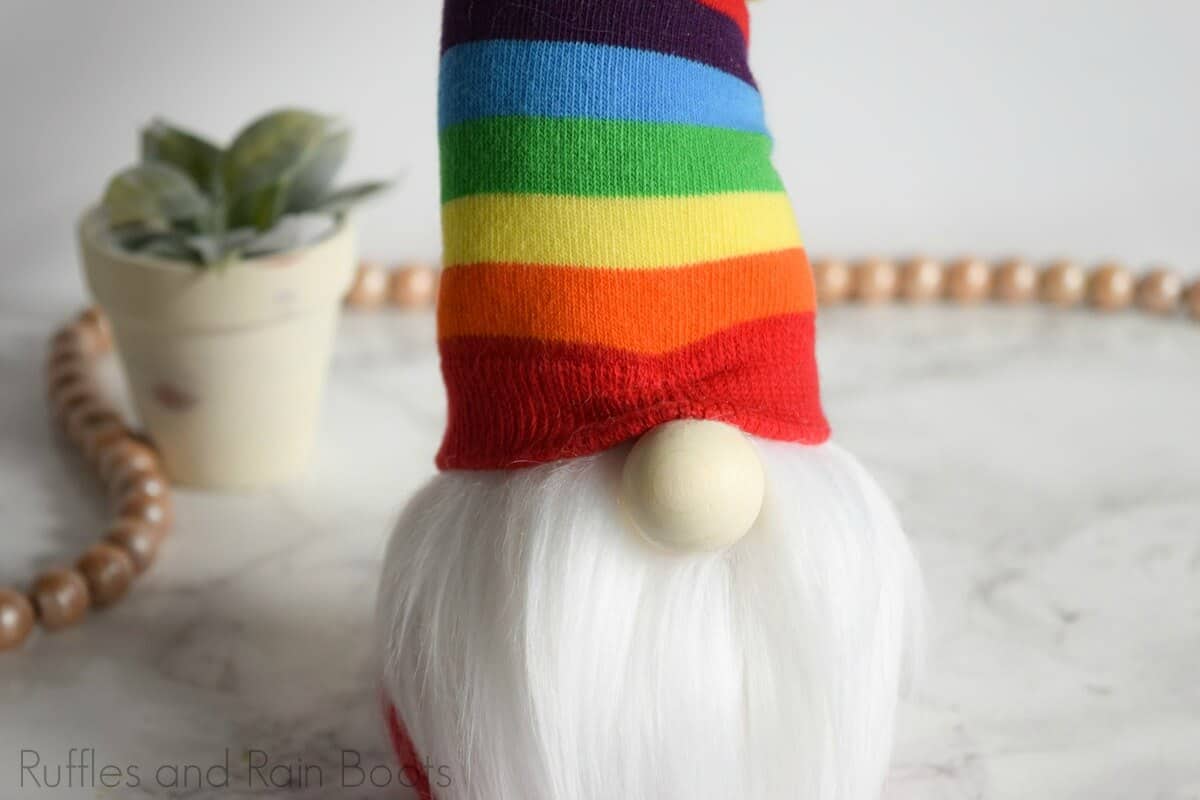
- Don’t overstuff the stock if there is a pattern. For example, this rainbow hat is a quality sock but when I overfilled it, it showed white through the color.
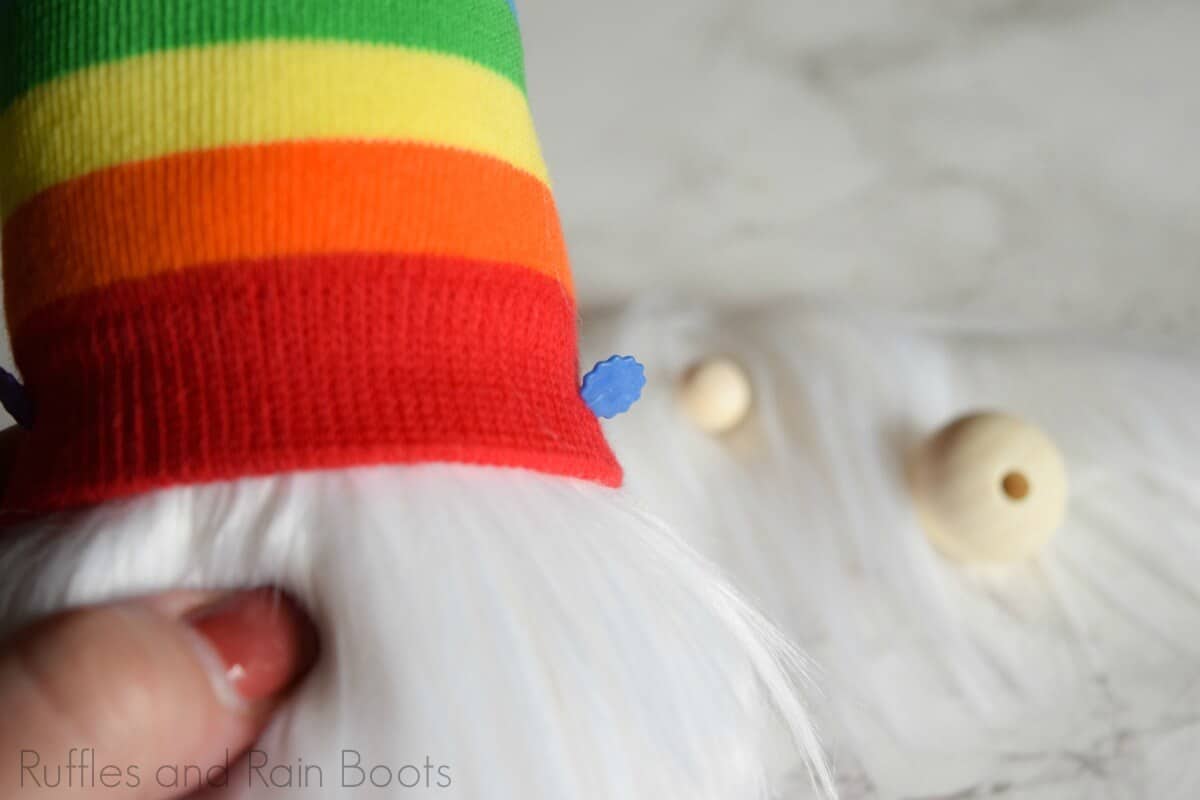
- Use pins to hold the hat in place before gluing it on. Pin it and then position the nose.
- The polyfill is going to be quite bumpy. You’ll need to roll the hat (even the tip) in your hands to distribute the polyfill.
How Do I Make a Gnome with a Bending Hat?
I’m so glad you asked! This is a fairly quick DIY (especially if you use a sock gnome body), however, there are a few more tips I’ll share. If you’re making a DIY gnomes playlist on YouTube, here is our gnome with a bending hat video tutorial.
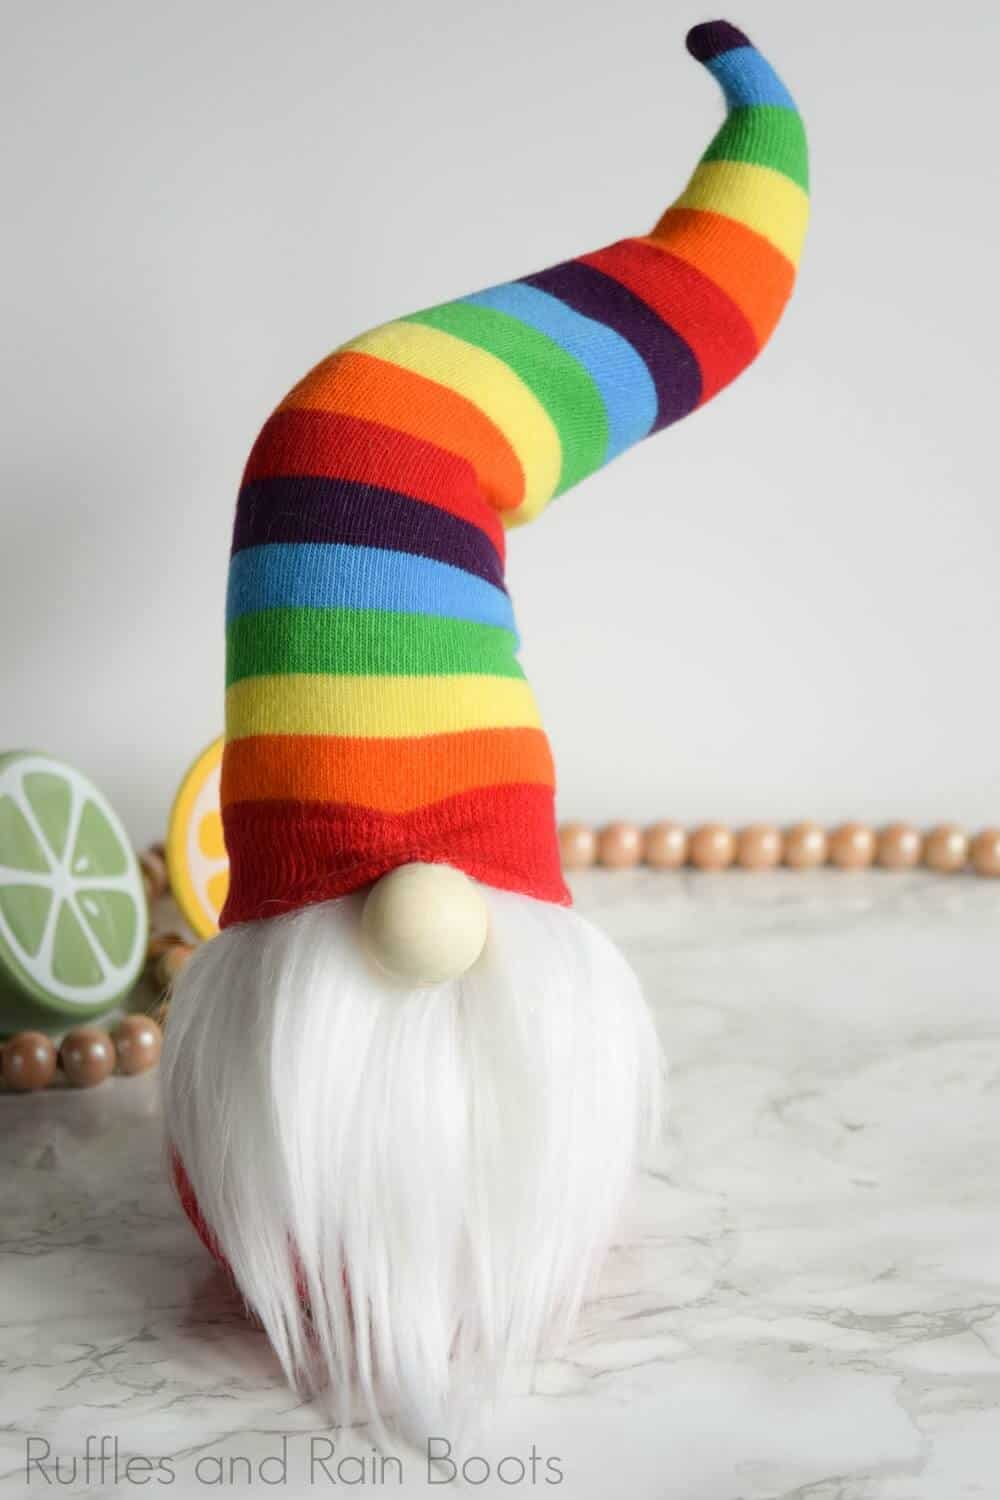
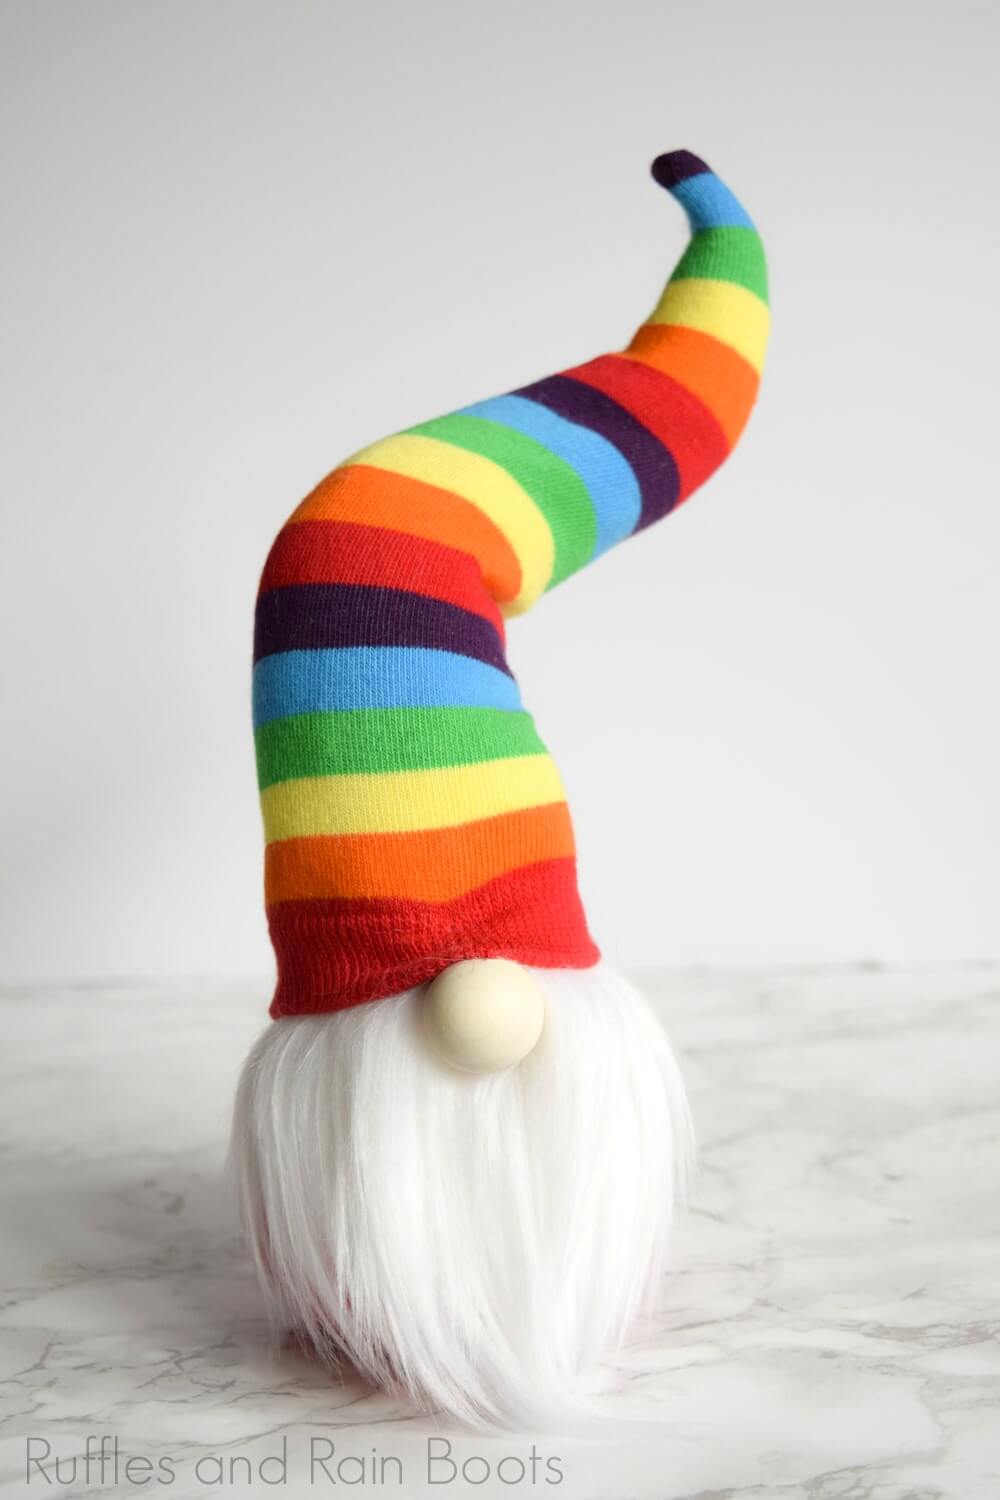
Gnome with a Twisty Hat

This adorable Nordic gnome with a bendable hat comes together quickly. It's made with a child's sock, a straight stitch, and a little crafty fun.
Materials
Gnome Hat
- child's knee sock (or leg warmer)
- scissors
- sewing machine (or hand sewn)
- polyfill stuffing
- floral wire
Gnome Body
- sock gnome body (here's how to make it)
- faux fur for beard and razor blade to cut
- wooden bead for nose
- poly beads or rice (to weigh down the gnome)
- polyfill to stuff the gnome body
Tools
- glue gun and glue sticks
- pins (to keep hat in place while positioning
Instructions
- Make the gnome body. This gnome uses the elfin gnome pattern found here, however, you can limit the sewing by making a sock gnome body (instructions here).

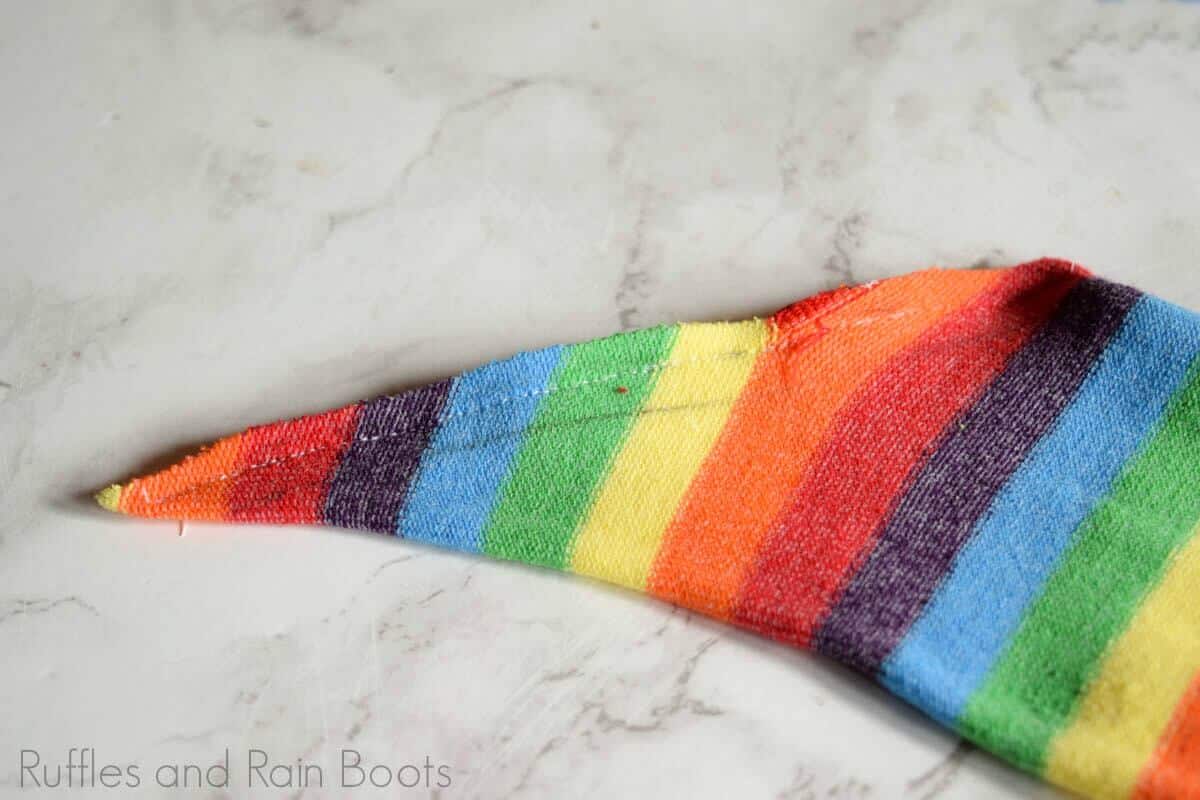
- Once the body has been created, measure the sock's height you want. Remember, this will be a bendable hat, so take that into consideration. Once measured, create a curved line under the heel and sew it with a straight stitch with a machine or by hand.
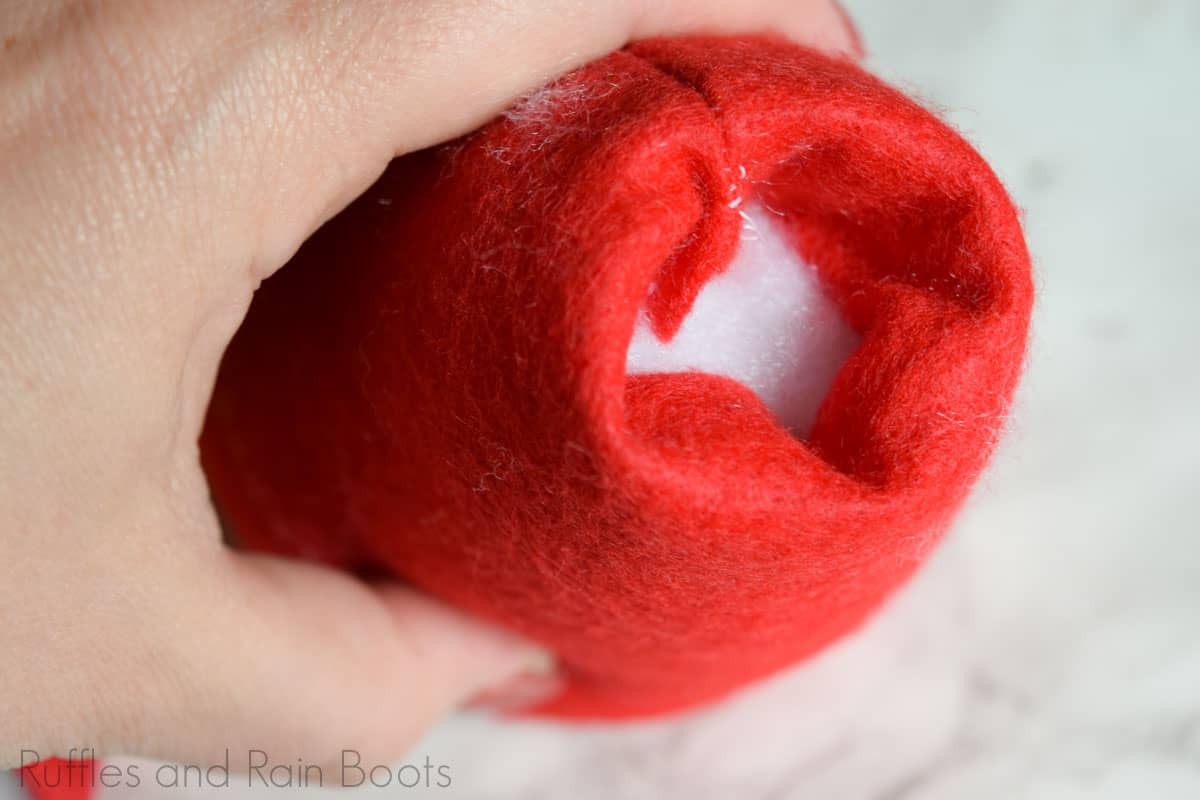
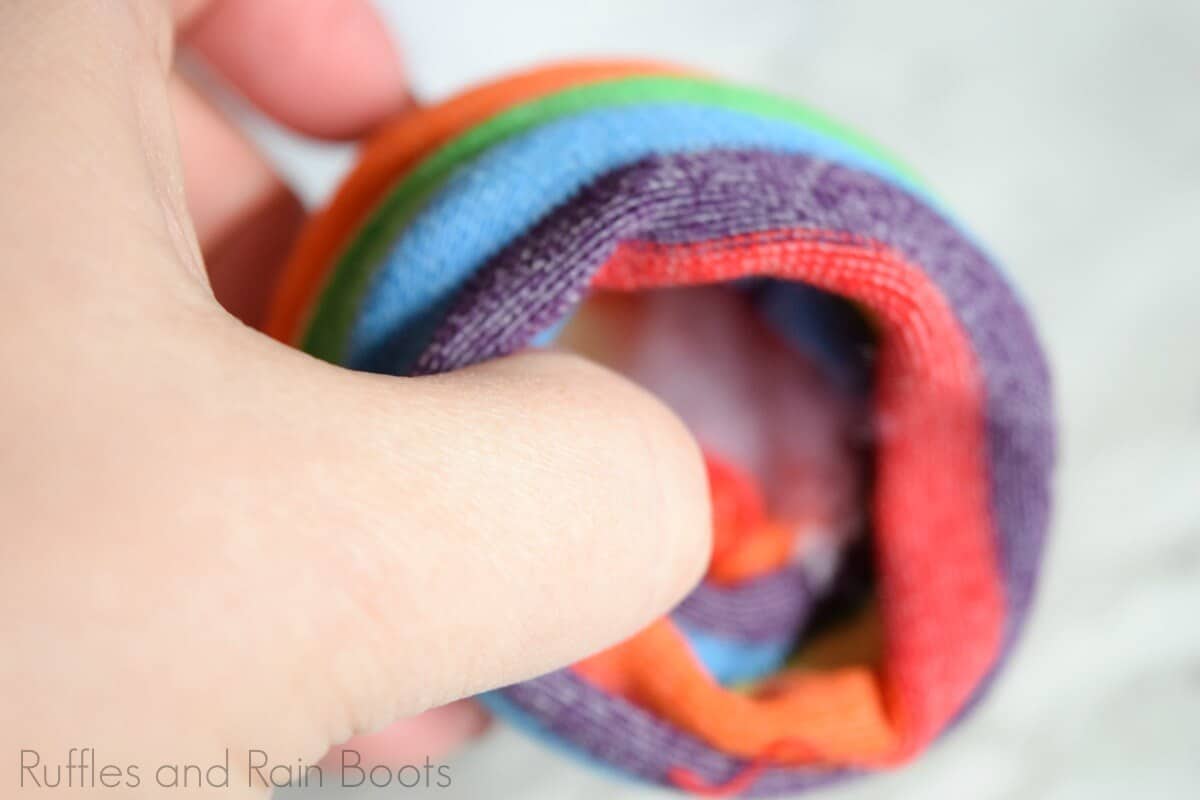
- Turn the sock inside out, scrunch it up, and start filling it with polyfill. Use a pencil or your fingertip to push the fluff into the point of the hat.
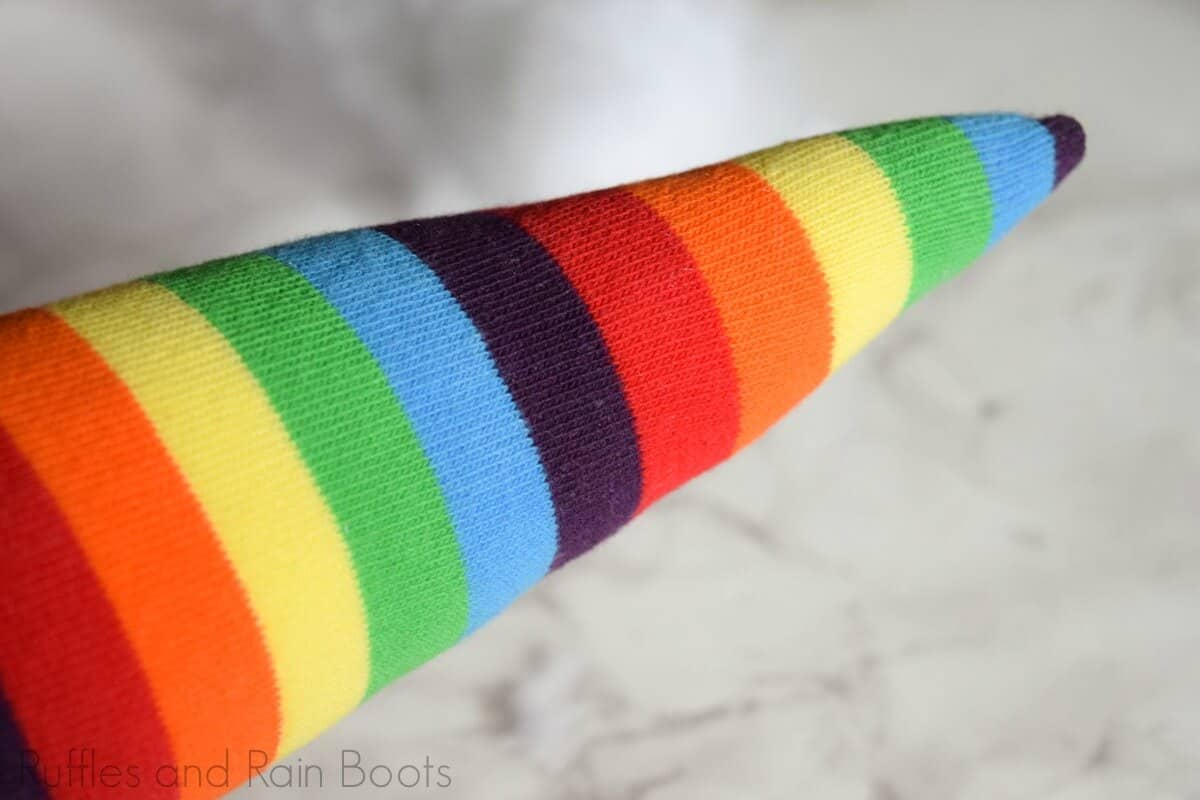
- Once the hat is stuffed, roll it between your hands to evenly distribute the stuffing.
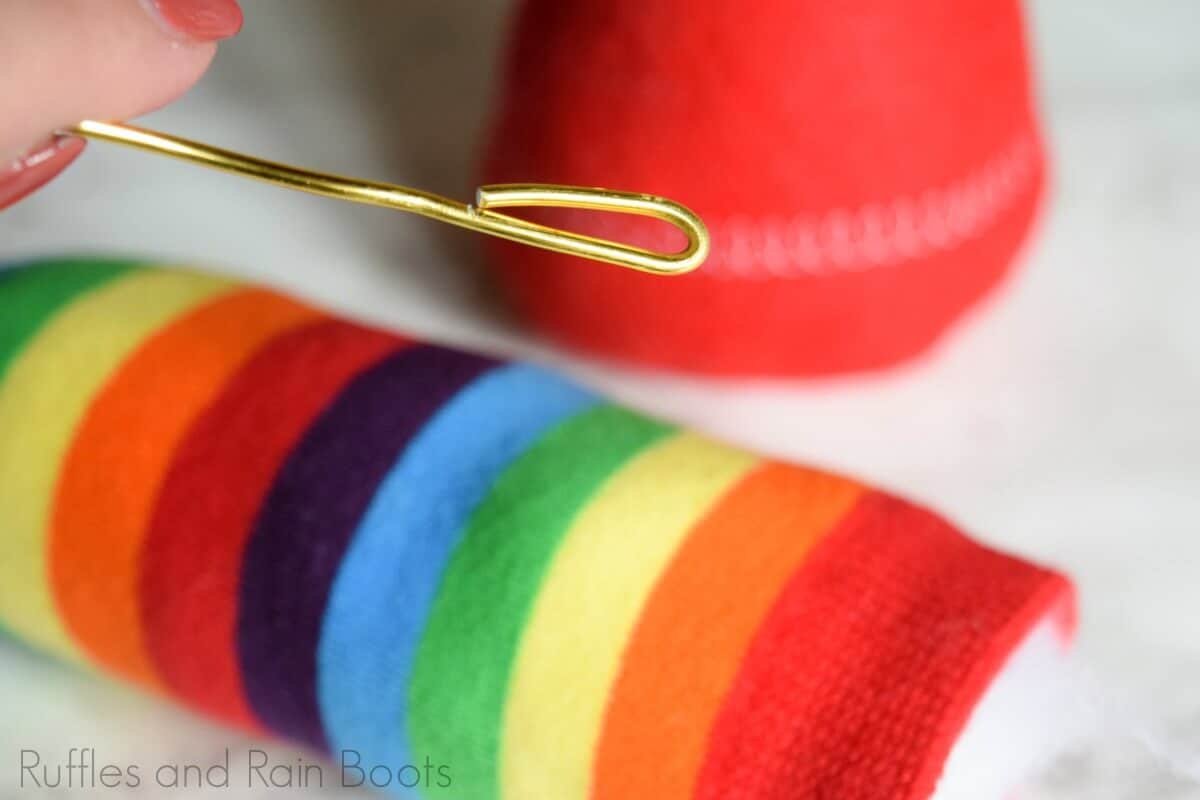
- Using a piece of floral wire (still on the spool or roll), bend over the end so it doesn't poke through the tip of the hat. Make it a wider loop than you think because we want it to appear seamless under the sock.
- Leave a bit hanging out of the bottom to place into the gnome body.
- Place the hat on the body (pull it down) and use sewing pins to secure it temporarily.
- Cut a triangle of faux fur wide enough so that it nearly wraps around your gnome body. You can cut a much smaller piece if you want the beard only in the front. Remember, only cut the backing of the faux fur with a razor blade.
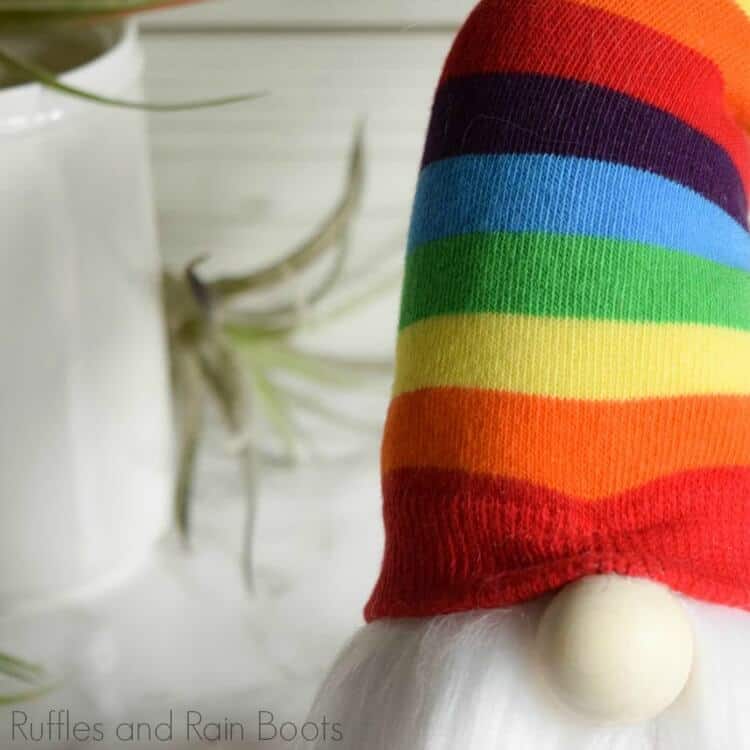
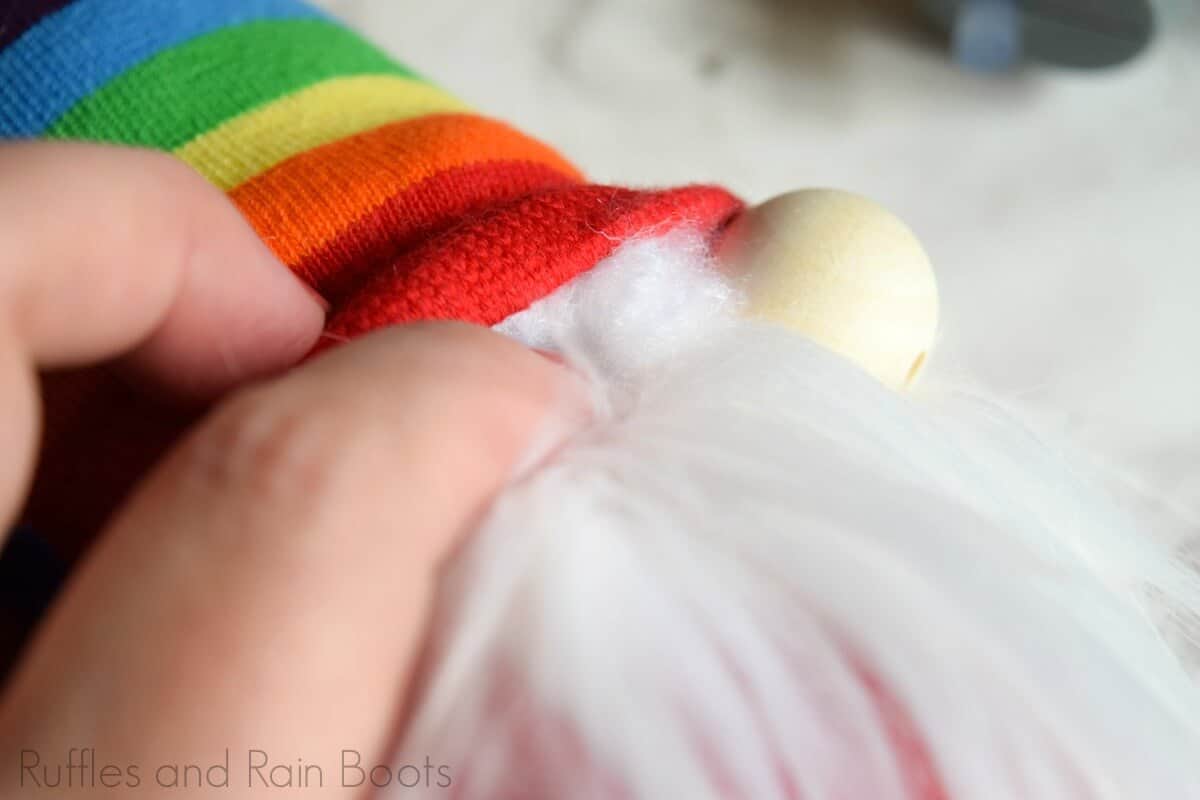
- Position the faux fur onto the gnome, lifting up the hat before hot gluing it to the body. Position the nose and glue it in place. Add any stuffing to the sides of the hat where it is sparse. Glue the hat down.
- Bend the wire in the hat gently, holding the base.


Notes
Be sure to subscribe to the Ruffles and Rain Boots newsletter here to stay up to date on ALL the adorable gnomes we share.
Please Save This to Pinterest
Your shares are how this site grows and I am sincerely grateful. Please share this on Facebook or save it to your favorite craft board on Pinterest.

You show your gnomes (which are all lovely) but you don’t show how to make their boots. I’d really like instructions for gnomes with boots please.
I share how to make all shoes and boots in the 17 gnomes shoes and boots pattern here: https://shop.rufflesandrainboots.com/product/gnome-boot-and-shoe-patterns/
I also share the videos on YouTube here on this playlist: https://www.youtube.com/watch?v=BKKHsMFI_ng&list=PLelQvRmnsDrdqgx3sjZt56aYMxfdMDNuS
Additionally, I have free shoe patterns with instruction in the shop. Hope that helps!
I love your gnomes