
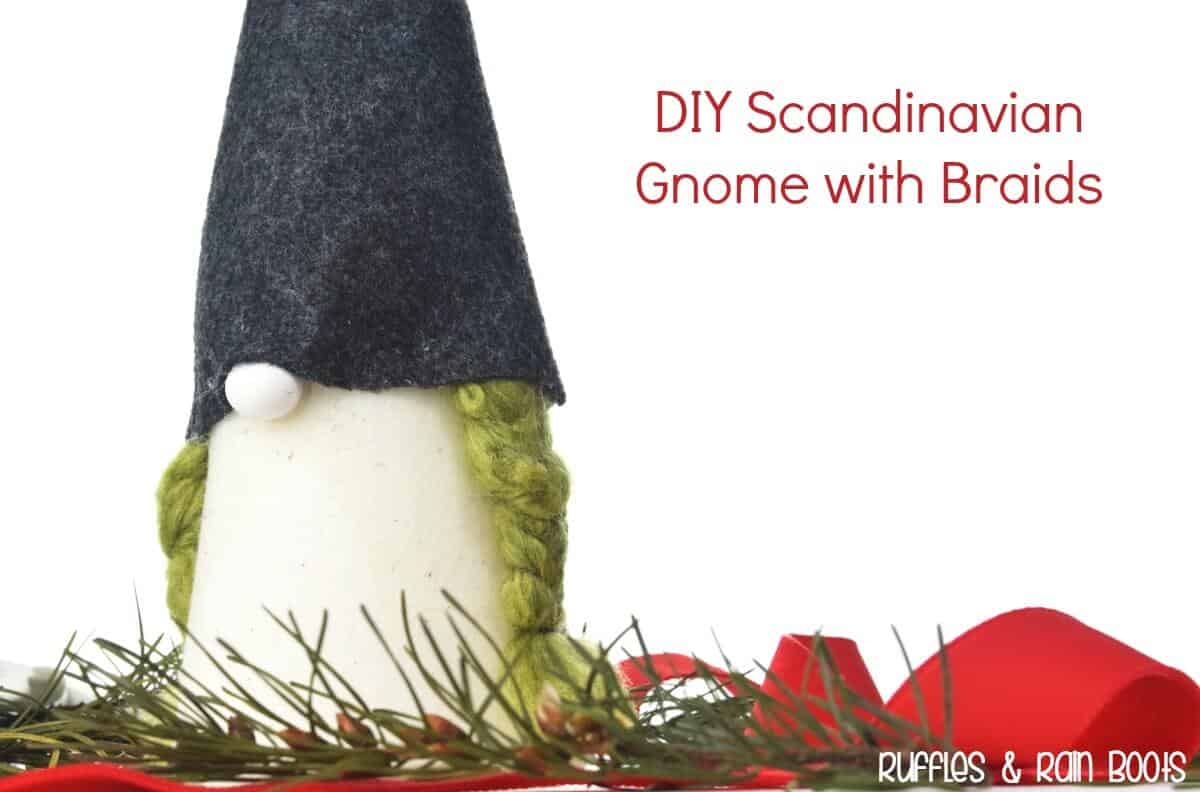
Make This Adorable, Easy DIY Scandinavian Gnome with Braids
You can make this adorable, easy DIY Scandinavian gnome with braids in no time at all. And you won’t even need faux fur!
As an Amazon Associate, I could earn from qualifying purchases.
What You'll Find On This Page
DIY Scandinavian Gnome with Braids
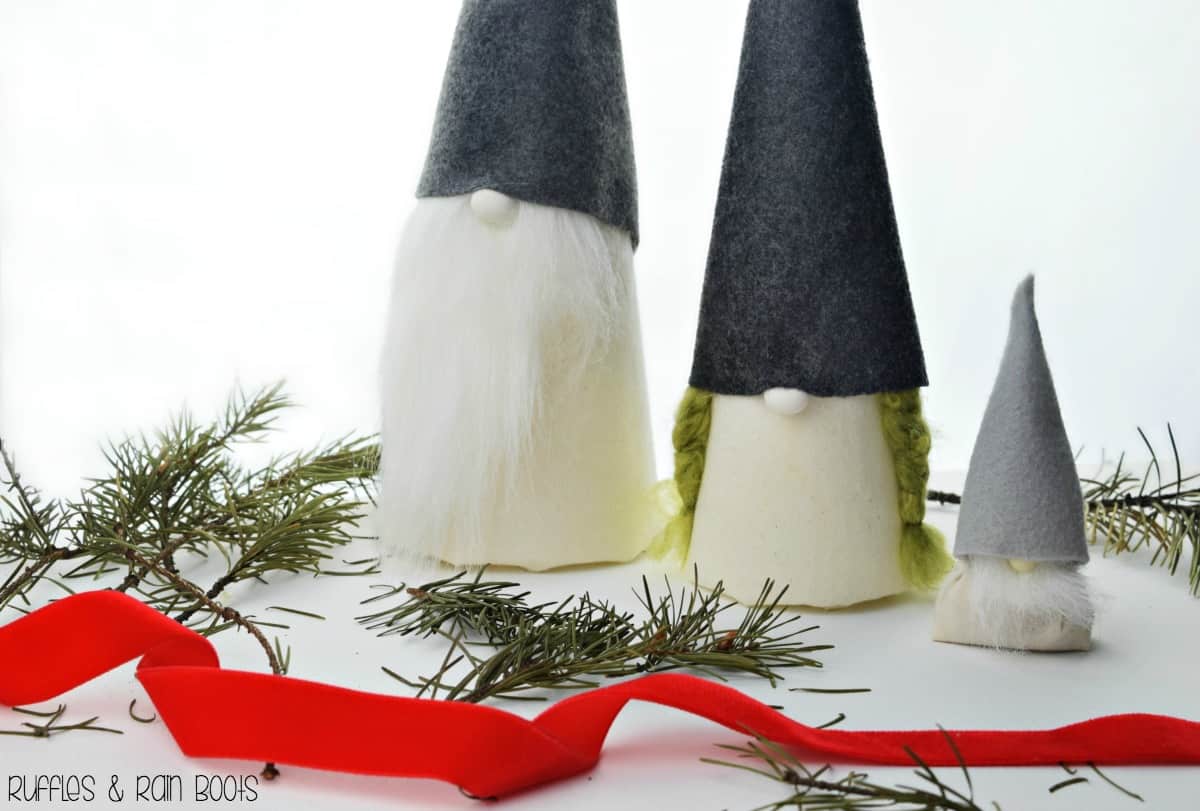
We have been creating a little gnome family for this year’s holiday decorations. We started with a little gnome made from rice, moved onto the male Scandinavian gnome, and today, I’m sharing the most adorable girl gnome with braids.
For those of you who just want to buy a gnome (or a set), see if one of these matches your style:
- if you want it in two days, get this adorable gnome (check out his cute feet!)
- love the bright color options for her gnomes
- the hat design on these popular Swedish gnomes is just the best thing ever
DIY Christmas Gnome Tutorials
If you’re looking for the best DIY Christmas gnome tutorials, you have come to the right place. Check out all of my favorite tomte tutorials for the holidays!
Supplies to Make DIY Nordic Gnomes
We make gnomes so much here on Ruffles and Rain Boots that we’ve created our own Amazon supplies list for making Swedish gnomes. Check it out!
- Styro Cone (I’ve used 6-inches for this one and 9-inches for this Christmas gnome with a beard)
- Felt (8.5 x 11-inch craft felt will be fine)
- Faux Fur
- Muslin or other natural-looking fabric (I used scraps from sewing patterns)
- Bead, clay shape, or rounded button for the nose
- Glue gun, water, scissors, and a sewing pin
How to Make a Christmas Swedish Gnome with Braids
I tried using the faux fur as braids by cutting it into thin strips. It braided well, but the short fur just went everywhere. It did not look like a braid.
Craft fail.
I remembered our experiment brushing yarn for our DIY troll dolls and decided to try that. It worked! This is the yarn we used for the braids but I’m sure you can use any that have a fuzzy-like quality.
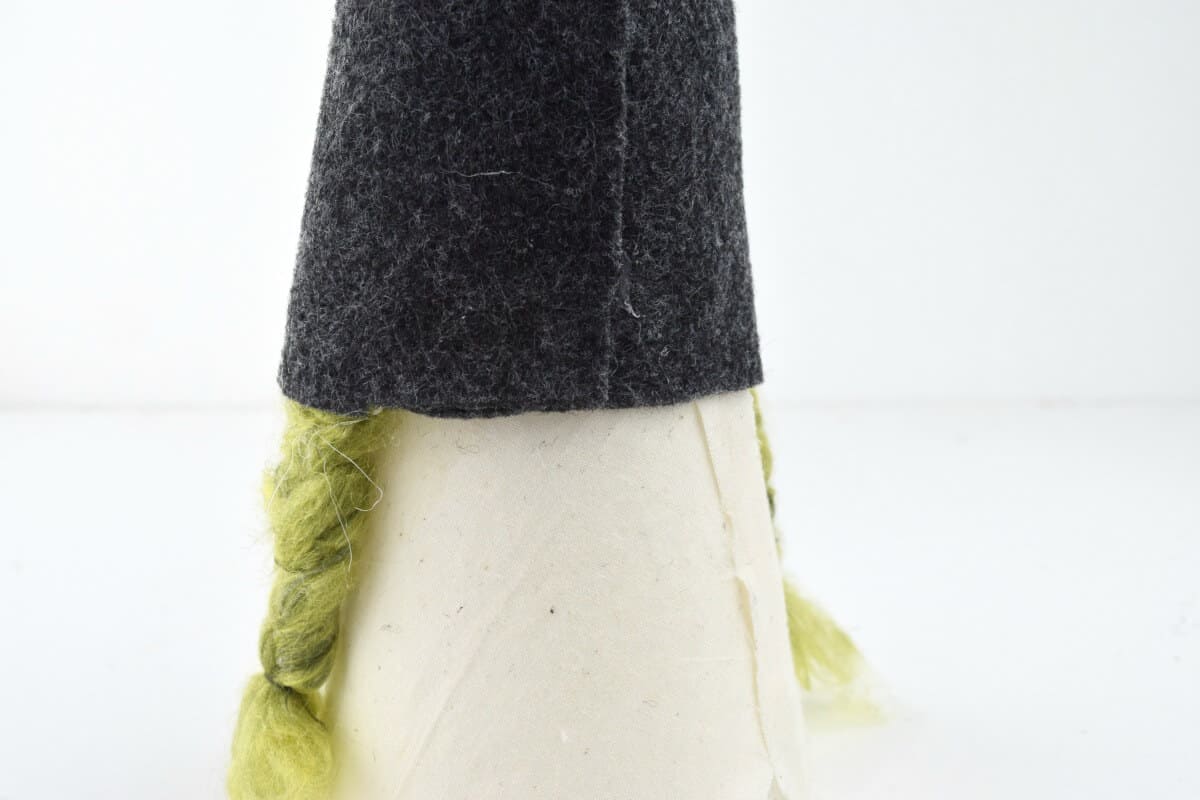
Note: if you’re a bit detail-oriented, make sure to line up the seams. Oops.
Make This Adorable, Easy DIY Scandinavian Gnome with Braids
You can make this adorable, easy DIY Scandinavian gnome with braids in no time at all. And you won't even need faux fur!
Materials
- Styro Cone (I’ve used 6-inches for this one and 9-inches for this Christmas gnome with a beard)
- Felt (8.5 x 11-inch craft felt will be fine)
- Faux Fur
- Muslin or other natural-looking fabric (I used scraps from sewing patterns)
- Bead, clay shape, or rounded button for the nose
Tools
- Glue gun and glue sticks
Instructions
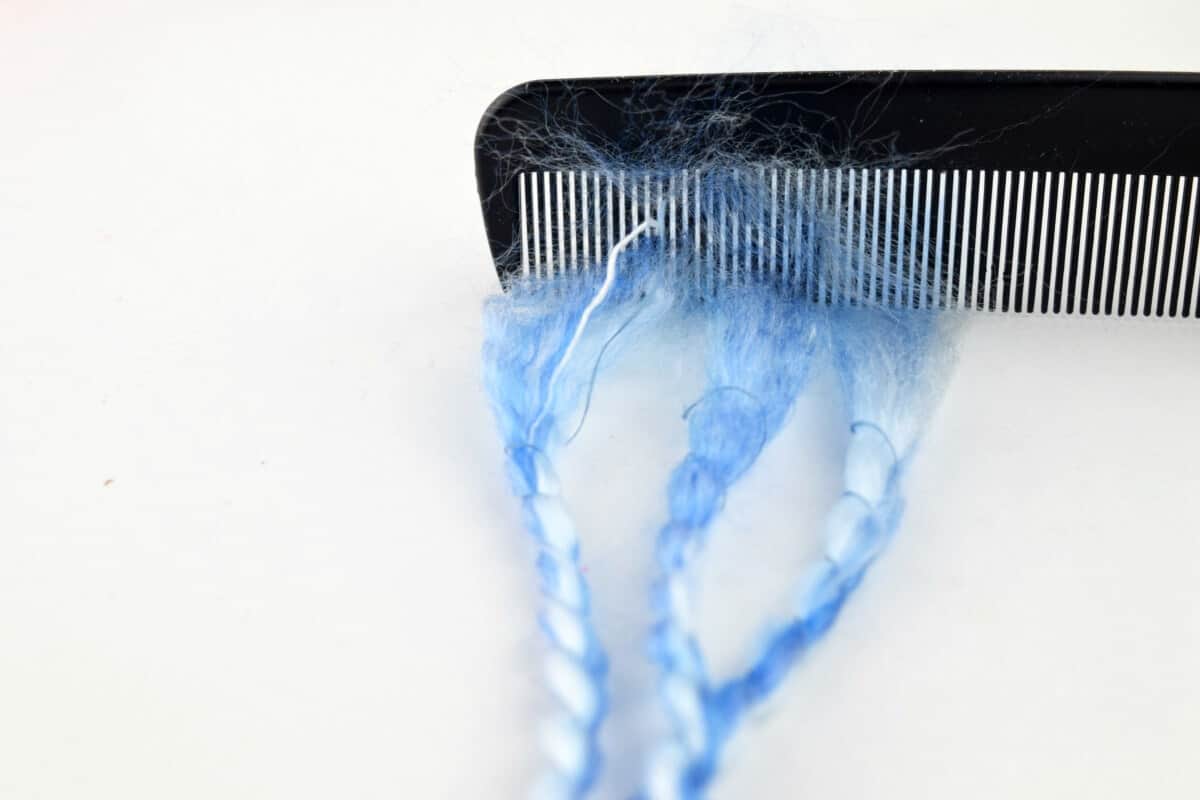
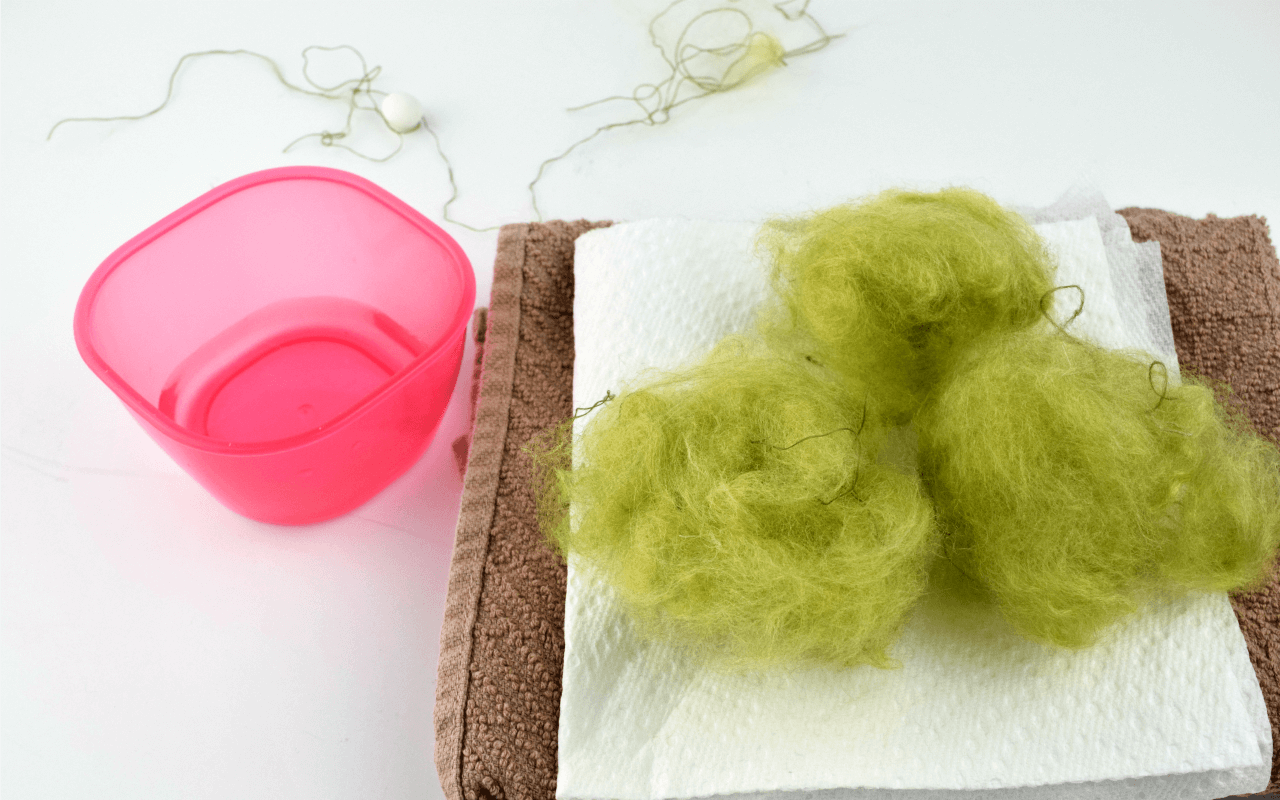
- To get the appearance of hair or faux fur, brush the yarn with a comb.
- Brush as much as will make about a 2-inch ball (not compressed) for each strand of each braid. You need six (6) 2-inch balls for this sized DIY Scandinavian gnome.
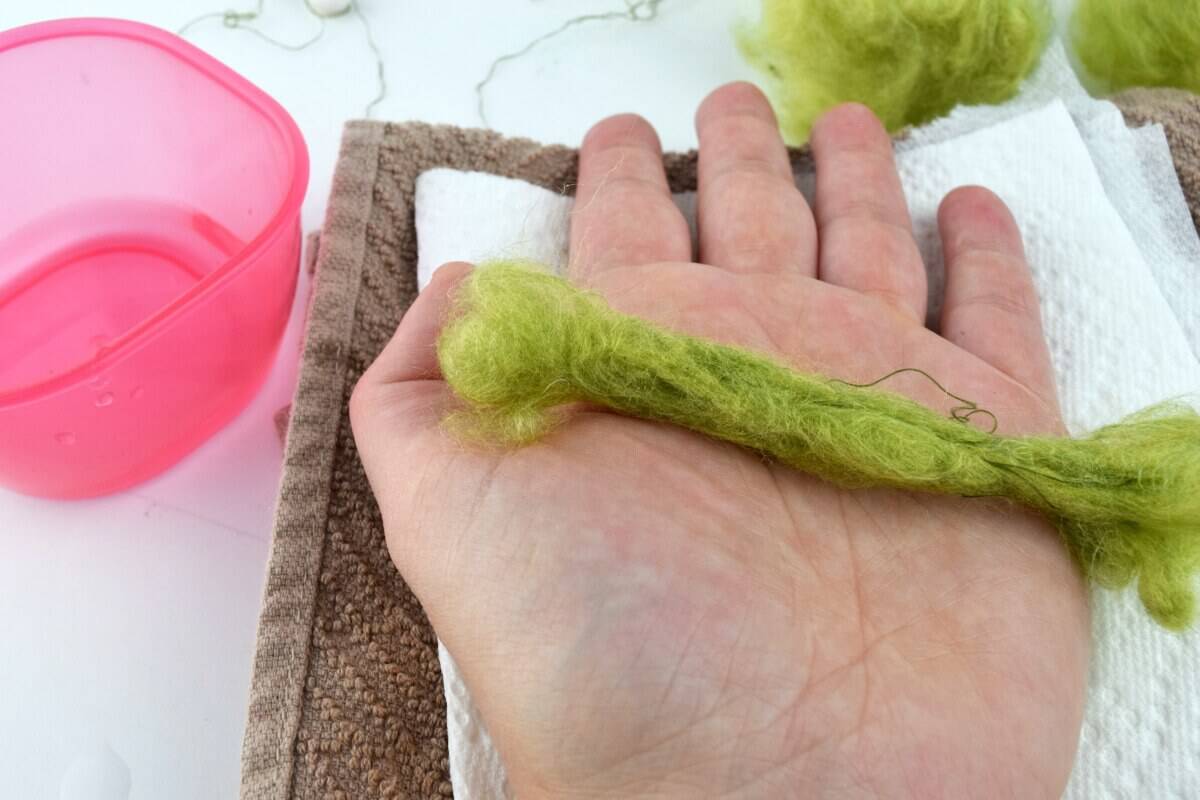
- With one ball of fuzz at a time, add a little water and roll the ball in between flattened palms. You won't need much water and you can pull any errant strings that won't stay in the roll.
- Once you have three rolls, braid them as you would hair. When you reach the end, you can pull out some of the yarn to thin the braid for a more natural look.
- Using a couple of the errant strings I pulled from the yarn rolls, I tied off one end (the skinny one) and then the other. The one at the top of the braid shouldn't be pulled too tight.
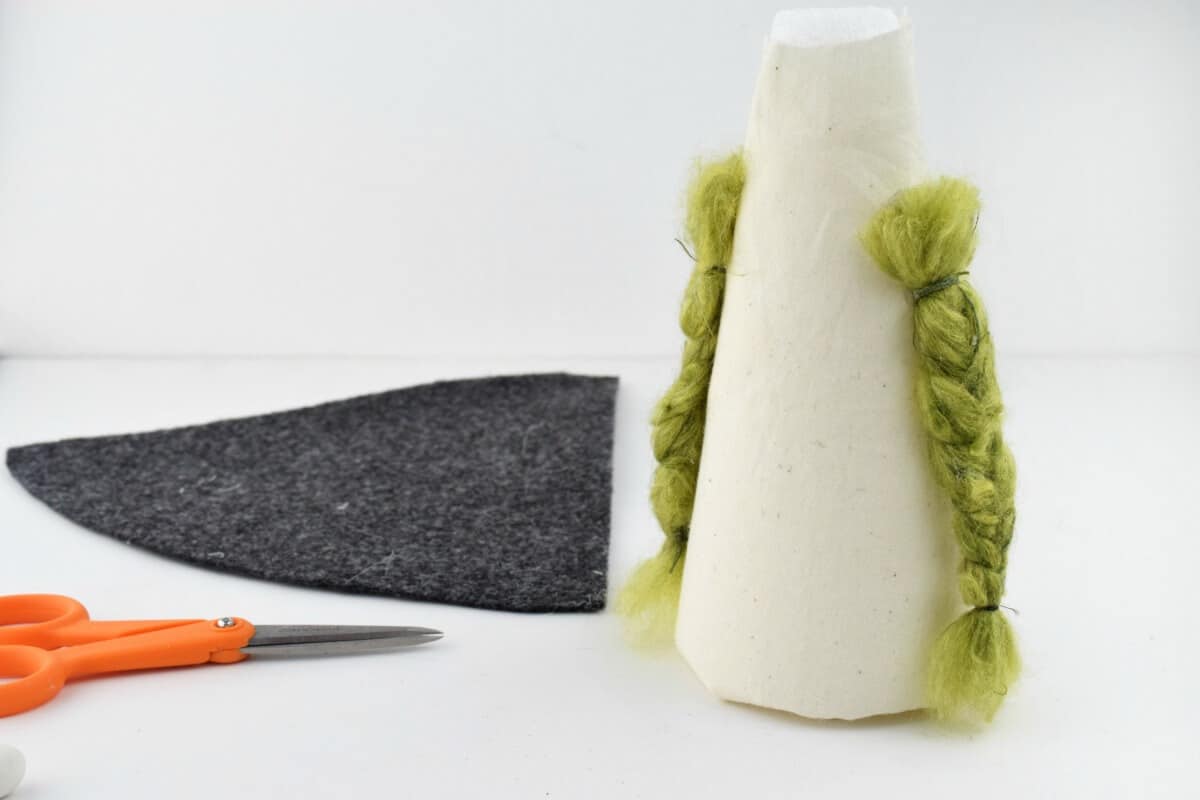
- Cover the cone with muslin and hot glue to affix. Then, attach the braids with a dab of hot glue at the top.
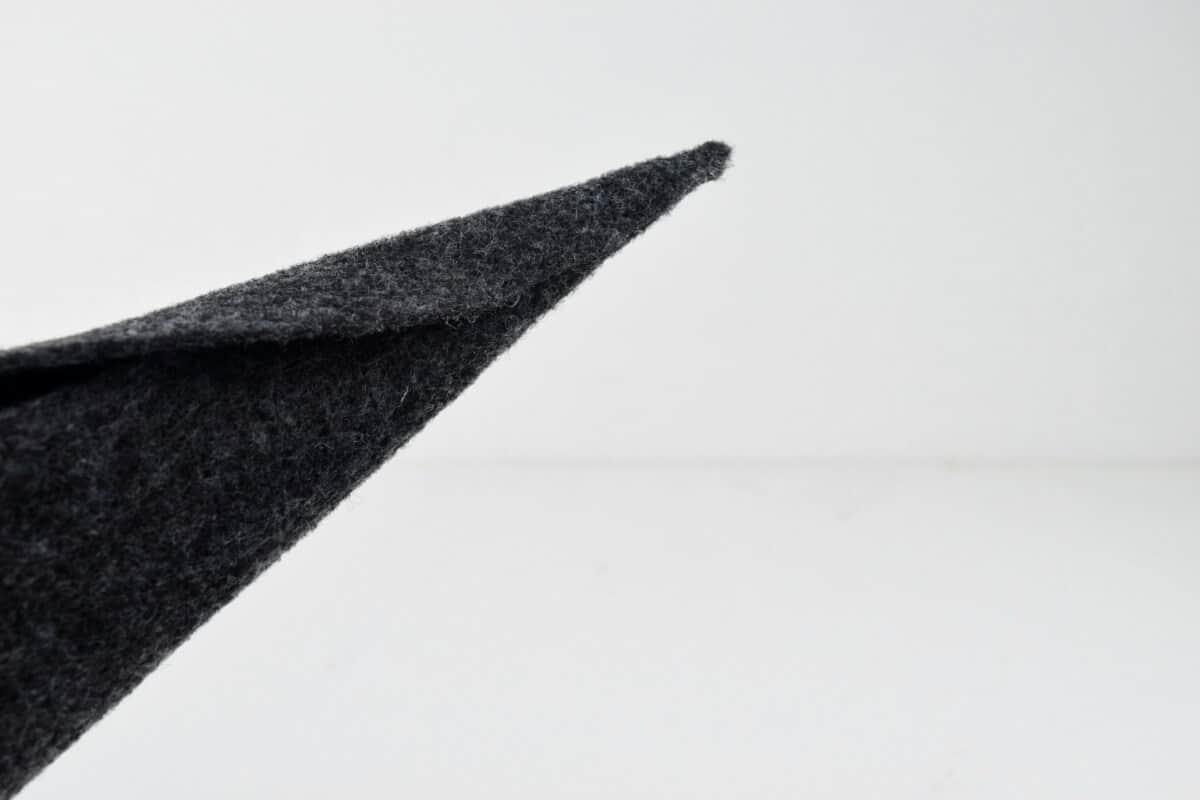
- Cut a rounded triangle (detailed in this gnome tutorial) and create the tip of the cone only. We're going to create a custom-fit hat for our girl gnome.
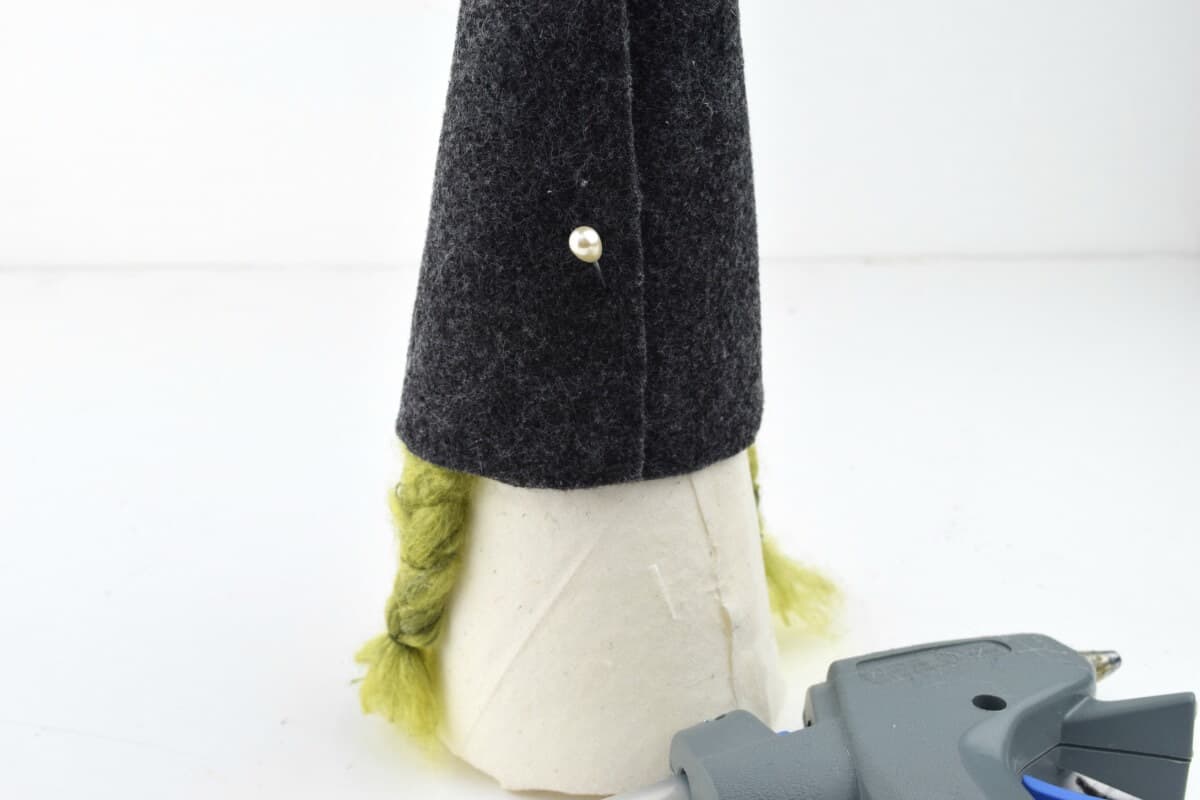
- Next, we're going to wrap the hat snugly (but not too tightly) around the body of the cone. The hat should not flatten the braids.
- Once you have it positioned, use a pin to hold the felt in place. We'll come back to it.
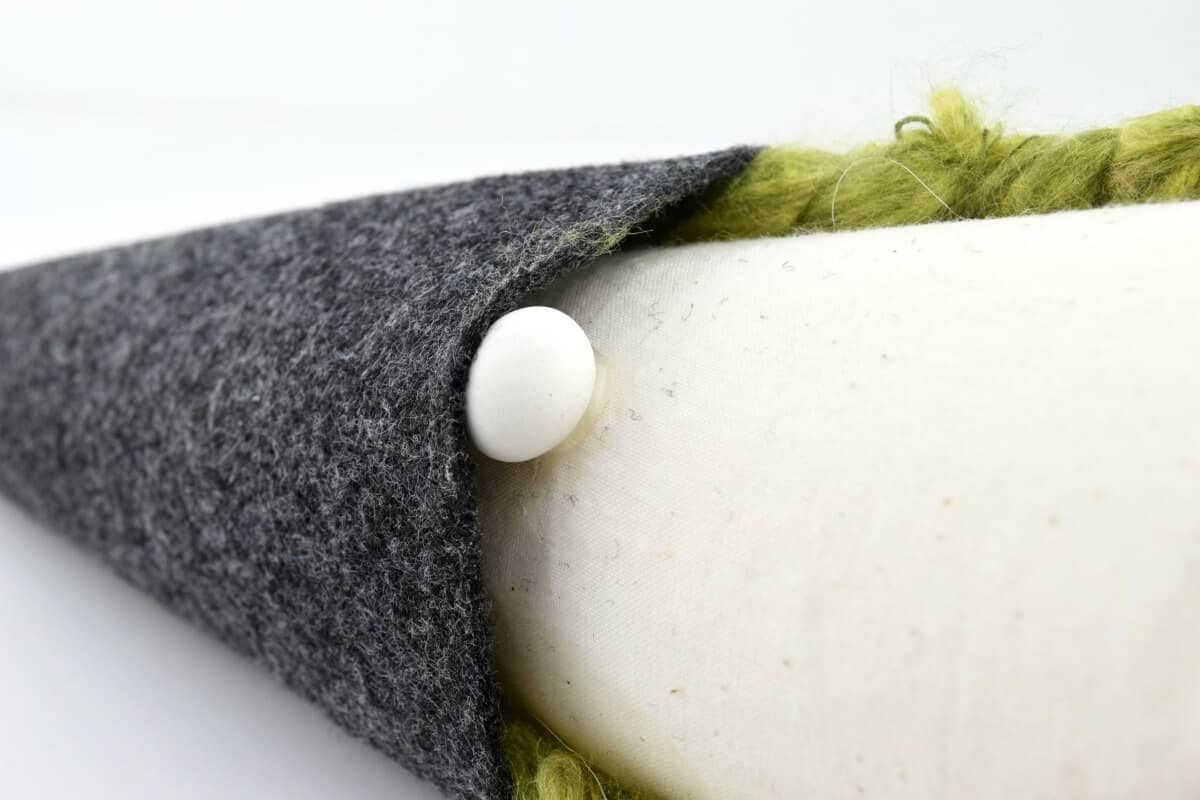
- For the nose, I used a clay piece we'd made and stored.
- Lie down your adorable DIY Scandinavian gnome (with those fabulous braids) and position the nose with a little dab of hot glue. You can also choose to glue down the front of the hat to the top of the nose (to give it a little character).
- Once the nose is on, stand your gnome up and glue the back of the hat pieces together and affix to the gnome. Unlike me, take care to line up the seams for a finished look.
Notes
For more amazing gnome tutorials, visit Ruffles and Rain Boots.com
Please Save This to Pinterest or Share on Facebook
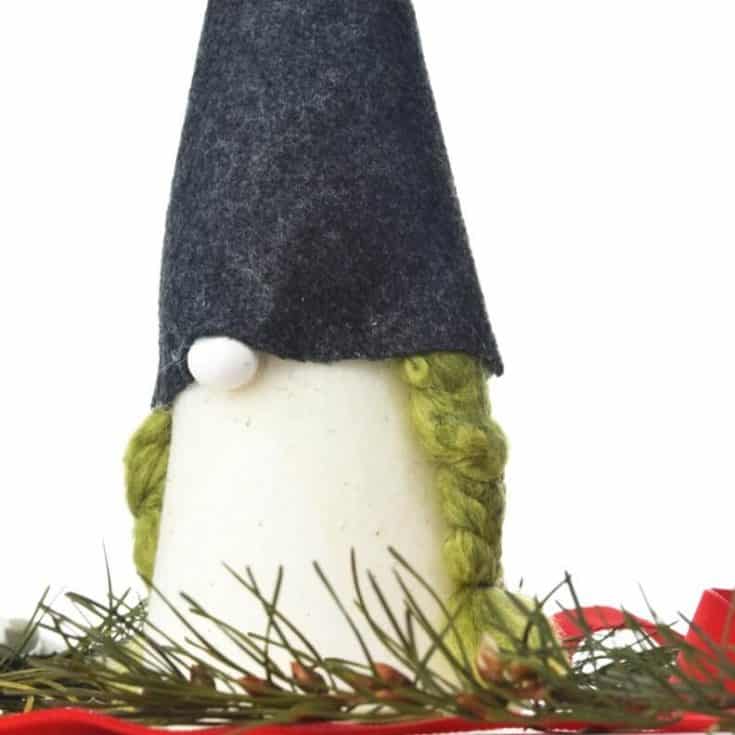
There you have it – your DIY Scandinavian gnome with braids is all done! Be sure to make her some friends like our Christmas Gnome or the adorable easy gnome made with rice.
Your shares are how we grow and we are sincerely grateful.

Check Out More Gnome Fun
- 30-Minute Swedish Gnome (Easy Rice Body)
- Mr. and Mrs. Gnome – Scandinavian Gnomes
- Bearded Gnome
- Gnome Paper Tube Roll Craft for Kids
- Christmas Gnome Story Stones (Gnome Rock Painting Idea)

Question? Do you put hair on the b ack??? It doesn’t look like it, but I am curious?????
Harriet, for this gnome (with the braids), I put it only on the sides. It might be super cute, however, for a little parted tuft to peek out of the back of the hat. Great idea!