
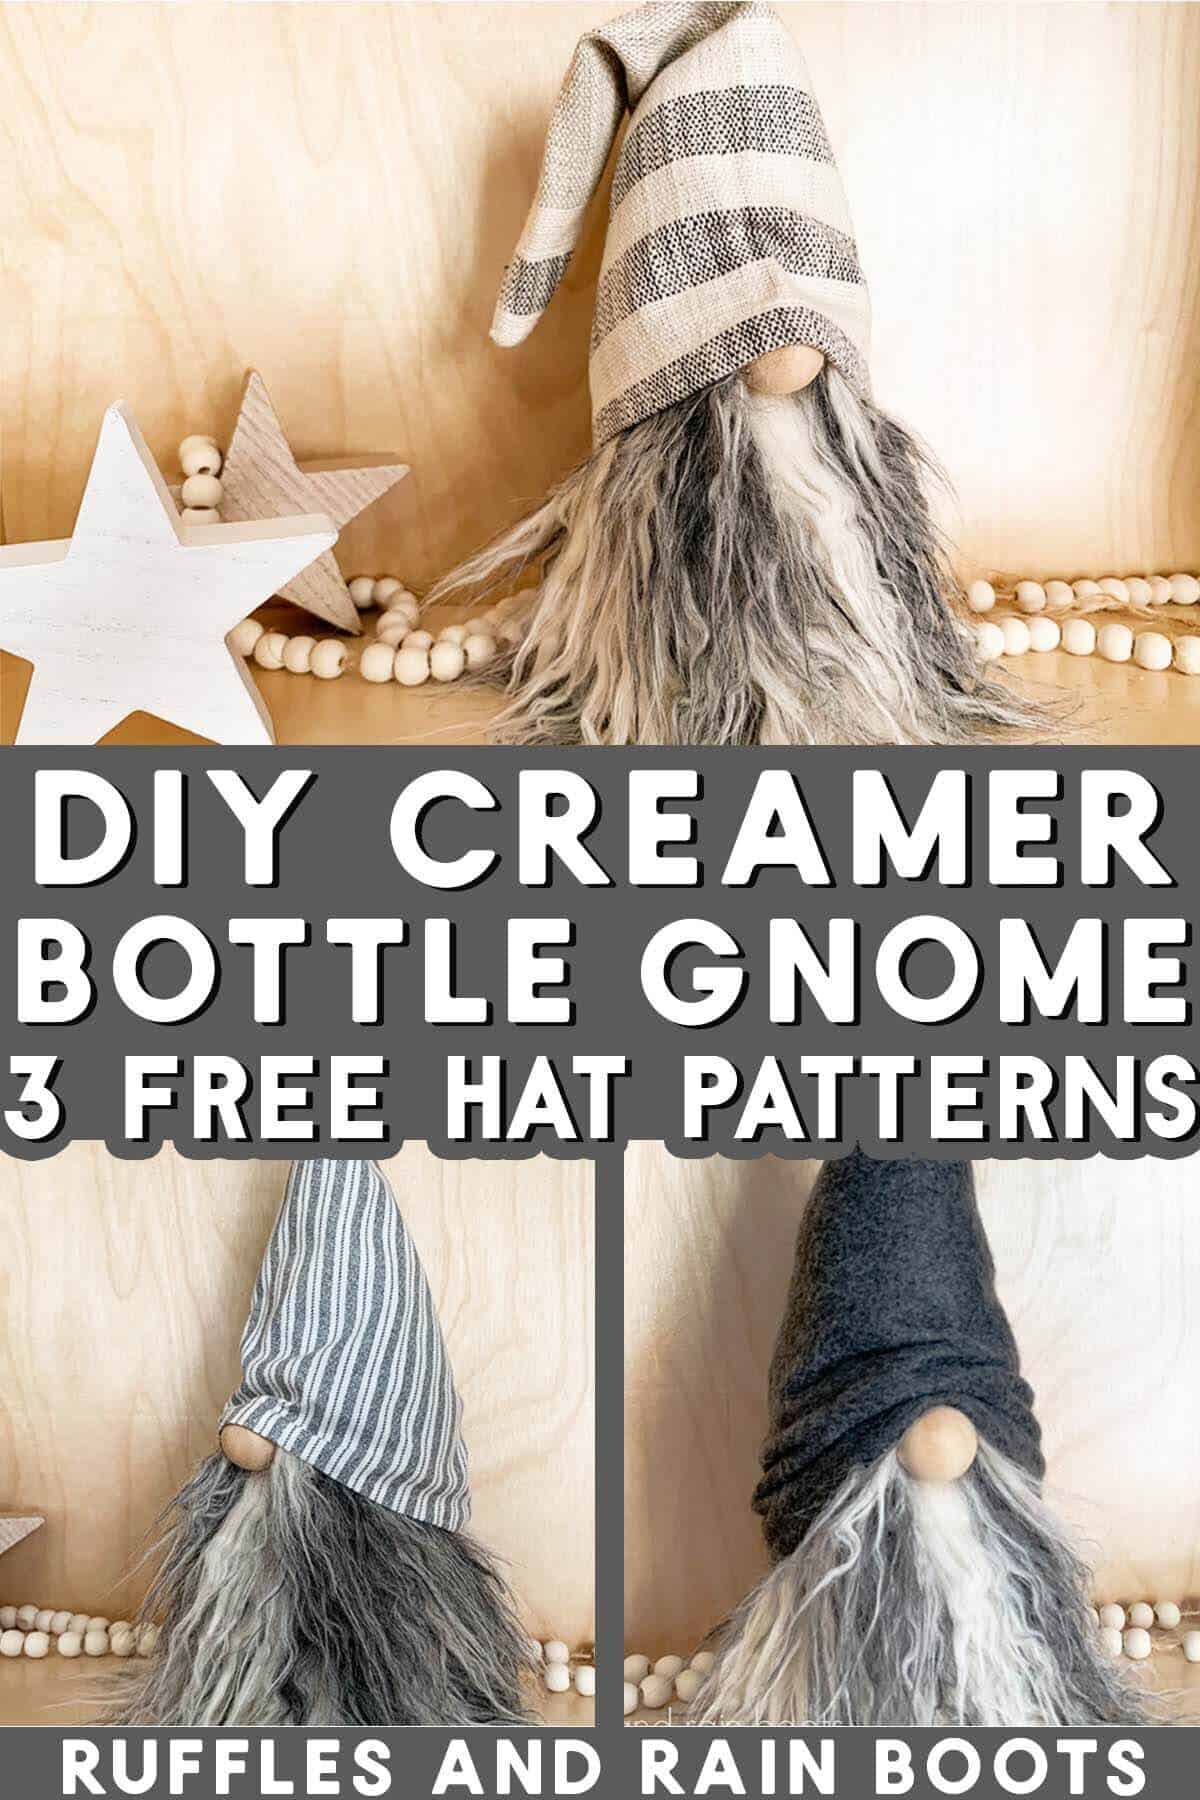
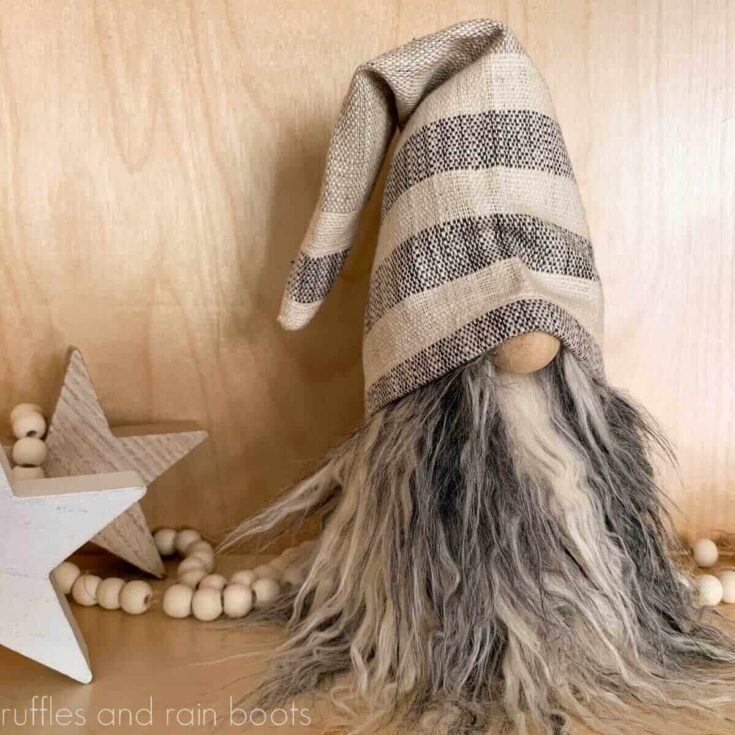
Coffee Creamer Bottle Gnome with 3 Hats
For years I’ve been asked to do a coffee creamer bottle gnome tutorial and I’m doing one better: I’m including three free gnome hat patterns for it, too! Created with a hot glue gun, this is a fun, quick craft.
This gnome DIY will require a bottle, faux fur, fabric, and a wood bead, but I’ve also used fleece to make one of the gnome hats and even a bit of a bed sheet. If you want to add gnomes, be sure to read the tips section to make them interchangeable.
RELATED READING: Fall Shelf Sitter Gnome (Sew or No-Sew Pattern)
What You'll Find On This Page
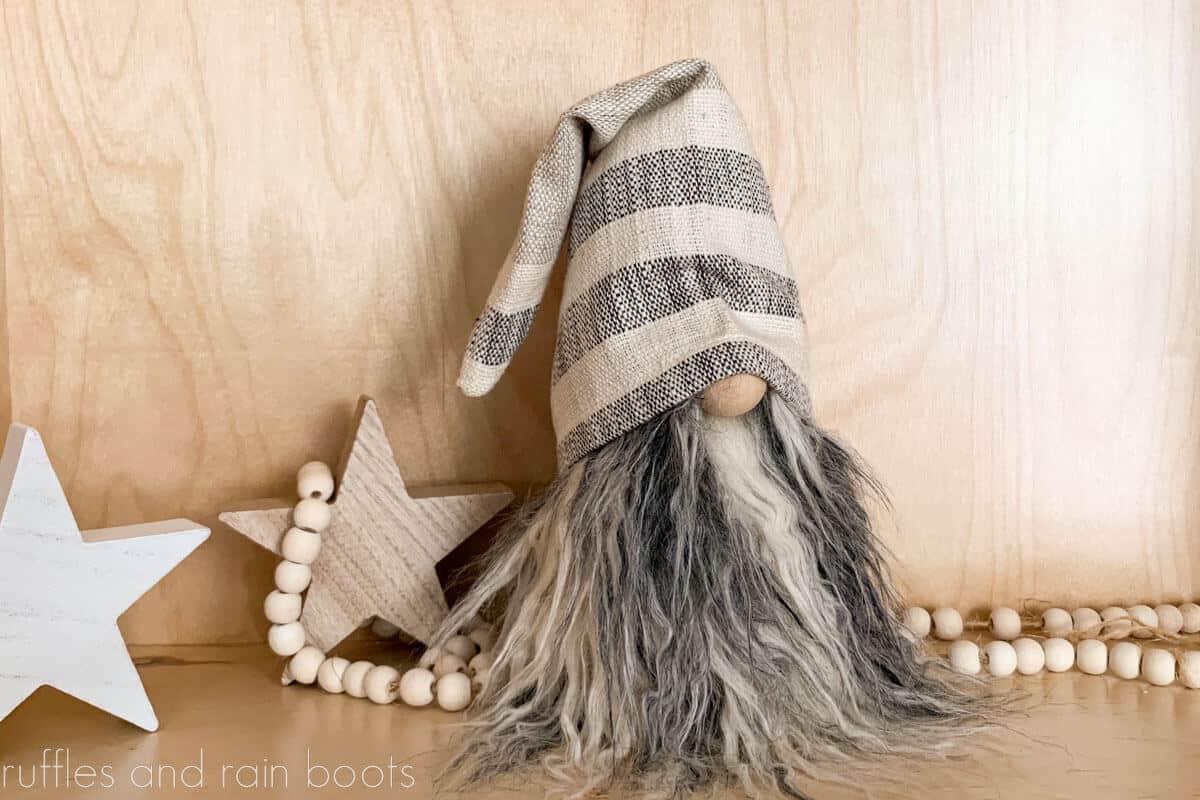
Easy Creamer Bottle Gnome Idea
Here at Ruffles and Rain Boots, I love getting requests from readers and viewers. Today, I’m sharing one of the most-requested recycled gnome ideas: how to make a gnome from a coffee creamer bottle.
This is a very, very quick project that can be used for any season. I’d love to see your Christmas gnome versions shared in the Facebook group (link below). Without further ado, let’s get to some tips and tricks for making this easy recycled gnome idea.
RELATED READING: No Sew DIY Witch Gnome for Halloween
No Time to Make This Now? Save or Share for Later
If you need to gather supplies or finish that last bit of creamer, save this to a recycled crafts DIY pin board or share it to Facebook. Either way, you’ll be able to easily find this when you’re ready to begin.
As an Amazon Associate, I could earn from qualifying purchases. There could be affiliate links within this article.
Gnome Patterns
Are you new to making gnomes? Do you want to try your hand at hot glue gnomes or tested and approved sewing patterns by crafters just like you? Be sure to check out all of my original gnome patterns here.
Tips for Making a Recycled Bottle Gnome
- Both glass and plastic will work for these, just thoroughly clean the bottle and let it dry completely.
- The gnome beard is made of faux fur I purchased here (it’s available in different sizes).
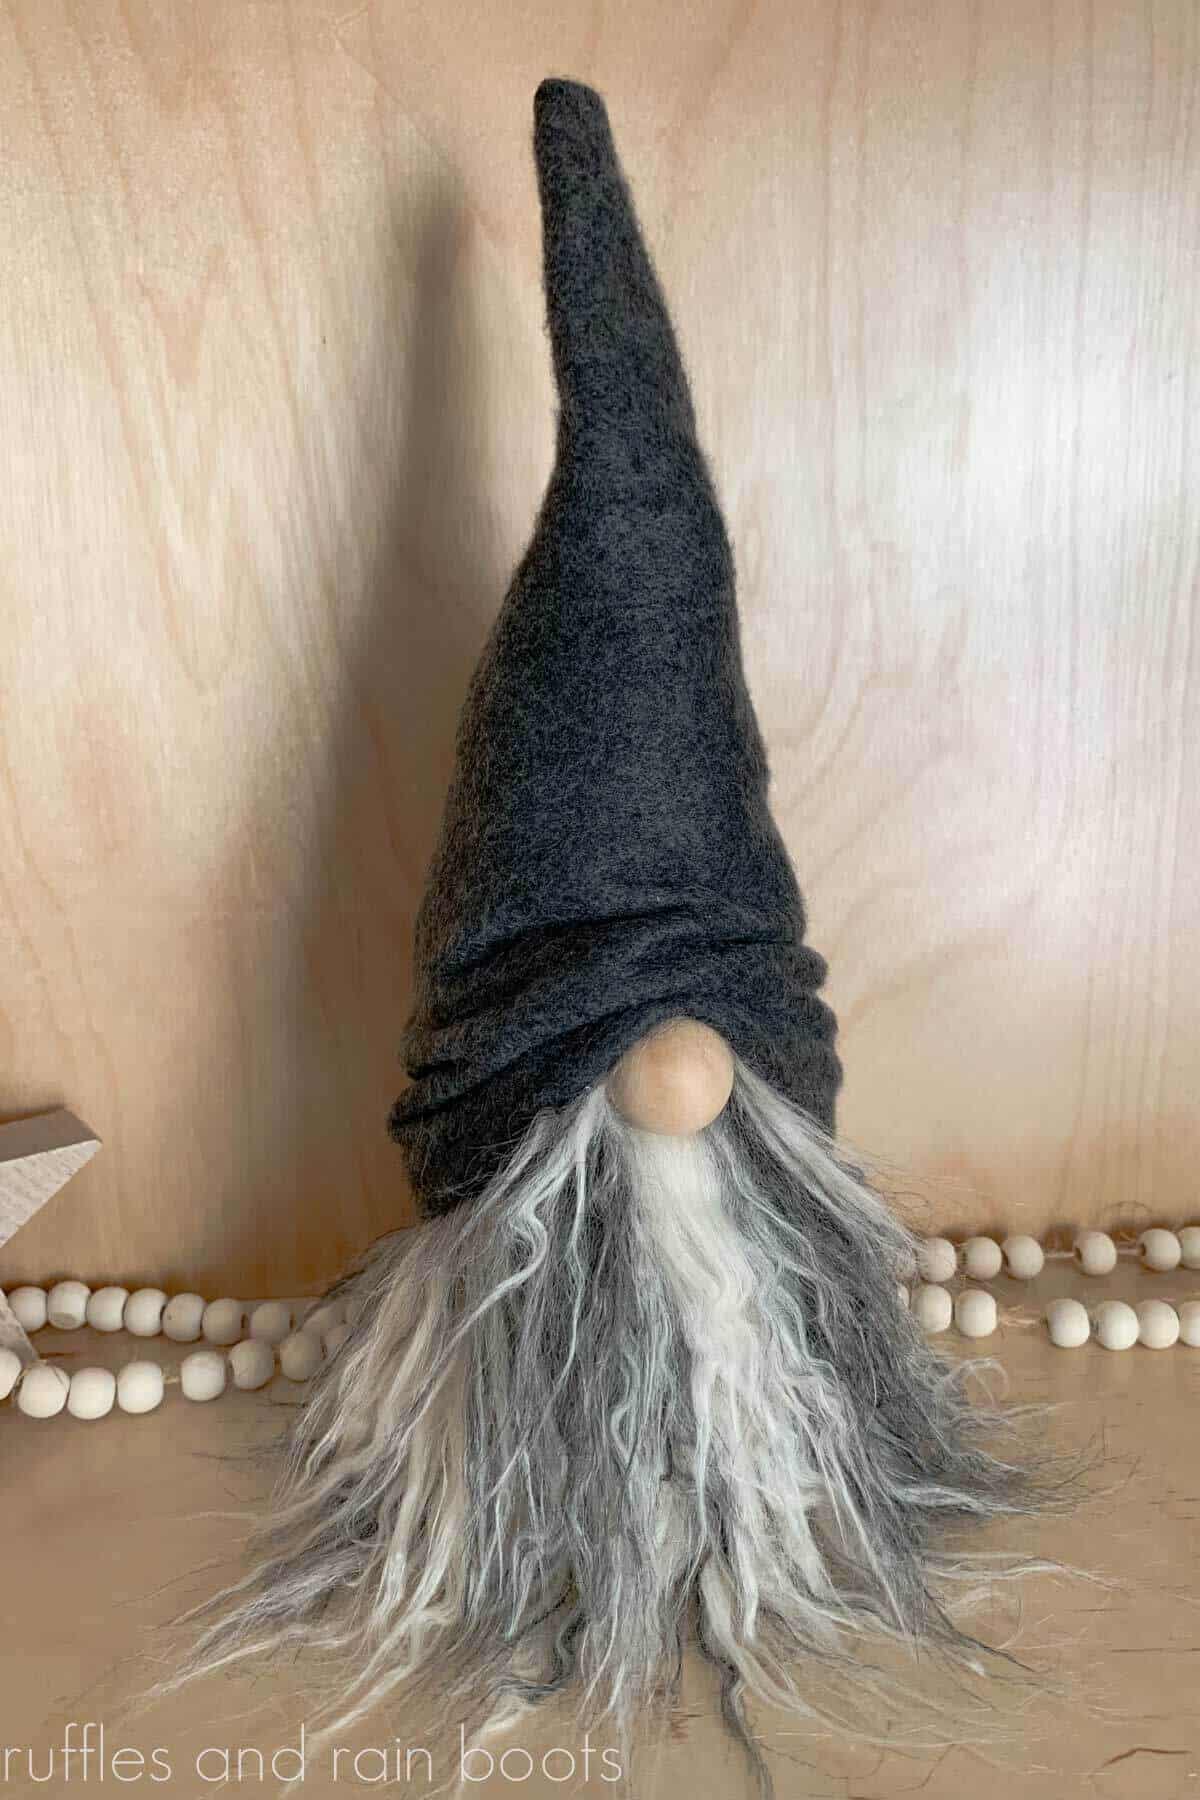
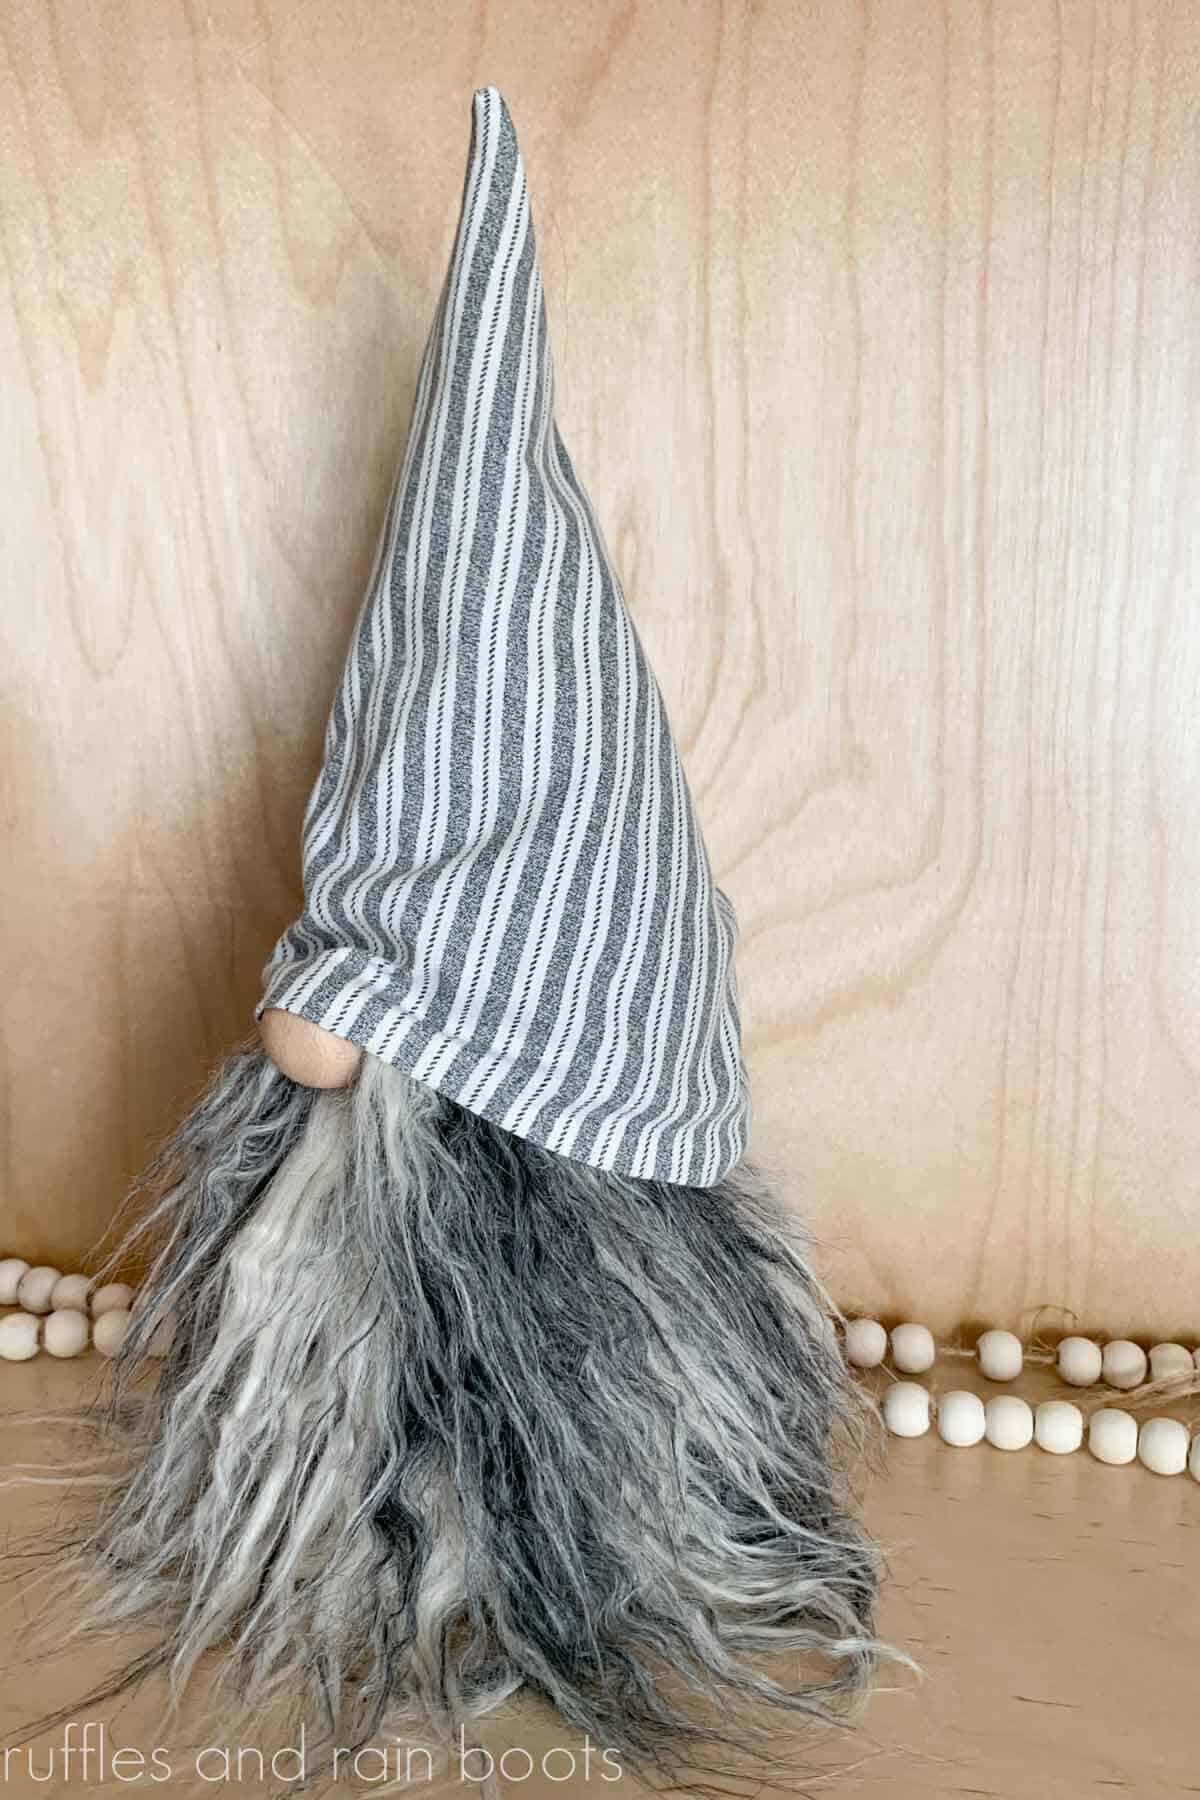
- Included in the gnome video tutorial are three easy DIY gnome hat patterns: the slouchy shared here, a standing hat, and a very fun shaped hat.
- Gnome hat materials can be cotton fabric, fleece, and even dinner napkins! I love finding styles on Amazon (these are the napkins I used).
- Add arms in a coordinating or the same fabric as the hat. If you are making an interchangeable hat gnome as I did, consider attaching the arms to the hat instead of the gnome body.
- The gnome nose I used was a one-inch wooden ball, however, you can use a bead, a pompom, a bit of fabric stuffed with Poly-Fil or anything else you’d like.
RELATED READING: Standing Pompom Gnome (Easy and Fun)
More Recycled Gnome Crafts You Might Like
- Recycled Bee Gnome DIY – This mini gnome is perfect for tiered trays and smaller displays, but he packs one big design punch. He’s absolutely adorable!
- Sweater Gnome Upcycle – If you have an old winter hat, don’t toss it. Instead, make this adorable, squishy little gnome in just a few minutes.
- Mini Gnome Ornaments from a Glove – Use the fingers from a single glove to create an entire set of gnome package tags or ornaments.
- Fall Sock Gnome DIY – This easy fall gnome is perfect for the holiday season; just pop him on the buffet in the dining room for instant Thanksgiving decor.
Please Save or Share This
Your shares are how this site grows and I am sincerely grateful. Please save this to a recycled crafts pin board or share it with a craft group on Facebook.
How to Make a Bottle Gnome with Three Hat Styles
Below are the written and printable step by step tutorial for this fun DIY gnome craft. If you’re a visual learner, I recommend watching the coffee creamer bottle gnome with free hat patterns tutorial here on YouTube.
Coffee Creamer Bottle Gnome
Create a recycled coffee creamer bottle gnome in just minutes using fabric, fur, weight, and a hot glue gun. Included in the video gnome tutorial are three ways to make a gnome hat: slouchy gnome hat, standing gnome hat, and a fun shaped hat, too.
Materials
- Cleaned Coffee Creamer Bottle (I used plastic)
- Poly-Pellets (or Other Weight)
- Scrap Fabric
- 1, 1-inch Wood Ball
- Material for Hat and Base (Fleece, Cotton, Etc.)
- Embroidery Thread (Optional, for Base)
Tools
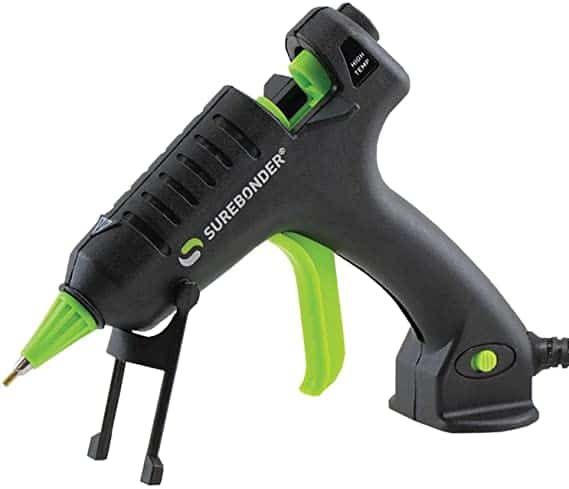
- Hot Glue Gun and Glue Sticks
- Scissors
- X-Acto Knife or Razor Blade
- Ruler
- Pin
- Embroidery Needle (Optional, for Base)
Instructions
Create the Gnome Body from the Coffee Creamer Bottle
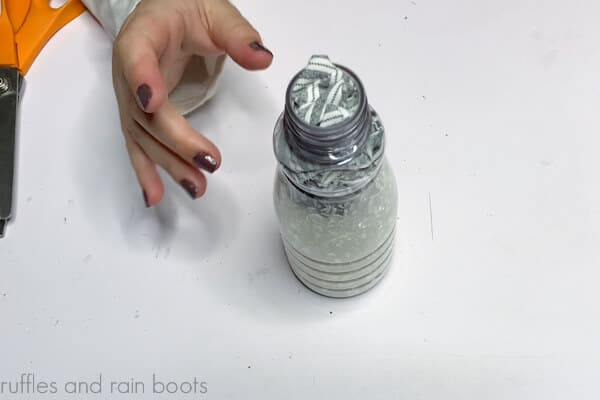
- Cean and dry the coffee creamer bottle and fill nearly to the top with weight. Stuff the rest of the bottle (tightly) with fabric scraps to prevent any noise when shaking the bottle.

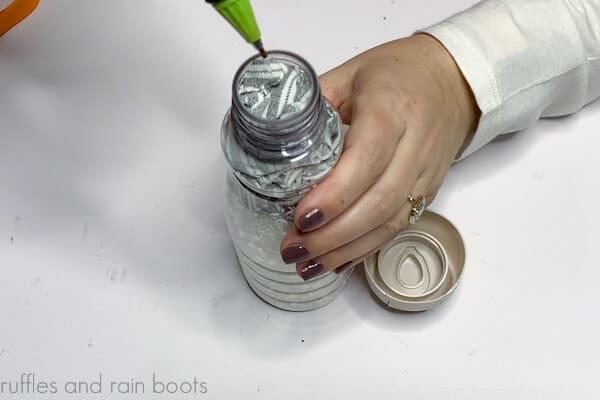
- Secure the creamer lid by gluing it shut and gluing it to the bottle.
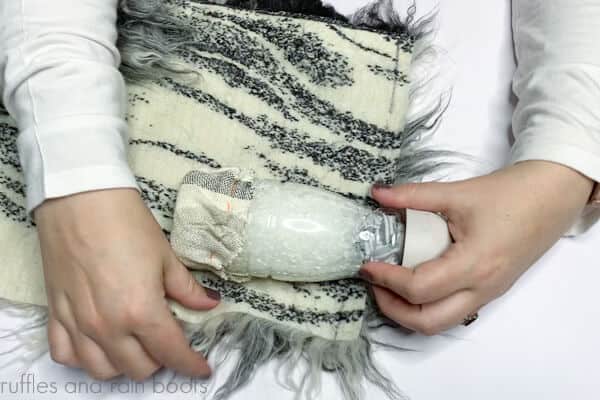
Create the Faux Fur Wrap-Around Beard
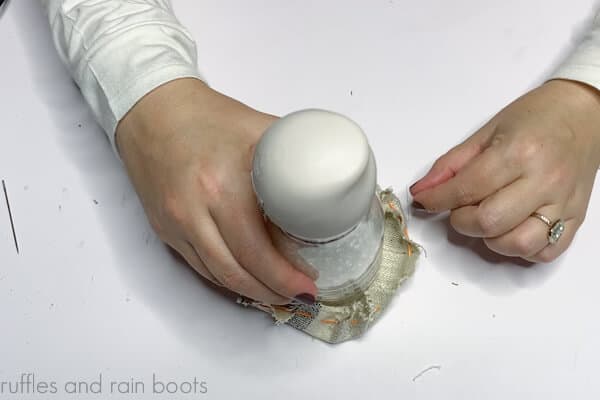
- If creating a base to hide the bottom of the bottle, cut a circle from the hat fabric with at least a 2 inch spread around the base of the bottle. Hand sew a running stitch a half inch away from the edge, slip onto the bottle and pull tight. Glue the sides to the bottle. This covers the plastic and fill.
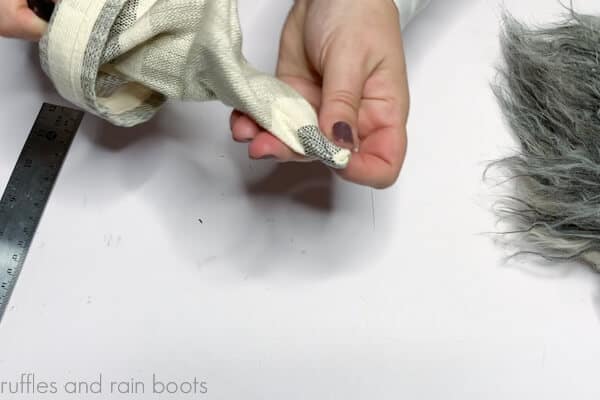
- Lie the gnome body onto the back of the faux fur (pile pointed down) to get a rough idea of a measurement needed to fully wrap the bottle in fur. Line up the top of the fur with the bottom of the lid.
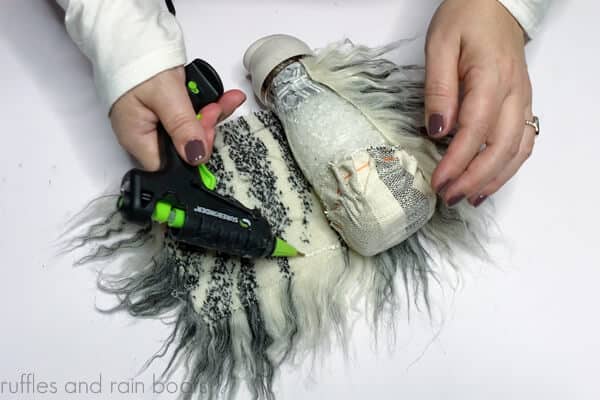
- Use a razor blade or an X-Acto knife to cut only the fabric backing of the fur to fit and then use a generous amount of hot glue to affix the faux fur to the bottle.
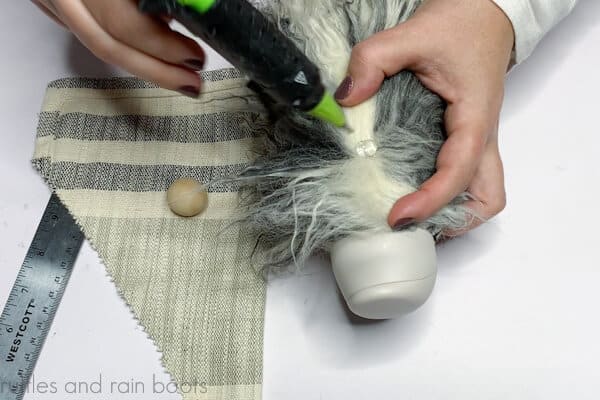
- About 1.5 inches down from the top of the fur, split the fur to the fabric backing, add a generous amount of hot glue, and secure the gnome nose to the body.
Create a Slouchy Gnome Hat
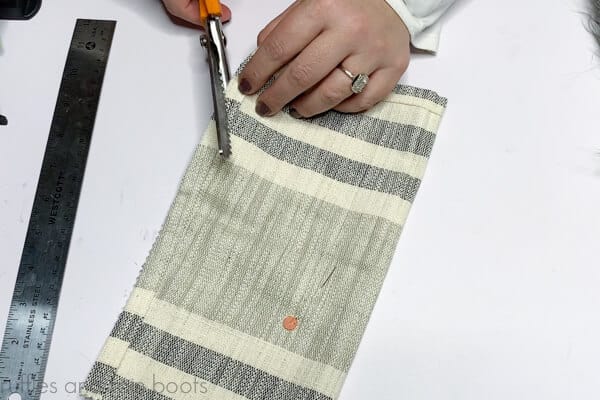
- For the slouchy hat width, measure the fabric around the nose and body and add at least 1/2 inch for the seam. The height should be 10 inches. Fold the fabric right sides together, pin in place, and cut the following: 2 inches up from the brim, cut from the open edge to the top of the folded edge (you will cut a triangle).
- Secure the open side edge with hot glue to close it. Let the glue dry, turn right sides out, and poke out the tip of the hat. Slip the hat on the gnome, scrunch it down onto the nose, and let the tip flop over to the side. Do not secure with glue if creating additional interchangeable hats.
Notes
In the full video tutorial, I share a few more tips on creating the wrap-around beard and two additional gnome hat pattern styles.
Recommended Products
As an Amazon Associate and member of other affiliate programs, I earn from qualifying purchases.
Meet the Creator
Hi there, I’m Sarah Nenni-Daher. I’m a crafty gal and always have at least 14 projects going at once. I am a crafter, designer, DIYer, and pattern maker. I share my creations here and in the Ruffles and Rain Boots® Shop.
Here at Ruffles and Rain Boots®, you’ll find DIY gnomes, crafts, gifts, cupcakes, laser crafts, and so much more. I love sharing video tutorials over on YouTube and chatting with other crafters in my Facebook groups. We’d love to have you!