
Use This Pinecone Gnome Pattern to Make a Sewn or No-Sew Mini Gnome!
This easy pine cone gnome pattern is one of the fastest gnomes ever to make and has the most adorable personality – he’s wearing a pine cone!
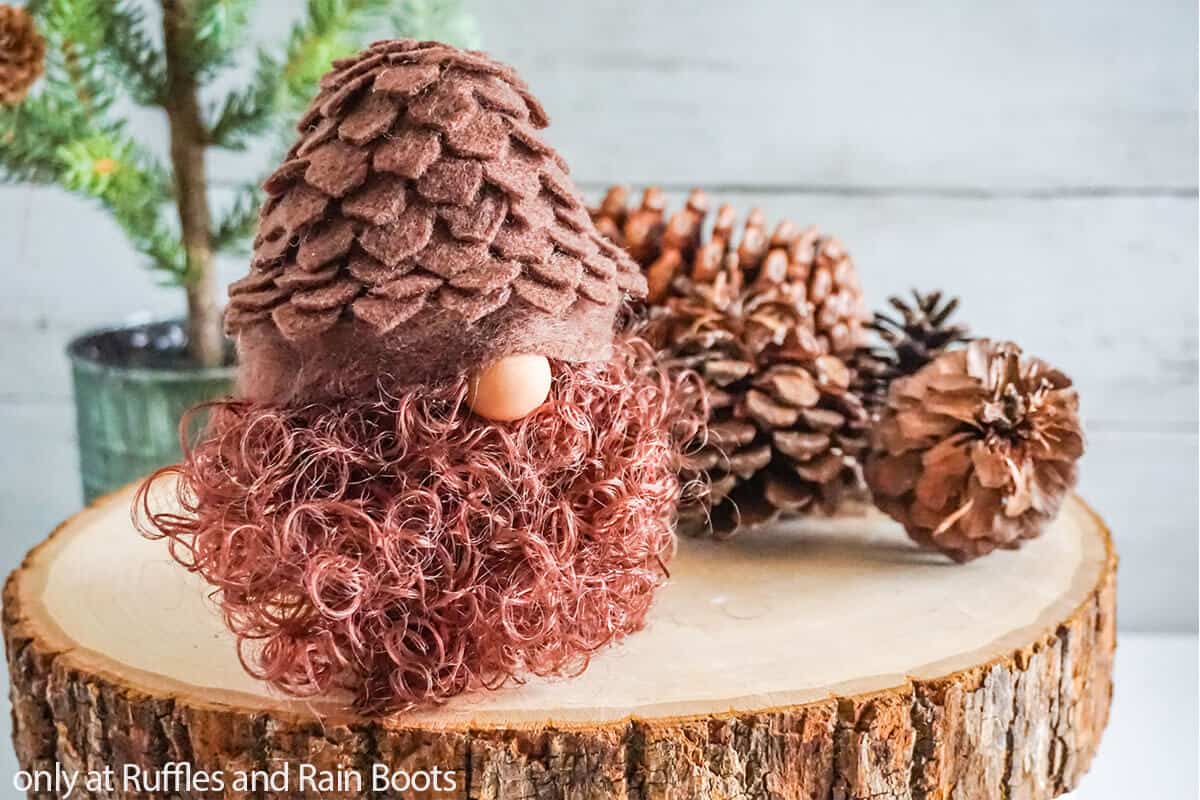
Pine Cone Gnome Pattern
Here at Ruffles and Rain Boots, we love playing with gnomes. I mean, not really playing, but playing with design and coming up with something truly unique and fun. Let me tell you, I have NEVER seen a pine cone gnome, a gnome with a pine cone hat, or whatever you’d like to call this tomte. Just gnomes made of pine cones, but that’s not the same, is it?
RELATED READING: ELEGANT (BUT EASY) BEE GNOME PATTERN
No, this is definitely different than the “norm” (also if you do see a gnome with a pine cone hat, send me a link – I’d love to see it!). So, grab your natural shades of felt and let’s get started.
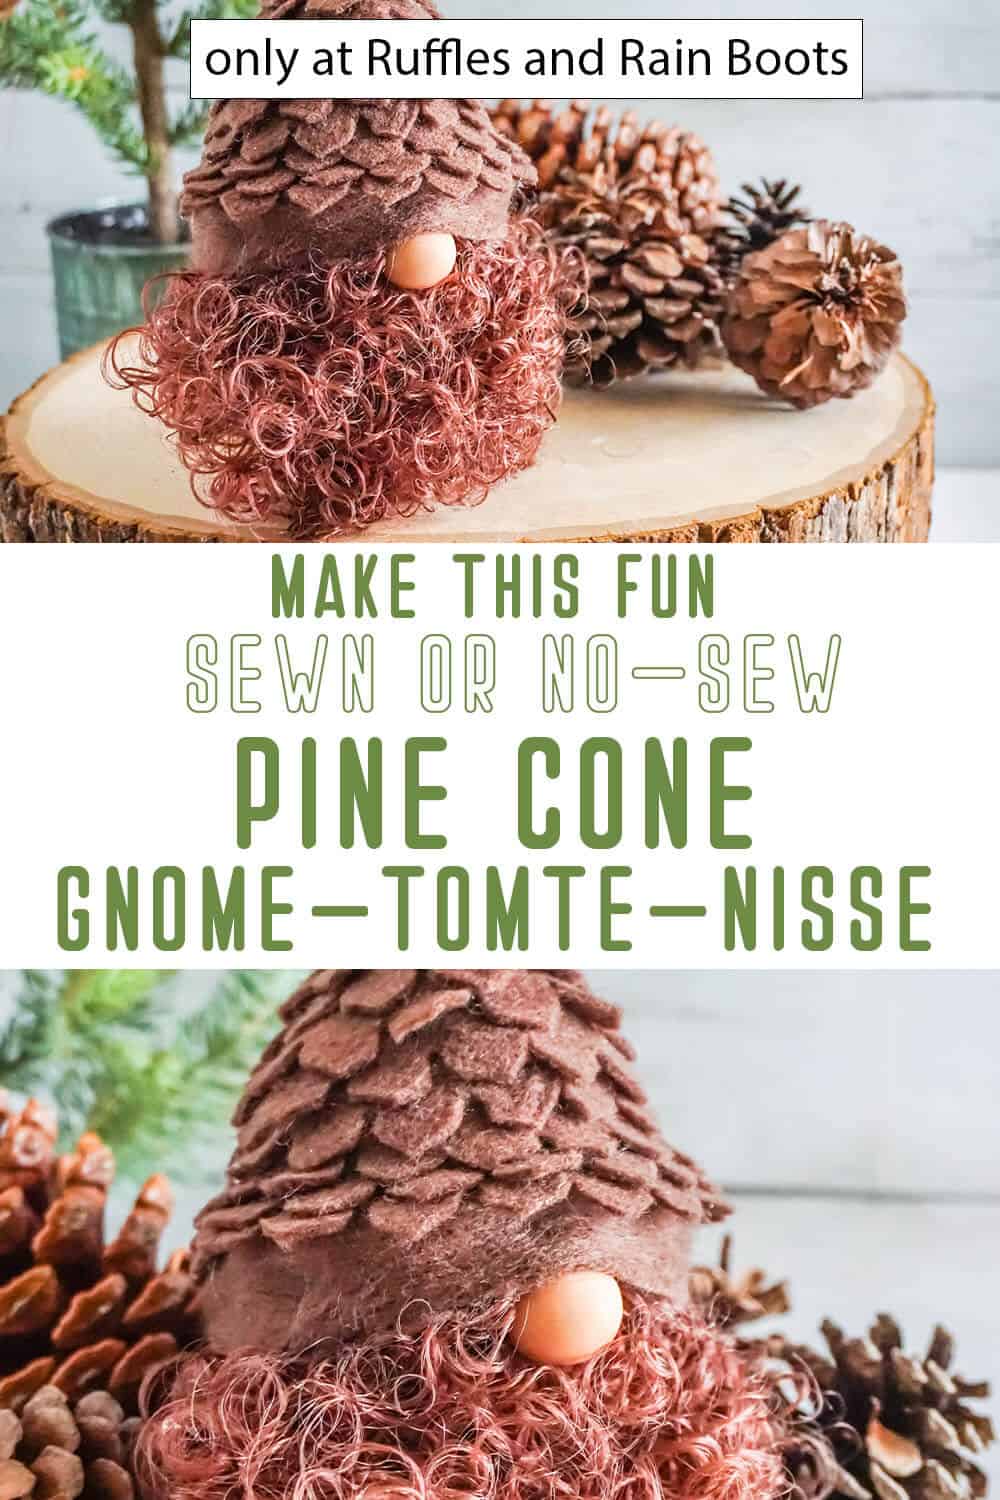
No Time to Make This Now? Pin it for Later
You’re busy, I get it. Pin this to your favorite gnome patterns board on Pinterest and it’ll be here when you’re ready.
As an Amazon Associate, I can earn from qualifying purchases.
Tips to Make a Gnome with a Pine Cone Hat
- The first step to make this particular gnome is to grab the Wild Gnome Pattern here with all of the the details for making this particular nisse. But, also featured in the SAME set of patterns there are SIX more mini gnomes. So, there’s the pine cone hat gnome, a mushroom gnome, a succulent gnome (so cool!!!), a butterfly gnome, a moss hat gnome, and a flower hat gnome. Gnomes in the wild, right?!
- If making all the little cuts (particularly the pine cone bits, although they can be cut with small, sharp scissors, yeesh, that’s a lot of cuts) is not your thing – or you’re making a go of batching out making a several gnomes at the same time, click here to grab the cut files to go with the pine cone gnome pattern (including all the others made with the Wild Gnome Pattern too) to use with your Cricut or Silhouette. This can absolutely be a scissors-free gnome pattern! Woohoo!
- Let’s get real about that crazy-curly beard for a second. I used doll hair like this for an all-out Bob Ross sock gnome one time. But I had a ton left over. Yay for me, I can use it on my gnome with a pine cone hat! For more “typical” gnome beard cutting, I have a trick: check out this quick and easy video here that I made to help you!

Get the Gnome Pattern
Click below to add this fun pattern to your cart. So many gnomes can be made with this!
How Do I Make this Pine Cone Gnome Pattern?
I’m so glad you asked. Below is our written tutorial.
Pinecone Gnome Pattern

This pine cone gnome pattern is such an incredibly easy way to make a gnome, plus it's just so unique. I really love it!
Materials
- 1/8 yard Fleece Fabric, Beige
- Scraps Premium Felt, Beige
- 1/8 yard Premium Felt, Dark Brown
- Poly Fill
- 1/2 cup Poly-Beads
- 1 or 1 1/2-inch Wood Round (or other nose)
Tools
- Hot Glue Gun & Glue
- Scissors
- Razor Blade or Craft Knife
- Funnel
- Pencil or Fabric Marker, optional
- Cricut Explore Air 2 or Cricut Maker, optional
Instructions
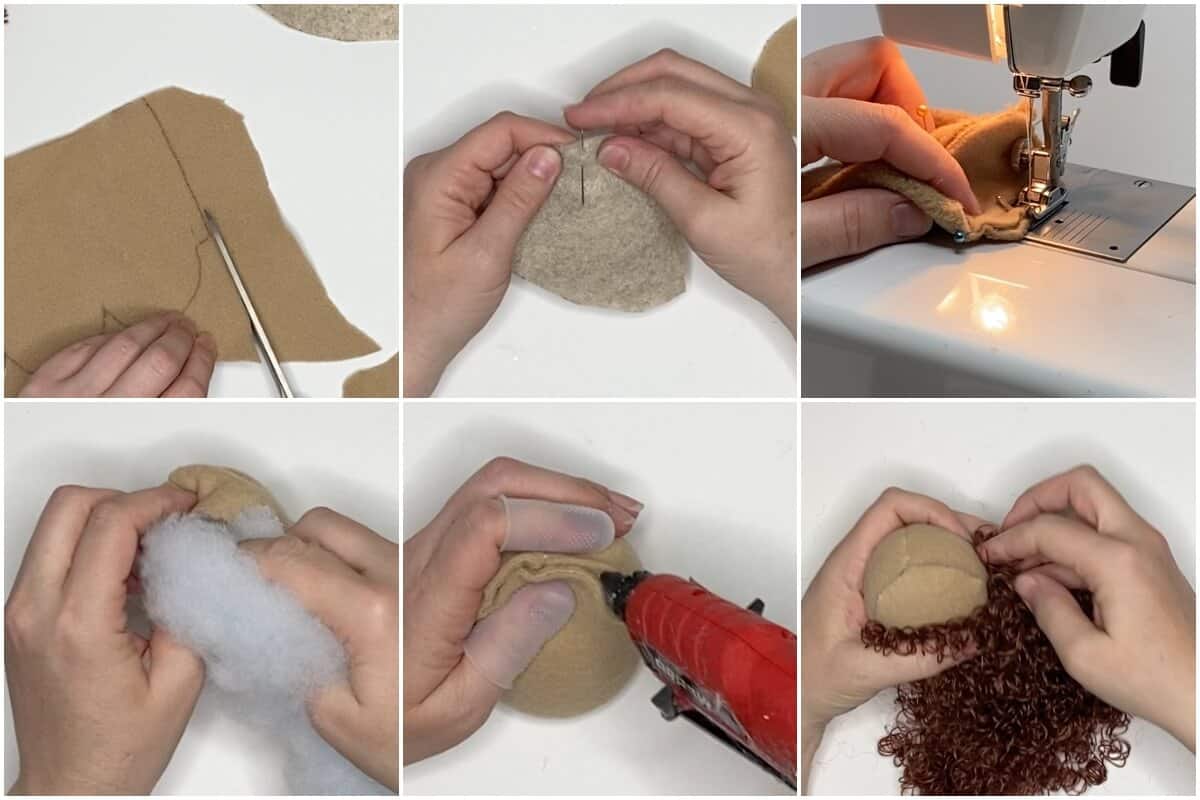
- Cut the body shape from the fleece fabric and fold it in half right-side to right-side. Pin and sew together the two tabs.
- Alight two of the three curved bumps on the top of the gnome, pin and sew ONE SIDE of the two aligned curved bumps together, meaning sew the two bumps together from the topmost point to the base only on 1/2 of the bump.
- Pin and sew the base onto the bottom of the body shape. Trim loose threads.
- Turn the body right side out and fill about halfway full with Poly Beads, stuffing the remaining portion of the body with Poly Fill. Hot glue hem the top closed by pinching the open bumps together, with hot glue between them. Allow the hot glue to cool completely.
- To make the hat, cut one cap hat shape from the beige felt fabric and fold it in half, right-side to right-side. Pin and sew the two sides together.
- Turn the hat right side out. Fill the hat with a little Poly Fill - just enough to help hold the hat shape up off the gnome's head.
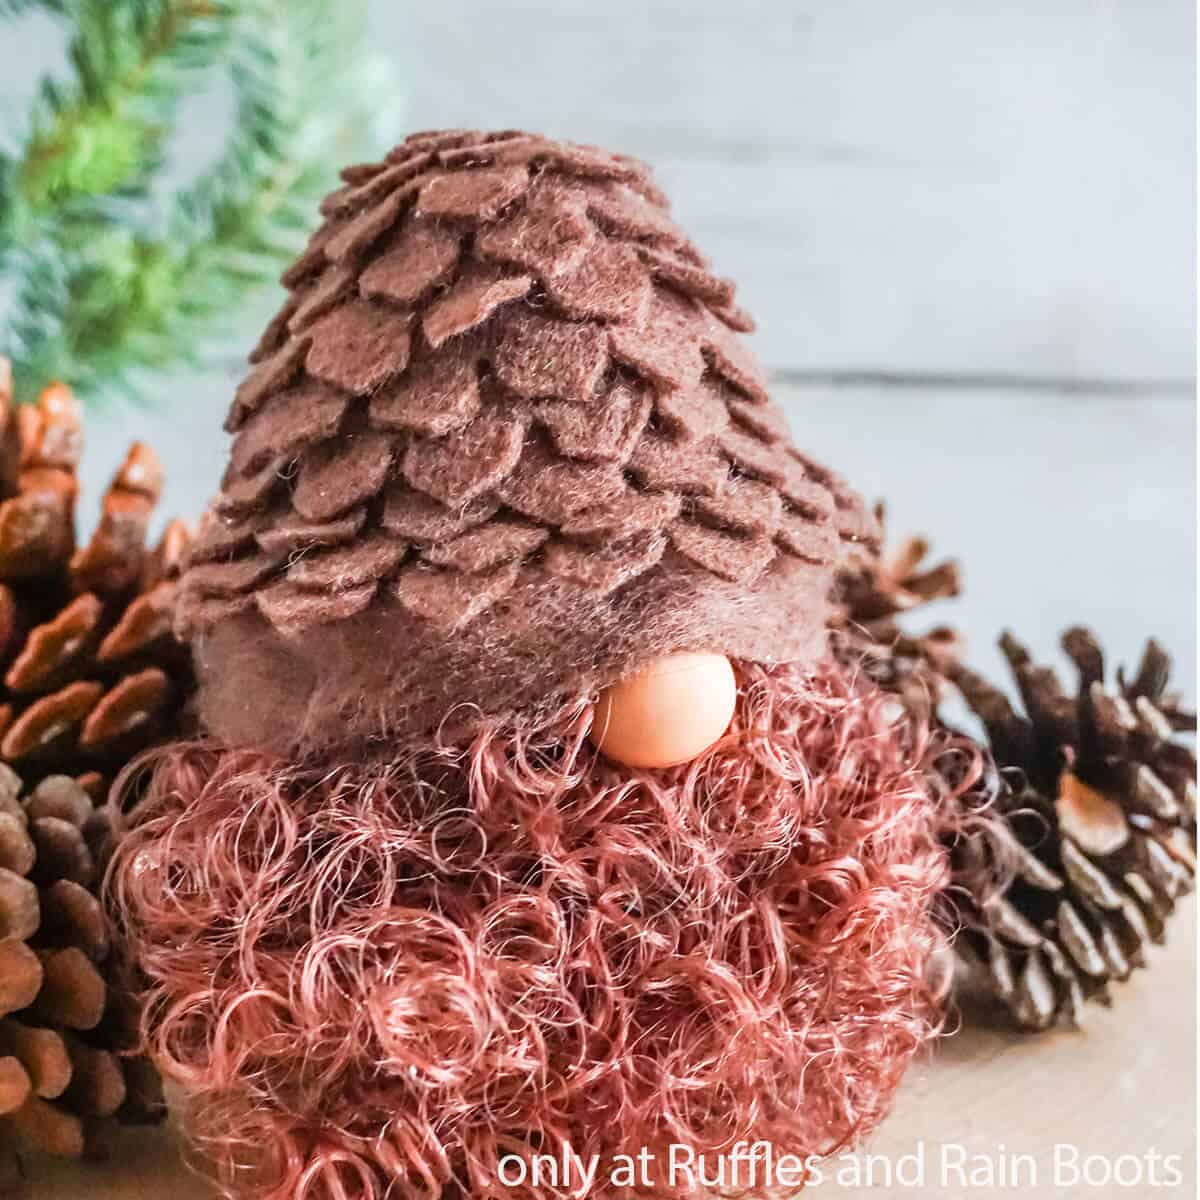
- Pull a large portion (handful) of the curly doll hair from the package, separating it from the larger bunch. Hot glue the beard onto the front of the gnome - this sounds like it won't work, but glue in small sections, be patient and you will quickly build-up a full beard. Allow the hot glue to cool completely.

- Part the beard fur to the fabric about 1/2 inch below the top of the beard. Add a fair amount of hot glue then place the nose on top. Allow the hot glue to cool completely.
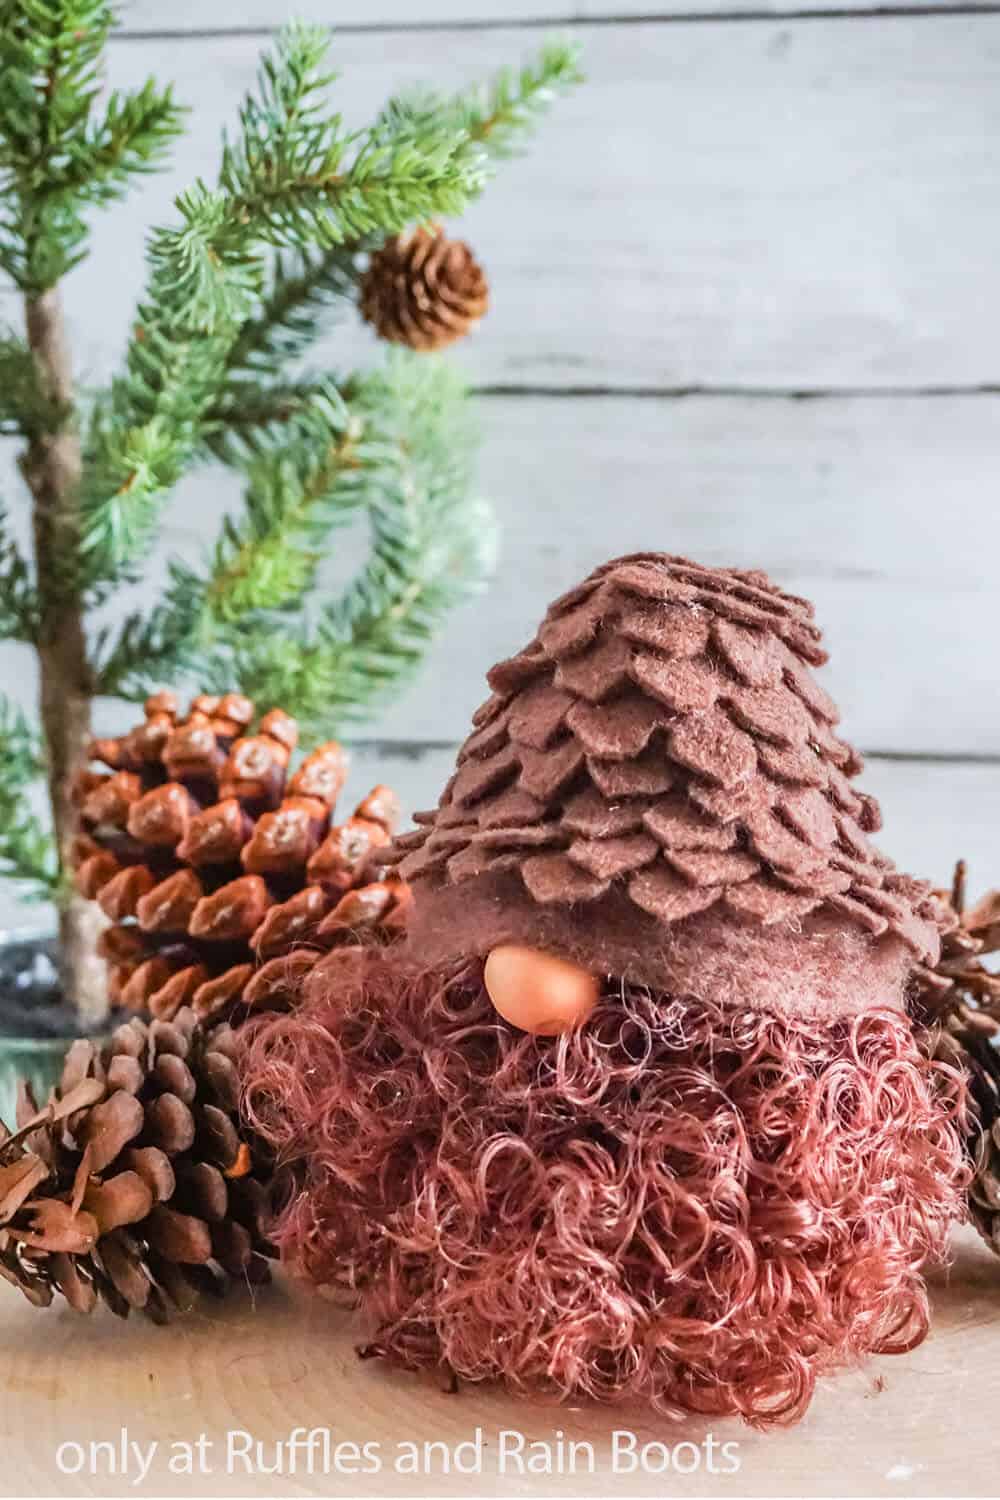
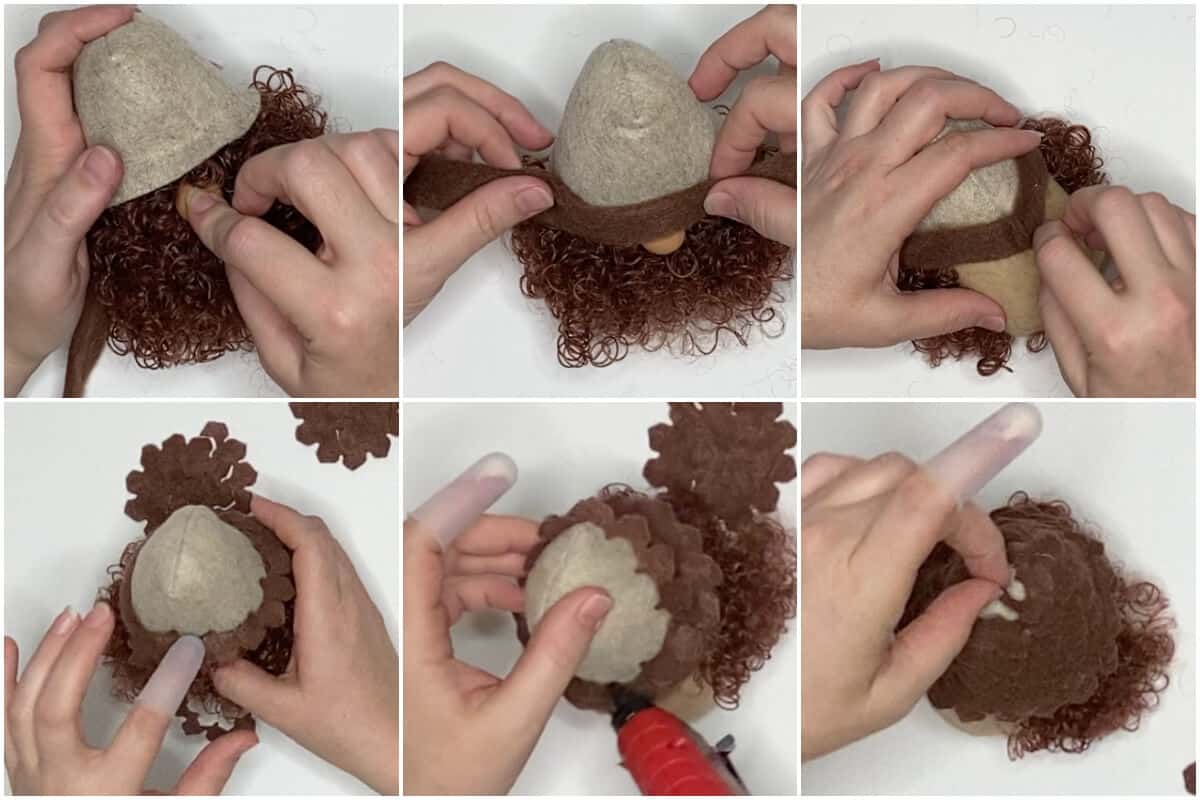
- Place the hat onto the gnome's head, tucking the hat over his nose in a cute wrinkle. Hot glue this in place. Hot glue the back of the hat in place, pulling it low to open up the face and add character. If you plan to add arms do so now.
- Cut the hat brim shape from the dark brown felt fabric. Fold it in half and glue it in this folded position. Wrap the hat brim shape around the bottom of your gnome's hat, hot gluing it in place all the way around, just to the hat. This is going to provide some shape to your pine cone and keep it from falling.
- Cut 4-5 of the large leafy succulent shapes (yes) from the pattern set. If you are using your Cricut, this is the best use of it, cutting these elements. Starting from the bottom of the hat, hot glue the larger leaves of the circular shape to the hat, working in a circular pattern. Work all the way around the hat, leaving about 1/4 inch between each row of pine cone spines, glue them all the way around the hat, covering it completely.
- Then it's time to display your gnome or grab some real pine cones and plop him in a bowl with them!
Notes
For more fun DIY spring gnome tutorials, visit Ruffles and Rain Boots!
Recommended Products
As an Amazon Associate and member of other affiliate programs, I earn from qualifying purchases.


Tutorials for How to Make a Gnome You Might Like
- No-Sew Unicorn Gnome Pattern – This is literally one of my favorite gnomes. It is so simple, too. Perfect for a little girl or anyone who loves a good, unique and fun unicorn – er, gnome. LOL!
- Mini Scandinavian Kissing Gnomes – They’re literally just kissing, enjoying their lives together and being adorable. Best farmhouse tiered tray gnome pattern ever!
- Curled Hat Gnome – Seriously the most underrated gnome I’ve ever made. I love this guy, the pattern is SO EASY, and yet it’s almost like a hidden gem because he’s just not flashy…but maybe he should be.
Please Save This to Pinterest
Your shares are how this site grows and I am sincerely grateful. Know a friend who’d like this? Please share it on Facebook or save it to your favorite easy craft ideas board on Pinterest.


Where do I get the pattern for the pine cone hat?
The pattern link is here: https://shop.rufflesandrainboots.com/product/wild-gnome-pattern/