This Moss Gnome Pattern is So Cute and Easy Too!
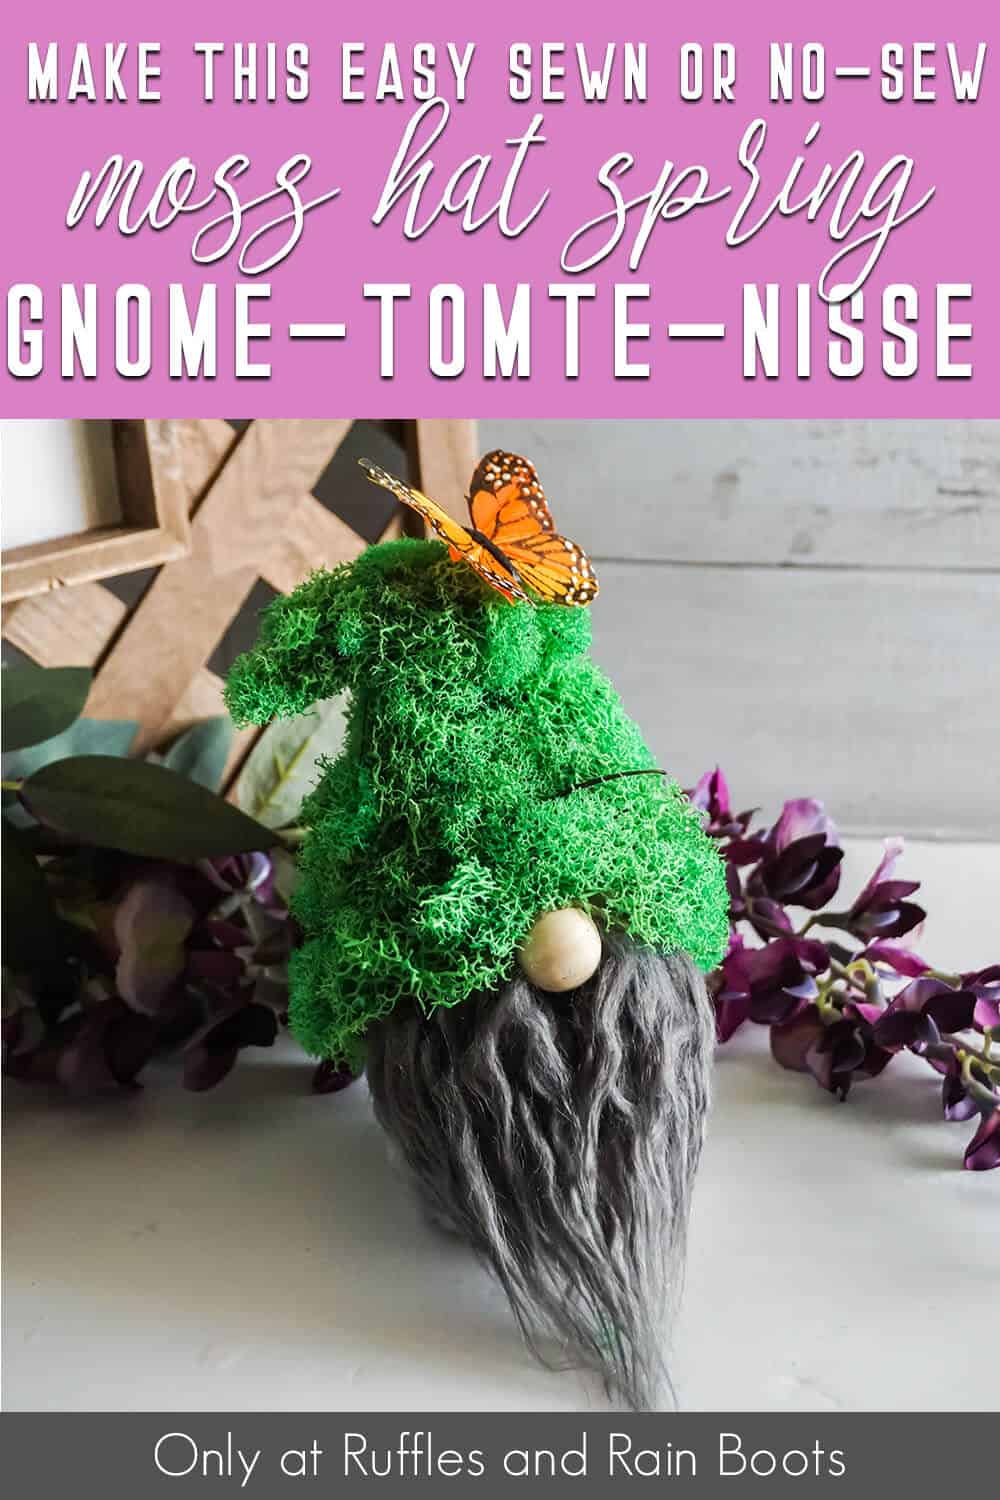
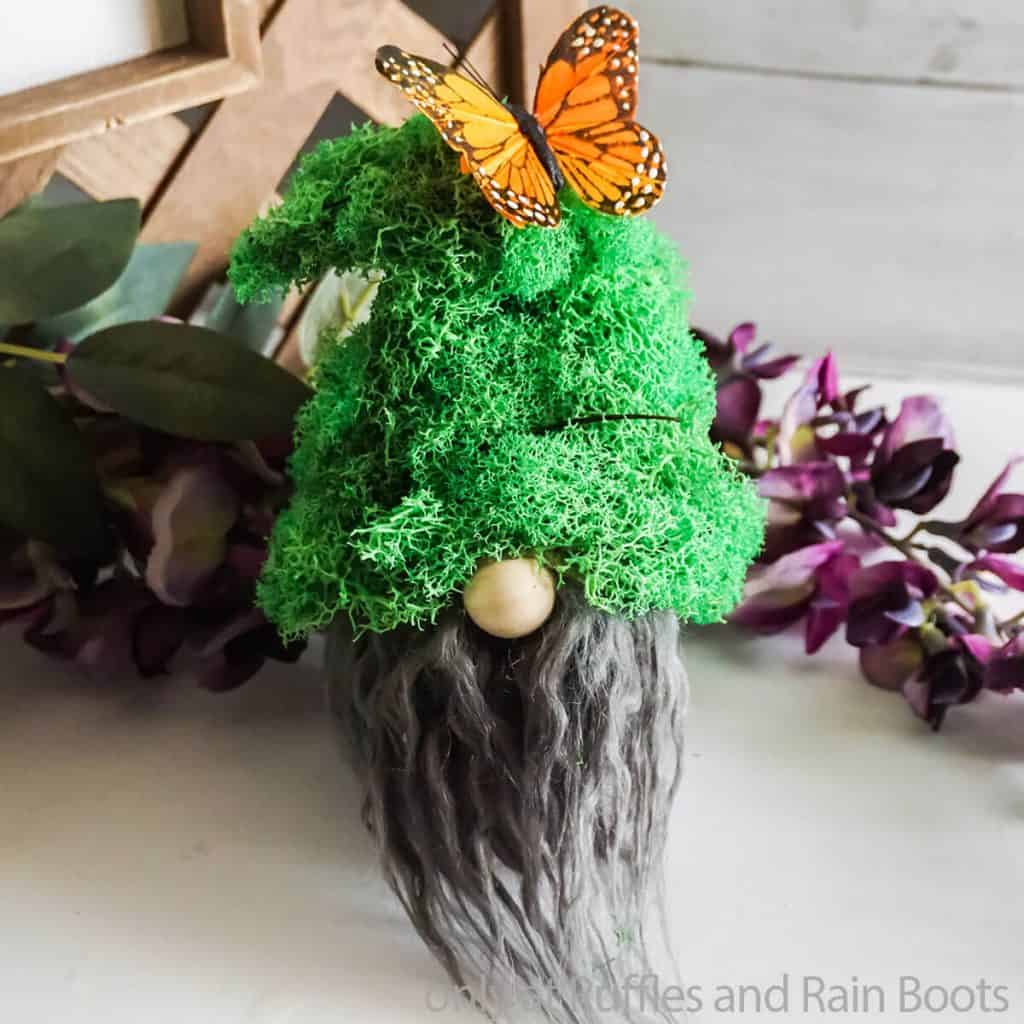
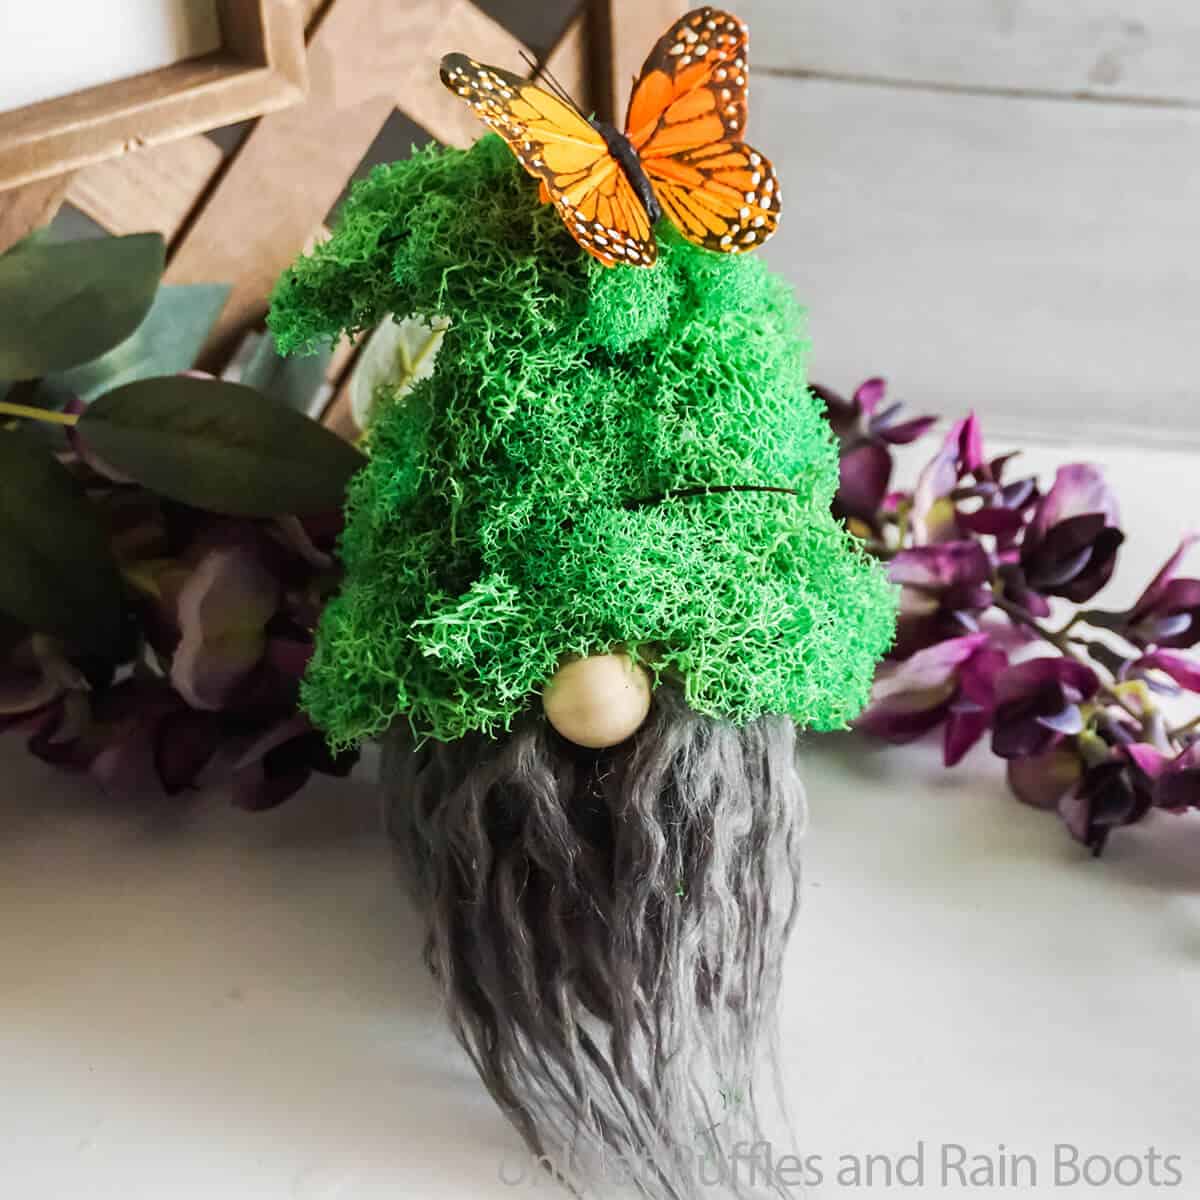
I absolutely adore how easy and fast it was to make this moss gnome pattern into a moss hat gnome to add to my farmhouse tiered tray!
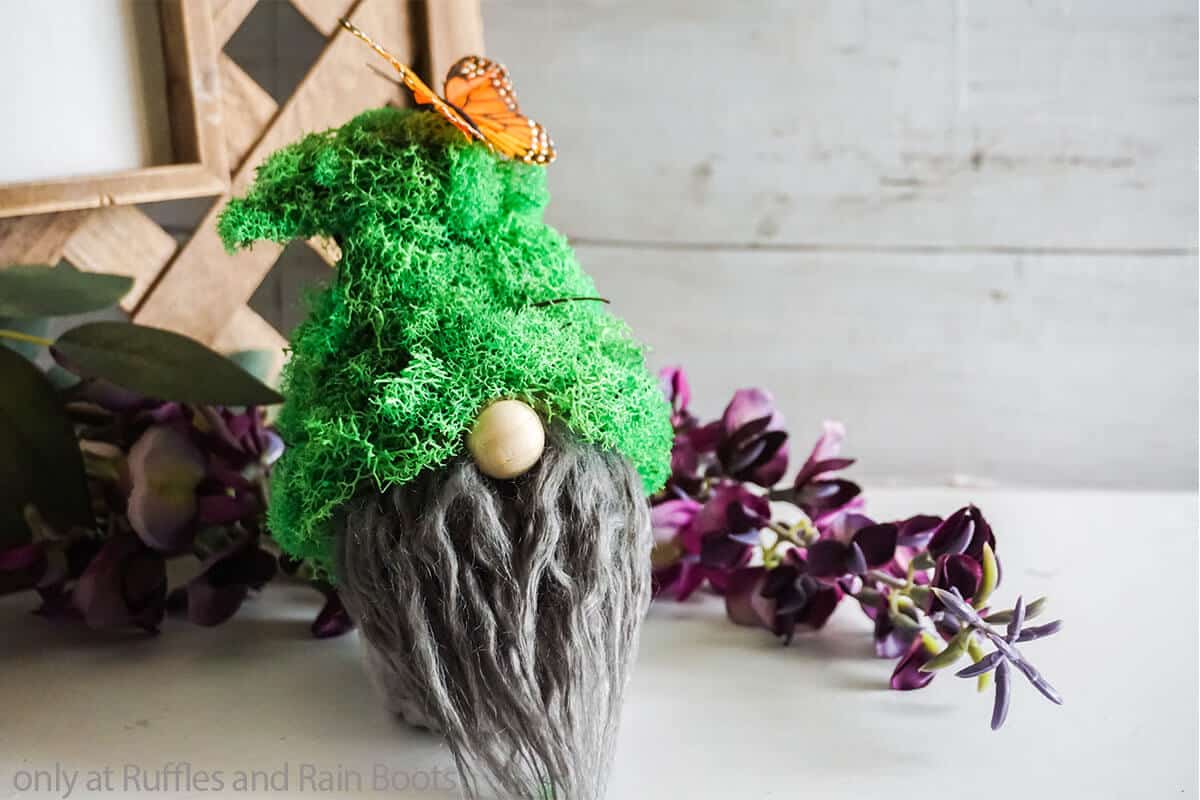
Moss Gnome Pattern
Here at Ruffles and Rain Boots, we have tried multiple times to make a moss gnome. But the results always were blah. Not this time, though. This moss hat gnome is so cute, his wittle nose, the mossy hat, the fluffy beard…I just love everything about him.
RELATED READING: ELEGANT BEE GNOME PATTERN
So, of course I wanted to share how I made this fast and fun tomte. The pattern can be done no-sew or sewn, so it works out for whatever way you feel like tackling it. And hims wittle mossy hat – oooh, I just want to pat it constantly! LOL!
Get Secret Gnomes, Tips, & Freebies Delivered!
What is the best pattern to use when you don’t want to sew? Do you know the secrets to a properly-proportioned gnome? Do you know where to get the best-priced fur?
Get all of this (and exclusive content just for you) delivered right to your inbox with the gnome-making series, free of charge. Sign up to get the once-weekly newsletter (and a jaw-dropping special offer)!

If you’re ready to make a moss gnome that’s truly adorable, let’s get started.
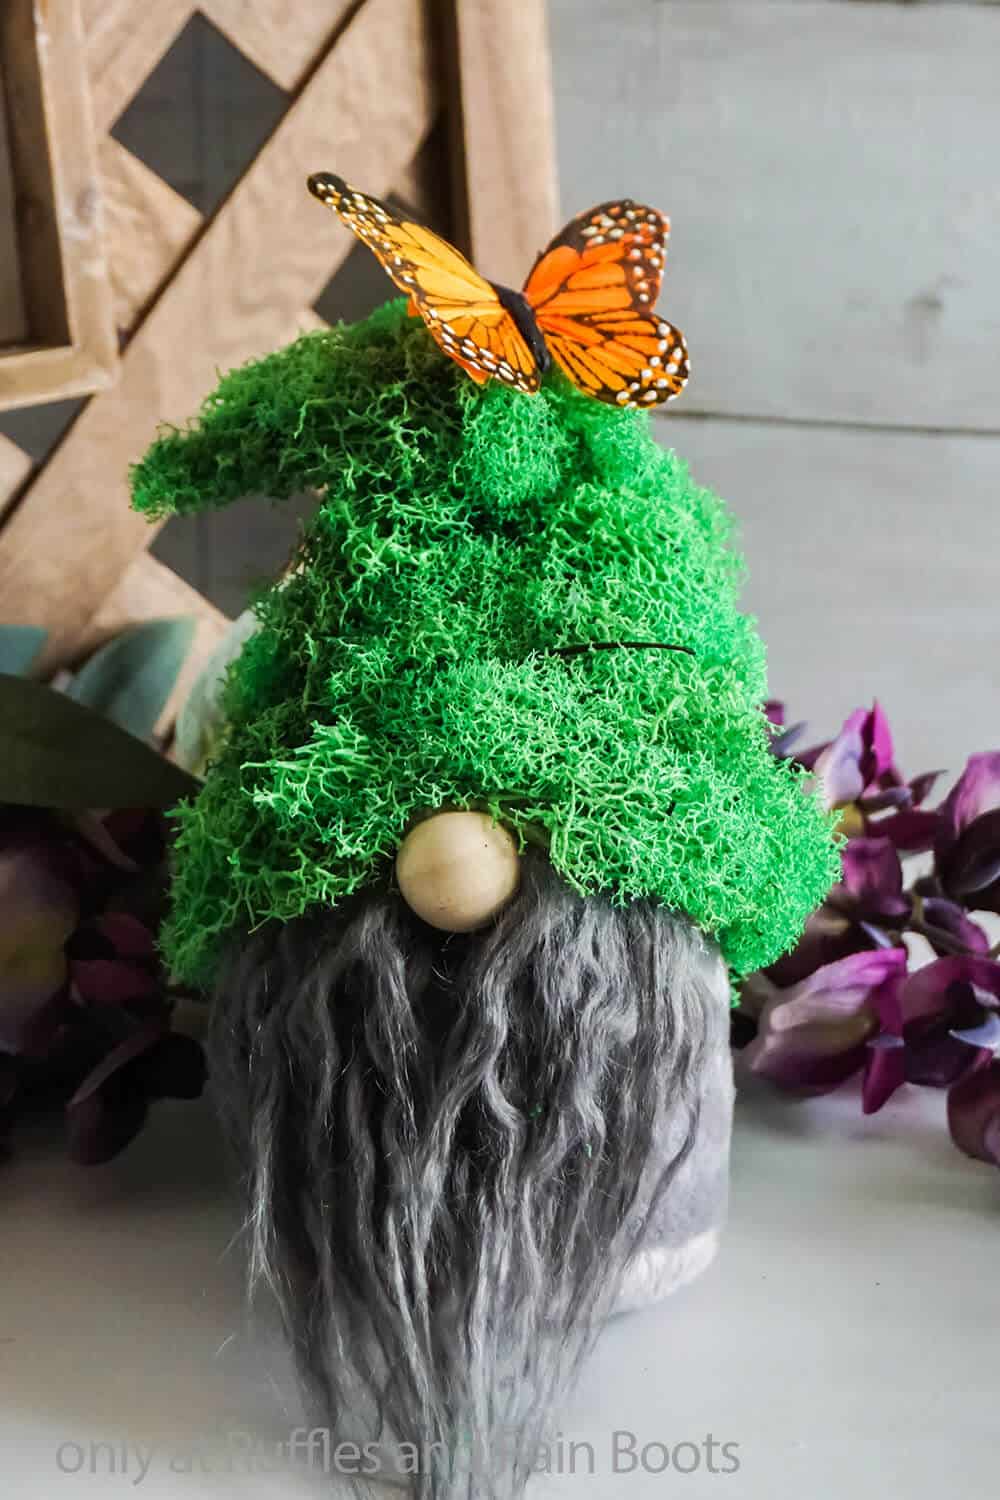
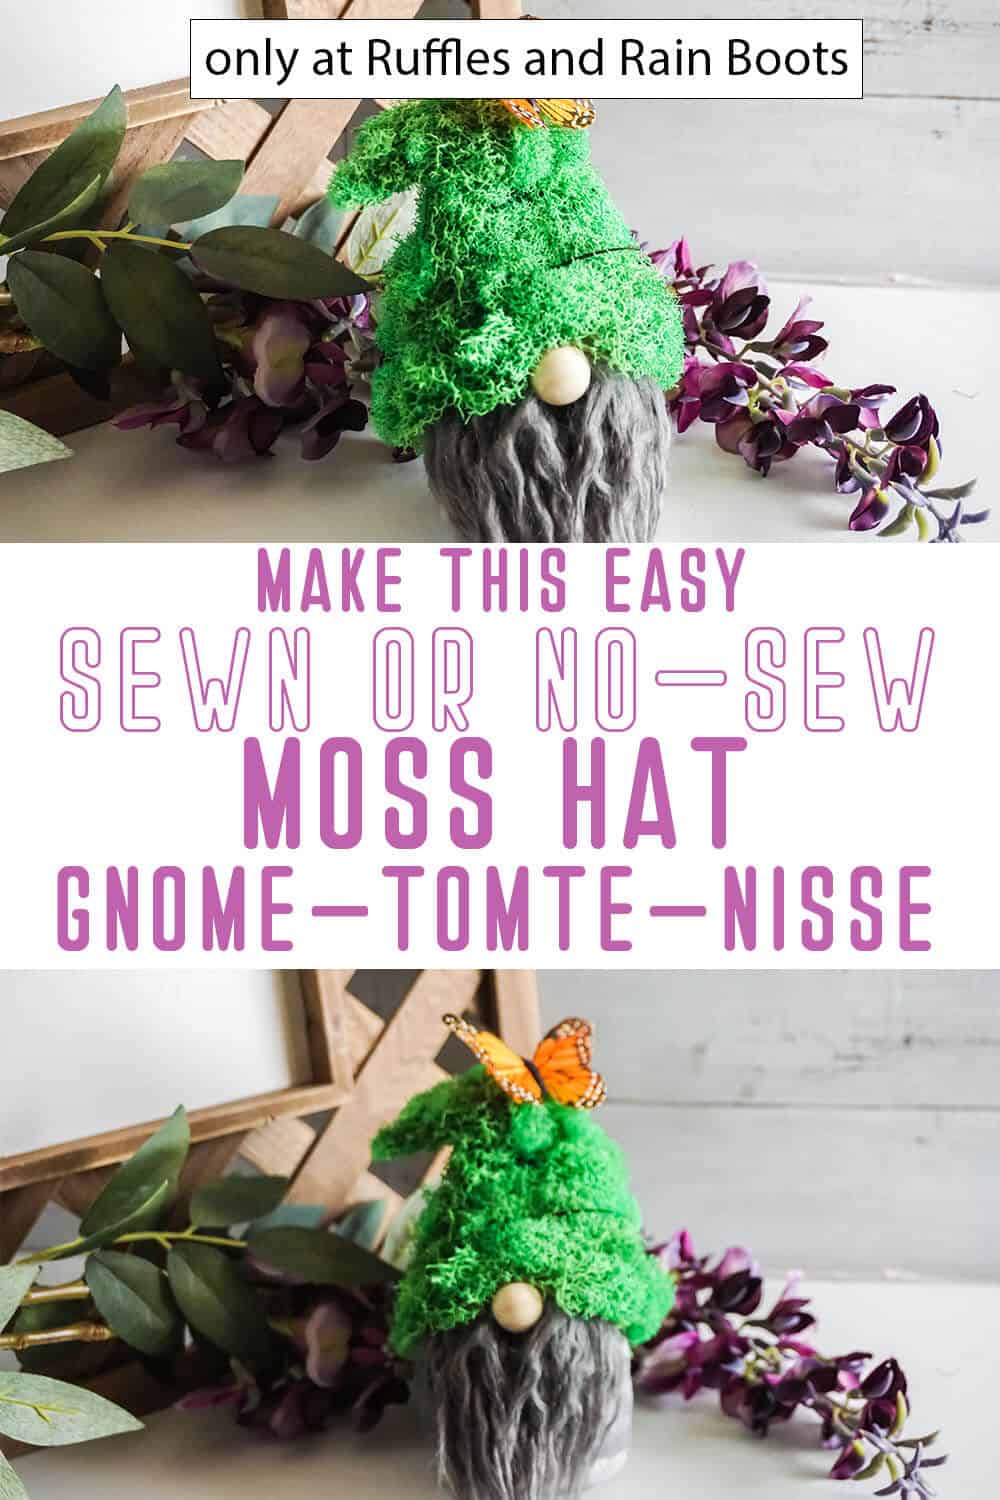
No Time to Make This Now? Pin it for Later
You’re busy, I get it. Pin this to your favorite gnome patterns board on Pinterest and it’ll be here when you’re ready.
As an Amazon Associate, I can earn from qualifying purchases.
Tips to Make a Moss Hat Gnome
- Start by grabbing the Wild Gnome Pattern here. Not only is the moss gnome featured in this pattern set, but there are SIX additional gnomes that are detailed using same pattern. I love them each. There’s a mushroom gnome, a succulent gnome, a pine cone gnome, a butterfly gnome, and a flower gnome in addition to the moss hat gnome. And once you have those seven made, this gnome pattern will give you all the inspiration for so many more gnomes.
- If making all the tiny cuts for the pattern isn’t your favorite activity, or if you want to try batching-out the cuts while assembling several gnomes, click here to grab the Wild Gnome Pattern WITH CUT FILES for cutting machines like Cricut or Silhouette. That way you never have to pick up a pair of scissors to make a gnome. Score!
- I’ll be honest, the best part of the moss gnome pattern is the, well, moss. It’s not hard to find at the craft store, but just in case you have trouble getting some, I snagged my moss here.
Get the Gnome Pattern Here
Click below to add this fun pattern to your cart. So many gnomes can be made with this!
How Do I Make this Moss gnome Pattern?
I’m so glad you asked. Below is our written tutorial. If you’re making a DIY gnomes playlist on YouTube, here is our moss gnome video tutorial.
Moss Gnome Pattern
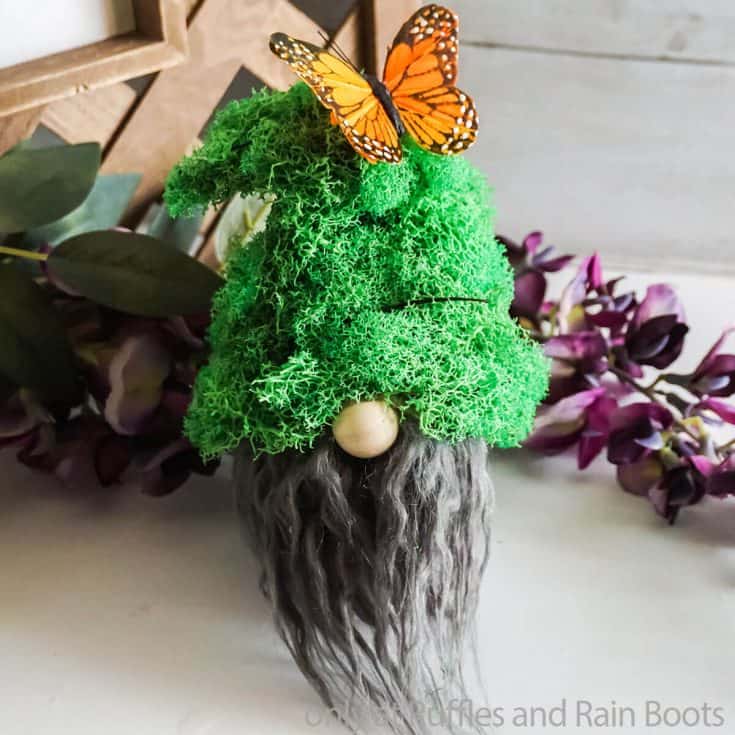
Quick and easy, this moss gnome pattern is just perfect in every way!
Materials
- 1/8 yard Fleece Fabric, Grey or Beige
- 1/8 yard Felt Fabric, Dark Green or Moss Green
- Dark Grey Crinkle Faux Fur
- Poly-Fill
- 1/2 cup Poly-Beads
- 1 or 1 1/2-inch Wood Round (or other nose)
- 1 package Craft Moss
- Faux Butterfly, optional
Tools
- Hot Glue Gun & Glue
- Scissors
- Razor Blade or Craft Knife
- Funnel
- Pencil or Fabric Marker, optional
- Sewing Machine, optional
- Needle & Thread
- Darning Needle & Embroidery Thread
- Pins
Instructions
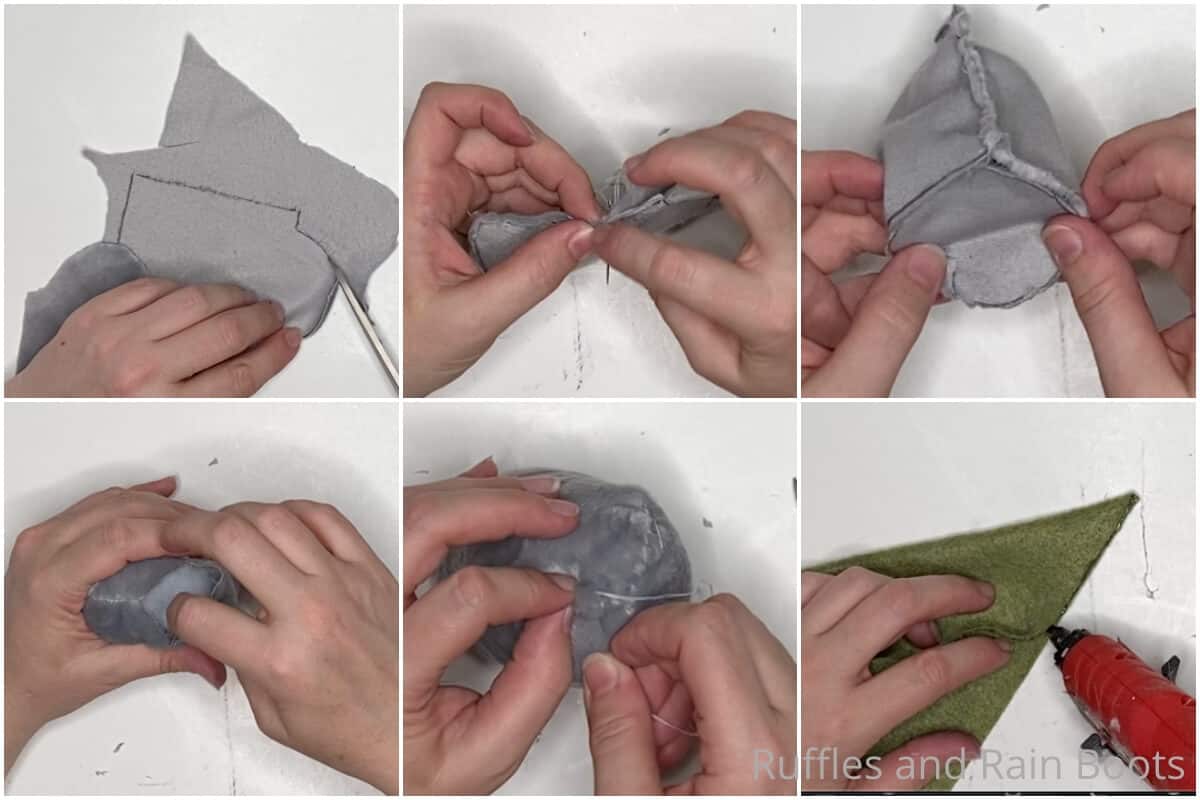
- Cut the body shape from the fleece fabric and fold it in half right-side to right-side. Pin the piece as folded and sew together the two tabs
- Alight two of the three curved bumps on the top of the gnome and pin together then sew ONE SIDE of the two aligned curved bumps together, meaning sew the two bumps together from the topmost point to the base only on 1/2 of the bump.
- Pin and sew the base onto the bottom of the body shape.
- Turn the body right side out and fill about halfway full with Poly Beads, stuffing the remaining portion of the body with Poly Fill. Sew the top closed by pinching the open bumps together.
- To make the hat, cut one cone hat shape from the felt fabric and fold it in half, right-side to right-side. Hot glue or sew the two sides together. Allow the hot glue to cool completely.
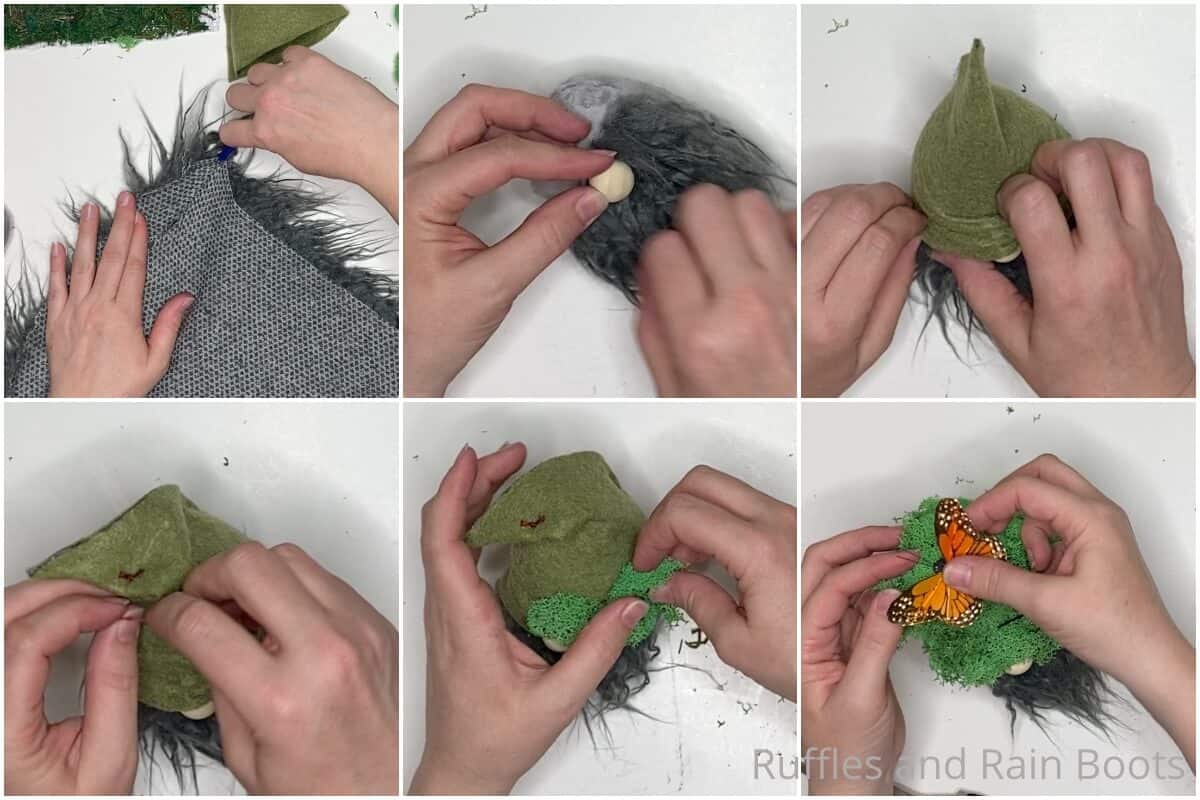
- Place your faux fur face down and, using your razor blade or craft knife, cut the fabric backing only into the shape you want for the beard. Hot glue the beard onto the front of the gnome. Allow the hot glue to cool completely.
- Part the beard fur to the fabric about 1/2 inch below the top of the beard. Add a fair amount of hot glue then place the nose on top. Allow the hot glue to cool completely.
- Pull the hat down over the gnome's head, tucking the hat over the nose in a little wrinkle. Hot glue this wrinkle in place, then pull the hat low in the back of the gnome, opening the face up to add character. Hot Glue the back of the hat in place.
- Use your darning needle and embroidery thread, tack down the top of the hat in a flopped-over style. It's ok if the thread is visible because we're going to cover that up.
- Working from the bottom up, start gluing small clusters of moss to the hat, covering every portion of the hat, following the folds and unique shape of your gnome's hat. In order to get my moss to look right, I chose to cut it in half, thinning it to make it a little less pouffy.
- You can display your gnome as-is or add a faux butterfly!
Notes
For more fun DIY spring gnome tutorials, visit Ruffles and Rain Boots!
Recommended Products
As an Amazon Associate and member of other affiliate programs, I earn from qualifying purchases.
More DIY GNome Patterns You Might Like
- Mini Scandinavian Kissing Gnomes – They’re just the sweetest and have the most adorable little crush on each other – I can’t stand it!
- Easy Farmhouse Gnome Pattern – You can make such a beautiful gnome to add to your farmhouse decor with this quick and easy pattern.
- DIY No-Sew Christmas Gnome Pattern – One of my absolute favorite gnome patterns I’ve ever made, this is fast, easy and no-sew all the way!
Please Save This to Pinterest
Your shares are how this site grows and I am sincerely grateful. Know a friend who’d like this? Please share it on Facebook or save it to your favorite spring crafts board on Pinterest.
