
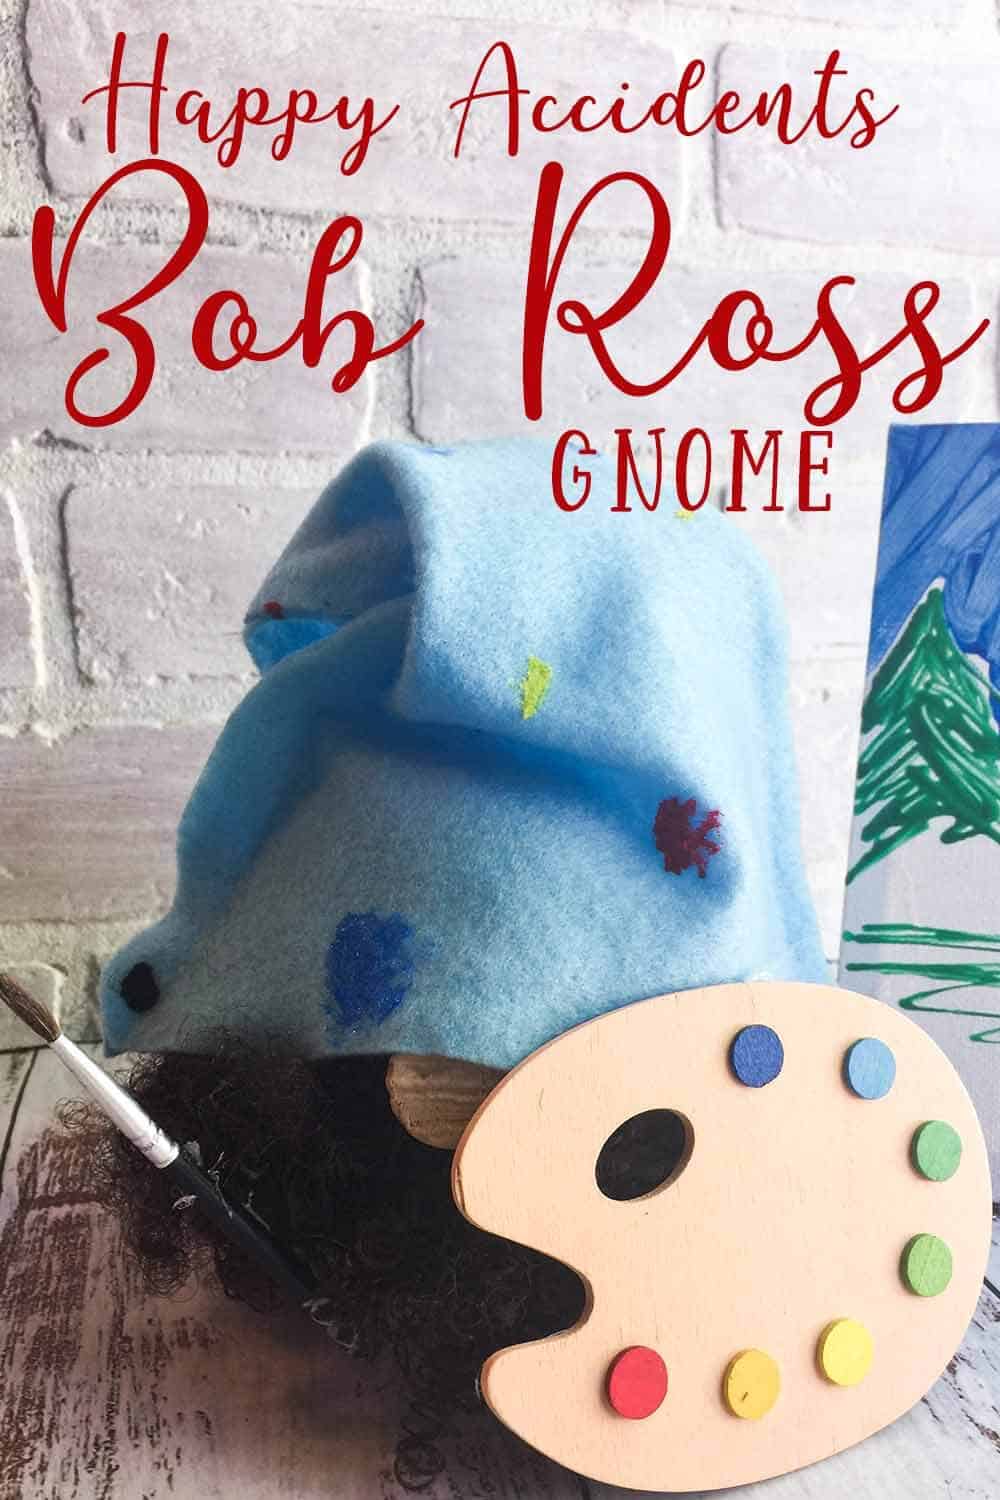
This Bob Ross Gnome is the Happiest Little Accident!
I guess I’m a little weird, but this happy little accident happened and now I made this adorable Bob Ross gnome. It’s such a cute artist gnome, I love it.
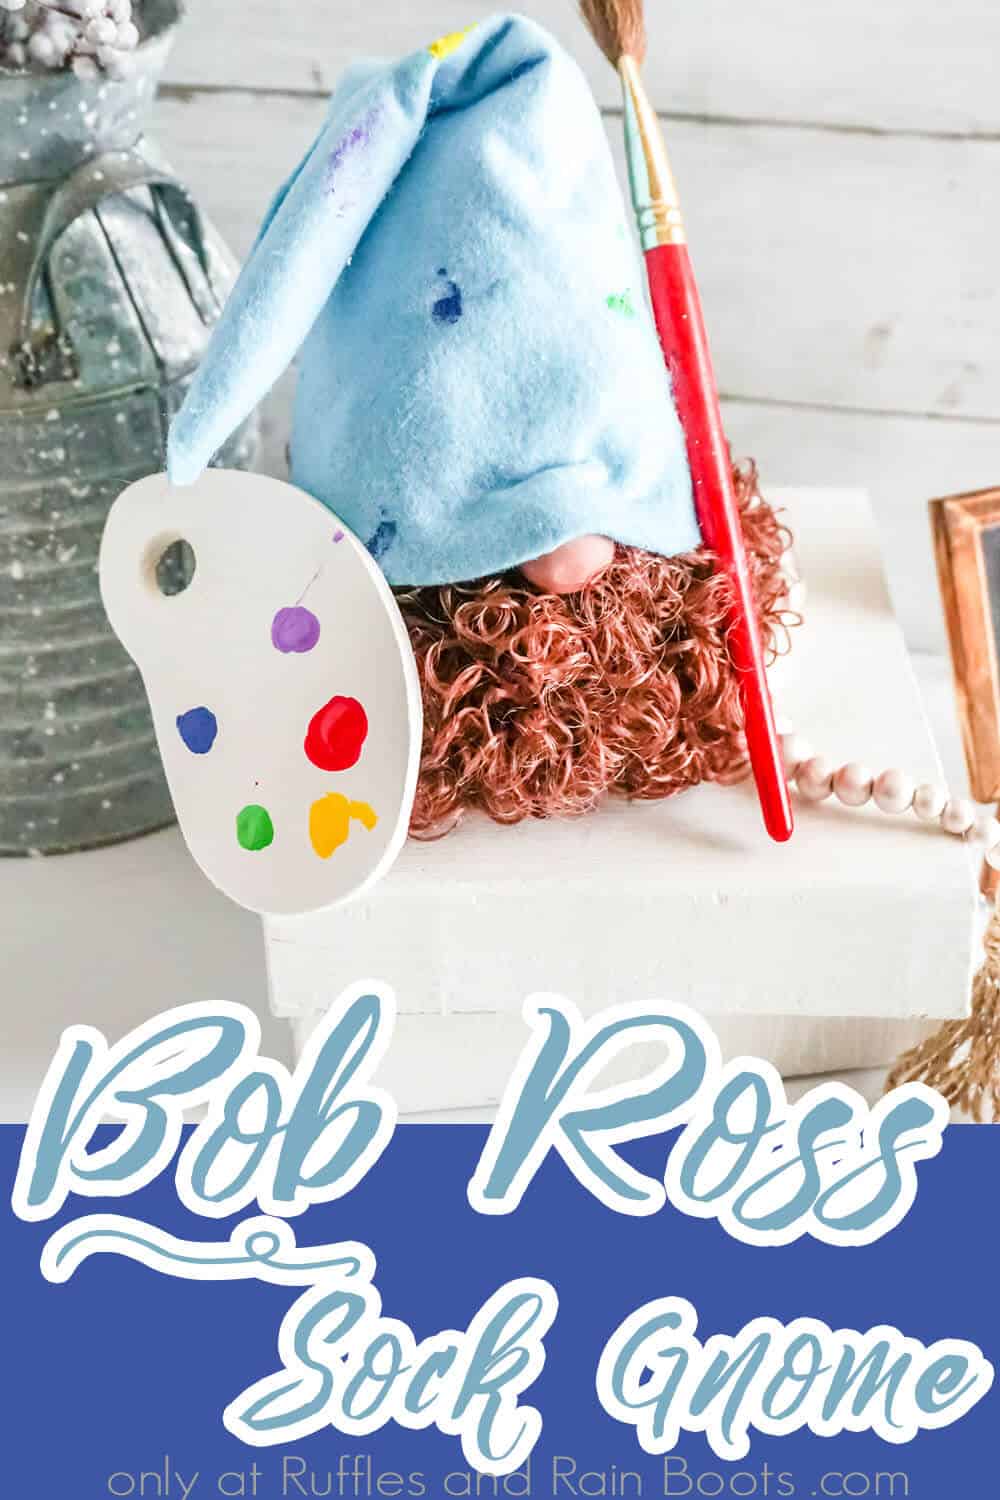
Bob Ross Gnome
Here at Ruffles and Rain Boots, we love a little whimsy in our life. Spend a few minutes putting together a gnome and you’ll find that a smile definitely happens. It’s not a question, it’s a fact. And then, when you see a little artistry happening, well…you come up with this idea for a Bob Ross gnome and BAM! I can’t think of anything more rewarding.
RELATED READING: DIY GNOME TUTORIALS
Plus, if you can bring that bit of whimsy to an artist friend, well, now you’re spreading that something special around–which is so very awesome. If you’re ready to make a happy little accident and put a smile on your face, well, let’s get crazy.
No Time to Make This Now? Pin it for Later
You’re busy, I get it. Pin this to your favorite DIY gnome tutorials board on Pinterest and it’ll be here for when you’re ready.
Tips to Make Artist Gnome
- For the nose of this adorable Bob Ross gnome, you can use a wooden bead or a ball of polymer clay, or a cork, whatever you’d like.
- To make the little pallet, you can just grab a little wooden one at the craft store (that’s where I got mine), but if you can’t find one, you can grab a piece of cardboard, cut it in the shape you like and just put some blobs of paint on it. Don’t overthink it, just make your artist gnome as fun and easy as Bob Ross would.
How Do I Make this Bob Ross Gnome?
I’m so glad you asked. Below is our written tutorial. If you’d like to see me make him, click here for the Bob Ross gnome video tutorial.
Bob Ross Gnome

I guess I'm a little weird, but this happy little accident happened and now I made this adorable Bob Ross gnome. It's such a cute artist gnome, I love it.
Materials
- A curly doll wig
- White ankle sock
- Weighted pellets/polyfill
- Light blue felt
- Small paint pallet
- Small paint brush
- Cork or small wooden bead
Tools
- Hot glue gun and glue
Instructions
- Begin by filling your sock with poly pellets or you can add a ½ cup of rice or beans to the bottom and finish filling it with poly fill. I grabbed a 3 pack of these socks at the dollar store, that's enough for 6 gnome bodies for just a buck!
- Tie off the top and press the knot down inside the stuffing.

- Cut off a 10” length of doll hair, brush it out a little with a hairbrush to give it a little frizz.
- Apply hot glue around the mustache/beard area and press the hair in place (careful of your fingers) a wooden craft stick is great for holding it down while it sets enough to hold.
- Use scissors to trim away excess stragglers. You want to stretch the sides of your beard so that they form sideburns, go your beard should go almost halfway around the gnomes head at its widest point. Add glue where needed to secure.
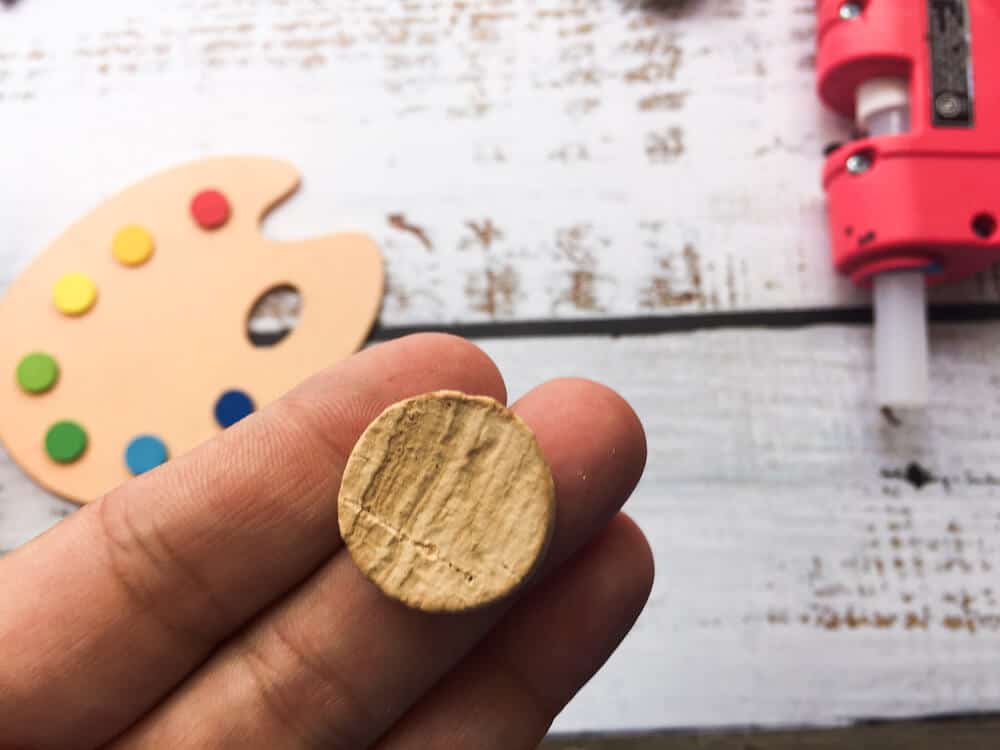
- Slice the end off a wine cork or use a half wooden bead and hot glue in place over the beard to make a nose.
- Next grab a big chunk of curls and attack it with the brush to create some frizz in the curl. Add a generous amount of hot glue all the way around your sock head and begin pressing hair in place, again you can add glue and cut as needed until you get a nice solid head of frizzy hair all the way around. There is no need to fill in the top as he will be wearing a hat.
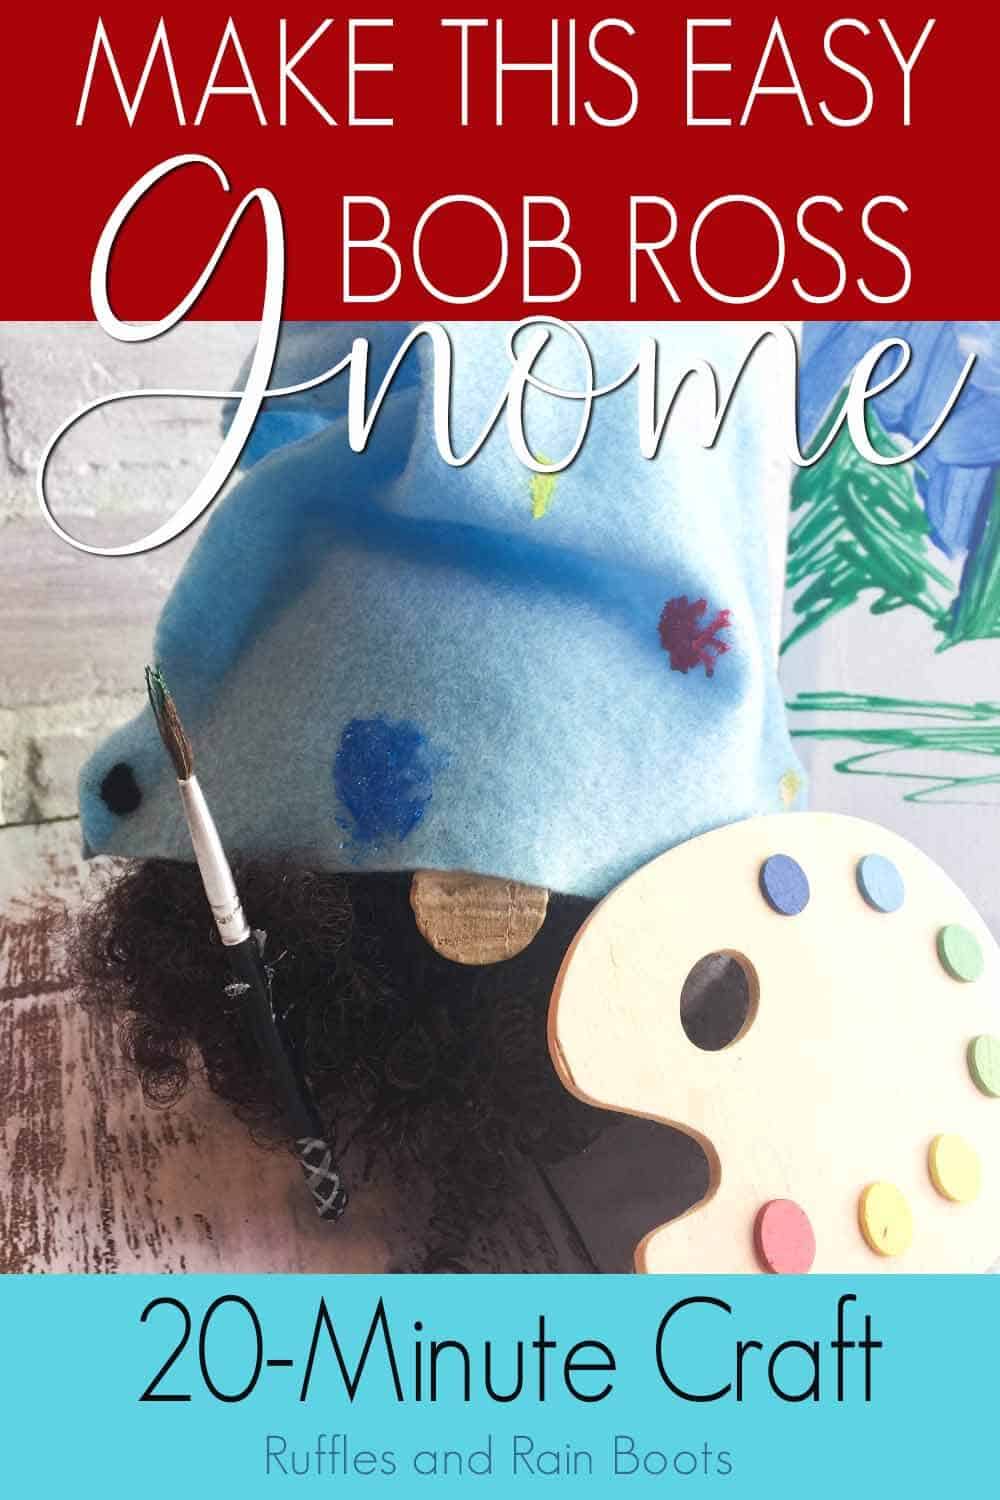
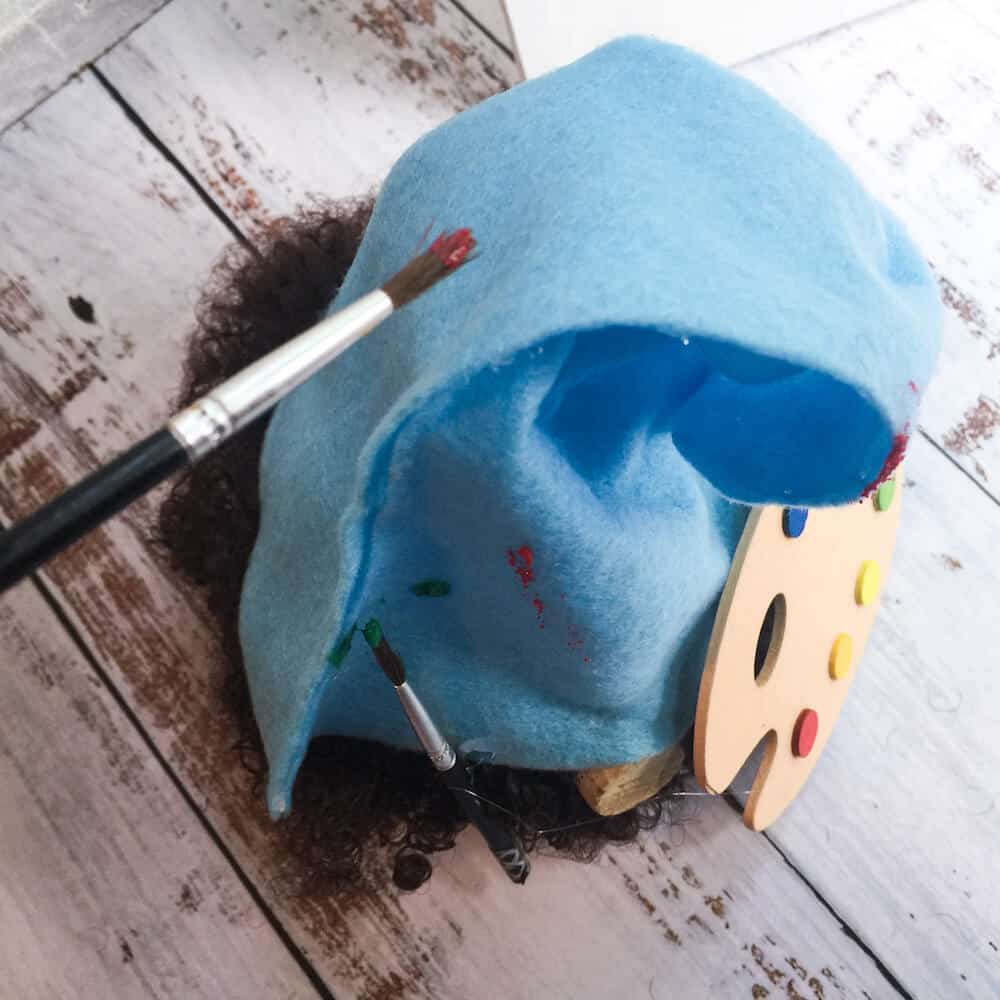
- To make the hat you will want to make it 8” at the bottom and at least 8” tall, you can go longer if you like. Lay two pieces of light blue felt back to back and cut them at the same time so they are exact.
- Hot glue a seam along the inside edge and press sides together, allow to cool completely.

- Slip the hat over the top of the head and be sure to pull it down about 1” over the hair, hot glue into place all around. Scrunch the hat down a bit, fold over the tip and glue into place, the rumpled look gives it a bit of an artist look don’t you think?
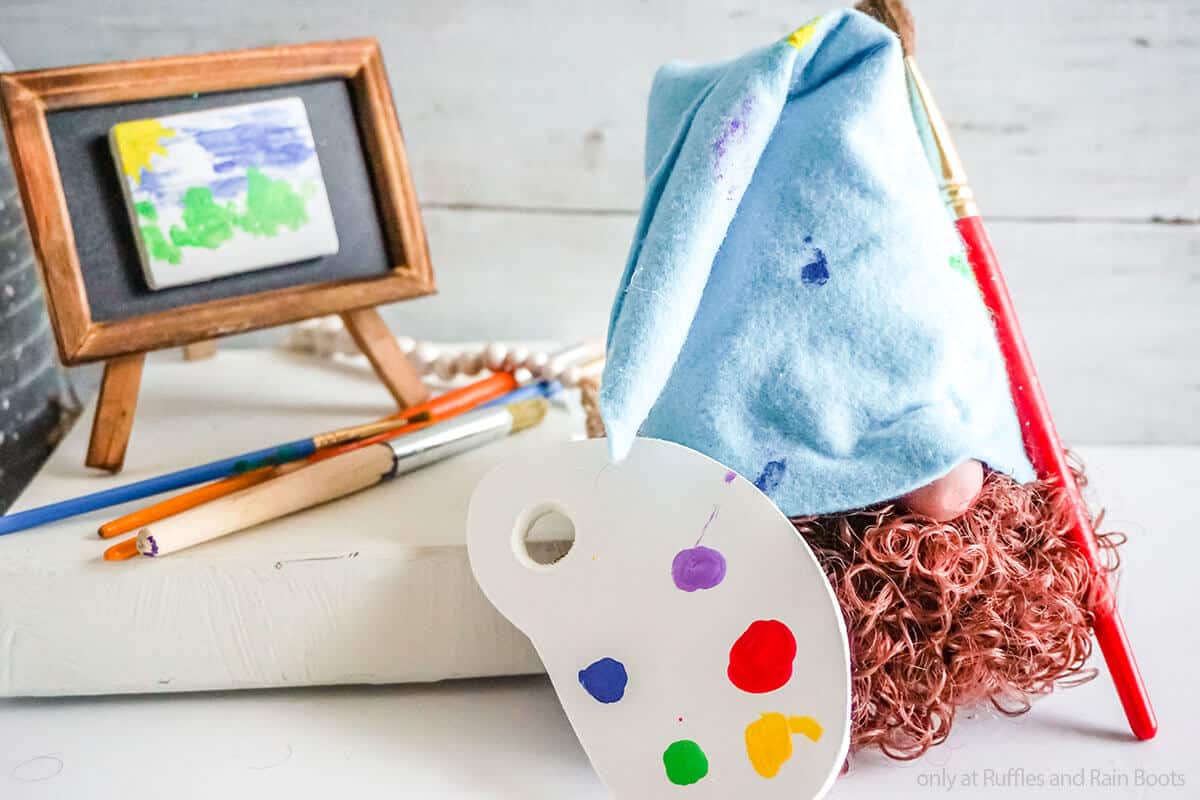
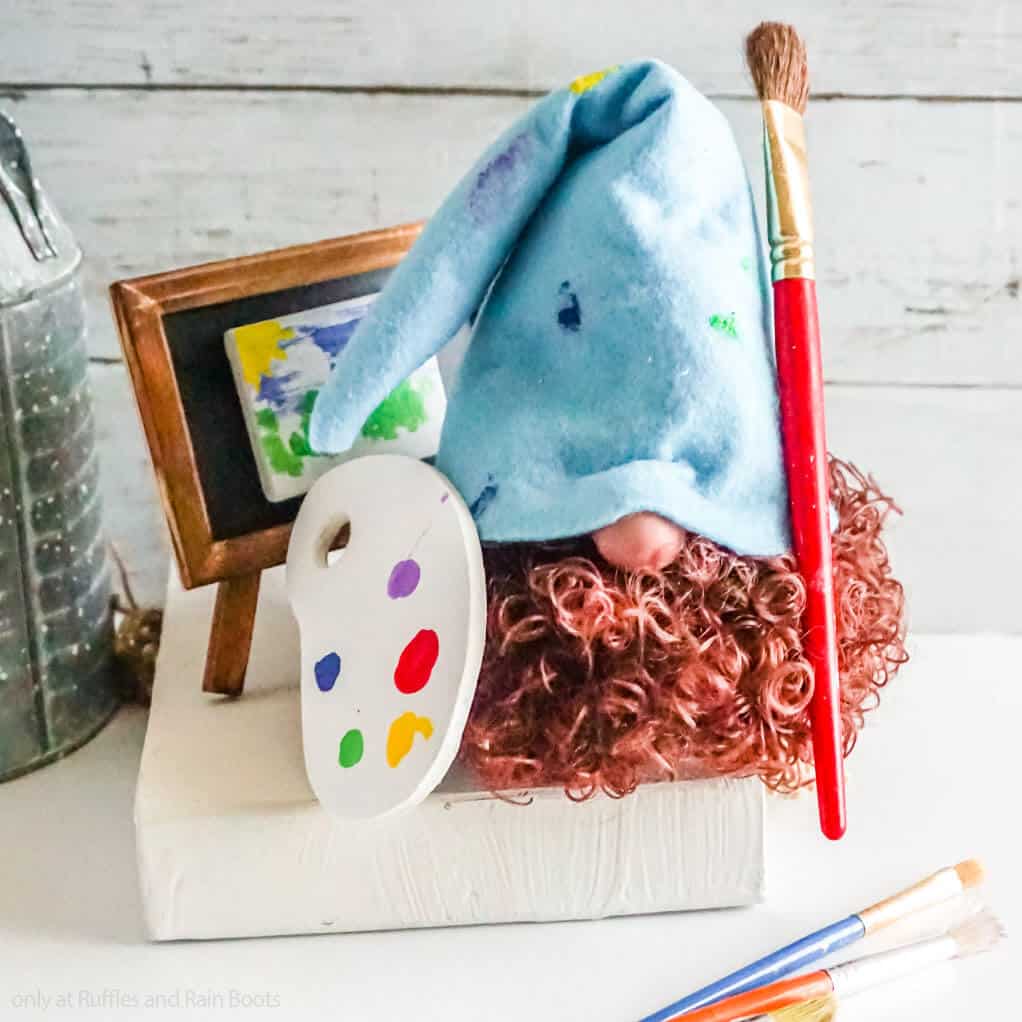
- Cut a paintbrush down and glue it and a pallet to the sides of your gnome. I found my paint pallet as is in the unfinished wood section of Hobby Lobby, there is a large section of finished off painted “icons”. If you can get your hands on one you could easily make one of cardboard and blobs of paint.
- For a final touch dab bits of different paint to the hat to show your Bob Ross Gnome has been hard at work.
- If you like you can add a small canvas next to your gnome, I just partially painted a simple scene of a sky and a few trees as if we caught him halfway done.


Notes
For more fun gnome tutorials, visit Ruffles and Rain Boots
More DIY Gnome Tutorials You Might Like
- DIY Gnome Tutorials – If you need a few ideas for making gnomes, well, this is where you’ll find ’em all!
- Gnome Sweet Gnome Porch Sign – How cute is this ridiculous porch welcome sign for your house?! I can’t even believe it’s mine..it’s so cool.
- Christmas Gnome Ornaments – All the best ornaments that you can make for gifts or for your own tree…alllll for my own tree.

Please Save This to Pinterest
Your shares are how this site grows and I am sincerely grateful. Know a friend who’d like this? Please share it on Facebook or save it to your favorite DIY gnome tutorials board on Pinterest.

Where can I find the small color pallet
I have seen them at the craft stores in the 18-inch doll sections but many readers and viewers made their own using white foam core board from the dollar tree and adding foam for the paint.