These Mini Scandinavian Gnomes are Kissing and it’s So Sweet!
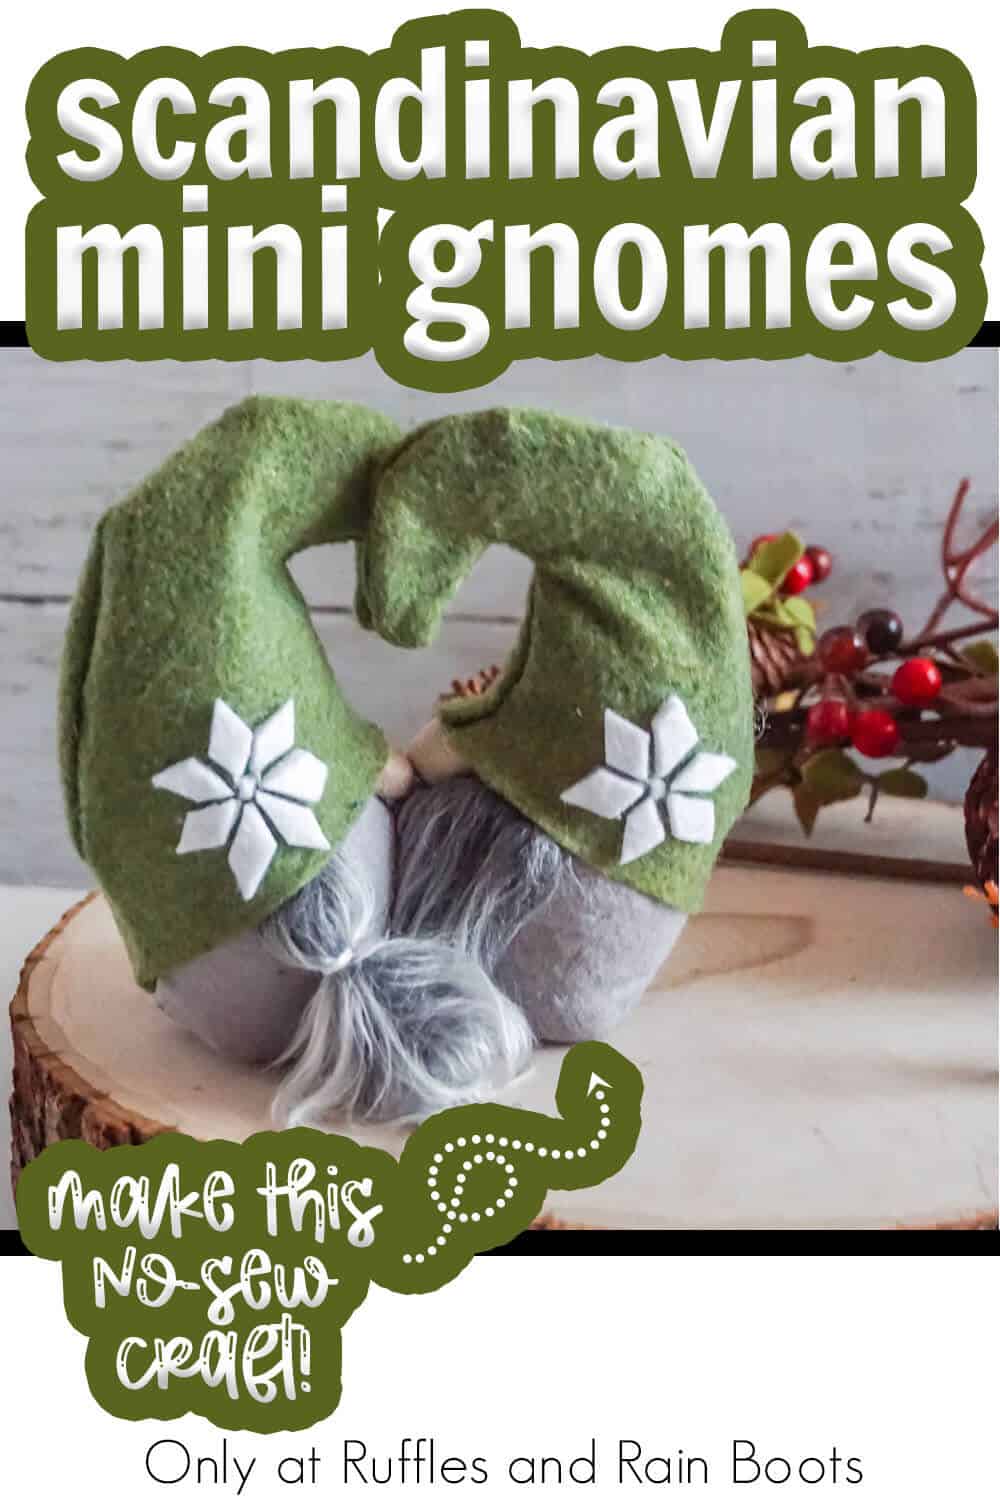
These mini Scandinavian gnomes have been on my list to make for a long time and this kissing gnome pattern makes it so sweet and easy!
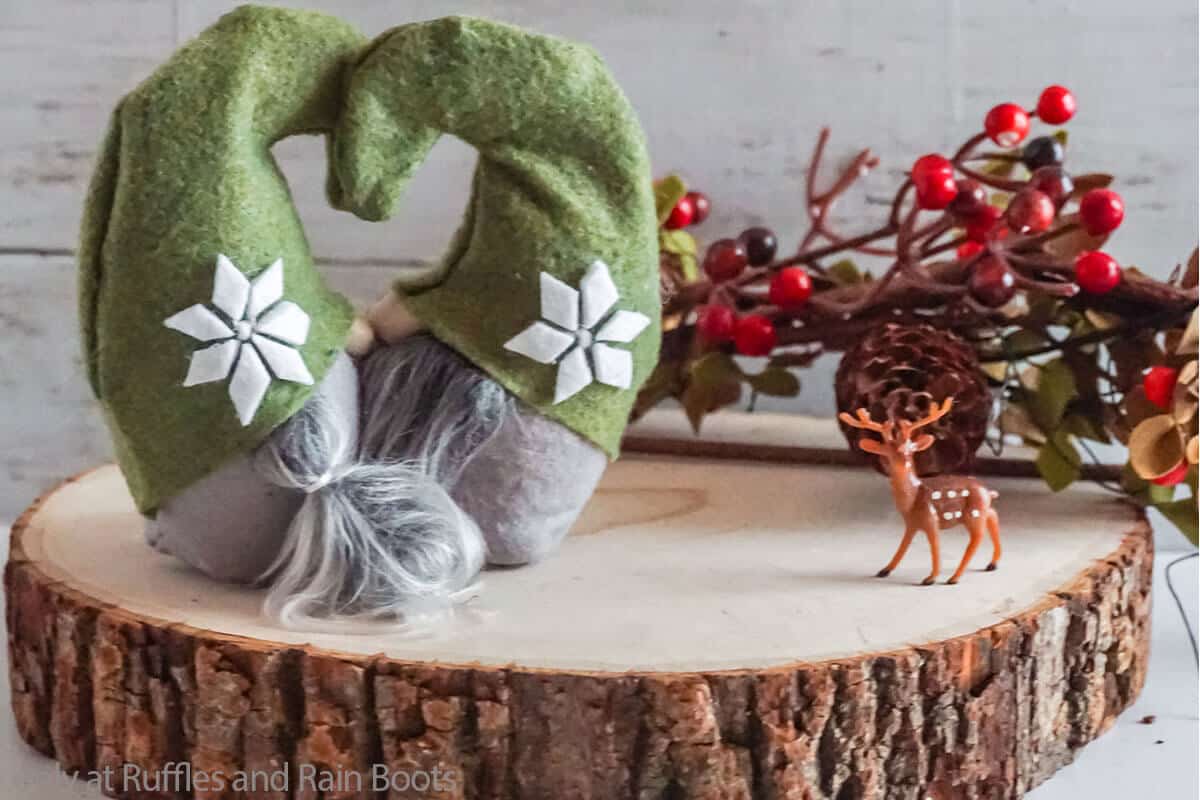
Mini Scandinavian Gnomes
Here at Ruffles and Rain Boots, we are all about gnomes, in case you haven’t noticed. But my heart will always go back to the more traditional Scandinavian gnome concept. So, knowing I wanted mini Scandinavian gnomes with a little snowflake pattern on their hats, well, I knew the kissing gnome pattern I made would be perfect.
RELATED READING: ELEGANT BEE GNOME PATTERN
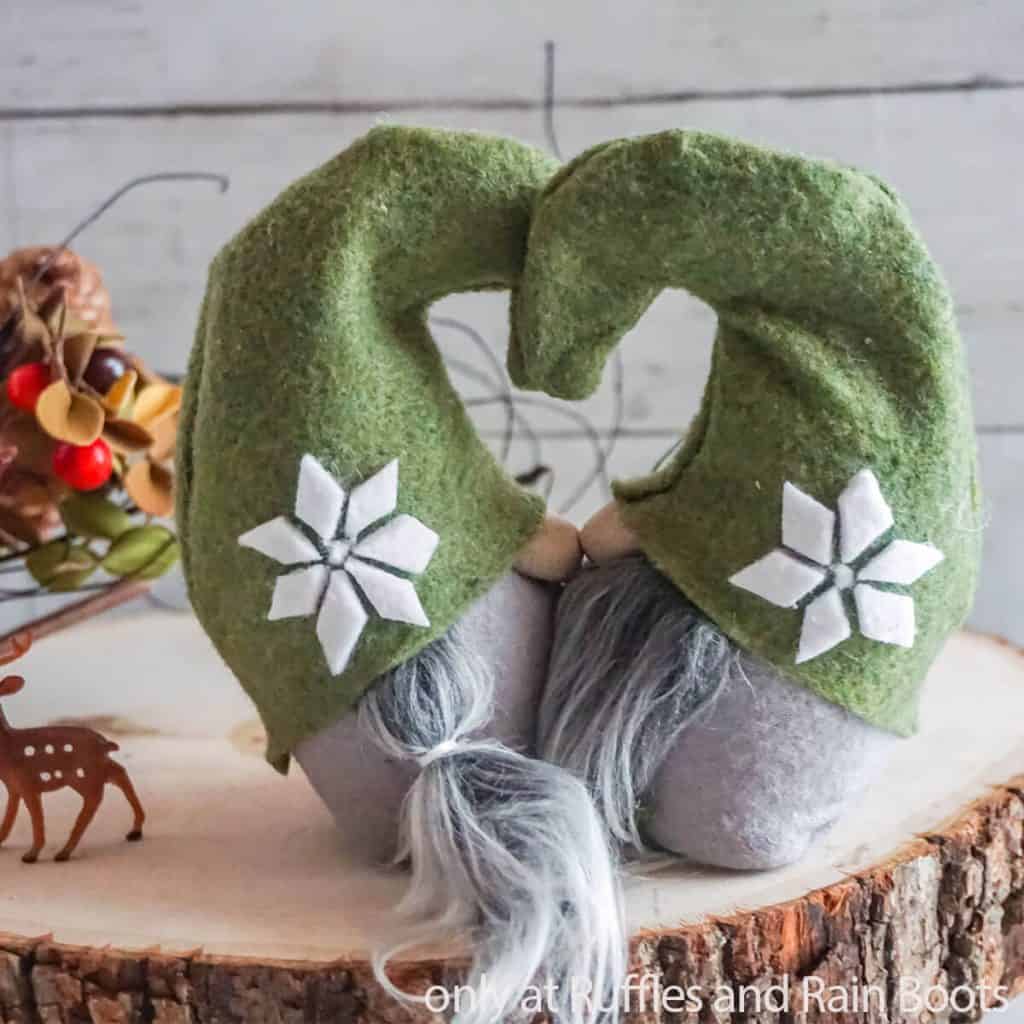
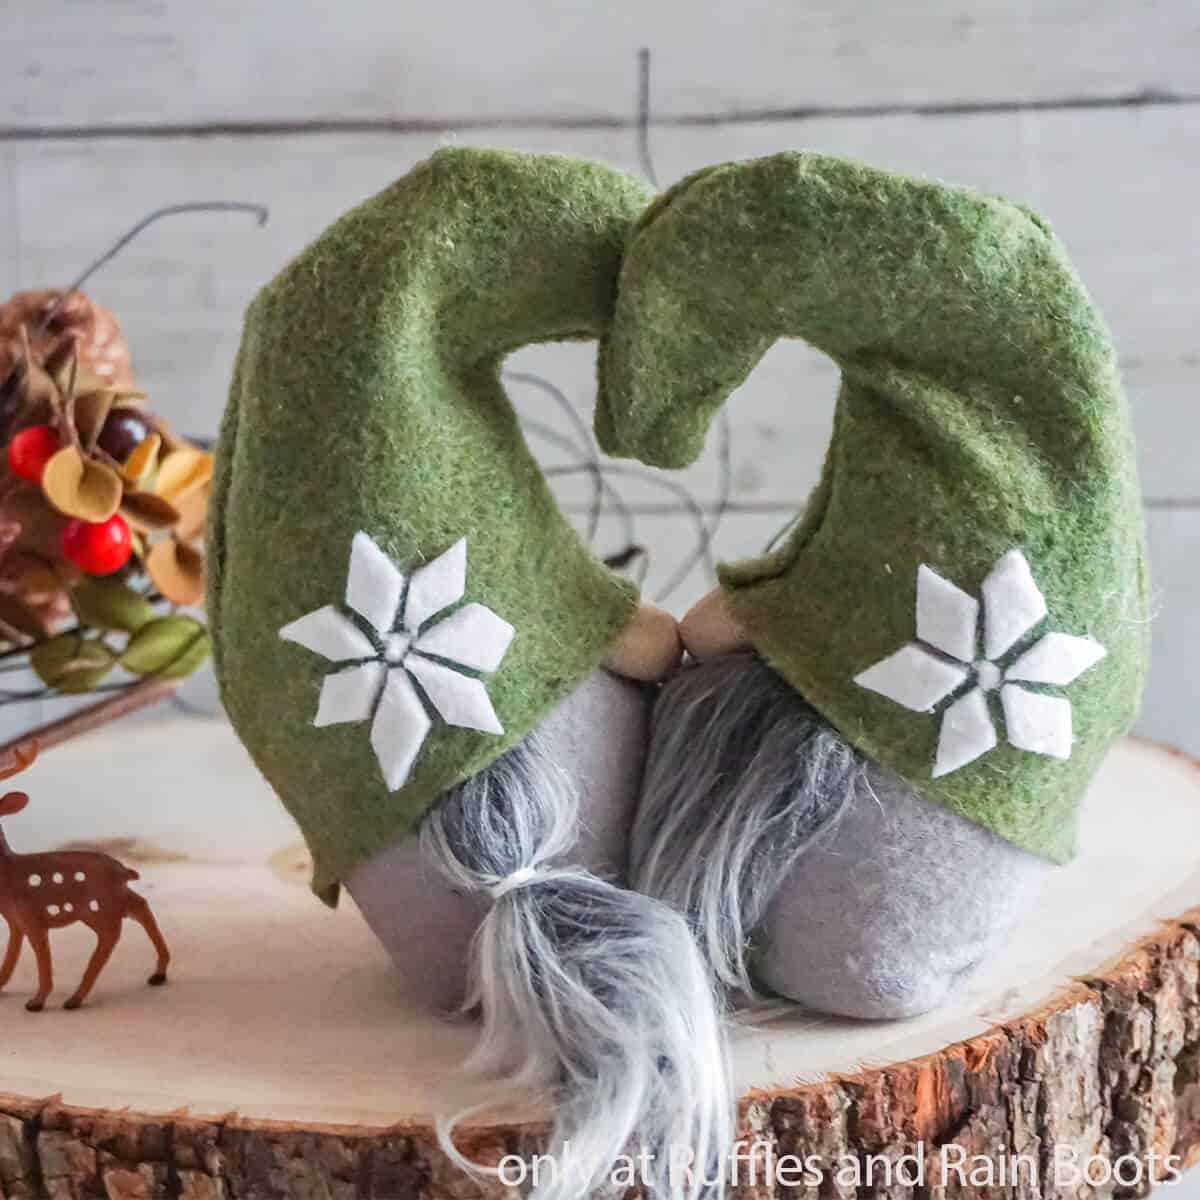
They make this little heart shape with their hats in the middle, the two of them are kissing, and the snowflakes just set it all off so perfectly. So, if you need a little gnome couple bringing Scandi-love to your farmhouse tiered tray, let’s get started.
Get Secret Gnomes, Tips, & Freebies Delivered!
What is the best pattern to use when you don’t want to sew? Do you know the secrets to a properly-proportioned gnome? Do you know where to get the best-priced fur?
Get all of this (and exclusive content just for you) delivered right to your inbox with the gnome-making series, free of charge. Sign up to get the once-weekly newsletter (and a jaw-dropping special offer)!

No Time to Make This Now? Pin it for Later
You’re busy, I get it. Pin this to your favorite DIY gnomes board on Pinterest and it’ll be here when you’re ready.
As an Amazon Associate, I can earn from qualifying purchases.
Tips to Make These Scandinavian Kissing Gnomes
- Start by snapping-up the Mini Magnetic Gnomes Pattern here. There’s a full-bodied tutorial along with all the pattern pieces necessary to make no-sew or sewn mini magnetic gnomes. So you can make them either way!
- If you like using a cutting machine like a Cricut or Silhouette to help cut the pieces to make your gnomes, you can snag the Mini Magnetic Gnome Pattern AND SVG cut file set here. Perfect if you don’t like the scissors, but want to make all the gnomes.
- This particular set of kissing mini gnomes obviously have a Scandinavian theme, but this pattern is so flexible, you can use it to make just about any themed gnome you’d like. I’ve made bee gnomes, farmhouse gnomes, Valentine gnomes, and I might even be planning some truly Christmas-themed gnomes!
Get the Gnome Pattern
Click below to add this fun pattern to your cart. So many gnomes can be made with this!
How Do I Make these Mini Scandinavian Gnomes?
I’m so glad you asked. Below is our written tutorial.
Mini Scandinavian Gnomes Pattern
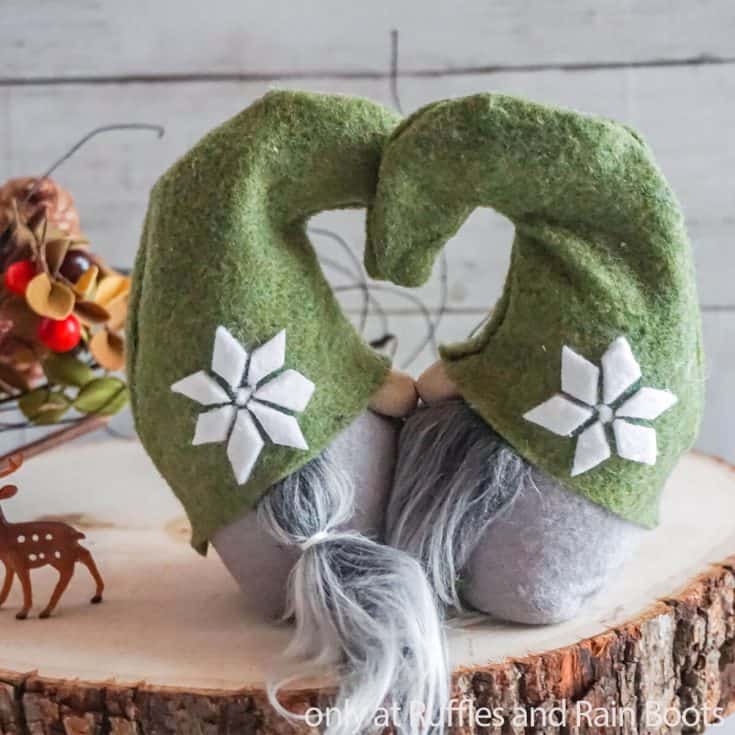
So fun to make and easy too, this mini Scandinavian gnome pattern is quick and makes the cutest little kissing gnomes that are so sweet!
Materials
Gnomes
- Mini Magnetic Gnomes Pattern
- Mini Magnetic Gnomes Pattern SVGs, optional
- Scraps White Premium Felt
- 1/8 yard Solid Grey Flannel Fabric
- 1/8 yard Dark Green Premium Felt
- Mongolian Faux Fur
- Small Amount of Poly-Fill
- 1 cup Poly-Beads
- 2 Round 3/4-inch Magnets (for noses)
- 1 Pantyhose Toe Sock (for noses)
- White Embroidery Thread
- 1 Chenille Wire
Tools
- Hot Glue Gun & Glue
- Scissors
- Razor Blade or Craft Knife
- Funnel
- Wire Cutters
- Sewing Machine, optional
- Parchment Paper
Instructions
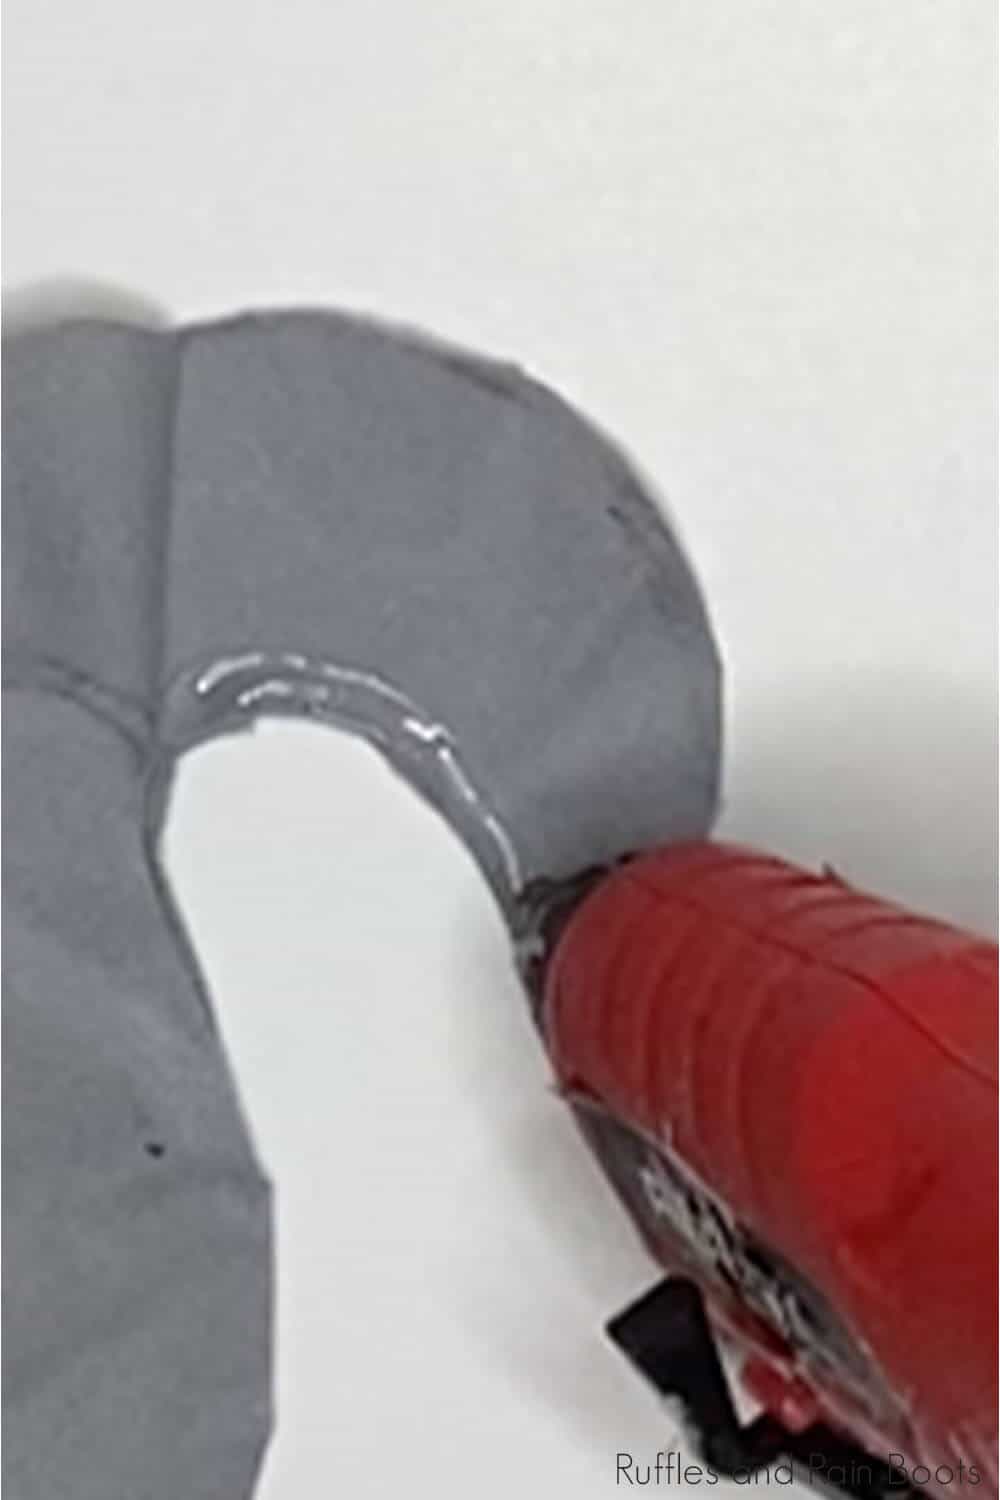
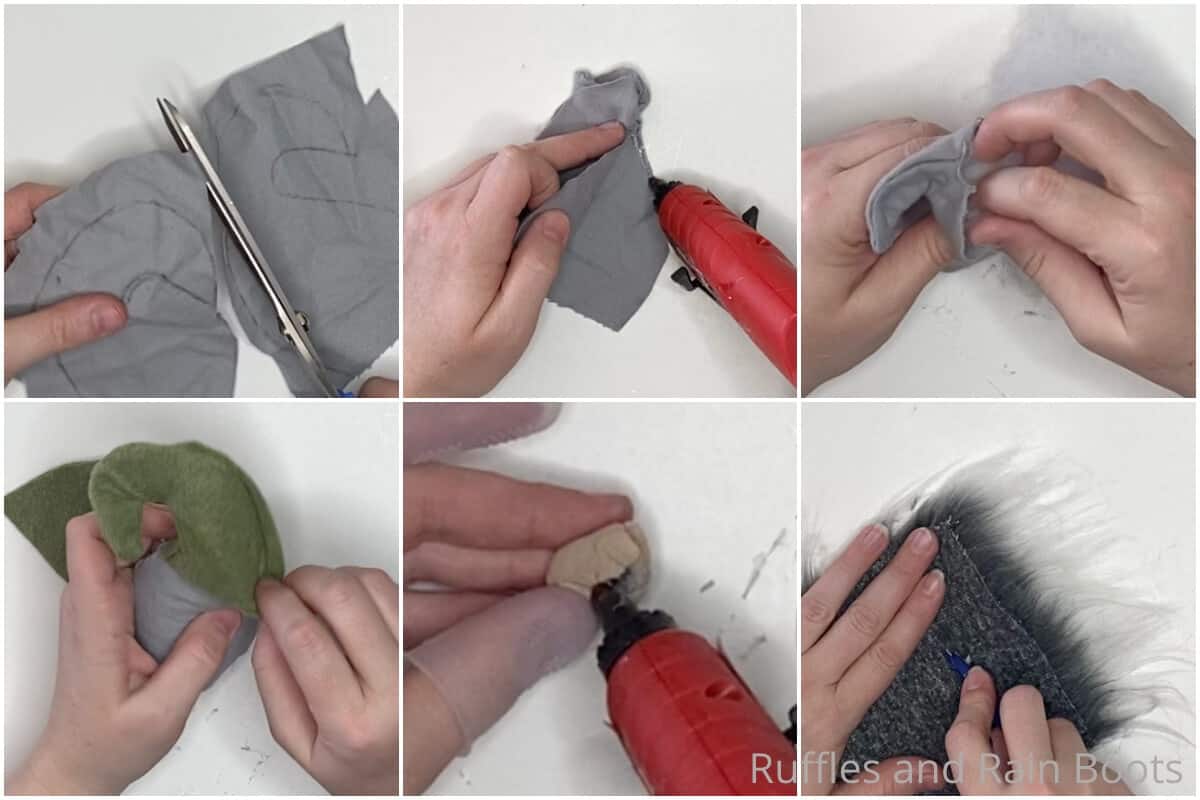
- Cut two body shapes from the solid grey flannel fabric, place them right-side-to-right-side then hot glue hem the curved tip part of the body, stopping well before the body straightens.
- Flip the loose body pieces right-side-out, fold the pointy tip of the body down and then fold the two loose sides of the body back around the tip, right-side to right-side. Finish hot gluing the two sides together leaving a 1-2 inch section un-glued on the top on one side.
- Cut one circle base shape from the solid grey flannel fabric and affix it to the bottom of the body shape with hot glue, then turn the entire body shape right-side out.
- Fill the gnome body with poly-beads followed by poly-fill. Fit half of a chenille wire into the pointy part of the body shape to help it hold its curve, then hot glue hem the remaining opening in the body closed.
- Cut two hat shapes form the green premium felt, place them right-side to right-side then hot glue hem the curved pointy tip part of the hat, stopping well before the hat straightens.
- Flip the loose pieces of the hat right-side-out, fold the pointy tip of the hat down and then fold the two loose sides of the hat back around the tip, right-side to right-side. Finish hot gluing the two sides of the hat together. Pull the hat over the tip of the body shape.
- Add a very small amount of poly-fill and one of the magnets to the center of a 2-inch diameter circle cut from the panty hose fabric. Wrap the panty hose piece snugly around the poly-fill and magnet then hot glue it in place on the back side of the magnet.
- Make a second gnome body, hat, and nose using the same method as above.
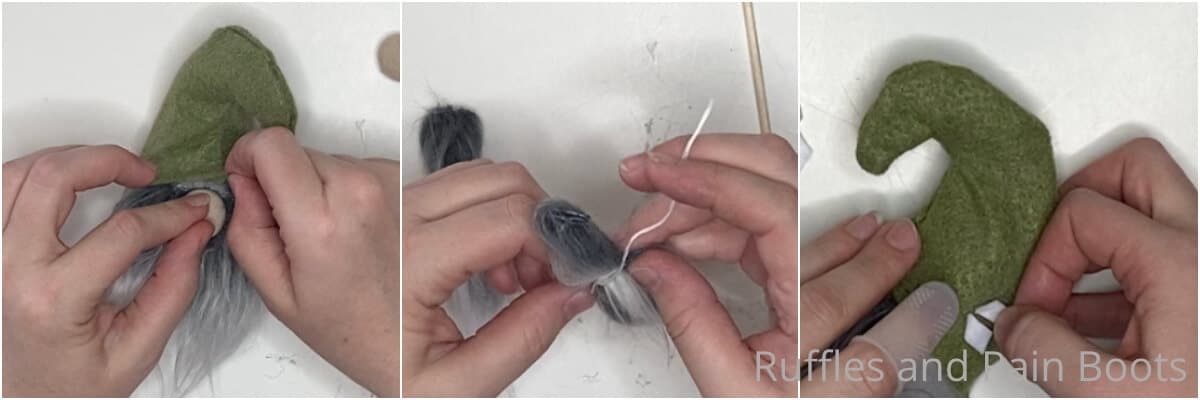
- To make the gentleman gnome, cut the beard shape from the Mongolian fur using a craft knife on the back side only of the fur, cutting only the fabric backing. Hot glue the beard to the front of the gnome, then hot glue the nose to the beard, where marked on the pattern.
- Tuck the hat down over the nose about halfway and hot glue it in place. Additionally, add a dab of hot glue to the back of the gnome, pulling the hat down low on the gnome's back to open up the face a little.
- To make the gnomette, make two little ponytails (very little) from the Mongolian faux fur and attach them on either side of the gnome body. Hot glue the nose where marked on the pattern, then hot glue the hat in place as When you bring the two gnomes close to one another, the magnets will bring them together for a smooch!
- Cut the scraps of white felt into the diamond shapes from the pattern, cutting 12 diamond shapes total. Hot glue 6 of the diamonds in place on the front-facing side of each gnome in a circle, with a small round piece of white felt in the center.
Notes
These mini magnetic gnomes stand 4 1/2 inches tall, whether sewn or no-sew methods are used to construct them.
For more fun gnome patterns, visit Ruffles and Rain Boots!
Recommended Products
As an Amazon Associate and member of other affiliate programs, I earn from qualifying purchases.
More Easy Gnome Patterns You Might Like
- Gnome Boots and Shoes Pattern Set – If you’re a serious gnome-enthusiast, you know that adding shoes can make your creations really stand out and these 17 patterns will give you countless ideas!
- Bubble Body Gnome – This fun pattern is all about being easy but fun – in both no-sew and sewn versions that are fast too.
- Farmhouse Gnome Pattern – Definitely one of the most squishy gnomes I’ve ever made, I wuv his little face and that fluffy hat!
Please Save This to Pinterest
Your shares are how this site grows and I am sincerely grateful. Know a friend who’d like this? Please share it on Facebook or save it to your favorite Scandinavian crafts board on Pinterest.
