
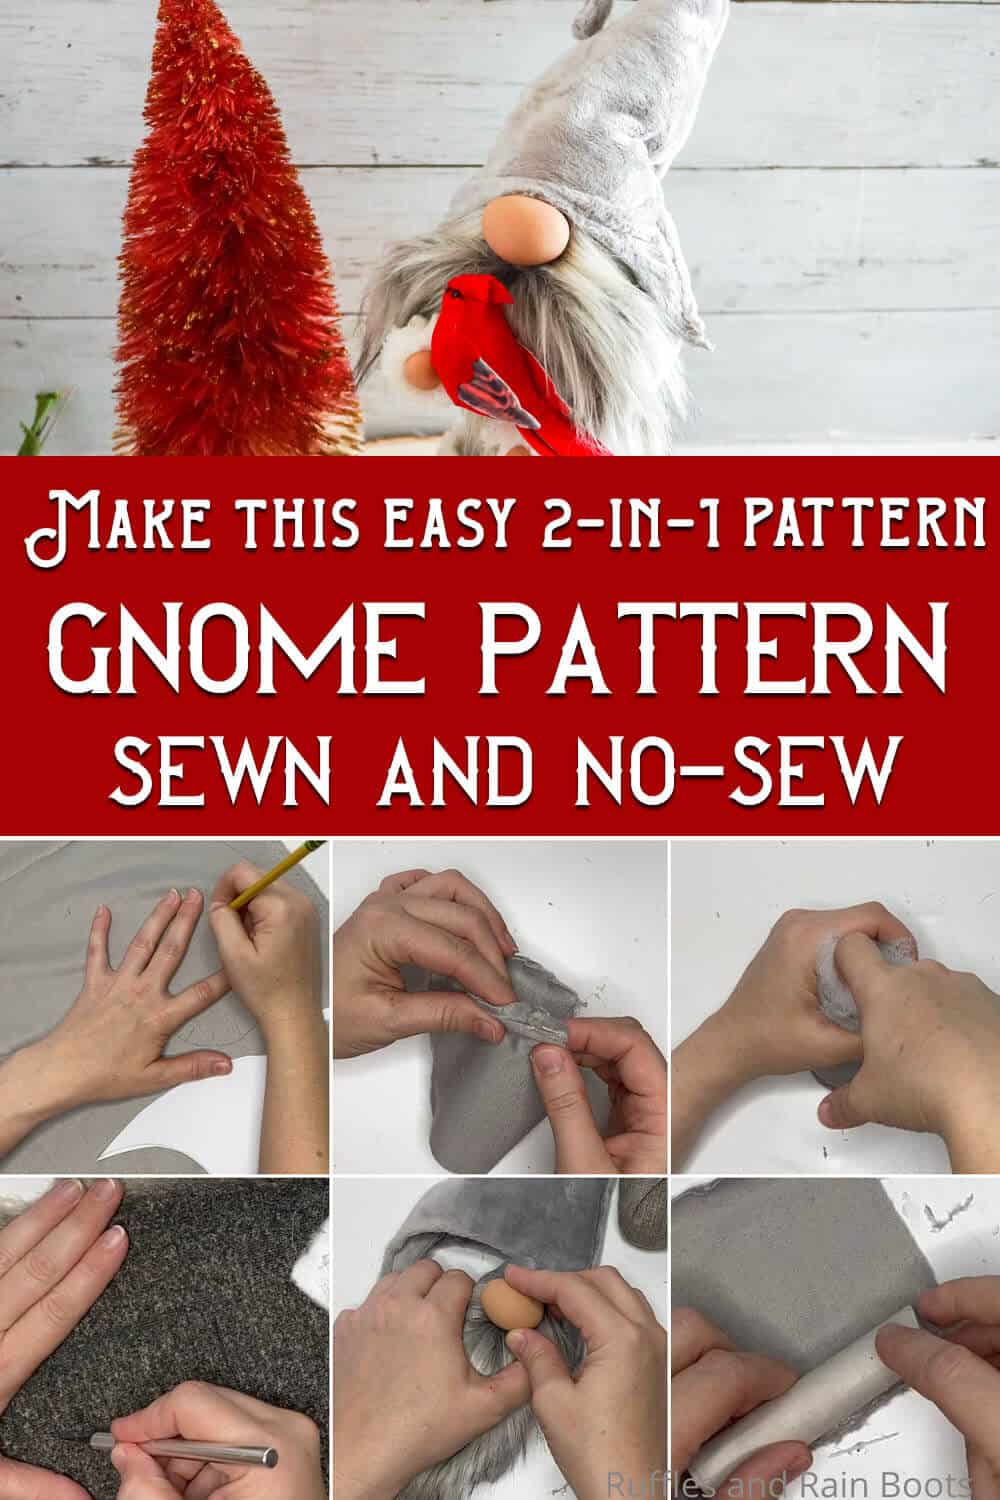
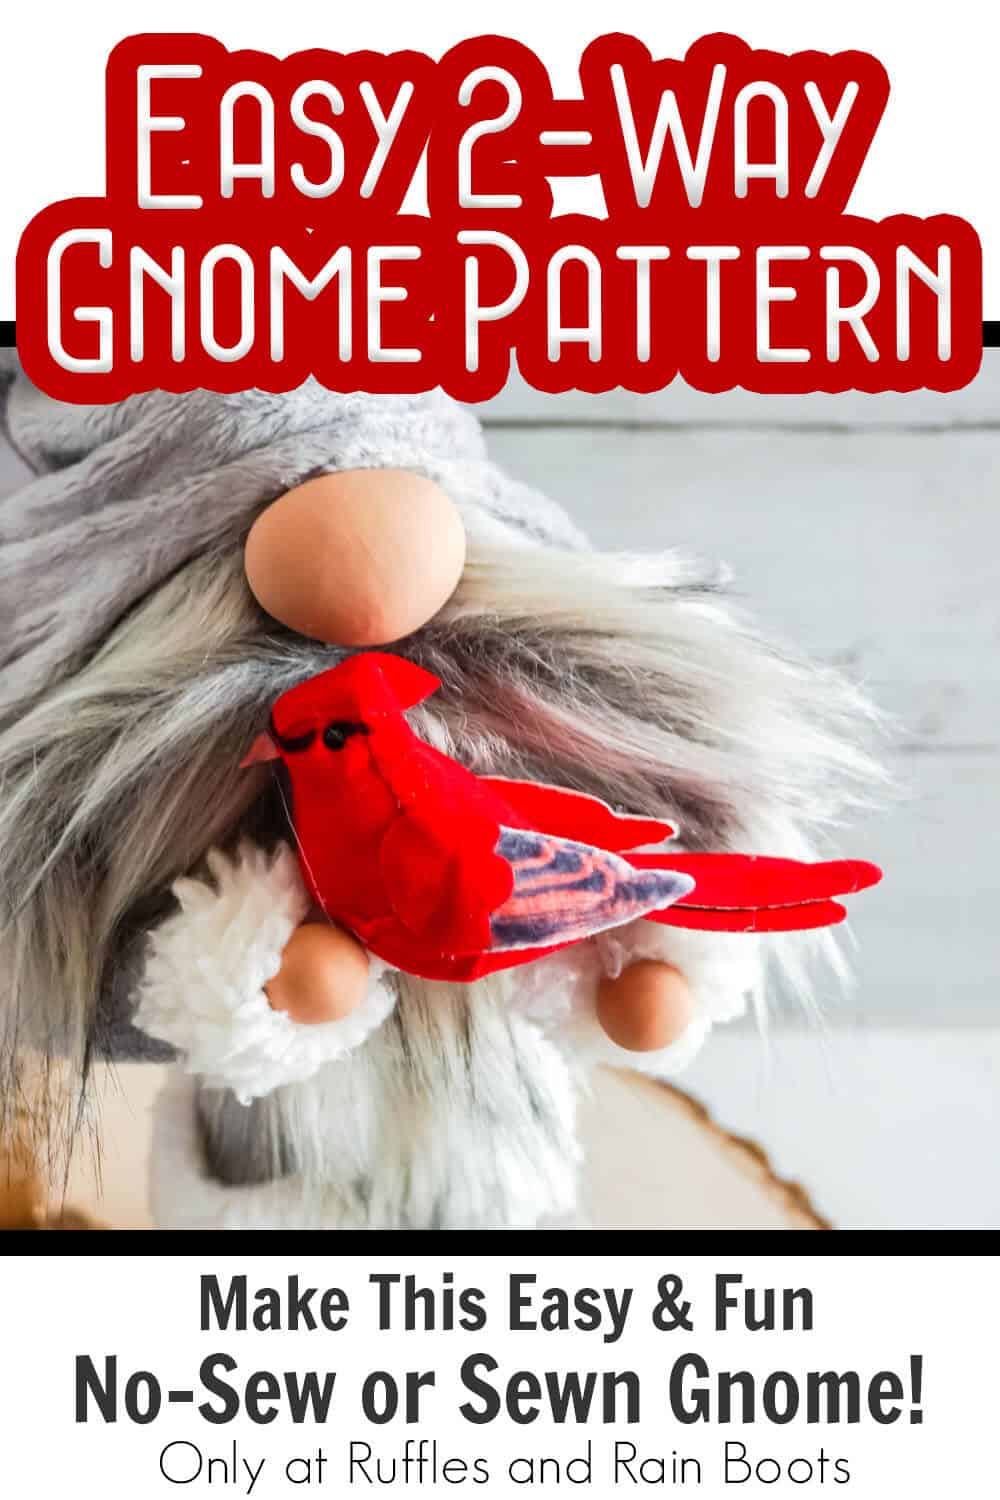
Bubble Body Gnome: A No-Sew Gnome Pattern and a Sewn Gnome Pattern
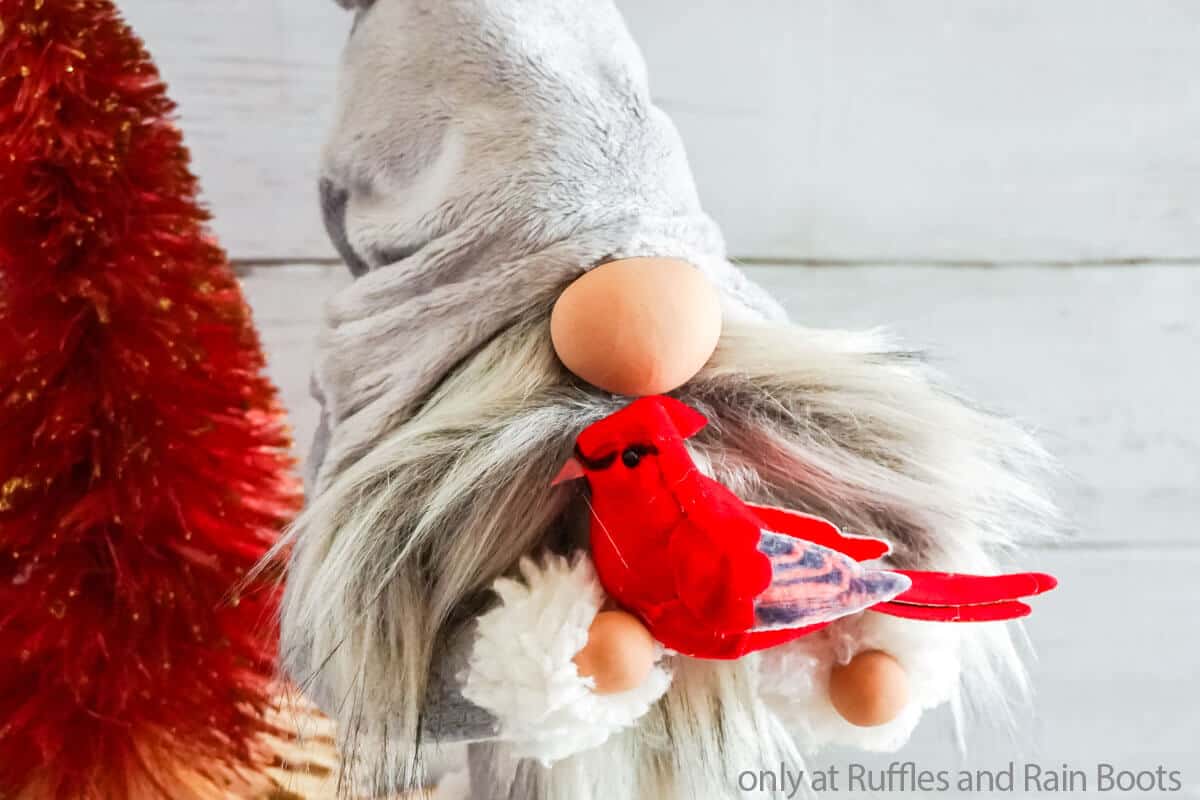
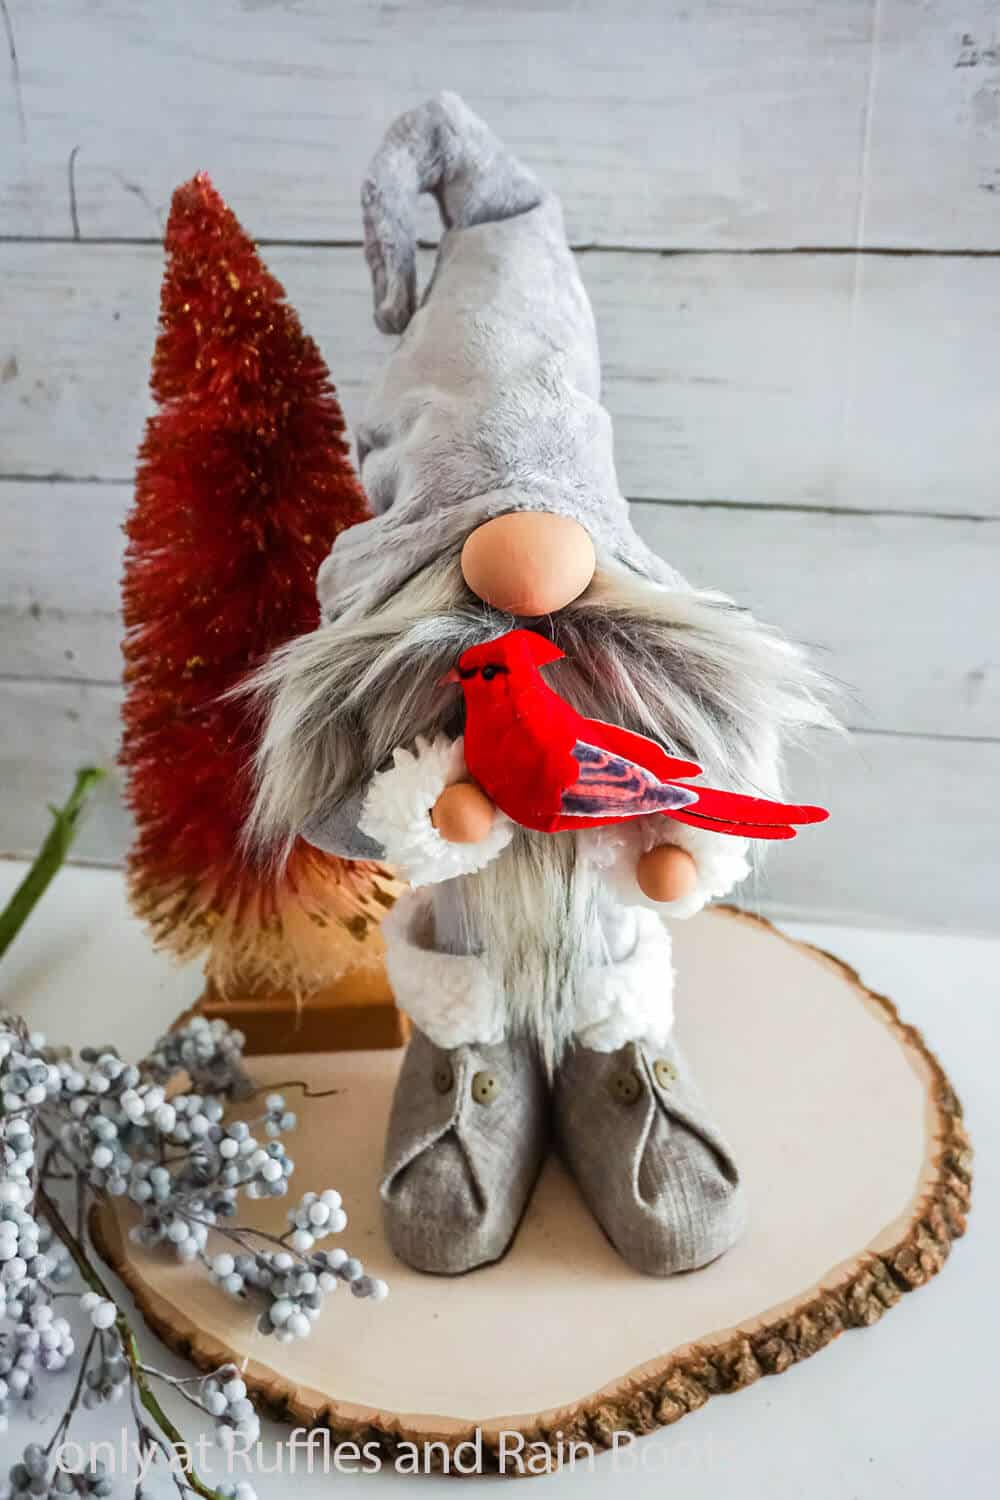
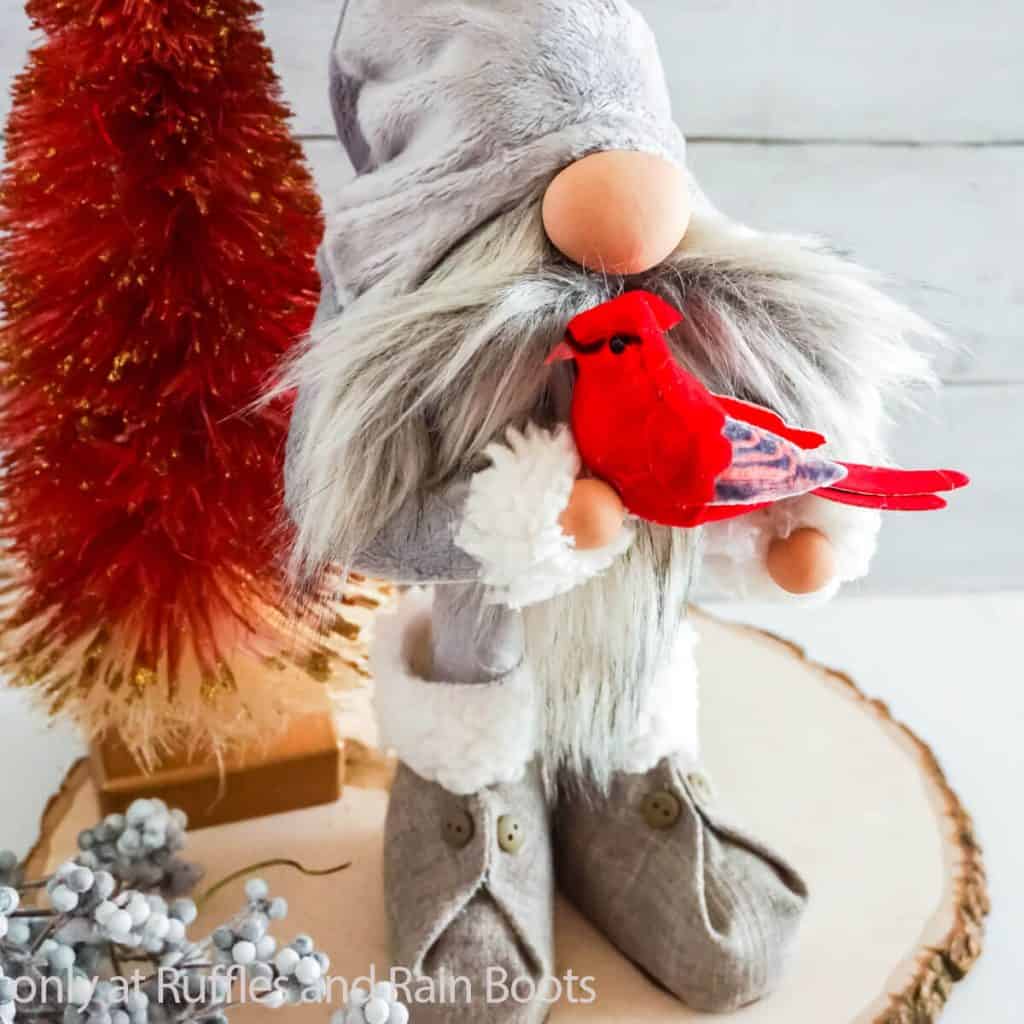
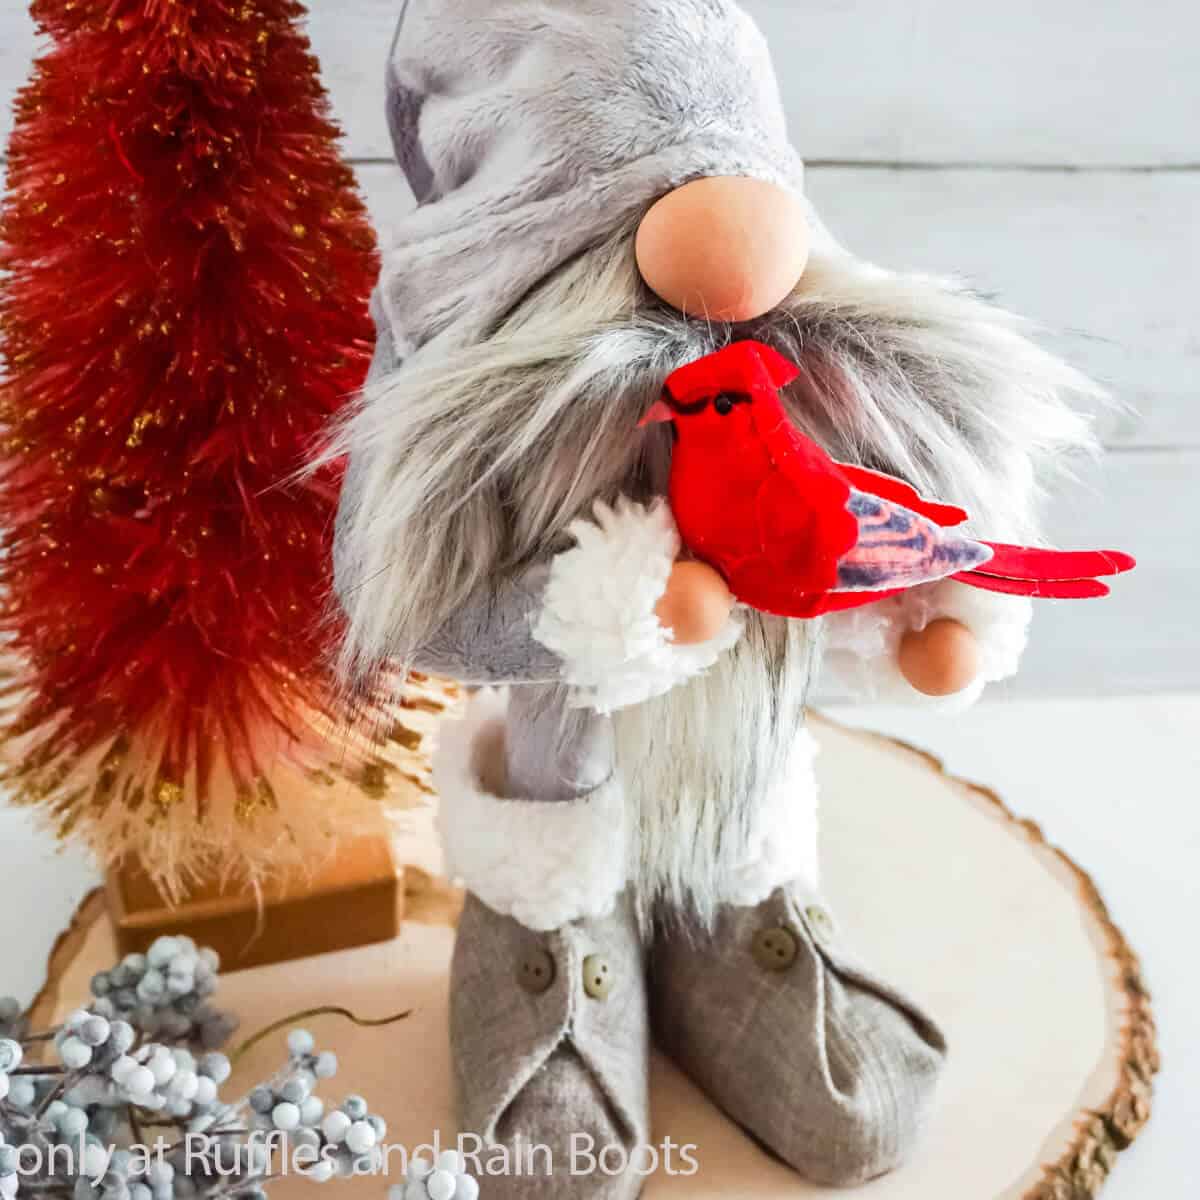
If you’ve ever wondered how to make an adorable memorial gnome (either with a hot glue gun or a sewing machine, the Bubble Body Gnome Pattern is the one for you. This easy pattern is a fun, bulbous 15-inch standing gnome.
What You'll Find On This Page
Bubble Body Gnome Pattern
Here at Ruffles and Rain Boots, we absolutely love making gnomes. No, seriously, if there’s a gonk to be made, I’m on it. And if it gets a little complicated, I love making a gnome pattern that I can share – it’s become a passion. So, when I figured out this dual pattern to make both a sewn gnome pattern AND a no-sew gnome pattern that looked identical, well, I couldn’t resist sharing!
RELATED READING: MY MOST POPULAR GNOME PATTERN (TOTALLY NO-SEW!)
Both pattern styles, I worked hard to make just super easy so that they can be made by beginners and experts alike. The important thing to me is that these gnome patterns produce a consistently adorable gnome every time. If you’re ready to make a fun gnome from either of these two patterns, let’s get started.
No Time to Make This Now? Pin it for Later
You’re busy, I get it. Pin this to your favorite DIY crafts board on Pinterest and it’ll be here when you’re ready.
As an Amazon Associate, I can earn from qualifying purchases.
Tips to Make this No-Sew Gnome Pattern and Sewn Gnome Pattern
- Click here to get the Bubble Body Gnome pattern which includes both the no-sew gnome pattern and the sewn gnome pattern to make this adorable guy. The pattern is more than just a sheet with lines and dots, indiscernible if you’ve never read a pattern before. Rather, I try to make ALL of my patterns more like a detailed tutorial of how to make the gnome or gnome accessory. Seriously, I lay it all out for you, every detail.
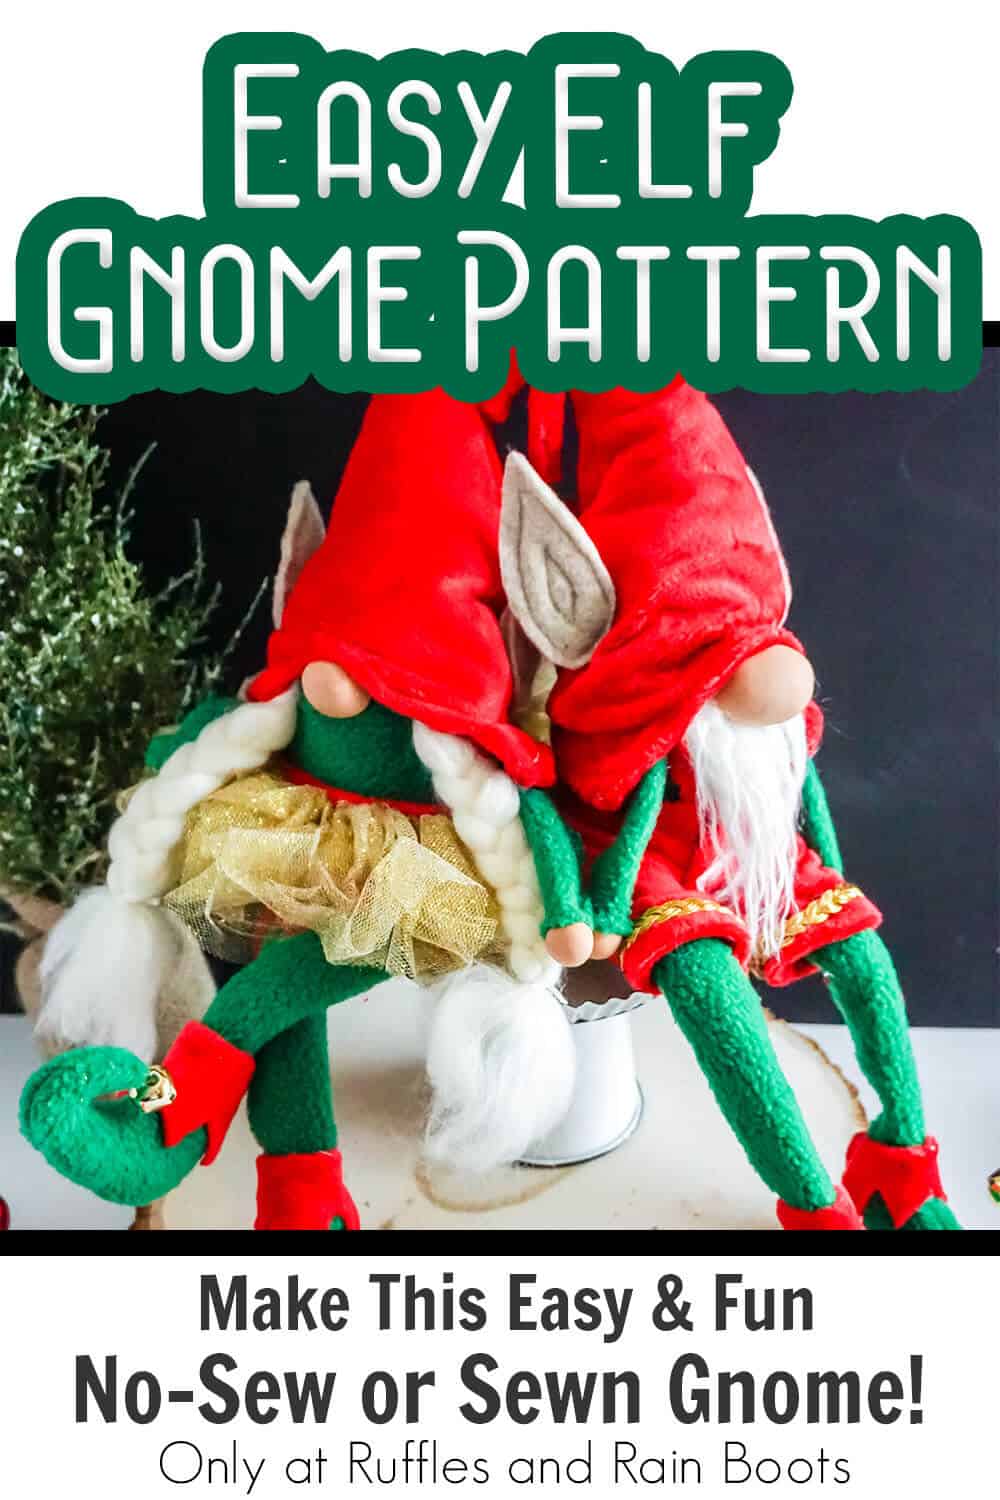
- This pattern produces a 15 inch standing gnome as shown here, but also can make adorable shelf sitters. The elf gnomes you see below were made using this same pattern!
- If you’d like to use your Cricut or Silhouette to cut out the pieces to make your gnome, you can grab the Bubble Body Gnome pattern with cut files here. Just really handy if you like using a cutting machine to do all the snipping for you.
- Generally, I find myself making my gnome noses with whatever I find laying around. Sometimes it’ll be wood beads, sometimes buttons. For this particular gnome project, I wanted a very large nose, so I made the gnome nose and hands from polymer clay.
- For the no-sew pattern, I used hot glue to make all my hems. If this is the way you’re going with this gnome pattern, t’s my recommendation that you use a fabric hot glue stick like these or my favorite brand of non-fabric glue here.
- If you’ve never worked with faux fur before, I made a quick video tutorial on how to cut faux fur here to help you get started. Please, do not use scissors, just trust me, you won’t be happy. :)
Get the Gnome Pattern
Click below to add this fun pattern to your cart. So many gnomes can be made with this!
Tips to Make An Elf Gnome Pattern
- Click here to get the Bubble Body Gnome pattern which includes both the no-sew gnome pattern and the sewn gnome pattern to make an elf gnome. Yes, it’s the same pattern as the grey gnome above – but it ALSO has details and tutorial to make the elf gnome! So many options!
- If you’d like to use your Cricut or Silhouette to cut out the pieces to make your gnome, you can grab the Bubble Body Gnome pattern with cut files here. Just really handy if you like using a cutting machine to do all the snipping for you.
- Although there is a pattern included in the bubble body gnome pattern for an elf shoe for a sitting gnome, I also though “hey, you know what would be fun? a standing elf gnome!” So, I made this fun no-sew standing elf gnome shoe pattern here.
How Do I Make this Bubble Body Gnome Pattern?
I’m so glad you asked. Below is our written tutorial. If you are a visual person, I highly recommend watching the standing gnome tutorial here on YouTube.
Bubble Body Gnome Pattern

Whether you're making this easy gnome pattern no-sew or sewn, the Bubble Body Gnome pattern is straightforward, fast and fun!
Materials
No-Sew Gnome
- 1/4 yard Grey Minky Fabric
- 1 Large Polymer Clay Bead
- 2 Small Polymer Clay Beads for Hands
- Faux Fur
- Small Amount of Polyfill
- 2 cups Poly Beads
- Scraps Lambswool Fur or Other Trim
- 2 Foam Hair Curlers for Arms, optional
- 2 - 1-inch by 5-inch Cardboard Tubes for Legs, optional
Sewn Gnome
- 1/4 yard Green Fleece Fabric
- 1/4 yard Red Minky Fabric
- Beige Premium Felt for Ears
- 1 Large Polymer Clay Bead
- 2 Small Polymer Clay Beads for Hands
- Off-White Crinkle Faux Fur
- Small Amount of Polyfill
- 2 cups Poly Beads
- 2 Floral Wires for Legs, optional
- Matching Thread
Tools
No-Sew Gnome
- Hot Glue Gun & Glue
- Scissors
- Razor Blade or Craft Knife
Sewn Gnome
- Sewing Machine
- Sewing Needle
- Hot Glue Gun & Glue
- Scissors
- Pencil
Instructions
No-Sew Gnome (Standing Gnome)
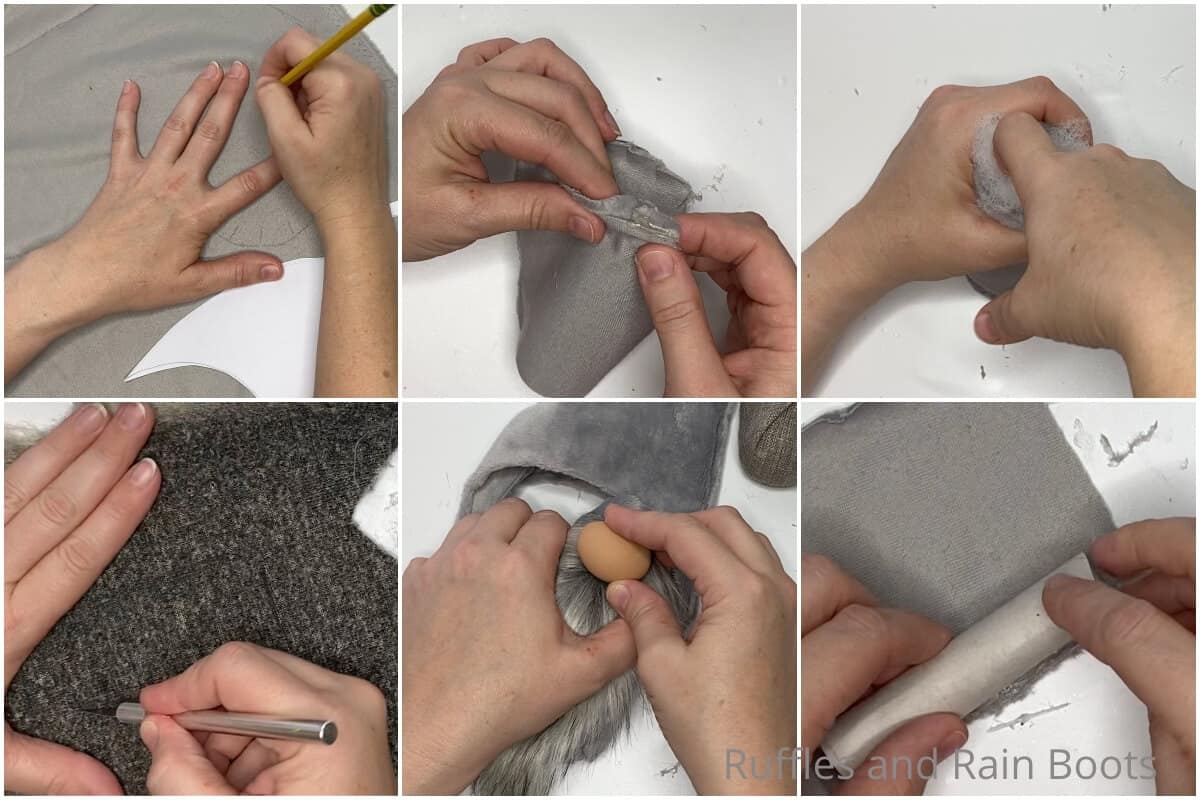
- Trace and cut out one gnome body shapes and 2 hat shapes out of the grey minky fabric.
- Fold the gnome body shape in half and run a hot glue hem along the open side. Cut slits in the flap about 1/2 inches long and 1 inch apart, then fold the flap of the gnome body shape over and close the bottom of the gnome with hot glue. Allow the glue to dry fully.
- Turn the body of the gnome right side out. Fill the gnome body with 1-2 cups of poly beads. Tuck a small portion of polyfill into the top of the gnome body to hold the poly beads inside.
- With your hot glue gun, run a hem along two of the hat pieces. Allow glue to dry completely. Turn the hat right side out and fill the hat a little with a small amount of polyfill.
- Cut out the beard shape from the Mongolian fur by turning the fur over and cutting only the fabric with the razor blade or craft knife.
- Affix the beard to the gnome by hot gluing the beard to the body, about 2 inches below the top edge of the gnome body. Hot glue the nose in place about 1-inch below the top of the beard. Place the hat on top of the gnome's head, tucking it down over the top of the nose.
- Hot glue the hat in place in the back and sides in just a couple of places--not the whole way around, then one little dot on the nose to make a wrinkle (this is the best part).
- Cut out two arm shapes from the grey minky fabric. Place a line of hot glue down one long side of the arms and hem it, then roll the fabric around a foam hair curler and hot glue it in place. Repeat to make a second arm.
- Slip the arm up into the hat on the side and hot glue it in place. Hot glue the hands in place on the ends of the arms, adding trim if desired.
- Make the legs by cutting two leg shapes from the grey minky fabric. Place a line of hot glue down one long side of the legs and hem it, then roll the fabric around a paper roll and hot glue in place. Repeat to make a second leg.
- I made the fluff-top boots in my gnome shoe and boot pattern set here, then stuffed the legs down into the top of the boot, hot gluing them in place.
- Stand your gnome up and enjoy!

Sewn Gnome (Sitting Gnome)
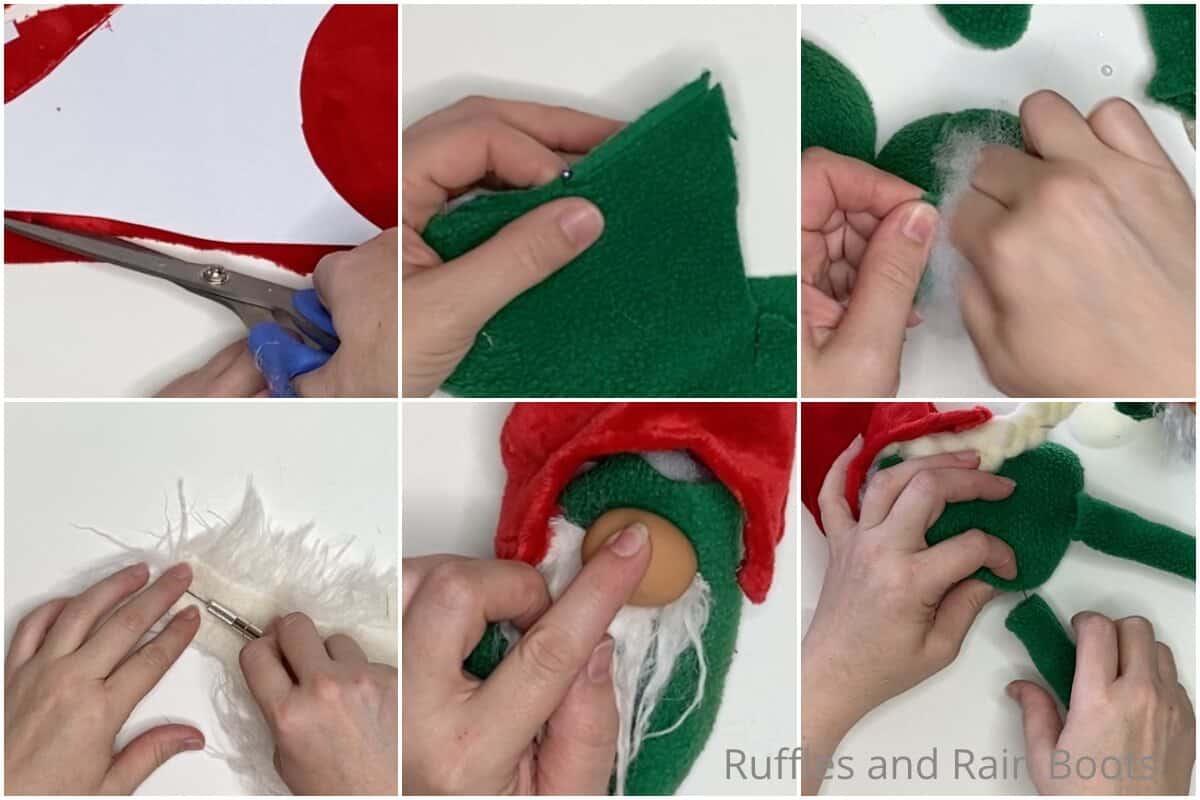
- Trace and cut out one gnome body shapes and 2 hat shapes out of the green fleece fabric.
- Fold the gnome body shape in half and in it in place, then run a hem along the open side. Fold the flap of the gnome body shape over and pin it to the open end of the body. Hem the flap to the bottom of the gnome body.
- Turn the body of the gnome right side out. Fill the gnome body with 1-2 cups of poly beads. Tuck a small portion of polyfill into the top of the gnome body to hold the poly beads inside.
- Hem the two long sides of the hat pieces together. Turn the hat right side out and fill the hat a little with a small amount of polyfill.
- Cut out the beard shape from the Mongolian fur by turning the fur over and cutting only the fabric with the razor blade or craft knife.
- Affix the beard to the gnome by hot gluing the beard to the body, about 2 inches below the top edge of the gnome body. Hot glue the nose in place about 1-inch below the top of the beard. Place the hat on top of the gnome's head, tucking it down over the top of the nose.
- Hot glue the hat in place in the back and sides in just a couple of places--not the whole way around, then one little dot on the nose to make a wrinkle (this is the best part).
- Cut out two arm shapes from the green fleece fabric. Fold one of the arm shapes in half and pin in place. Hem each of the arm shapes, then turn them right side out. Stuff with a small amount of polyfill and a floral wire to make them bendy. Repeat to make a second arm.
- Slip the arm up into the hat on the side and hot glue it in place. Hot glue the hands in place on the ends of the arms, adding trim if desired.
- Make the legs by cutting two leg shapes from the green fleece fabric. Fold one of the leg shapes in half and pin in place. Hem each of the leg shapes, then turn them right side out. Stuff with a small amount of polyfill and a floral wire to make them bendy. Repeat to make a second leg.
- Hand stitch the two legs onto the bottom of the gnome.
- I was making elf gnomes so I made little elf shoes, tucked them onto the ends of the legs and hand stitched them in place.
- Sit up your gnome and enjoy!
Notes
For more fun gnome patterns, visit Ruffles and Rain Boots!
Recommended Products
As an Amazon Associate and member of other affiliate programs, I earn from qualifying purchases.


More DIY Gnome Patterns You Might Like
- Easy DIY Cozy Gnome Pattern – This simple sewn gnome pattern is perfect for beginners or experts alike because it’s super customizable!
- Gnome Napkin Rings – The perfect no-sew pattern to make a set of napkin rings or even a mug cozy for a wonderful gift idea!
- Free Felt Gnome Pattern – A super easy trio of gnomes you can make by sewing, no-sew, or a hybrid!
Please Save This to Pinterest
Your shares are how this site grows and I am sincerely grateful. Know a friend who’d like this? Please share it on Facebook or save it to your favorite easy DIY crafts board on Pinterest.
Meet the Creator
Hi there, I’m Sarah Nenni-Daher. I’m a crafty gal and always have at least 14 projects going at once. I am a crafter, designer, DIYer, and pattern maker. I share my creations here and in the Ruffles and Rain Boots® Shop.
Here at Ruffles and Rain Boots®, you’ll find DIY gnomes, crafts, gifts, cupcakes, laser crafts, and so much more. I love sharing video tutorials over on YouTube and chatting with other crafters in my Facebook groups. We’d love to have you!