
Cricut Joy Craft: Bee Mini-Canvas
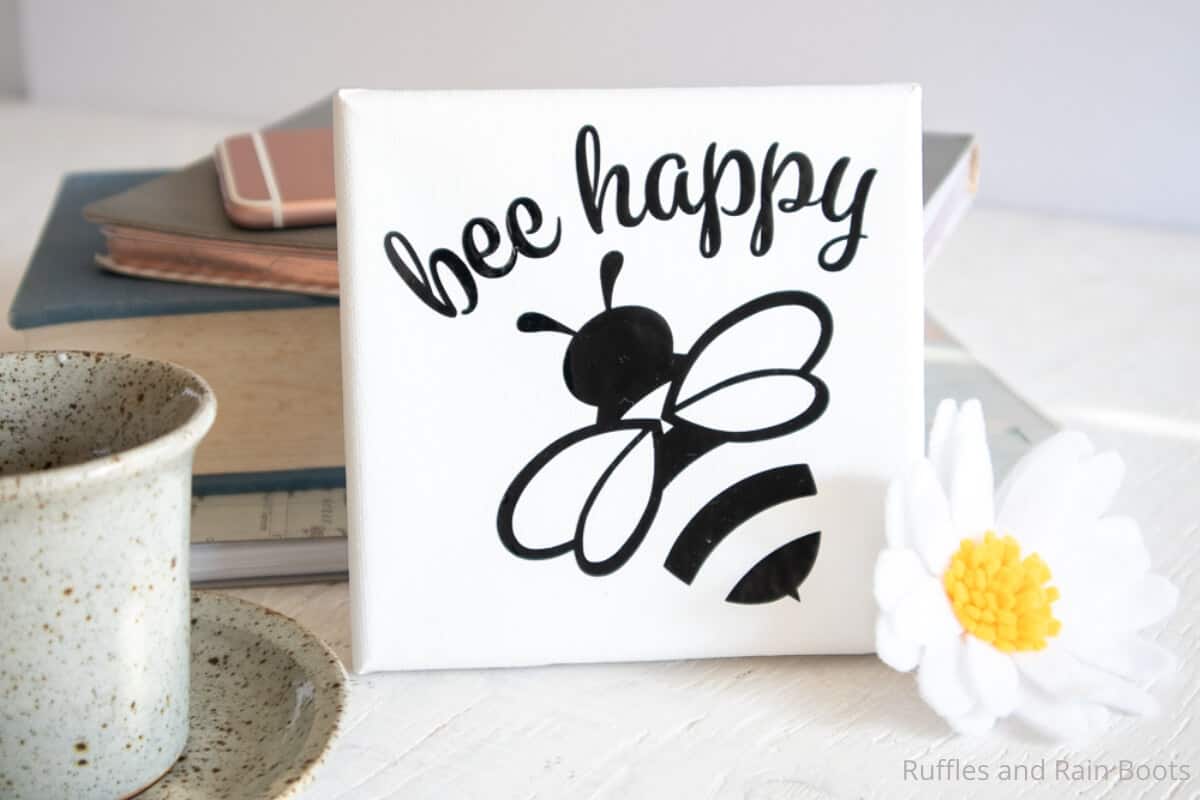
You will believe how adorable and easy this bee mini-canvas made with a Cricut Joy is to put together. This is a Cricut project idea for beginners – it’s a single color of vinyl you can attach for a single cut.
If you have any Cricut or Silhouette machine, use the free bee SVG to make this fun spring DIY. And just so you know – this doesn’t have to be made tiny. The size is up to you!
What You'll Find On This Page
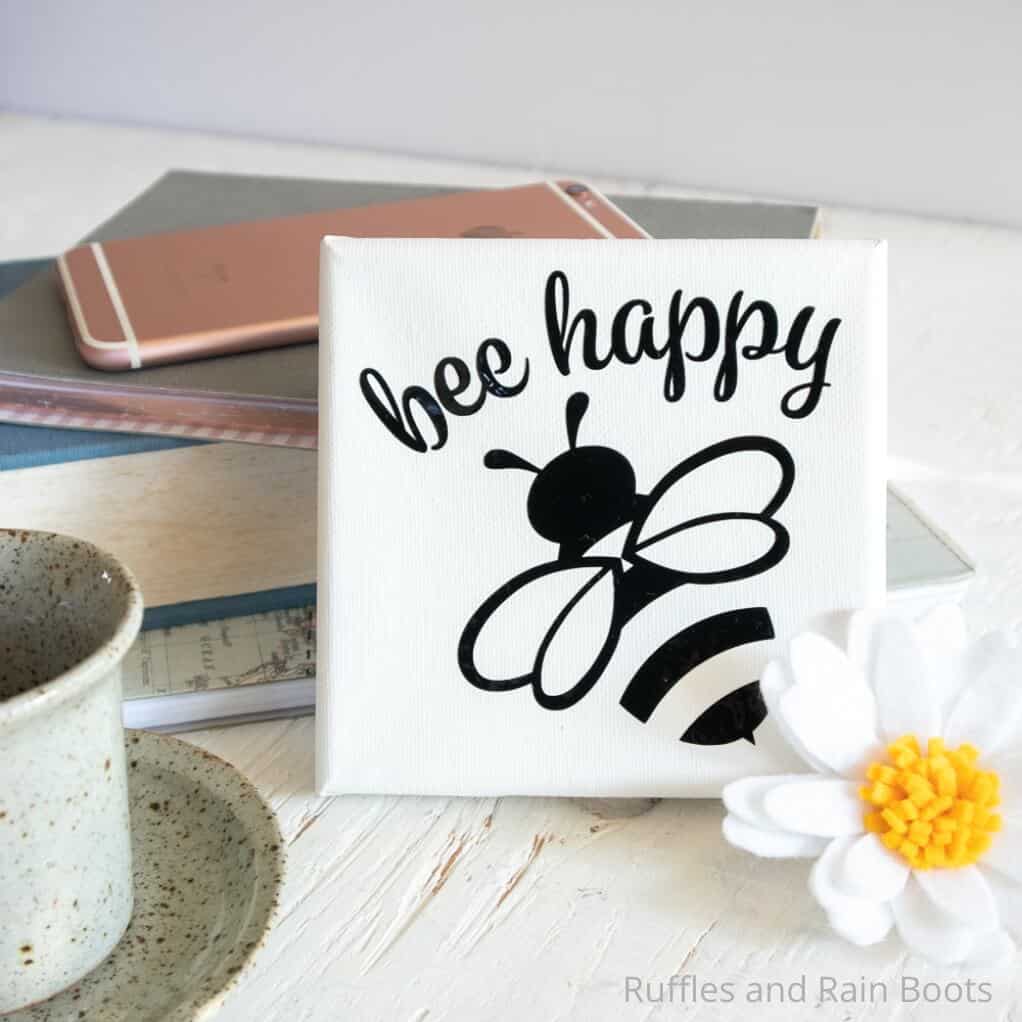
Bee Mini-Canvas with Cricut Joy
Here at Ruffles and Rain Boots, I have been crafting a LOT with the trendy bee theme. From DIY Dollar Tree beehives and candle holders, to making my first sublimation pillowcase in a bee theme, I’ve been busy.
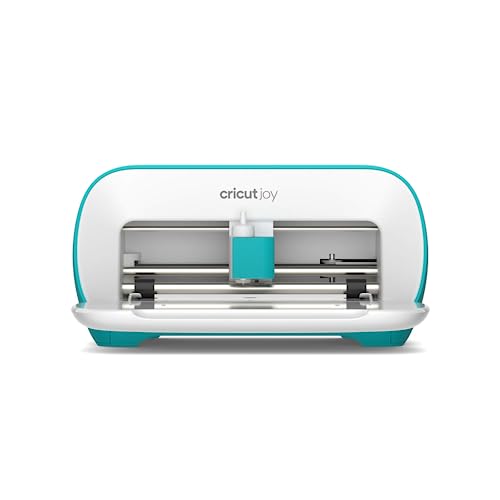
When I got my Cricut Joy (I couldn’t resist this thing), I figured a quick project was in order. And don’t worry – if you’re a beginner with Cricut or Silhouette, you have everything you need on hand most likely and can be done in a few minutes.
RELATED READING: 120+ FREE SVGS FOR ALL YOUR CRAFTING NEEDS
Yes, you will be done in less than 10 minutes! I told you this was a craft for beginner Cricut or Silhouette users.

RELATED READING: Use the Cricut Joy to Make Custom Mugs
No Time to Make This Now? Save or Share This for Later
If you can’t start right now, save this to a Cricut craft ideas pin board or share it to Facebook. Use the sharing buttons on this page and it will be easy to find when you’re ready to begin.
As an Amazon Associate, I can earn from qualifying purchases. There could be affiliate links within this article.
RELATED READING: These Dollar Tree Beehives are PERFECT for Spring and Summer
Tips to Make this Bee Cricut Craft Idea
- Start by grabbing the FREE bee happy bee cut file for Cricut or Silhouette here. You are going to love this free cut file with the bee.
- You can add more text, change a design element, or anything else you want.
- I made this with a Cricut Joy and some black vinyl, but you can use any machine. Most often, I use the Cricut Maker.
- I used permanent vinyl for this particular project and the honest truth is that it worked like a charm. Most of the time with canvas, I use heat transfer vinyl but I wanted to see how well this would work.
- You can grab one of the mini canvases here, if you’re not sure where to get them. I see them at the craft store all the time so be sure to check locally first.
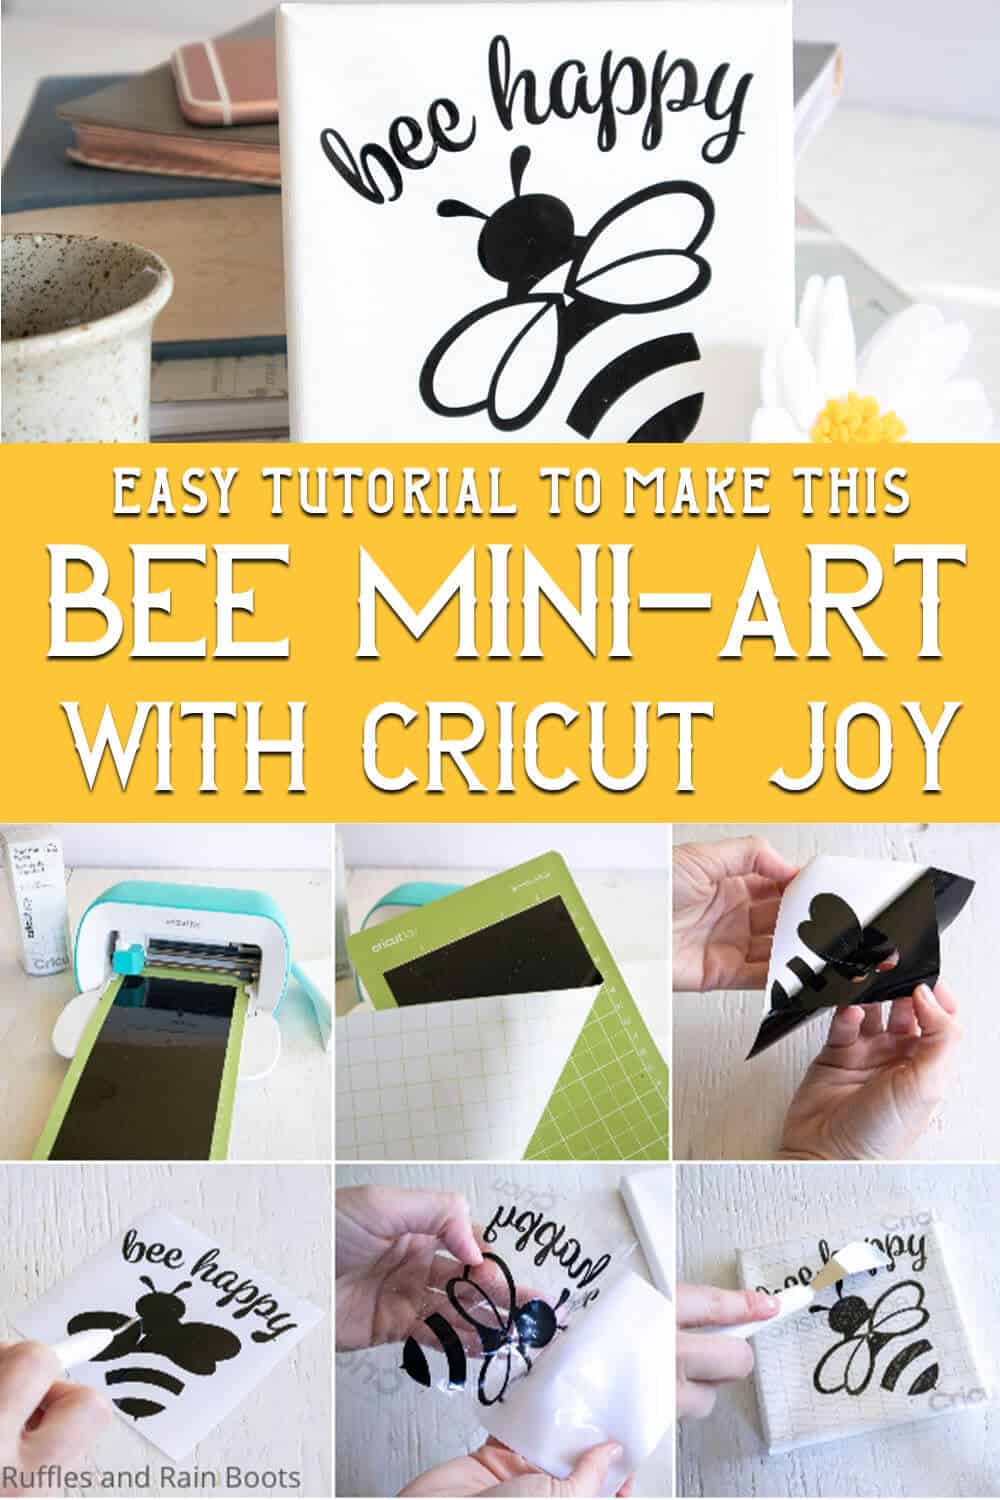
How To Make a Beginner Cricut Joy Project with Canvas
Below is the written, step by step tutorial for this easy Cricut craft idea. Leave this page open and craft along. If you have questions, use the comment section below and I’ll help where I can.
Bee Mini-Canvas with Cricut Joy

This bee mini-canvas with Cricut Joy is such a fast project. It's like the most ridiculously fun little bee summer craft and makes a perfect little farmhouse tray filler craft.
Materials
- Bee SVG File
- Cricut Joy Premium Vinyl, Permanent Glossy (in black)
- Cricut Transfer Tape
- Small Canvas
Tools
- Cricut Joy (or other cutting machine) with Fine Point Blade Standard grip mat
- Scissors
- Weeder tool
- Spatula
Instructions
If you have never used your Cricut Joy (or other Cricut cutting machine) before, here's a quick-start guide for doing this project: (If you are a Cricut veteran and just want a reminder, skip on down to step 7.)
- Open and log into Cricut Design Space then click on “+” to create a new project.
- Select the “Upload” button insert the SVG file this will load the file to the canvas.
- Select the bee image, including the text then click on “Weld” (bottom right corner) to get all the parts of the image to stick together when you go to cut them.
- Adjust the bee shape to fit your canvas, if desired, by clicking on it and using the arrow in the right corner of the image to scale.
- Choose the “Make It” button in the upper right corner when you're ready to cut the vinyl.
- Choose "mat" and "Premium Vinyl, Permanent" from the options in the material drop down menu, then follow the prompts to cut the vinyl.
- When the vinyl is done cutting, trim around the bee and letters with a pair of scissors, about 1/2 inch from the design.
- With your weeding tool, peel the excess vinyl around the image and discard (this is called weeding).
- Cut out a section of transfer tape that's a little larger than the bee image.
- Peel the transfer tape backing off and and place the transfer tape on top of the bee image. With your scraping tool, gently rub the vinyl to get it to it stick to the transfer tape.
- Peel off the vinyl backing, which will leave only the bee image on the transfer tape.
- Place the bee image (still attached to the transfer tape) onto the canvas, image side down, and press it in place.
- Using your scraping tool, rub the bee image onto the canvas to help it adhere to the canvas.
- Gently remove the transfer tape, allowing the vinyl image to stay on the canvas and then enjoy!


Notes
For more fun Cricut projects, visit Ruffles and Rain Boots!
Recommended Products
As an Amazon Associate and member of other affiliate programs, I earn from qualifying purchases.

More Fun Crafts You Might Like
- DIY Custom Mugs with the Cricut Joy – Using the same tiny cutting machine, you can make a set of seasonal mugs in just minutes.
- Farmhouse Sock Gnomes with Boots – I can’t tell you how perfect these little farmhouse sock gnomes with boots are–they’re perfect as a farmhouse tray filler!
- Easy Christmas Ornaments – A Cricut Joy machine will work perfectly to cut out the design for this elegant holiday ornament idea.
- Farmhouse Beads for Every Occasion – If you are putting together a farmhouse tray, wooden beads are a must. And when you get them all dolled-up for an occasion?! Ooooh, boy!
- Farmhouse Tray Riser DIY – This little riser tray is the basic step 1 you need to make a farmhouse display for fun things in your entryway.
Please Save or Share This Cricut Craft Idea
Your shares are how this site grows and I am sincerely grateful. Please save this to an easy DIY Cricut craft ideas pin board or share it with a crafty group on Facebook.

Meet the Creator
Hi there, I’m Sarah Nenni-Daher. I’m a crafty gal and always have at least 14 projects going at once. I am a crafter, designer, DIYer, and pattern maker. I share my creations here and in the Ruffles and Rain Boots® Shop.
Here at Ruffles and Rain Boots®, you’ll find DIY gnomes, crafts, gifts, cupcakes, laser crafts, and so much more. I love sharing video tutorials over on YouTube and chatting with other crafters in my Facebook groups. We’d love to have you!