
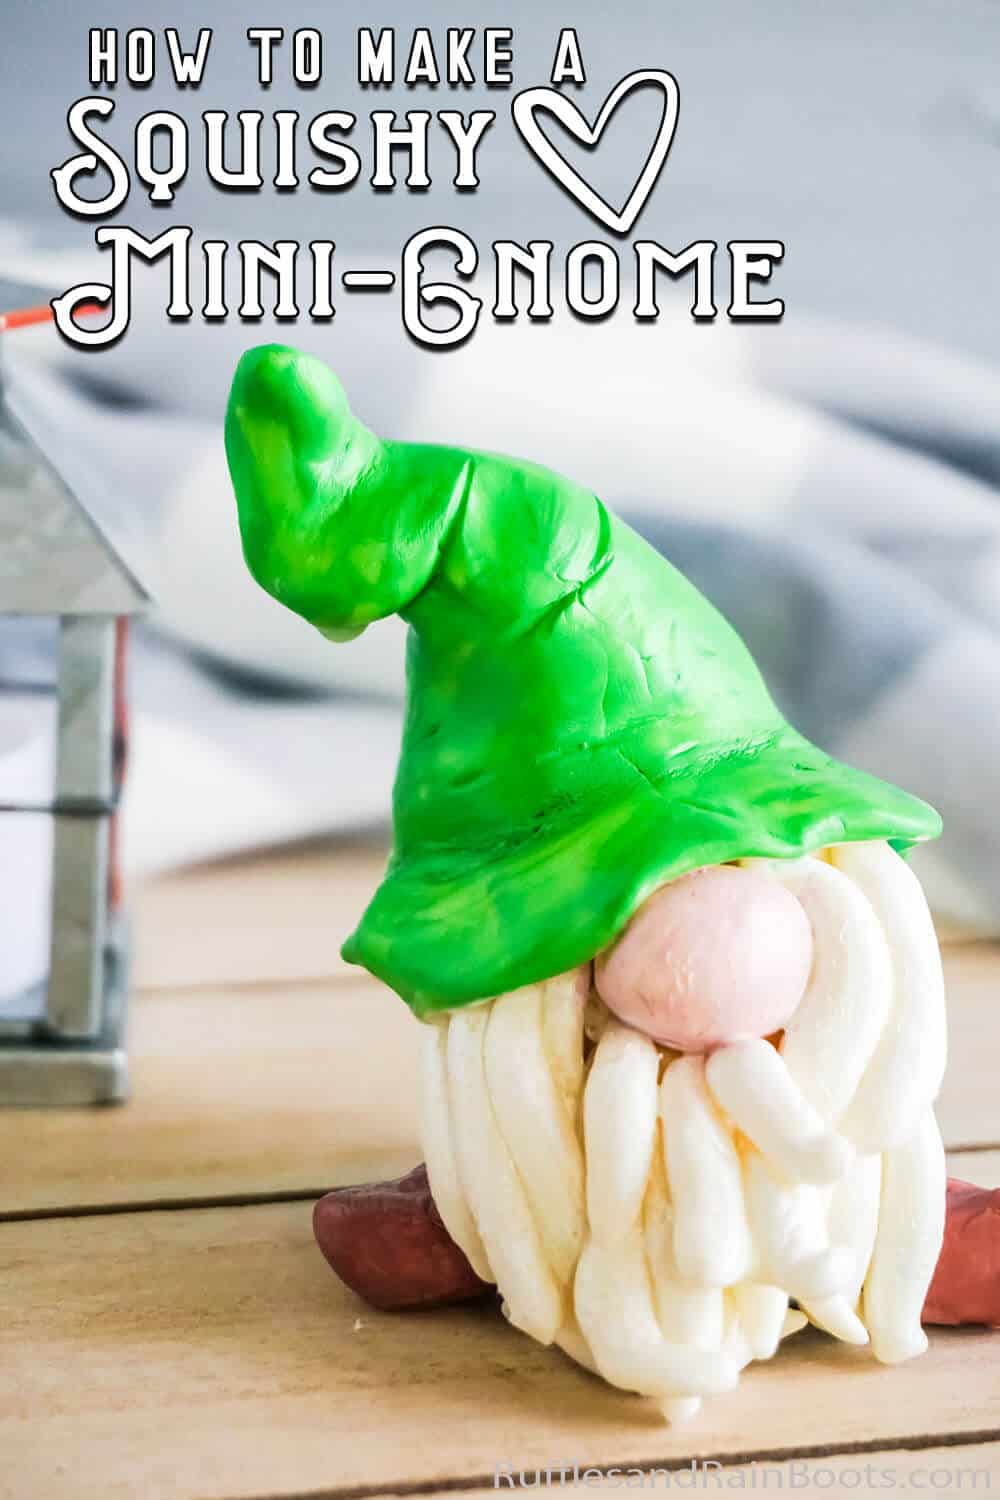
Make This Mini-Gnome from Silicone in Just a Few Minutes!
I can’t get over how fun making this mini-gnome from silicone turned out to be. It’s got to be the fastest way to make a gnome EVER!
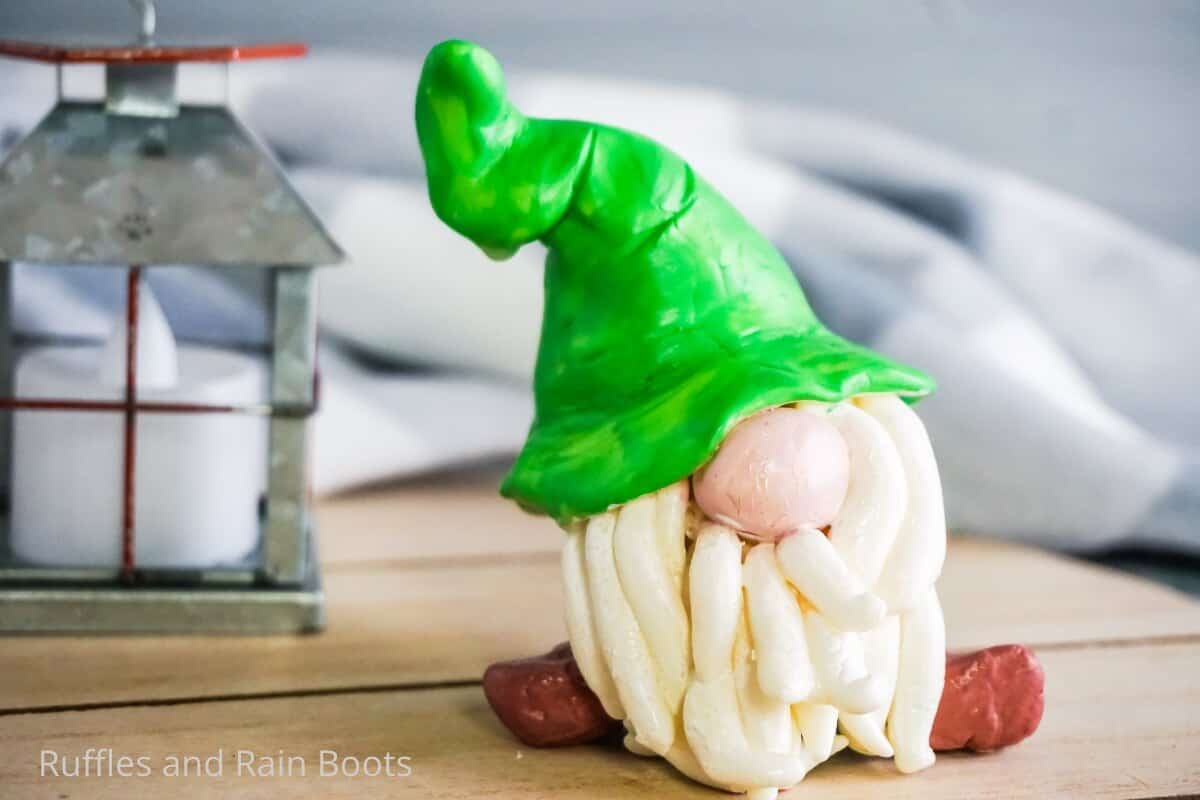
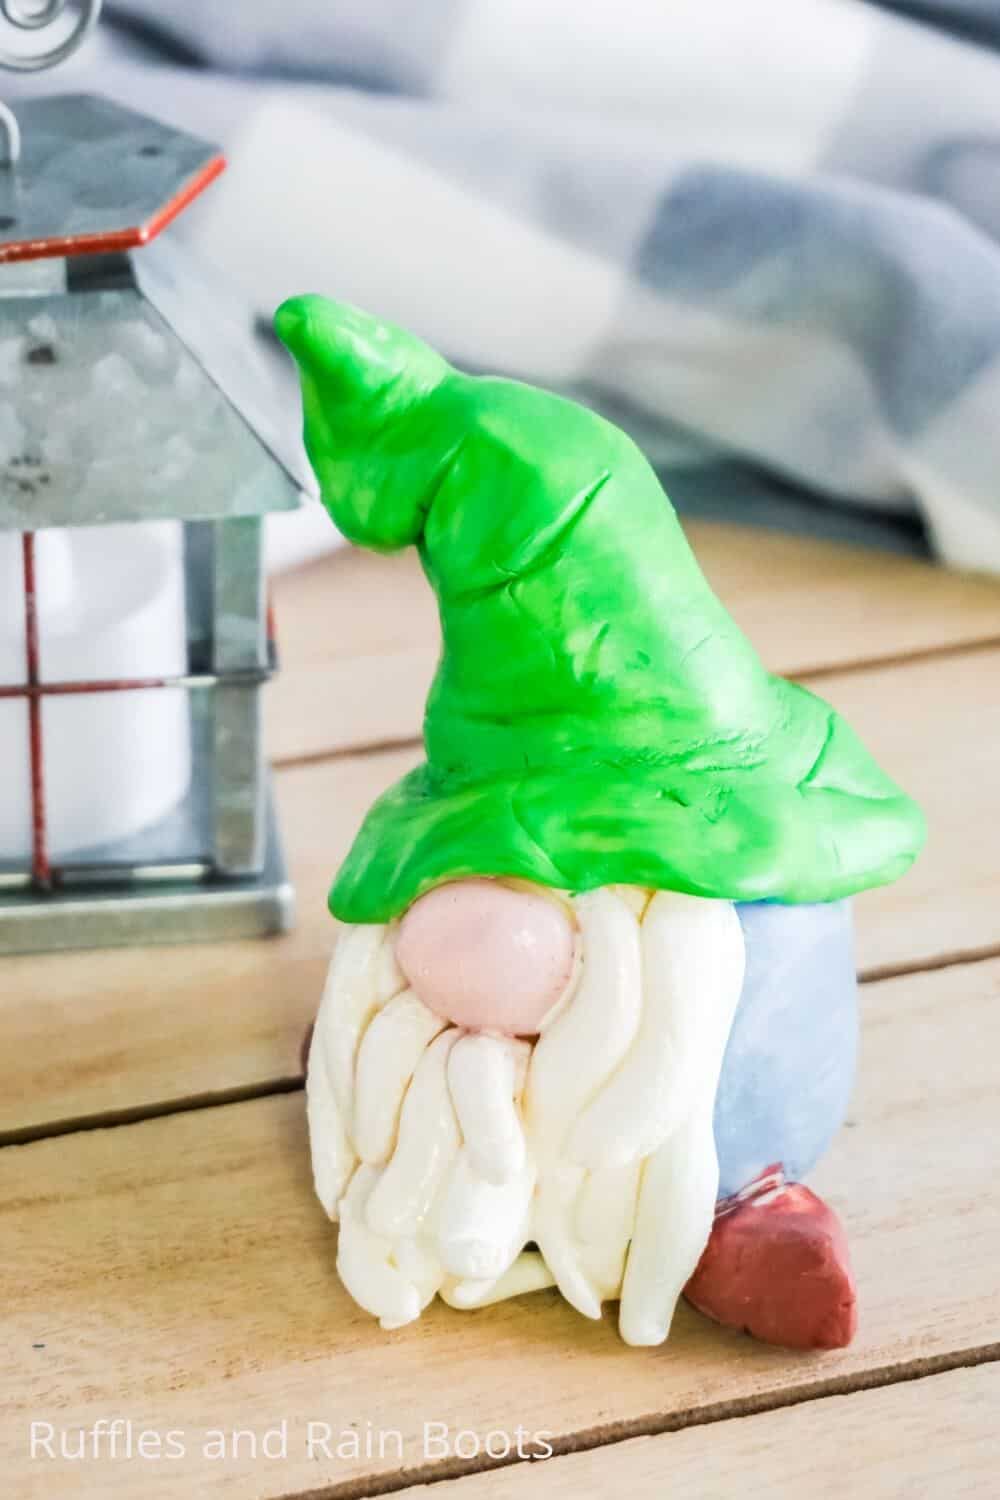
Mini-Gnome from Silicone
Here at Ruffles and Rain Boots, we are nothing short of gnome-obsessed. It’s hard to do the other projects and crafts sometimes, to be honest, because I really just want to make gnomes. But sometimes the gnomes are more complex–not this one. This epic mini-gnome can literally be made from 2 ingredients, then just painted. You’re going to love it!
RELATED READING: HOW TO MAKE A NO-SEW GNOME
And you don’t have to be some expert sculptor to get your little silicone gnome “perfect” because this particular medium is ridiculously forgiving. If you’re ready to make a fun mini-gnome from silicone, let’s get started.
No Time to Make This Now? Pin it for Later
You’re busy, I get it. Pin this to your favorite easy DIY ideas board on Pinterest and it’ll be here for when you’re ready.
As an Amazon Associate, I can earn from qualifying purchases.
Tips to Make a Silicone Gnome
- You definitely have to start with some silicone like this. Nothing fancy–and not a ton. So, if you have a tube out in the garage, grab it. Use that. The color doesn’t matter. But I’ll be honest, I used clear silicone and white would be fine, too, but the idea of painting over black silicone makes me worry that the color might not work out. So, although I have no idea if that would really be a problem, I would recommend staying away from the black or dark-colored silicone.
- Wear a glove in the initial couple of minutes kneading your silicone and corn starch together. Because that silicone–it sticks. No…LIKE GLUE. So, grab a kitchen glove you can toss when you’re done for that first few minutes of kneading.
- If you’re having trouble getting your paint to stick, try sanding your little gnome creation. Be gentle, be careful, you don’t want to break your gnome. But roughing up the surface just a little will help the paint to stick.
How Do I Make this Mini-Gnome from Silicone?
I’m so glad you asked. Below is the written tutorial and the full video tutorial is on the Ruffles and Rain Boots YouTube Channel here.
Mini-Gnome from Silicone

Making this mini-gnome from silicone is the quickest craft ever. Just two ingredients, some paint and 15 minutes? I'll take that gnome any day!
Materials
- Silicone Caulk
- Cornstarch
- Paint
Tools
- Disposable Bowl
- Glove
- Paintbrush
Instructions
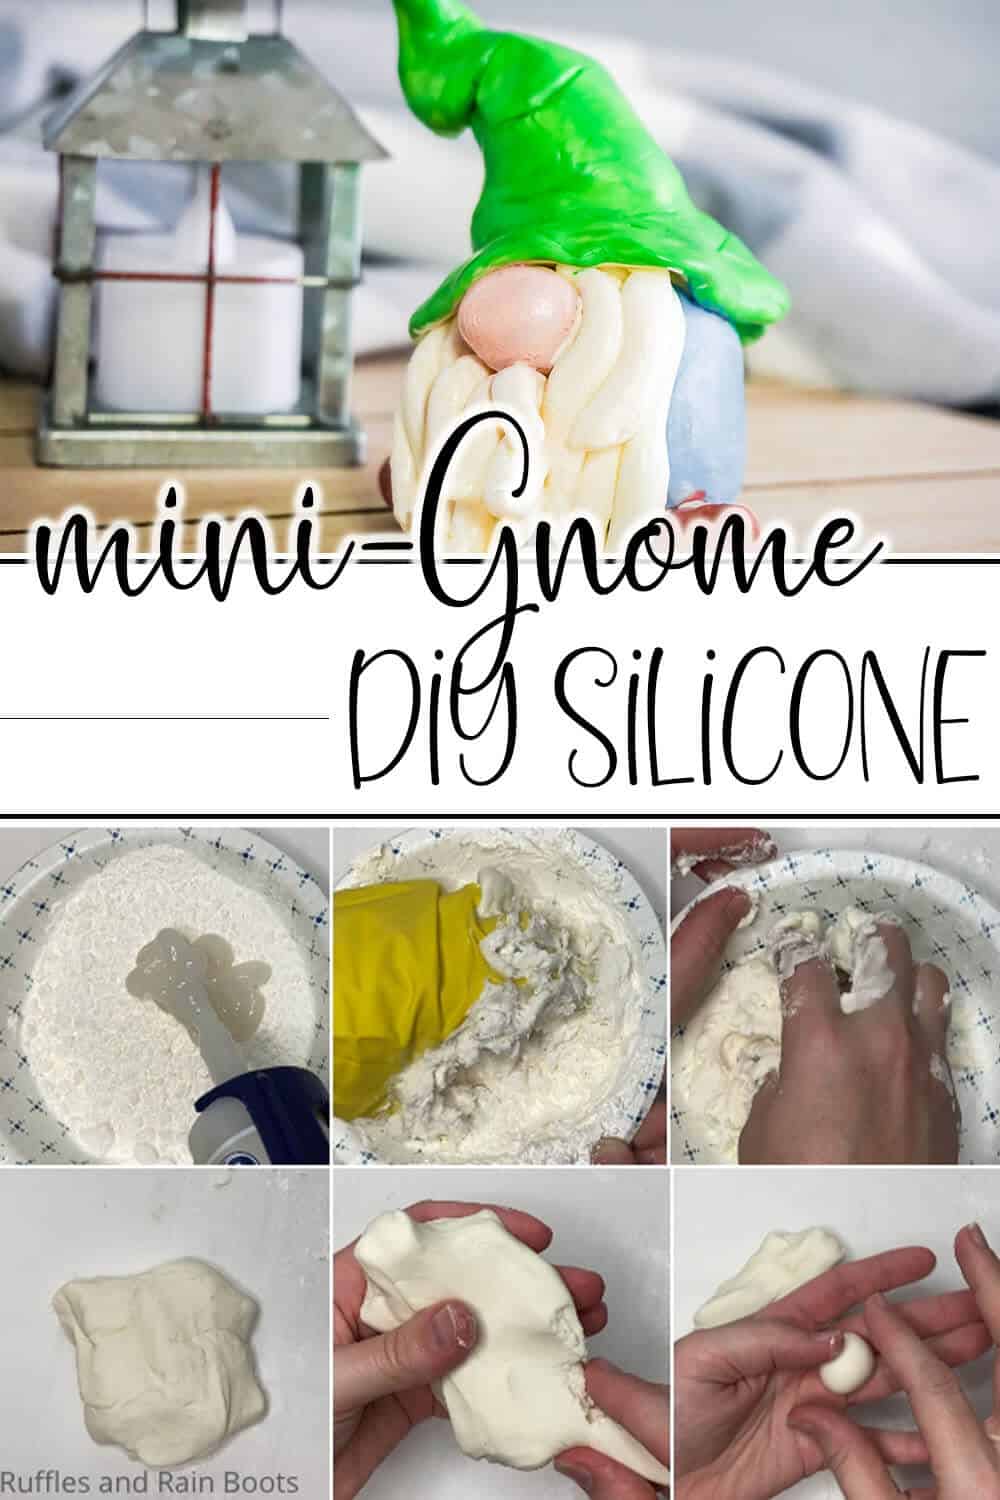
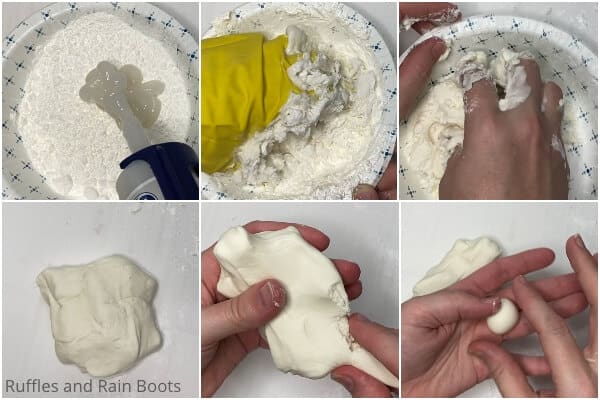
- In your disposable bowl, place about 1 - 2 cups of corn starch in the bottom of the bowl.
- Add about 1 cup of silicone caulk to the bowl.
- With your hand covered by a glove, knead the cornstarch into the silicone. You want the mixture to be like clay, slightly moist, pliable and stick-to-itself but not stick to your fingers. To do this, add more cornstarch, as needed. You will want to work quickly as the clay is only pliable for 30 minutes or so.
- Once your silicone has reached a clay consistency, break the clay chunk in half. Set aside one half in reserve for the hat, beard, shoes and nose.

- With the portion not set aside, roll it into a cylinder shape, short and fat--like a gnome body.
- Break the second half of the silicone clay into 3 very small balls, one large and one medium ball.
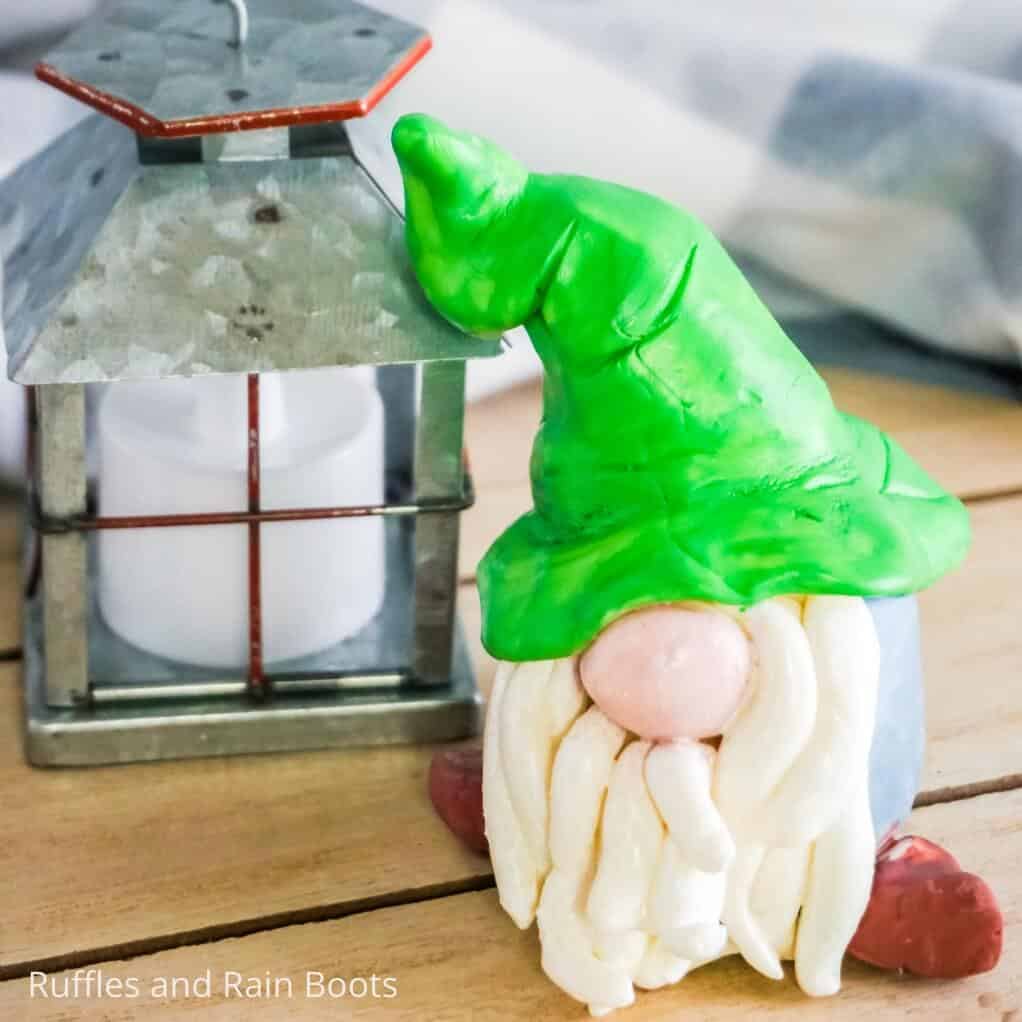
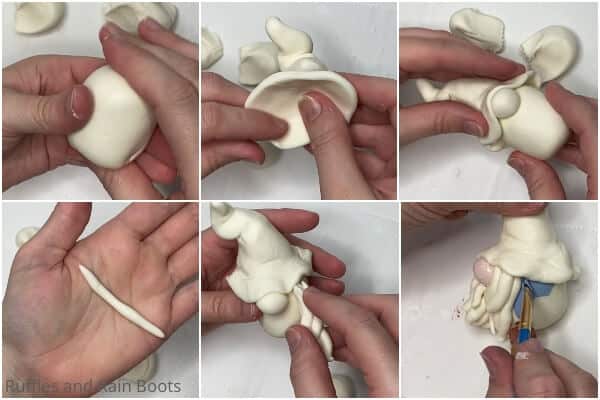
- With the larger portion of silicone clay, form a cone, then flatten and hollow the bottom, thinning the sides to make the brim of the hat. Add a crinkle in the top--you can even add detail with a toothpick. Place the hat on the top of the gnome body and join the two by pressing gently. If needed, you can add a dab of fresh silicone as a "glue" between the two pieces.
- Roll one of the small balls into a perfect ball and place under the brim edge to make a nose.
- With the medium sized portion of clay, break it into small pieces and roll them into snakes, gently pressing them together to form clumps of beard. Tuck these under the brim of the hat and under the nose. You can get them to tuck up under the nose a little better by using a toothpick.
- Pinch the remaining two small balls into thick little triangles, the press those onto the front of the gnome, just behind the beard for shoes.
- Allow the gnome to dry/harden (though it will always be squishy) for about an hour.
- Once dry, paint as desired. I used acrylic paint and although I had no problem getting the paint to stick, if you do, to get the paint to stick, you can gently sand the surface of your gnome with regular sand paper.
- Allow the paint to dry and, optionally, apply a coat of craft sealant then enjoy!
Notes
For more fun gnome crafts, visit Ruffles and Rain Boots.
More Easy DIY Gnomes You Might Like
- Cozy Gnome Pattern – This is the most fun gnome pattern you’ll ever find. You can make any gnome with it for any season or occasion!
- Gnome String Art – If you love cool activities, you have to try making this easy gnome string art with this free pattern–its so FUN!
- Crochet Mini-Gnome – I love learning new things and doing this easy crochet mini-gnome was such a great way to both craft and learn a new skill.
Please Save This to Pinterest
Your shares are how this site grows and I am sincerely grateful. Know a friend who’d like this? Please share it on Facebook or save it to your favorite easy farmhouse DIY ideas board on Pinterest.
Meet the Creator
Hi there, I’m Sarah Nenni-Daher. I’m a crafty gal and always have at least 14 projects going at once. I am a crafter, designer, DIYer, and pattern maker. I share my creations here and in the Ruffles and Rain Boots® Shop.
Here at Ruffles and Rain Boots®, you’ll find DIY gnomes, crafts, gifts, cupcakes, laser crafts, and so much more. I love sharing video tutorials over on YouTube and chatting with other crafters in my Facebook groups. We’d love to have you!