How to Make DIY Farmhouse Beads for Every Season!
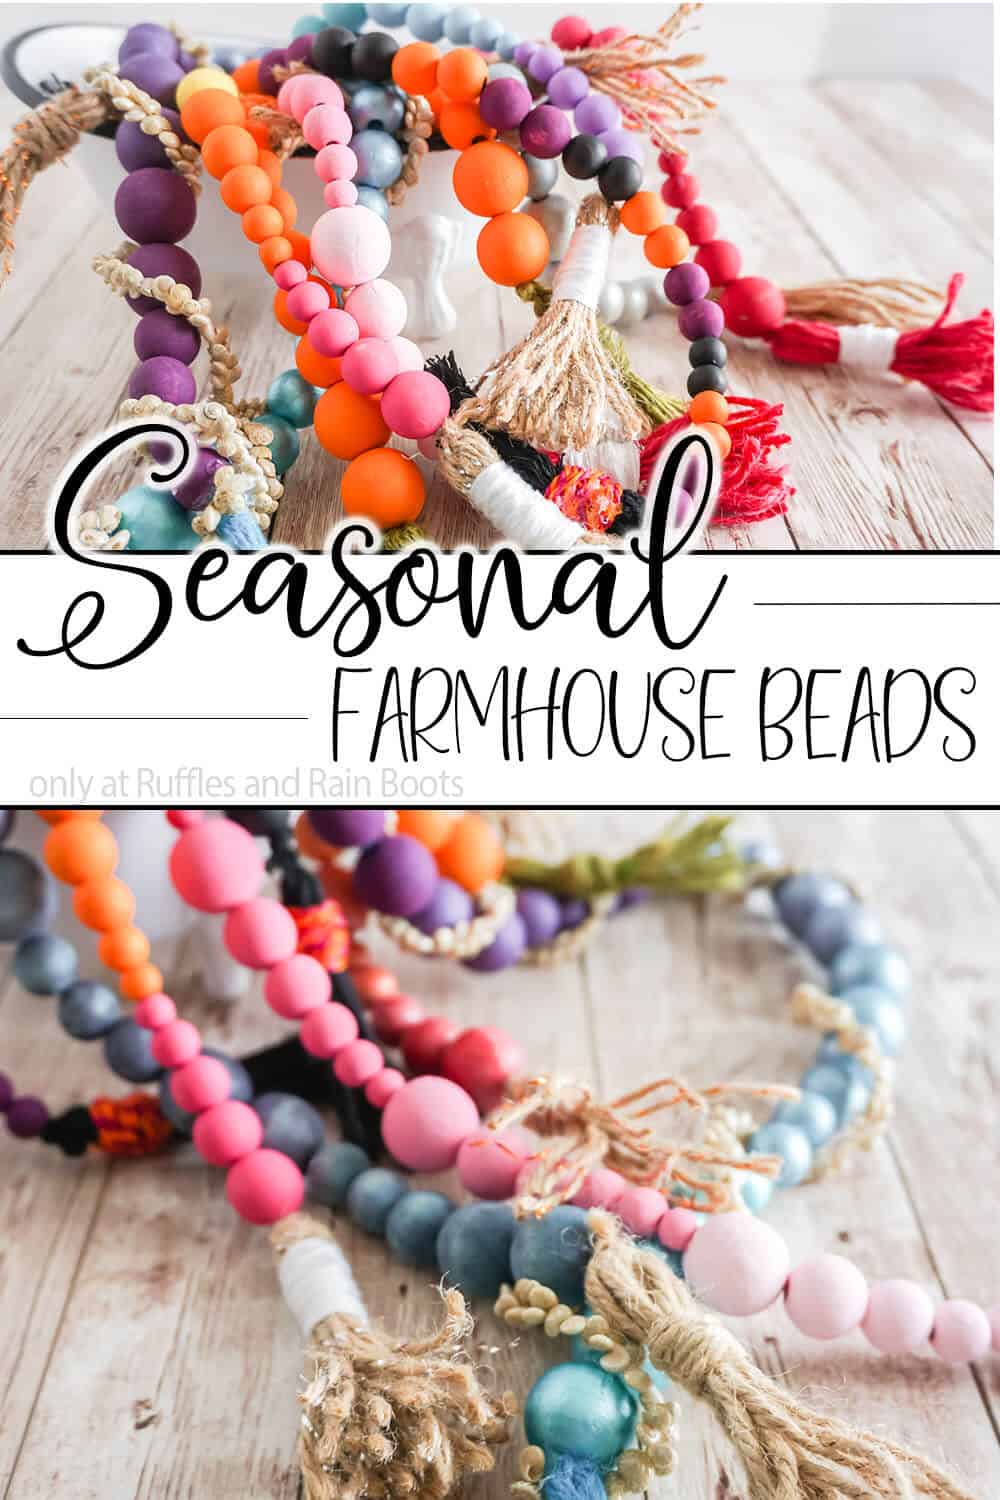
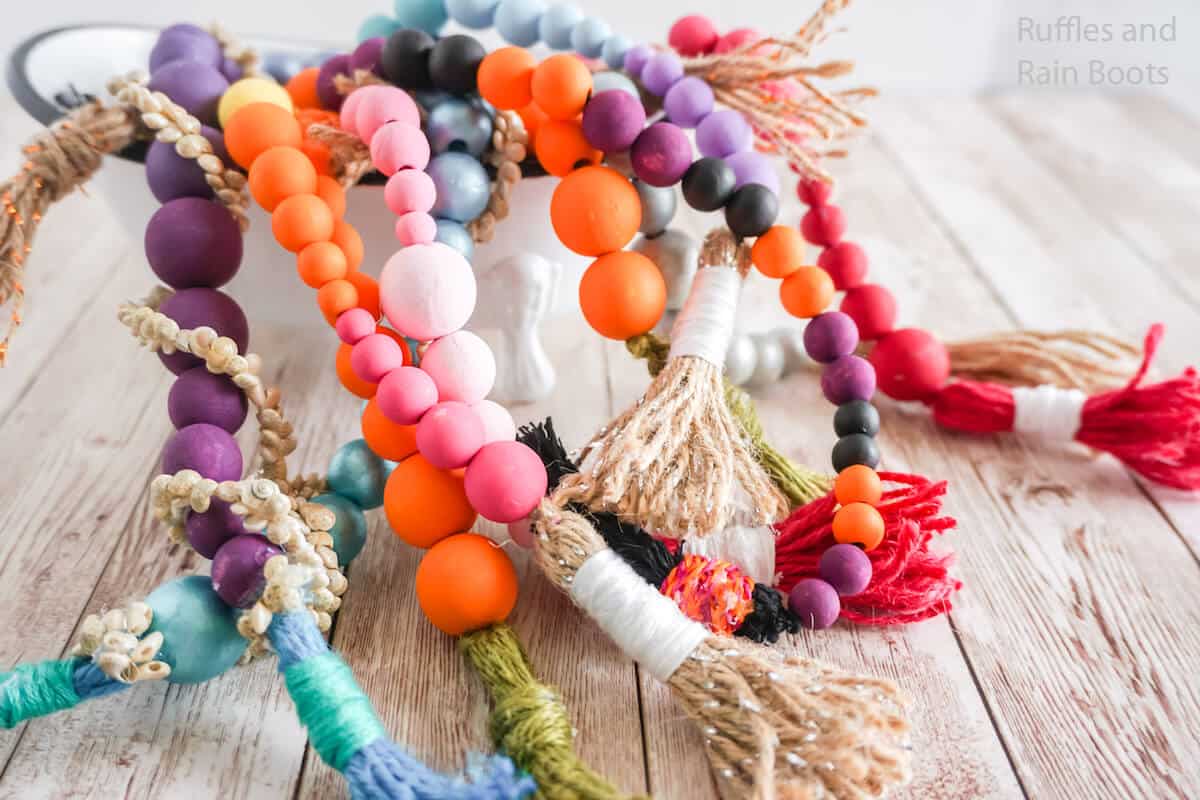
I felt like my farmhouse decor needed a pop of color so I made these DIY farmhouse beads for every season! Ombre farmhouse beads, holiday specific wooden bead strands–they’re all here and ready to pop!
What You'll Find On This Page
DIY Farmhouse Beads
Here at Ruffles and Rain Boots, we decorate for every season and holiday with the farmhouse tiered tray and other fun things (I mean, seriously…) but the honest truth was that I needed some fun wooden beads and all I had was plain brown. I mean, brown is good. But fun ombre farmhouse beads? Or rainbow DIY farmhouse beads? So. Much. Wow.
RELATED READING: RAE DUNN FARMHOUSE CRAFTS YOU CAN DIY
Plus, I figured out an awesome way to paint wooden beads for farmhouse decor that makes it super easy. And the results are so stunning and look so high quality, I can’t wait to start decorating with them! If you’re ready to take your farmhouse decor up a notch with these awesome DIY farmhouse wood beads, let’s get started.

How to Decorate With Farmhouse Beads
Now, this is a question that probably doesn’t actually need to be asked, but you know, it’s a thing that, just in case you don’t know, I do have some little tips. So, here we go:
- When decorating with wooden prayer beads (that’s another name for them, right?) use them sparingly. One strand per room–yeah, you heard that right. You don’t need 45 strands of wood bead garlands with tassels to get you that look, just one.
- Farmhouse style home decor is a tricky balance between minimalism, simple clutter and basic colors. It’s amazingly fun, but you have to keep that in mind by reducing your pieces, then tossing the wood beads on top or behind. Use the beads as accents, just artfully “tossed”.
- Want to add a pop of color to some plain beads? Add some colored embroidery thread around the top of the tassel, wrapped about 20 to 50 times, then tie it off.
- Use different farmhouse wooden garlands painted in different colors for each season (hmmm…wonder what inspired this comment…). You want to change out the scenery, so to speak, and this is an easy way to do that!
No Time to Make This Now? Pin it for Later
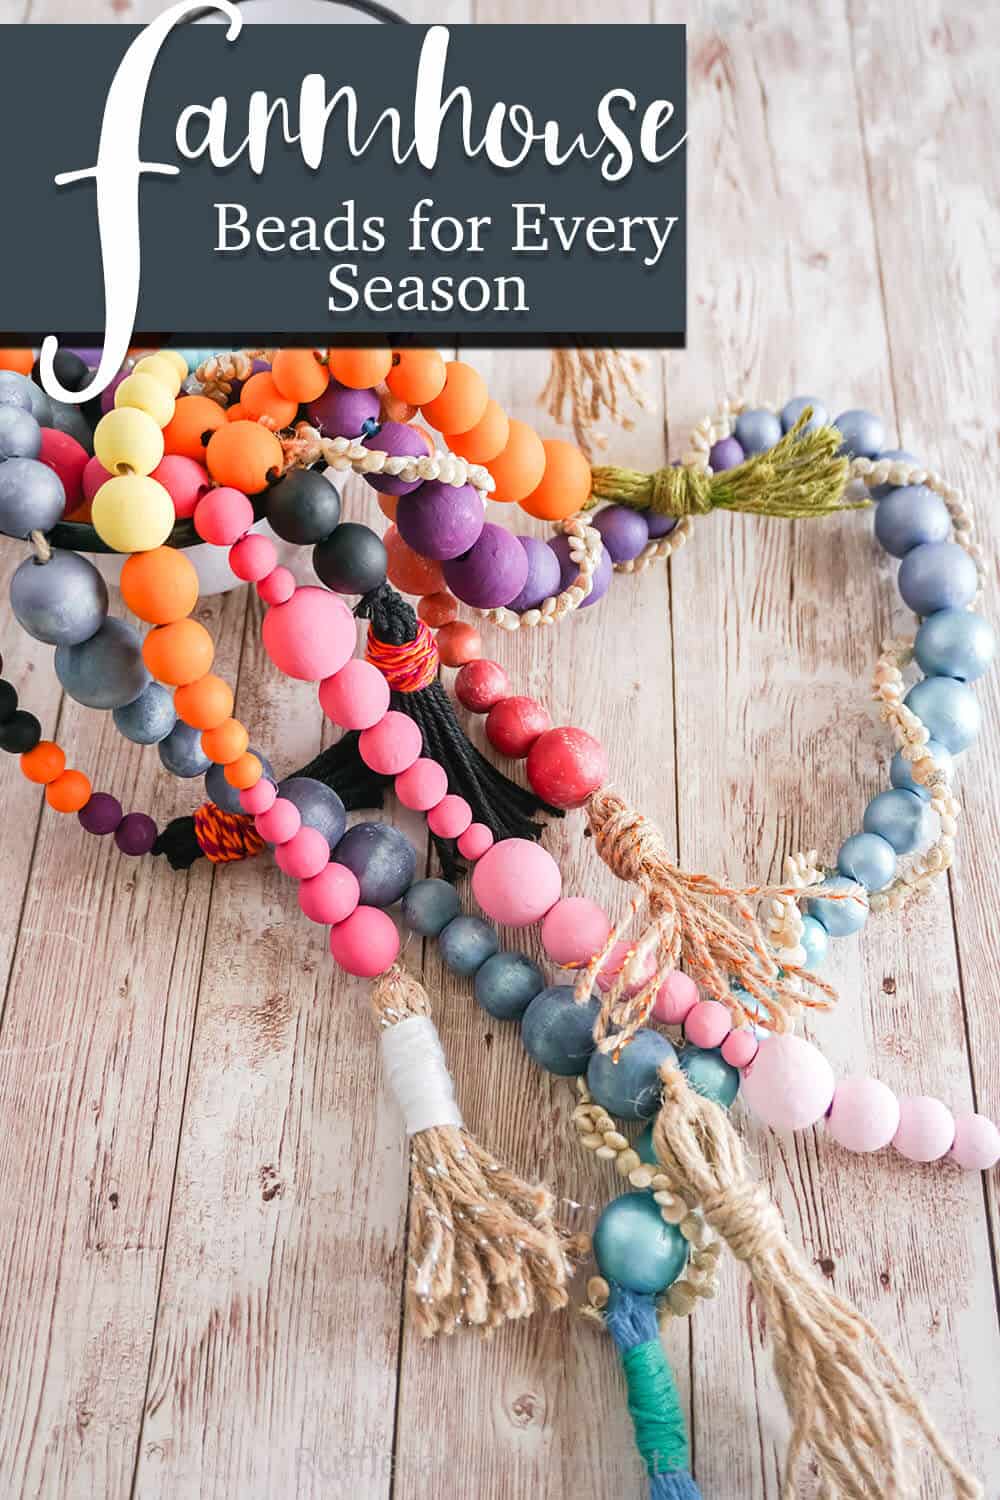
You’re busy, I get it. Pin this to your favorite farmhouse crafts board on Pinterest and it’ll be here for when you’re ready.
As an Amazon Associate, I can earn from qualifying purchases.
Tips to Make Ombre Farmhouse Beads
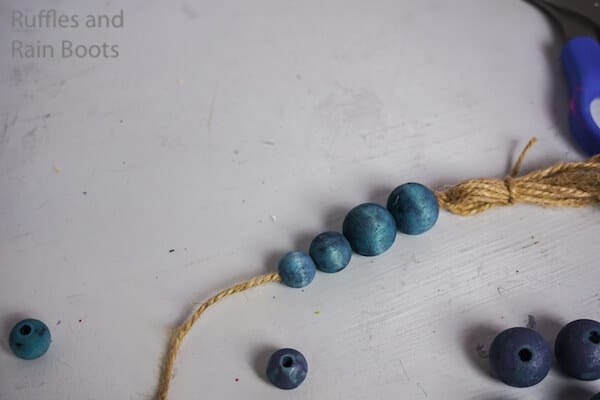
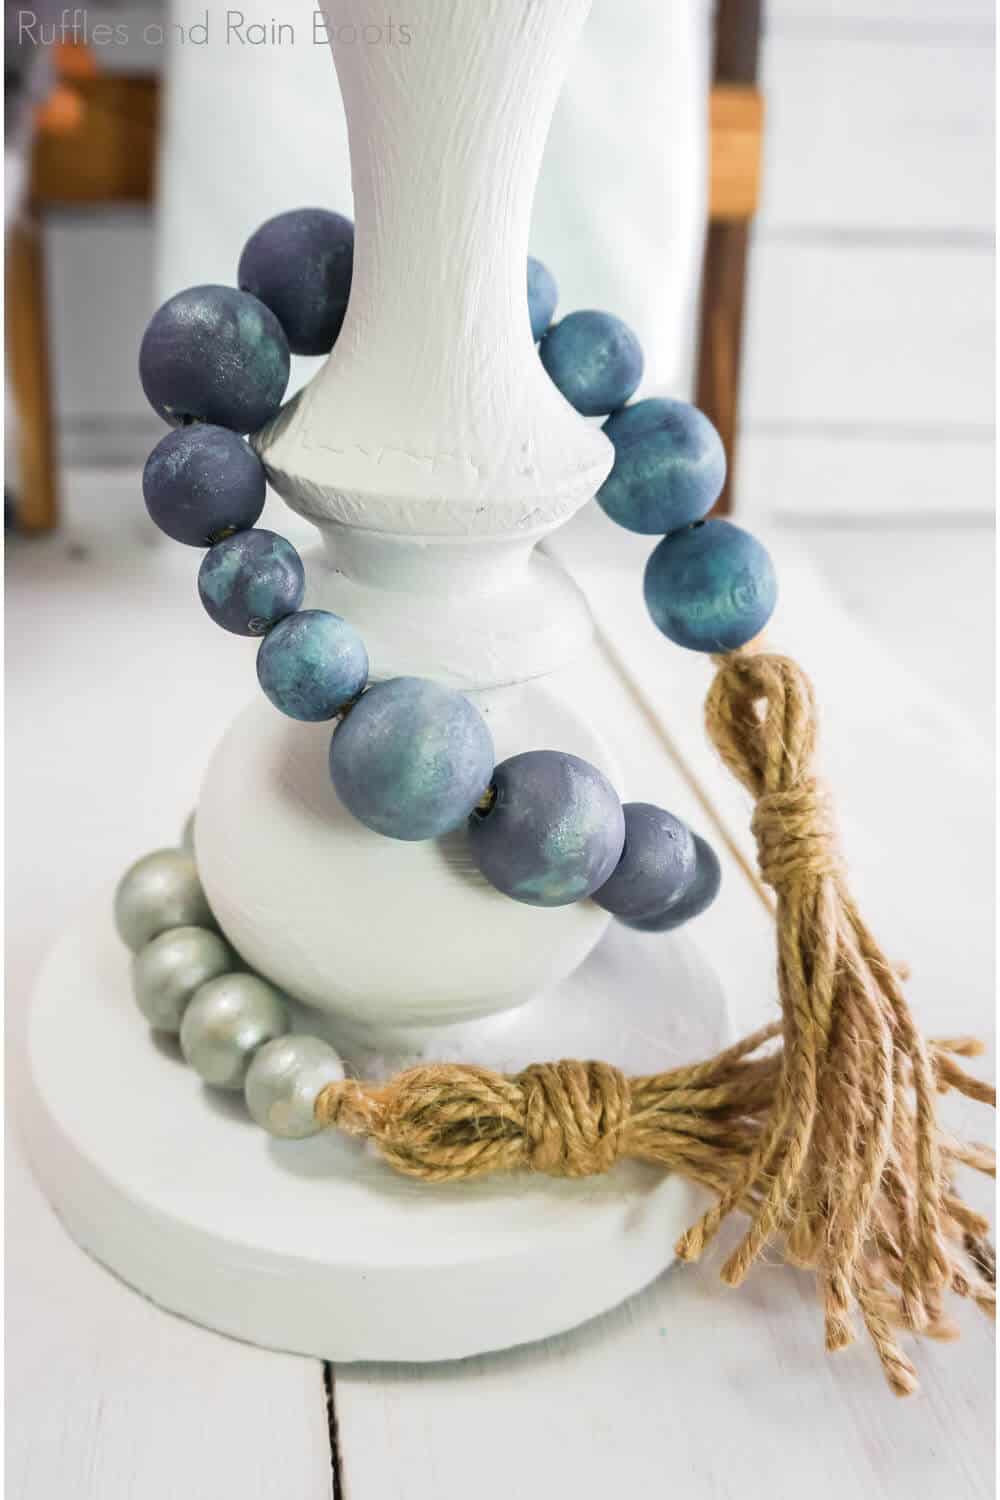
- I made these navy ombre farmhouse beads using red and white acrylic paint. I followed the ombre farmhouse beads tutorial below.
- For the twine on this set of farmhouse valentines beads, I chose to use regular twine and tied off the tassels with the same.
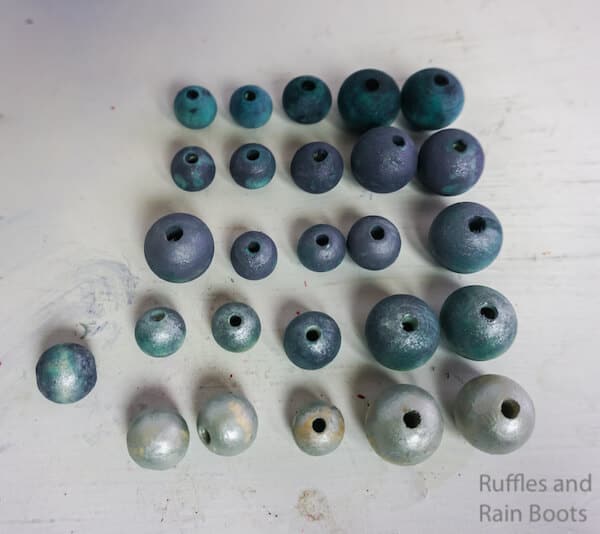
- This ombre farmhouse bead pattern was super simple, using one bead of each size in small-to-large, painting each set of large beads-to-small beads a single color.
Tips to Make Valentine Ombre Farmhouse Beads
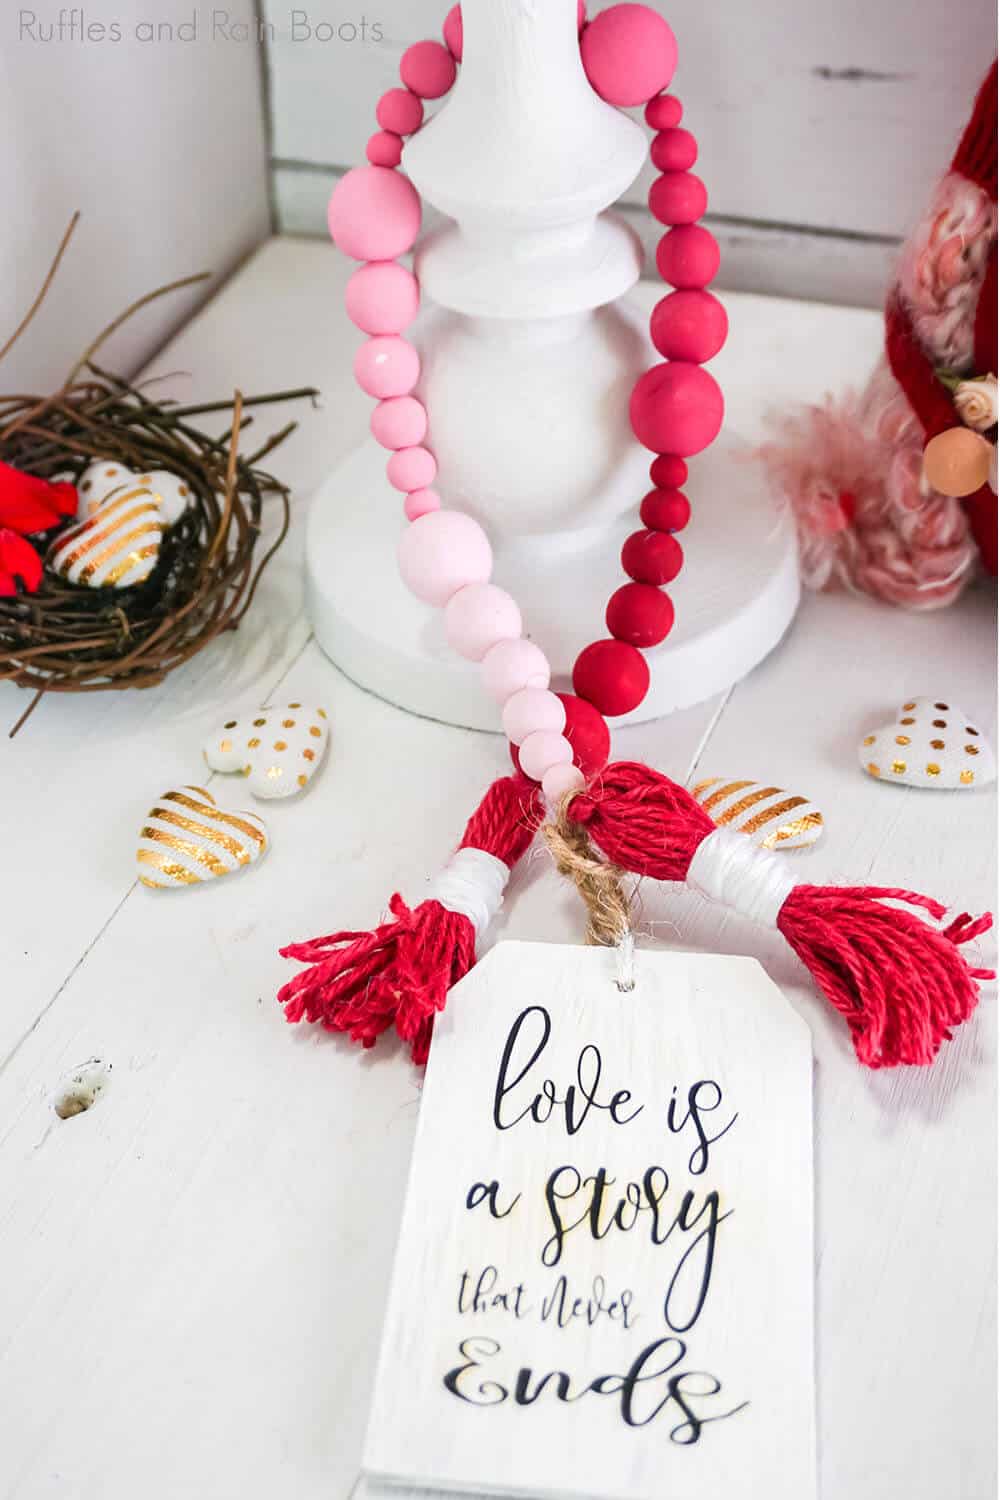
- I made these valentine ombre farmhouse beads using red and white acrylic paint. I followed the ombre farmhouse beads tutorial below.
- For the twine on this set of ombre farmhouse valentines beads, I chose to use red twine you can find here and tied off the tassels using some white embroidery thread.
- This valentines ombre farmhouse bead pattern was super simple, using one bead of each size in small-to-large, painting each set of large-to-small beads a single color.
- I added a little wooden tag (click here to see what I’m talking about) with a cute saying I made into a free cut file that you can download here. I seriously just painted the tag with white chalkboard paint, then applied the lettering with black heat transfer vinyl I cut on my Cricut. Super simple, but I feel like it added a little somethin’-somethin’.
Tips to Make Unicorn Farmhouse Beads
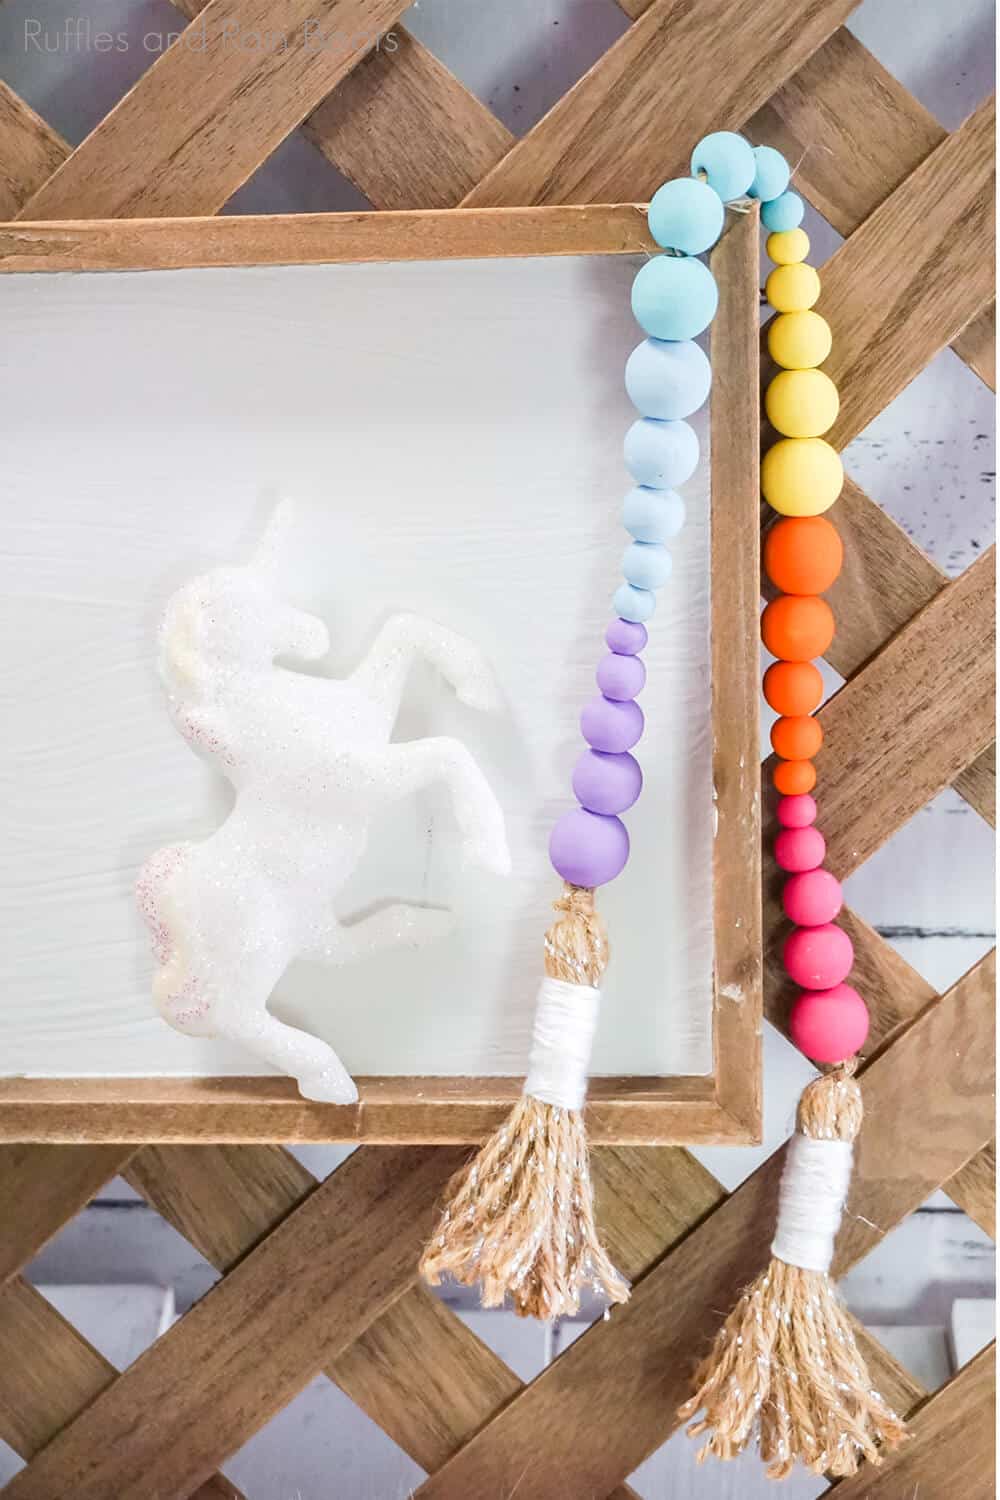
- These unicorn farmhouse beads are my absolute favorite. I made these unicorn farmhouse beads using pastel colors of acrylic paint. I did add a touch of white to each, just to make them a little more pastel than straight from the bottle. I followed the ombre farmhouse beads tutorial below but with 6 colors and no mixing–because RAINBOW!
- For the twine on this set of farmhouse unicorn beads, I chose to use some old twine I had laying around that had silver foil strands in it and tied off the tassels using some white embroidery thread.
- This unicorn farmhouse bead pattern was super simple, using one bead of each size in small-to-large, painting each set of large-to-small beads a single color.
Tips to Make Mermaid Farmhouse Beads
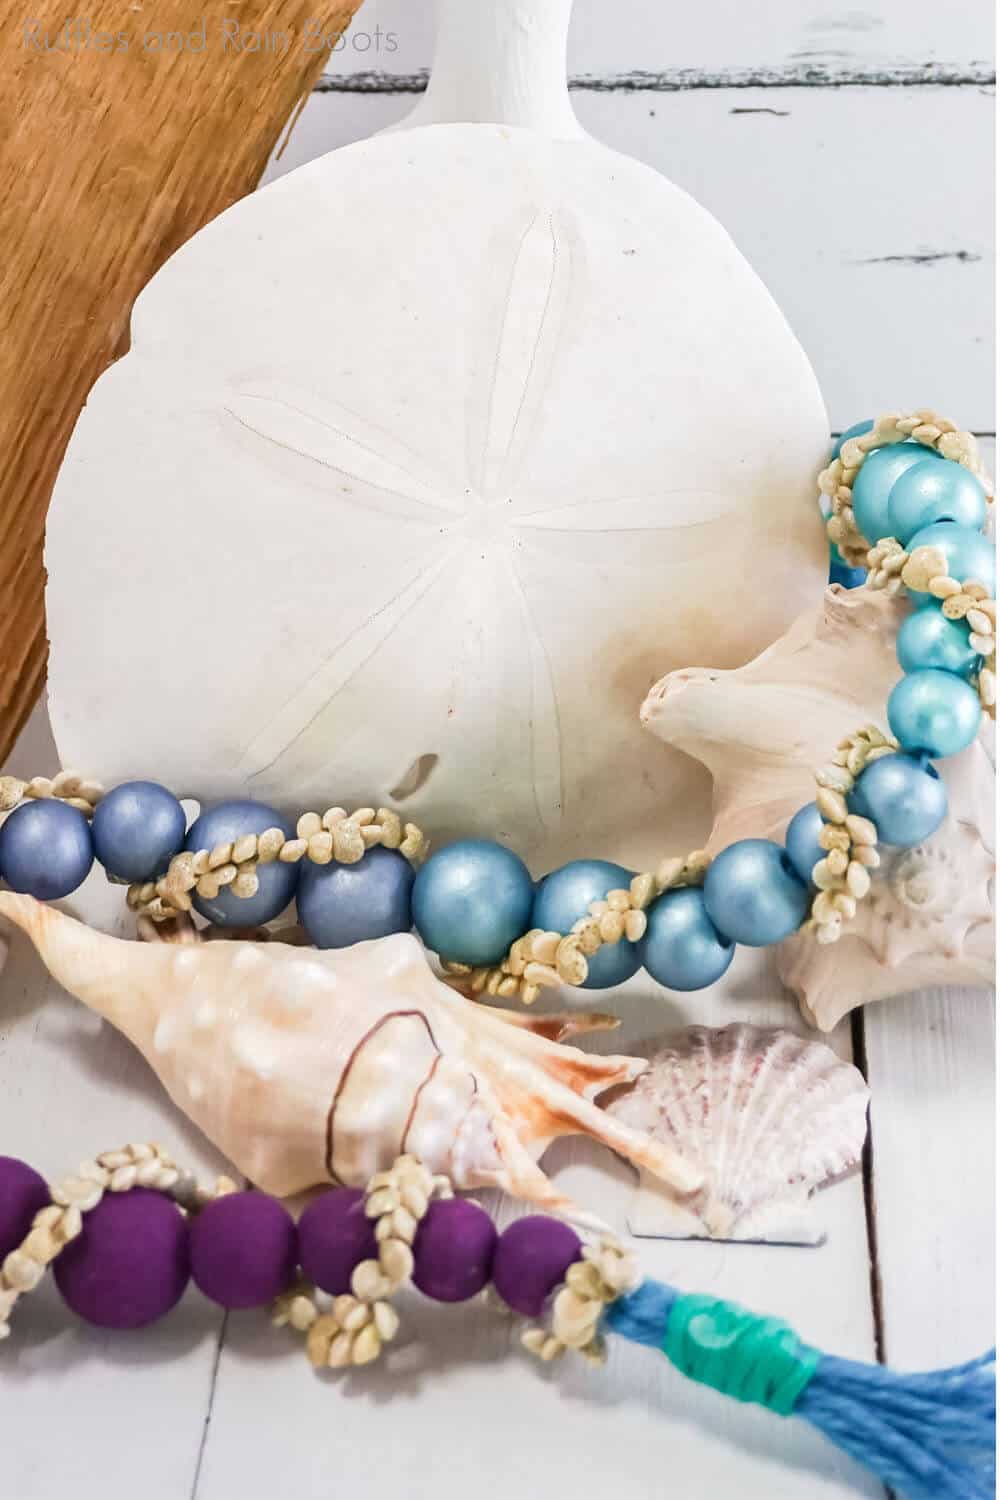
- These mermaid farmhouse beads are SO EPIC. I made these mermaid farmhouse beads using metallic teal, metallic blue and purple acrylic paint. I followed the ombre farmhouse beads tutorial below.
- For the twine on this set of ombre farmhouse beads, I chose to use some pretty blue twine and tied off the tassels using a teal twine–you can find both here.
- This mermaid farmhouse bead pattern was super simple, using one bead of each size in small-to-large, painting each set of large-to-small beads a single color.
- Once these were painted, I wrapped them in a really old string of tiny shells I had laying around and hot glued those in place.
Tips to Make Summer Farmhouse Beads
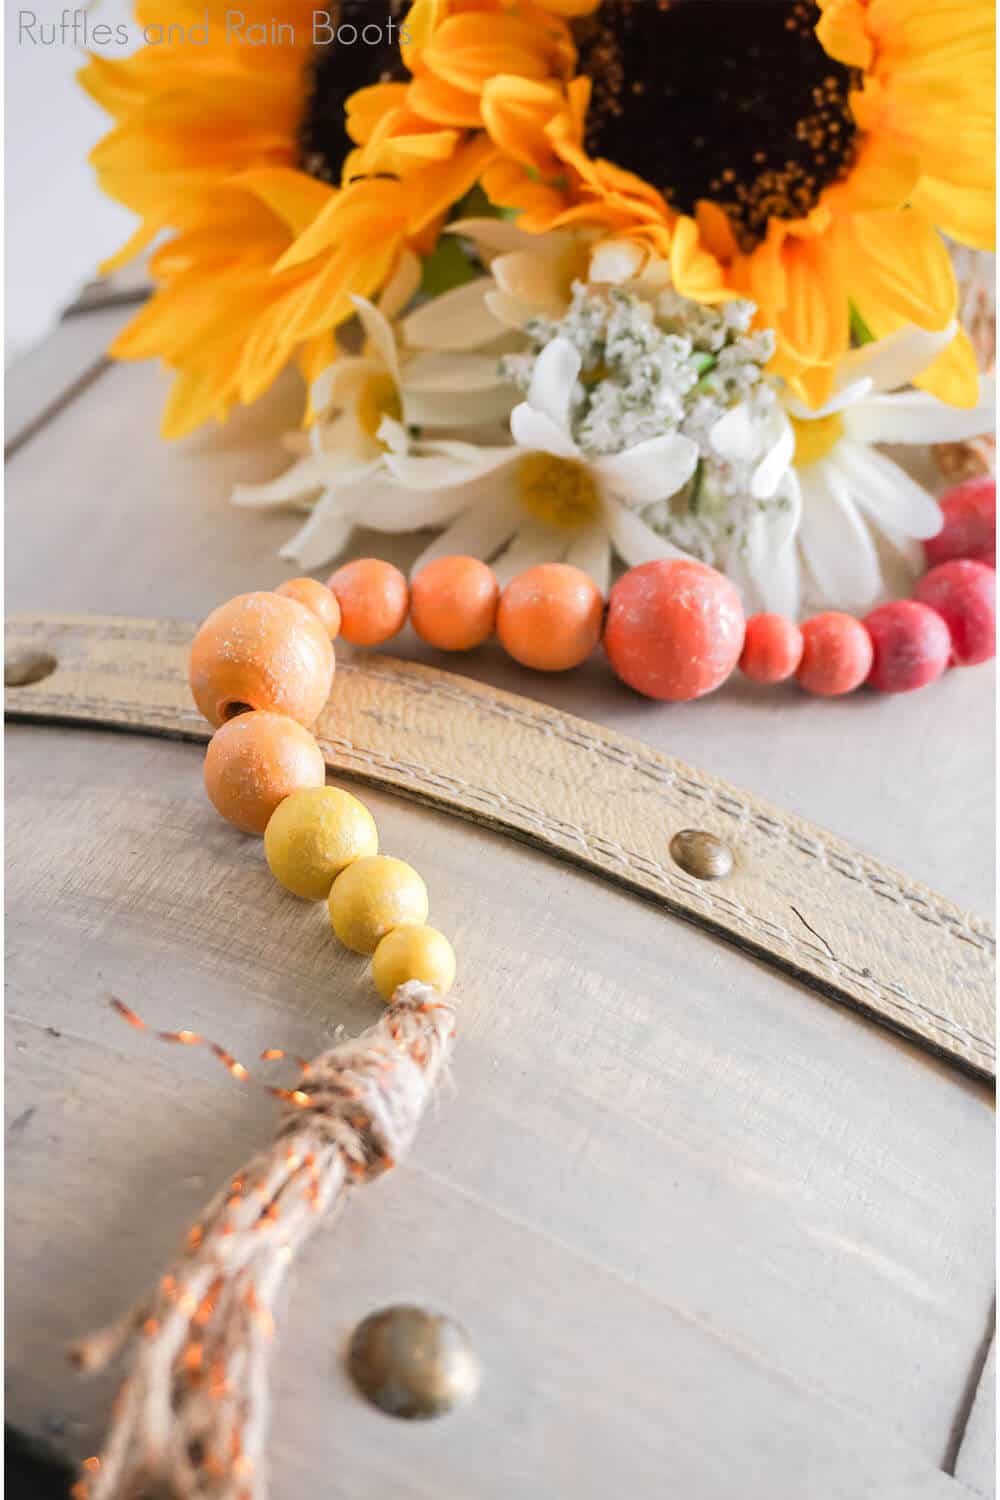
- I’m a little in love with this summer farmhouse bead set. I made these summery farmhouse beads using red and yellow acrylic paint. I followed the ombre farmhouse beads tutorial below.
- For the twine on this set of ombre farmhouse beads, I chose to use some old twine I had laying around that had gold foil strands in it and tied off the tassels using the same.
- This summer farmhouse bead pattern was super simple, using three beads in small-to-large sizes, painting the beads in sets of three. So, smallest, second smallest, third and so on, but then painting them regardless of the size.
- Once ombre farmhouse beads were painted, I coated them in Modge Podge and then sprinkled glitter over them.
Tips to Make Easter Farmhouse Beads
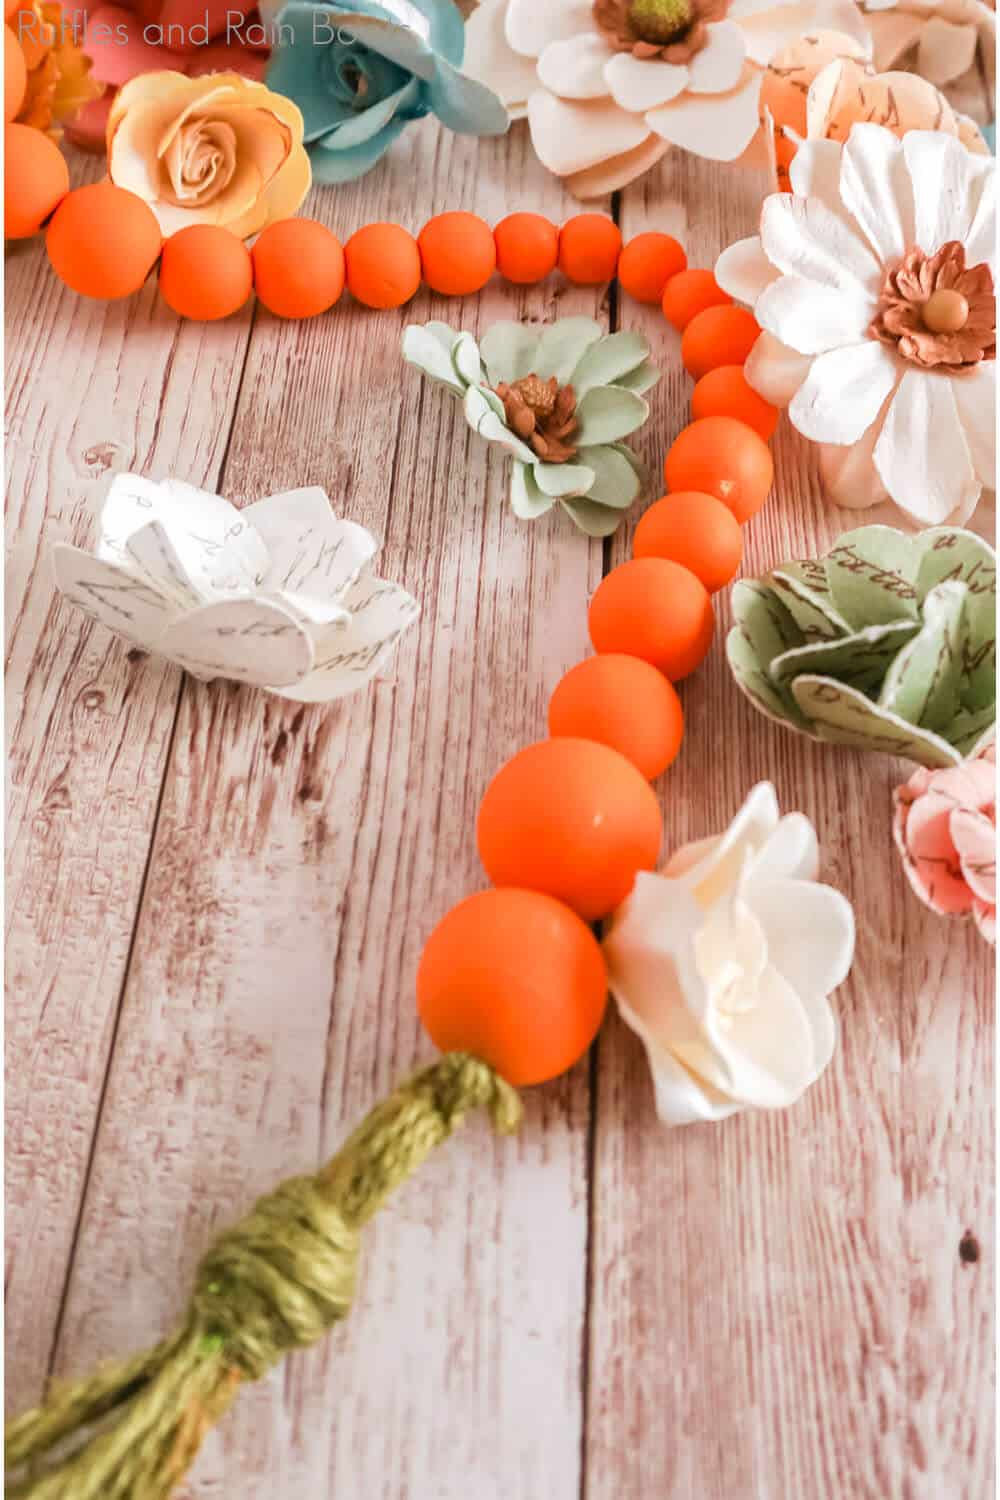
- I made these Easter farmhouse beads using straight orange acrylic paint. If your orange seems a little dark, you can add a touch of yellow. But my orange was exactly what I wanted.
- For the twine on this set of farmhouse Easter beads, I chose to use dark green twine that you can grab here and tied off the tassels using the same.
- This carrot farmhouse bead pattern was super simple, using two of my largest beads on each end, two of the second largest, two of the next to smallest then 4 of the very smallest beads, meeting in the middle. Super fun–looks like a carrot.
Tips to Make Halloween Farmhouse Beads
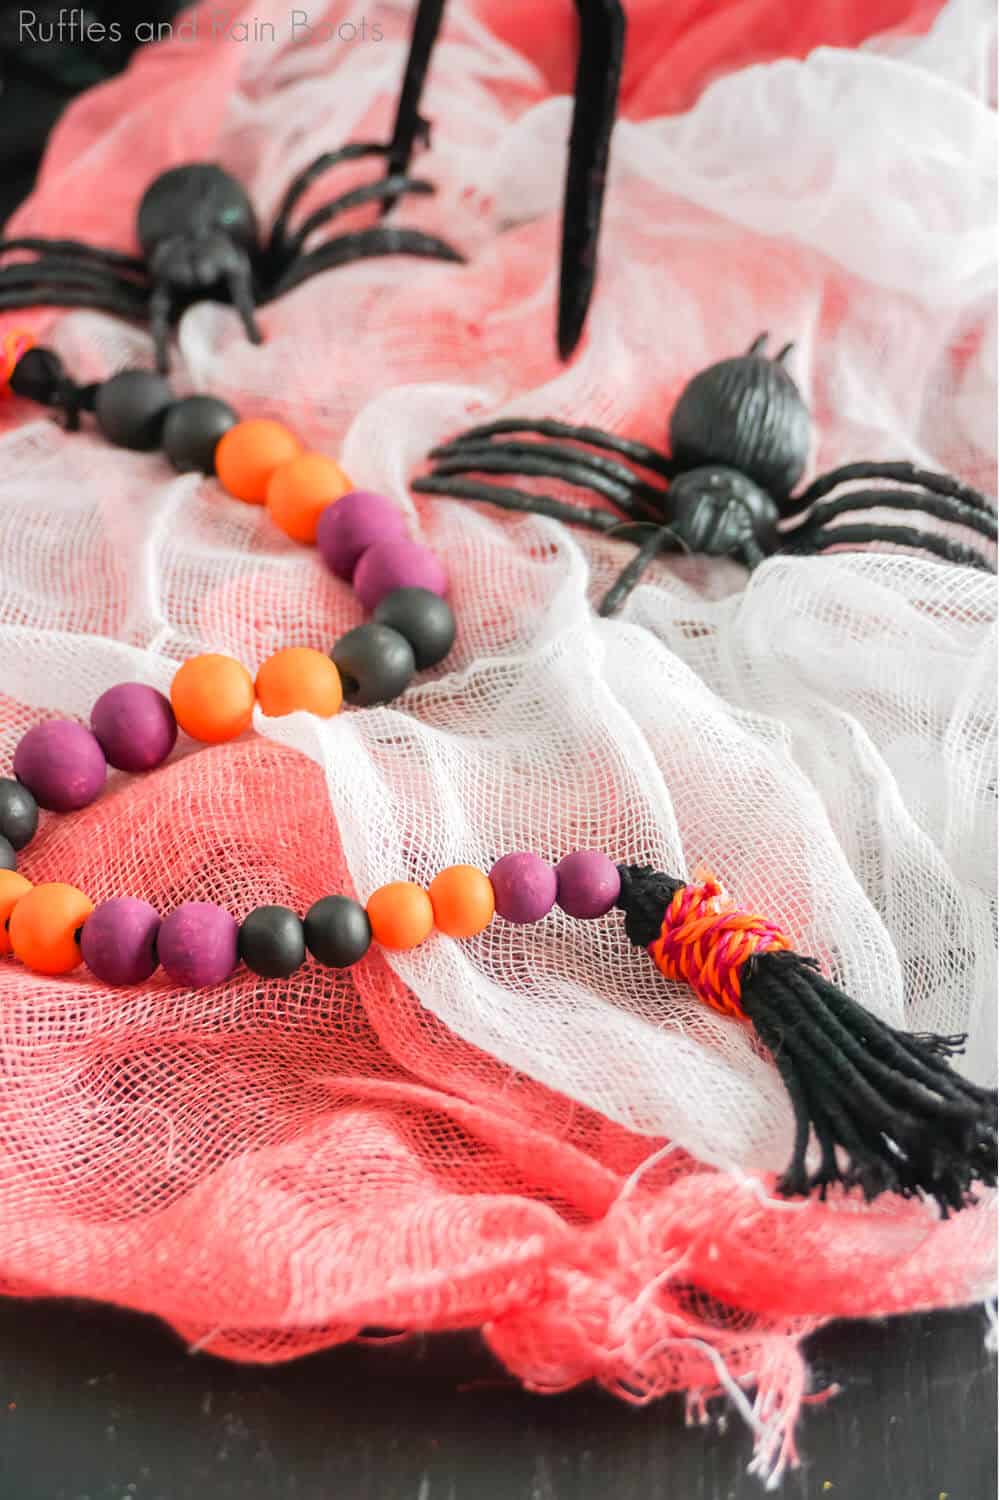
- I made these Halloween farmhouse beads using purple, orange and black acrylic paint. I did add a tiny bit of red to the purple because I wanted to brighten it just a bit.
- For the twine on this set of farmhouse Halloween beads, I chose to use black twine that you can grab here and tied off the tassels with some orange embroidery thread that you can see here.
- This Halloween farmhouse bead pattern was super simple, using beads of all the same size, two of each color, then repeat.
How Do I Make Ombre Farmhouse Beads?
I’m so glad you asked. Below is our written tutorial.
DIY Farmhouse Beads
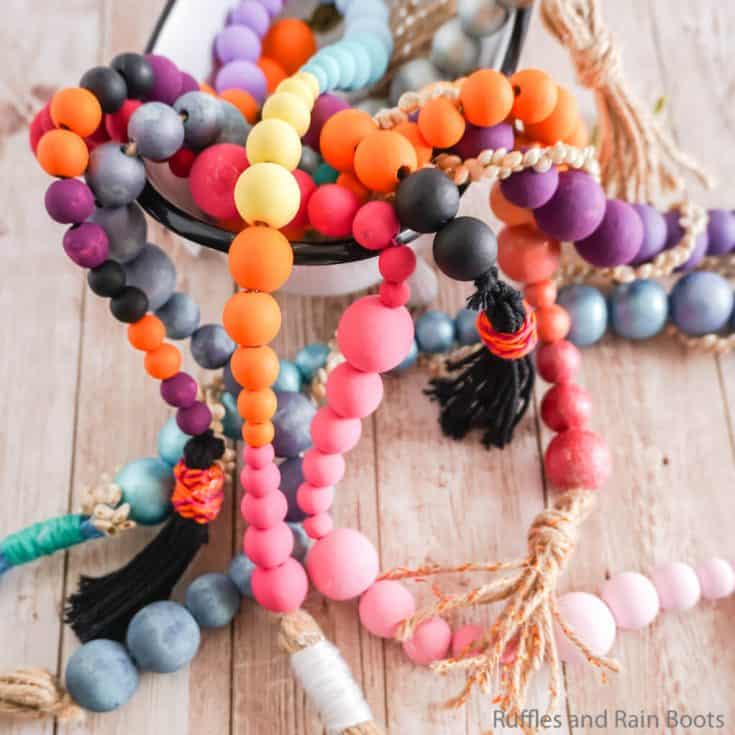
These DIY farmhouse beads are the most beautiful things ever! They're so simple--you can make these ombre farmhouse beads in just a few minutes. Plus, they're perfect for putting in your farmhouse tiered tray. Love love love them.
This tutorial is for a generic ombre farmhouse bead set. For details about each specific set described here, scroll up to the description about that specific set to get more specific instruction.
Materials
- Acrylic Paint
- Wooden Beads
- Twine
- Embroidery String
Tools
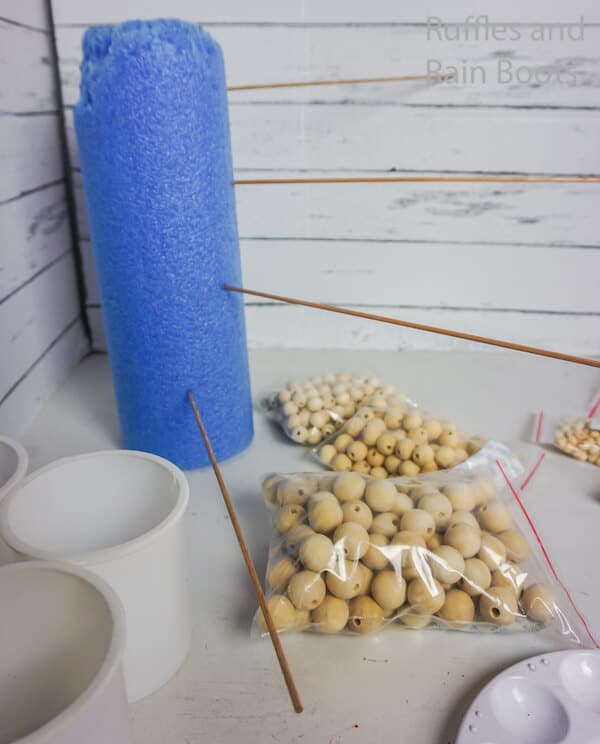
- 1/4 of a Big Pool Noodle or Other Large Foam Block
- 5 Small Dowels or Bamboo Sticks
- Paint Brush
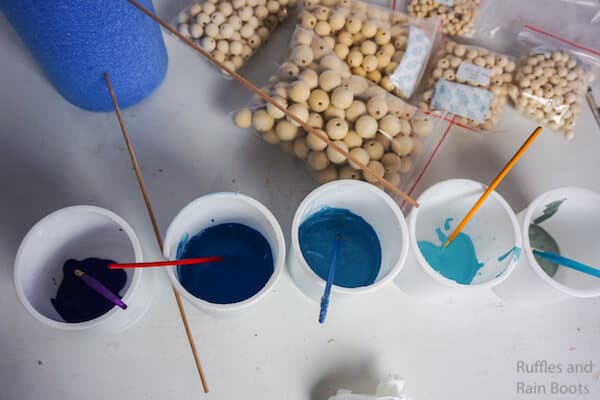
- 5 Paint Pallet or Cups
- Paper Towels, optional
- Wine Bottle, optional
Instructions
- Start by planning out your bead set. Lay the beads out on your table or draw what you want, but count-out the beads, determine your pattern and selecting your bead sizes before beginning. Make sure there are 5 "sets" that will be one color.
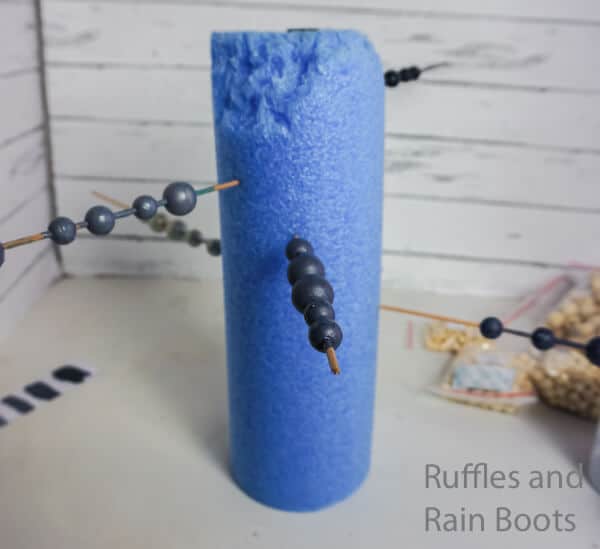
- Stick the bamboo sticks into the sides of of the pool noodle, pretty far apart and at varying heights. If the pool noodle doesn't want to stand up, you can stick it onto a wine bottle, just to hold the noodle up.
- Using your paint pallet or your cups, set them out side-by-side in a line and put the dark color in the farthest end and the lightest color in the other end. Then place 1/2 dark paint and 1/2 light paint into the centermost cup or container. Then put 1/4 dark paint, 3/4 light paint between the lightest and the centermost cups; and 3/4 dark paint, 1/4 light paint between the darkest and the centermost cups. Stir each mixed paint cup individually to make the color consistently mixed.
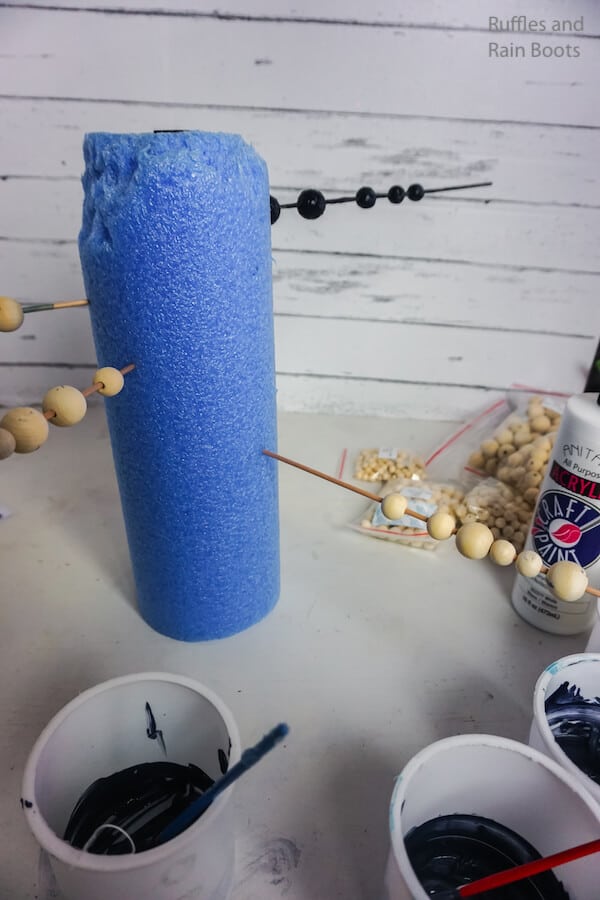
- Slide your wooden beads, in the "sets" that will be one color, onto a bamboo stick. Keep one color set of beads to one bamboo stick so that you don't mix them up.
- Paint each set with a color. Be sure to paint all sides.
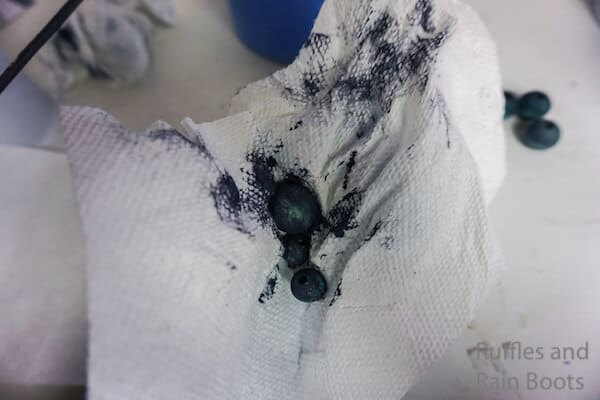
- If desired, wipe the beads off with a paper towel to give it a "distressed" look. Allow paint to dry completely.
- Remove the beads from the bamboo sticks and set out your pattern again.
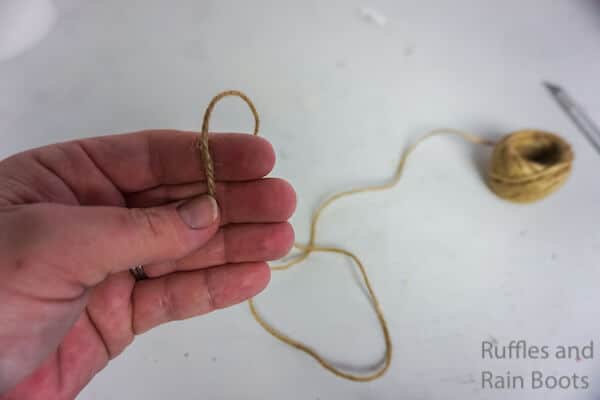
- Make a tassel by wrapping the twine around 3-4 fingers about 10 times, then tie the top 1/4 with embroidery thread or more twine. Cut the bottom loops open in the center. Then thread a long length of twine through the top un-cut loops and tie it to the loops.
- Thread the wooden beads onto the long length of twine, following the pattern you have in mind.
- Make another tassel and tie it off on the end of the beads and enjoy!
Notes
For more awesome farmhouse DIY ideas, visit Ruffles and Rain Boots!
Recommended Products
As an Amazon Associate and member of other affiliate programs, I earn from qualifying purchases.
Creativity, Delivered
Would you like inspiration delivered right to you each week? Sign up for the once-weekly Ruffles and Rain Boots newsletter and you’ll get that and more! Get access to the exclusive libraries full of free SVGs, hand lettering practice, and so much more.
More Farmhouse Crafts You Might Like
- DIY Farmhouse Tiered Tray – I love my farmhouse tiered tray and this is seriously exactly what I made these farmhouse beads for. So cute and perfect together!
- Rae Dunn Inspired Farmhouse Stand – This stand is so simple and it’s perfect for pairing with a bright set of wooden painted beads.
- DIY Farmhouse Gnome – Um, this is my favorite year-round gnome and there’s a reason why. And he is the most adorable little guy–with beads.
Please Save This to Pinterest
Your shares are how this site grows and I am sincerely grateful. Know a friend who’d like this? Please share it on Facebook or save it to your favorite easy DIY crafts board on Pinterest.
