
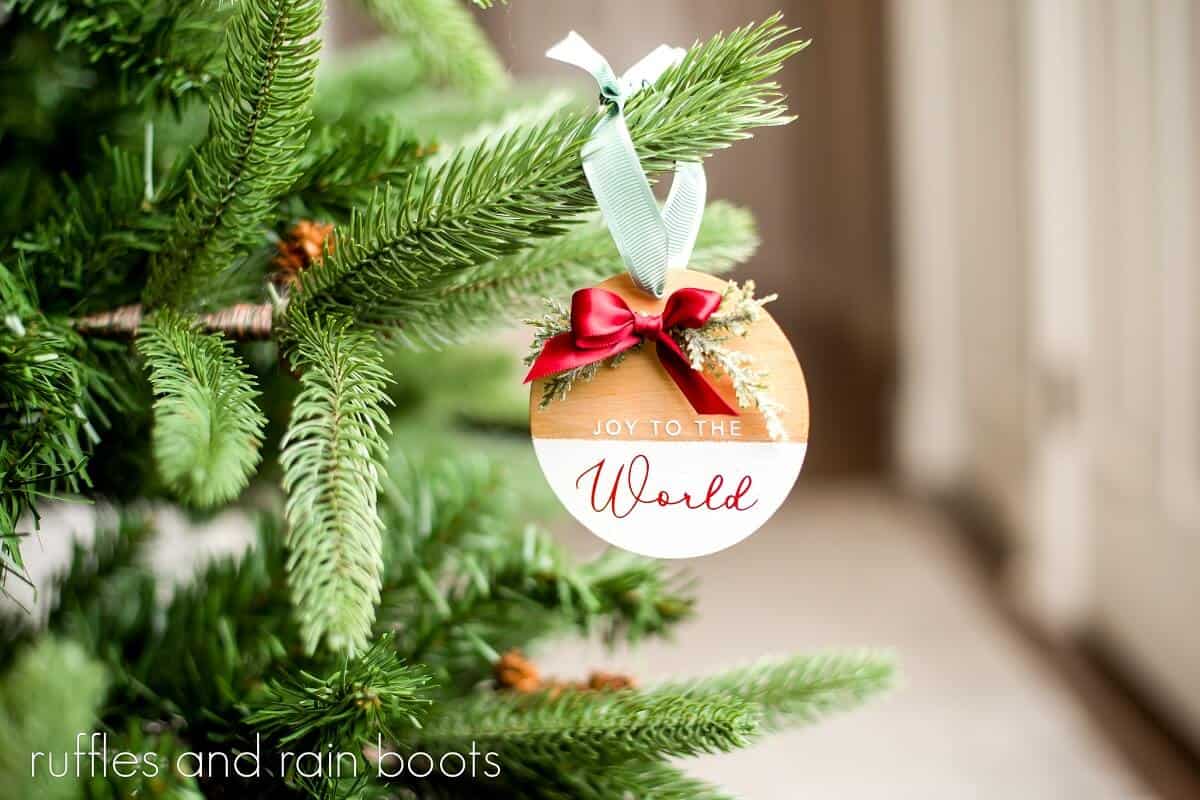
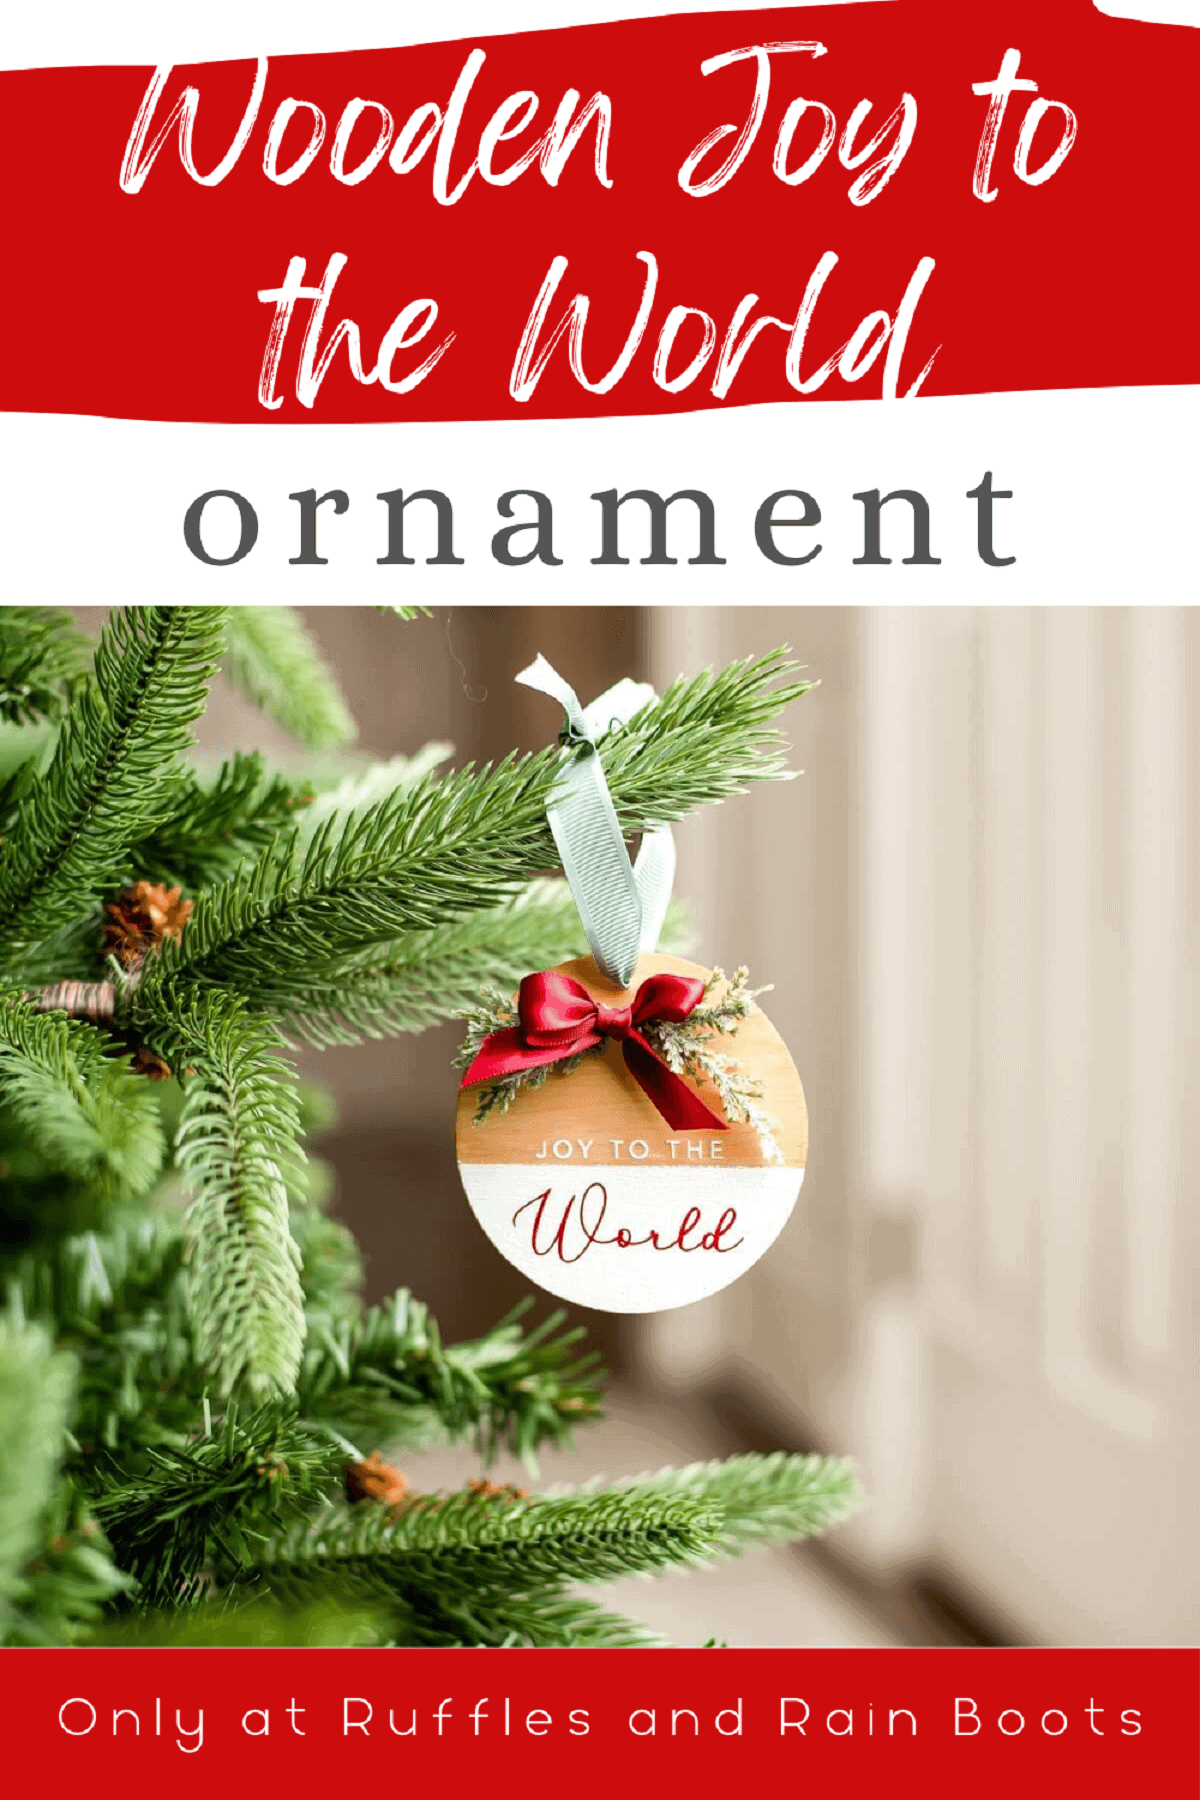
Wooden Cricut Joy to the World Ornament
This beautiful wooden Cricut Joy to the World ornament is an easy project for the novice or expert. This easy Christmas craft will fit right in with your home decor.
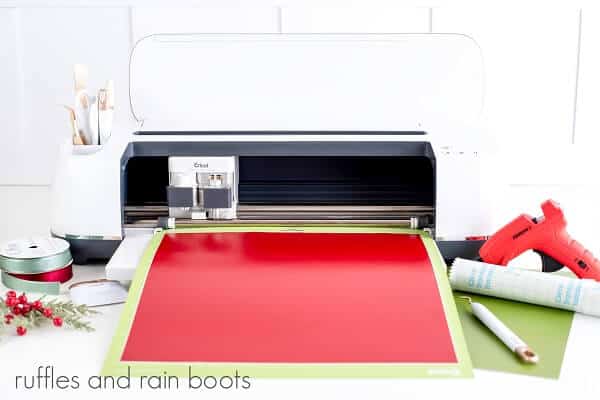
Head to the craft room and grab some stain, paint, ribbon, a roll of vinyl, and your hot glue gun. This simple but elegant Cricut craft idea comes together quickly but looks like you spent half the day making it.
RELATED READING: DIY Glitter Ornaments Cricut Craft
What You'll Find On This Page
Cute Cricut Christmas Ornament
Here at Ruffles and Rain Boots, we love handmade Christmas ornaments. There is such a sense of nostalgia when you see an ornament or other Christmas craft made by you or someone you love.
One of the things I love about this Cricut Christmas ornament is that you can custom-make it with any color stain, paint, and vinyl. You can also use any font you like from Design Space.
Do you have scraps of Cricut materials and odds and ends in your craft bin? Use them for this cute DIY Christmas ornament. Typically this craft would use a 3″ to 4″ wood round but wood slices would work great, too. And ornaments are the perfect size piece to put those small pieces of vinyl, leftover ribbons, and greenery to good use.
Need to Gather Supplies? Save or Share This Cricut Craft Idea
If you need to gather supplies or want to share this fun DIY with the world, please save it to a holiday crafts pin board or share it on Facebook. Either way will help you find it when you’re ready to begin.

As an Amazon Associate, I could earn from qualifying purchases. There may be affiliate links within this article.
Read Through These Tips Before Starting
- If using a script font in design space for this easy Christmas Cricut project, don’t forget to kern your letters (kern = connecting the letter to cut as one piece).
- The wood round I’m using has a hole pre-drilled, but if yours doesn’t, use a small drill bit to create a 1/8th-inch opening.
- Matte paint can be used in place of stain, so chalk paint is a great option. It might require a couple of coats and be sure to use tape to create a clean line.
- When choosing a stain, you have choices. The first would be found in the paint section of your local hardware store. An oil-based stain will penetrate the wood better and lasts longer. You can also choose a gel stain found in the craft paint section of your favorite craft and hobby store. This is an excellent choice if working in a small, closed area or with younger kids.
- For the sealant, if you don’t have any Mod Podge on hand, check the garage for a polyacrylic sealer. This is a common clear sealant also found in the paint section. If you prefer and have a well-ventilated area (or can spray outside), use a spray protectant and sealer.
Are you ready to jump into one of our favorite Cricut project ideas? Your supplies and instructions are listed below. Be sure to check out our other easy Cricut and Silhouette crafts as well as our huge library of free SVG files and designs. Here is how to create this Cricut Farmhouse-style ornament:
Notes:
- If using a script font in design space, don’t forget to kern your letters (kern = connecting the letter to cut as one piece).
- Our wood round has a pre-cut hole for hanging. If yours does not have a pre-made hole, create one using a small drill bit.
- If using paint instead of stain, it is best to use matte. This may require 2-3 coats. Use masking tape or painter’s tape to create a crisp line for a two-toned painted look.
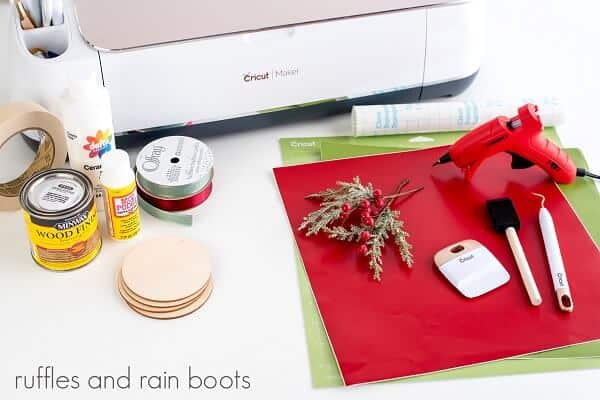
These are the Supplies for Your Cricut Christmas Ornament:
- Cricut machine
- Standard grip mat
- Permanent vinyl (we used red)
- Transfer tape
- Cricut scraper tool
- Cricut weeding tool
- 5/8″ ribbon in your choice of color
- Paint in your color of choice
- Foam paintbrush
- Painters tape or masking tape
- Mod Podge
- Stain in the tint of your choice
- Pre-cut wood rounds with a hole
- Greenery of choice
- Hot glue gun
Instructions to Create This Painted Ornament with Cricut Vinyl
Each step is detailed below so it’s easy to follow; Keep this page open while you create your easy Cricut ornament idea. If you would like to work from printable instructions, scroll down and select the print button.

Step 1: Begin to apply stain to the wood round for your easy Cricut project idea.
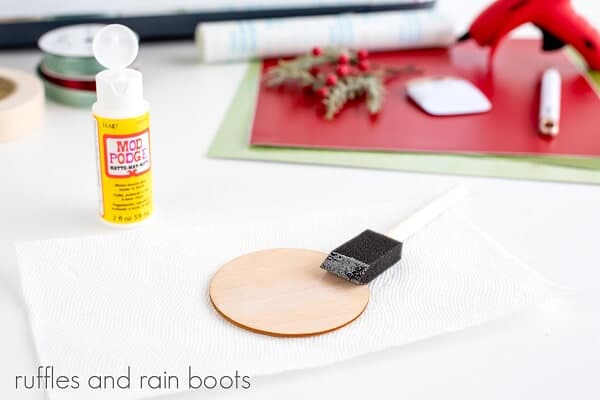
Step 2: Once the stain is dry, add a layer of mod podge as a sealant to the front of the round.
Steps 3-4: In design space prepare your design or phrase for your Cricut Joy ornament by using the text tool. Once designed and sized accordingly, select “make it” in design space.
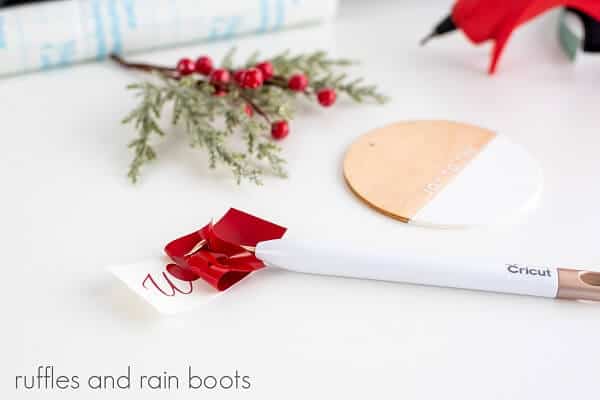
Step 5: When the cuts are complete, begin to weed around and inside the letters of the vinyl by using your weeding tool.
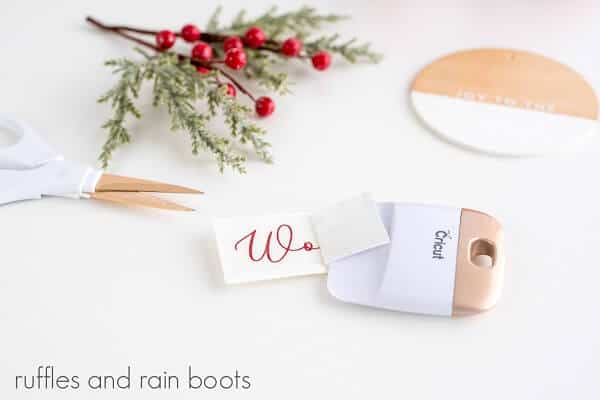
Steps 6-7: After the designs are completely weeded, cut off a piece of transfer tape the size of the vinyl and apply the transfer tape using pressure with the scrapper tool.
Turn the entire design face down and begin to gently apply pressure and pull the vinyl’s carrier sheet off and away from the transfer tape.
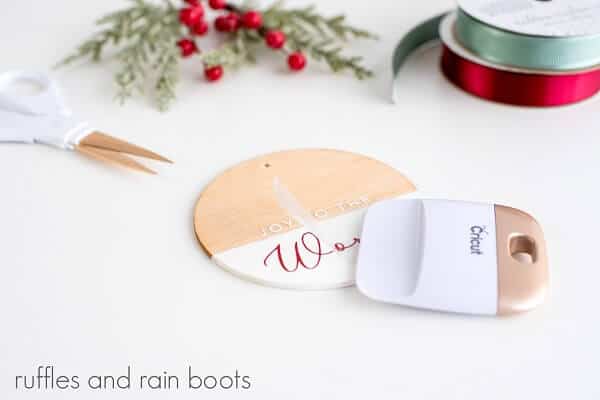
Steps 8-9: Place the weeded vinyl with the transfer tape on top of the dried wood round. Once enough pressure had been applied, slowly remove the transfer tape.
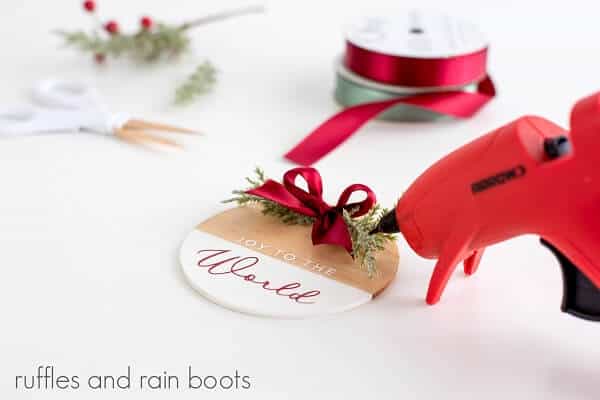
Step 10: Lastly, using hot glue, attach the greenery to the wood and top it with a small bow.
More Cricut Crafts You Might Like
- Easy Dollar Tree Farmhouse Bell Ornament Christmas Craft: Are you looking for a super easy but adorable Christmas ornament idea that fits perfectly into your holiday Farmhouse home decor? Look no further than this cute jingle bell ornament craft.
- This Merry Christmas Wood Round Sign: Although it may be hard to do, try and find some “me” time this holiday season. This easy Cricut craft idea is the perfect easy craft during some downtime. It will make such a great addition to your Christmas decor and
- Easy Santa’s Magic Key Sign Cricut Craft: Do you have kids who worry that Santa won’t be able to get into your house because you don’t have a chimney? No problem! This easy Cricut craft will ease their minds.
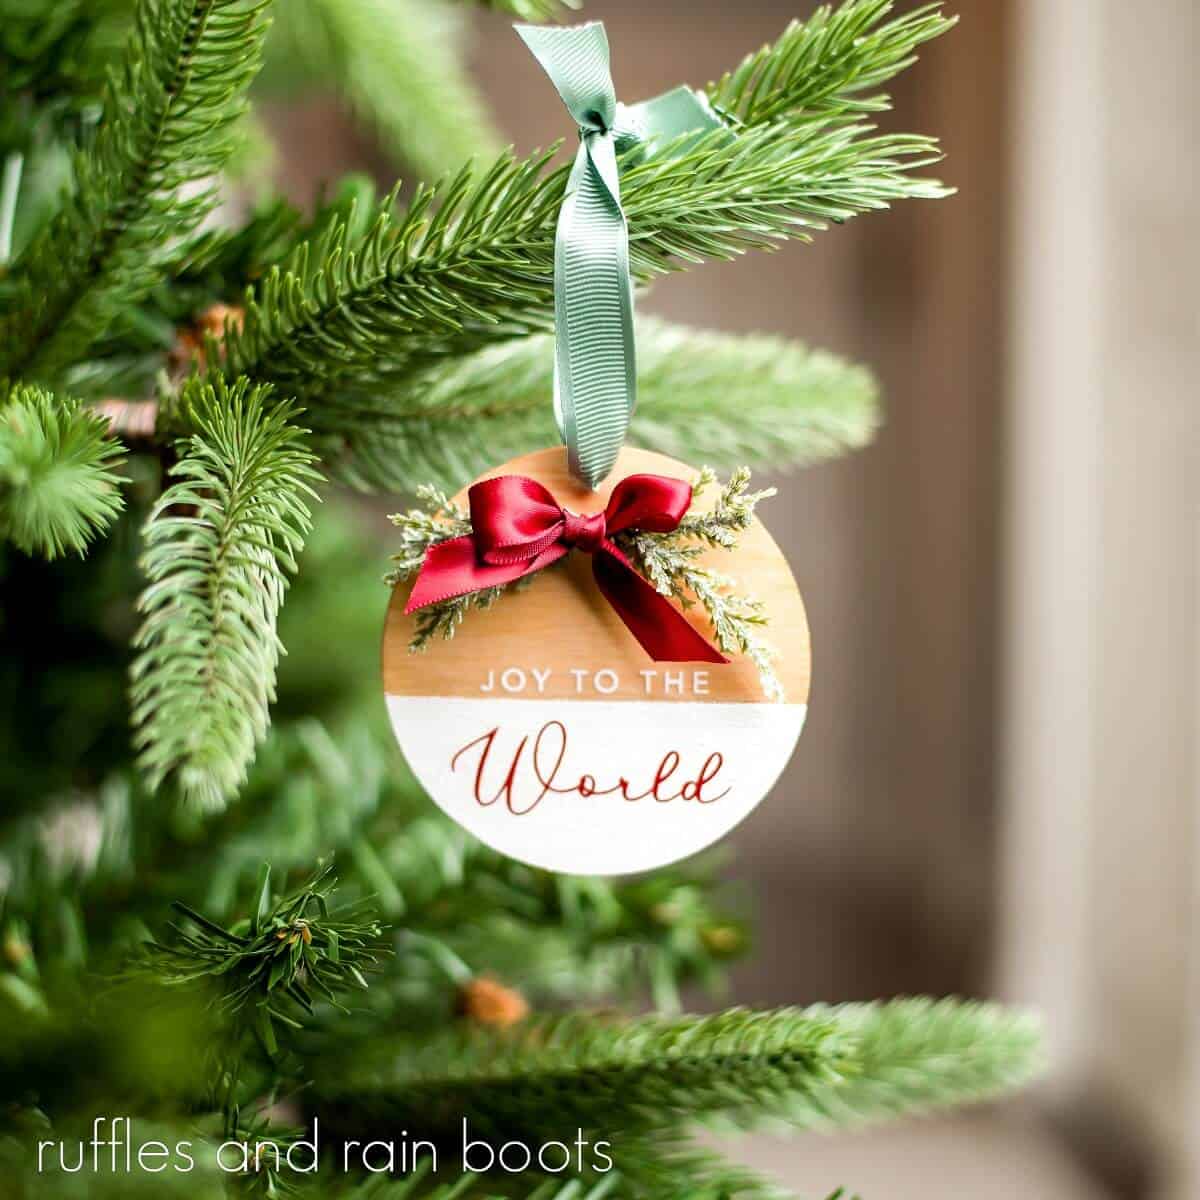
Wooden Cricut Joy to the World Christmas Ornament

Our holiday Christmas wooden Joy to the World ornament decoration idea is a fun craft for older kids and will charm even the biggest Scrooge.
Materials
- Permanent vinyl (color of choice)
- Standard Grip Mat
- Transfer tape
- Ribbon of choice (5/8”)
- Paint color of choice
- Paint brush
- Painters tape/masking tape
- Mod Podge
- Stain of choice
- Pre-cut wood rounds
- Greenery of choice
Tools
- Cricut
- Scraper tool
- Weeding tool
- Hot glue gun
Instructions
- Apply stain to the wood round. If painting, use 2-3 coats of matte paint. Allow 24-48 hours for the stain and paint to completely dry. NOTE: Use masking tape or painter's tape to create a crisp line for a two-toned painted look.
- Add a layer of mod podge as a sealant to the front of the round where the vinyl will be applied. Do not skip this step if you used stain.
- In the software for the cutting machine, prepare your design or phrase by using the text tool. Size according to wood round used. I used Avenir and Montens fonts.
- Select Make and adjust the machine setting or material to custom, washi sheet. Load the permanent vinyl to your machine on the standard grip mat and
hit “go”. - When cutting is complete, weed around and inside the letters of the vinyl using the weeding tool.
- Cut off a piece of transfer tape the size of the vinyl and apply using pressure with the scrapper tool.
- Turn the entire design face down and begin to apply pressure and pull the vinyl’s carrier sheet off and away from the transfer tape.
- Place the weeded vinyl with the transfer tape on top of the dried wood round.
- Once enough pressure had been applied slowly remove the transfer tape and very carefully and slowly roll it away and off the round. The vinyl will remain on your project.
- Use hot glue to attach decorations and bow. Thread the ribbon to create a hanging attachment.
Notes
If using a script font in design space, don’t forget to kern your letters (kern = connecting the letter to cut as one piece).
If the wood round does not have a pre-made hole, create one using
a small drill bit.
Please Save or Share This Fun Christmas Ornament Idea
Your shares are how this site grows and I sincerely appreciate it. Please save this to your favorite Cricut craft or Christmas DIY pin board or share it on Facebook
Meet the Creator
Hi there, I’m Sarah Nenni-Daher. I’m a crafty gal and always have at least 14 projects going at once. I am a crafter, designer, DIYer, and pattern maker. I share my creations here and in the Ruffles and Rain Boots® Shop.
Here at Ruffles and Rain Boots®, you’ll find DIY gnomes, crafts, gifts, cupcakes, laser crafts, and so much more. I love sharing video tutorials over on YouTube and chatting with other crafters in my Facebook groups. We’d love to have you!