
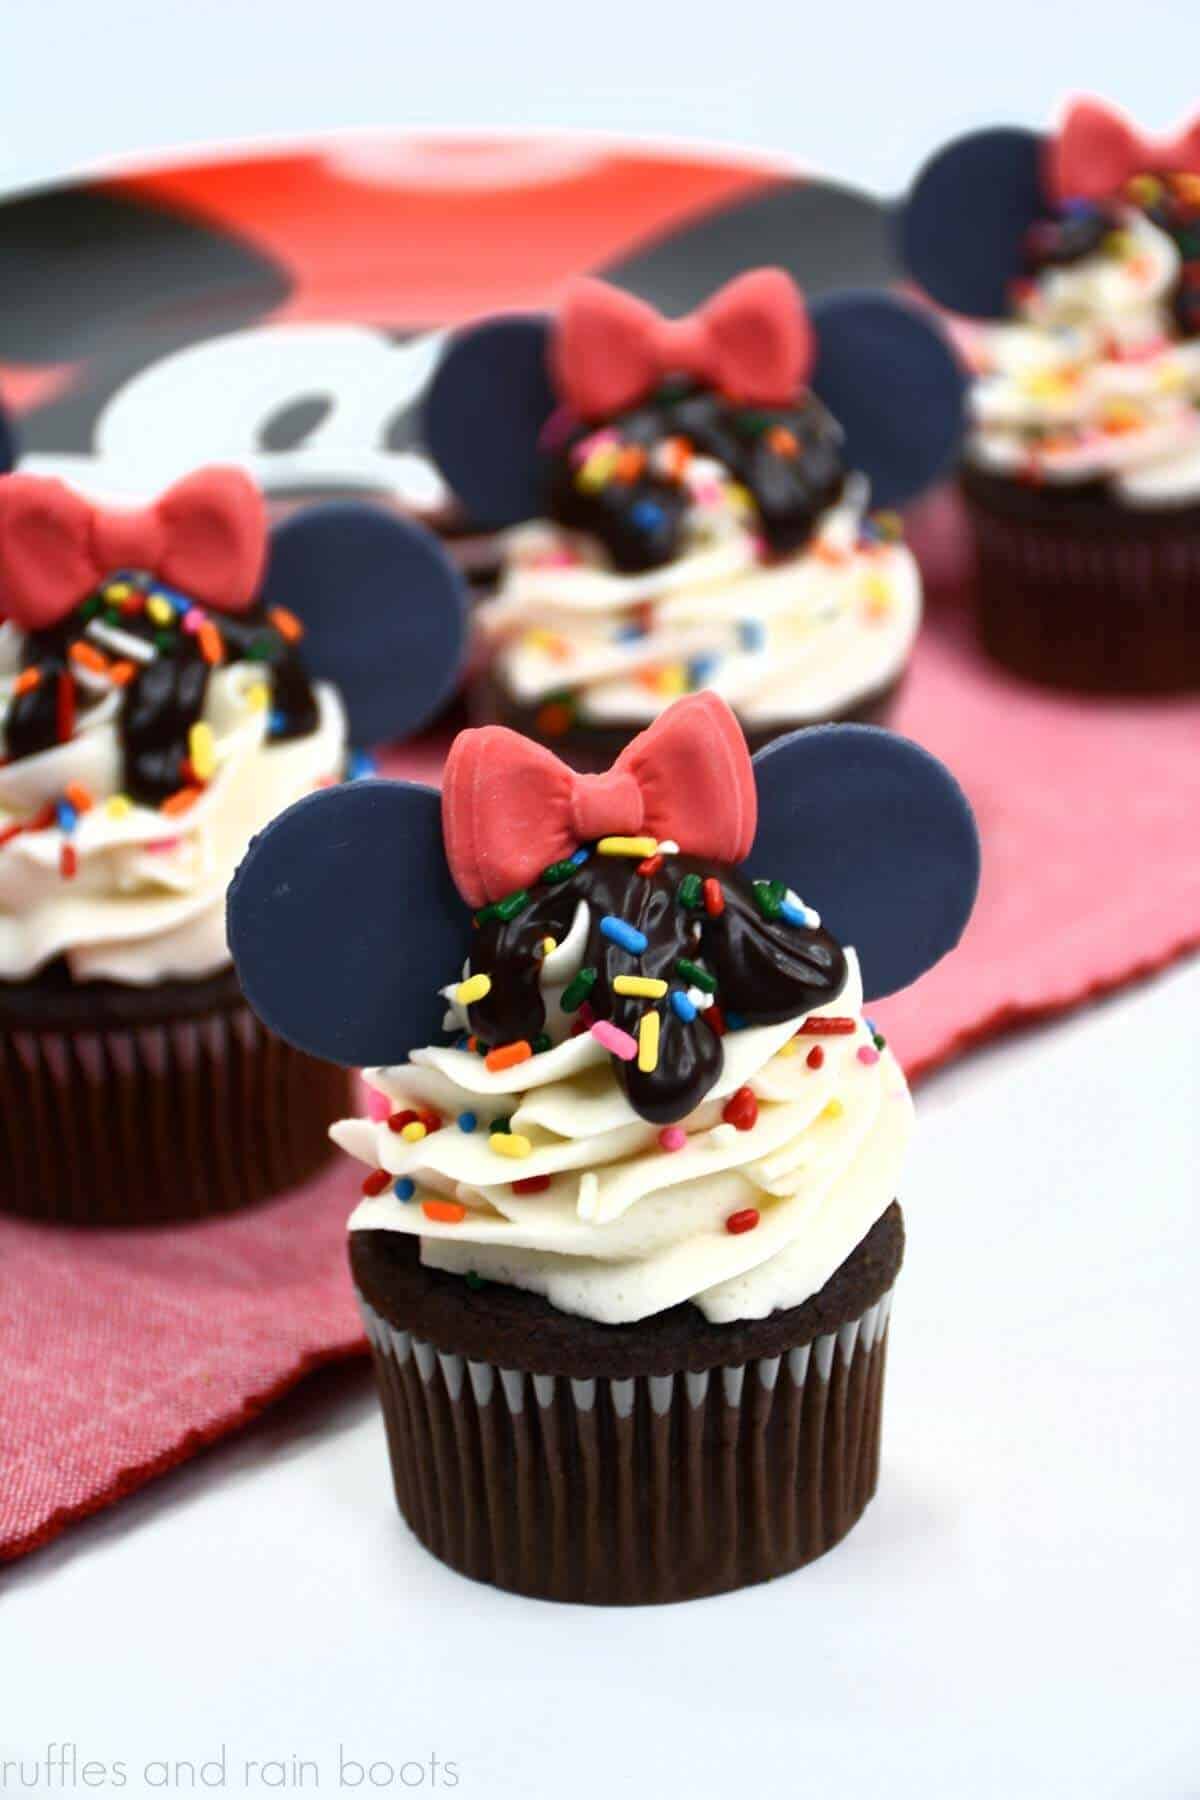
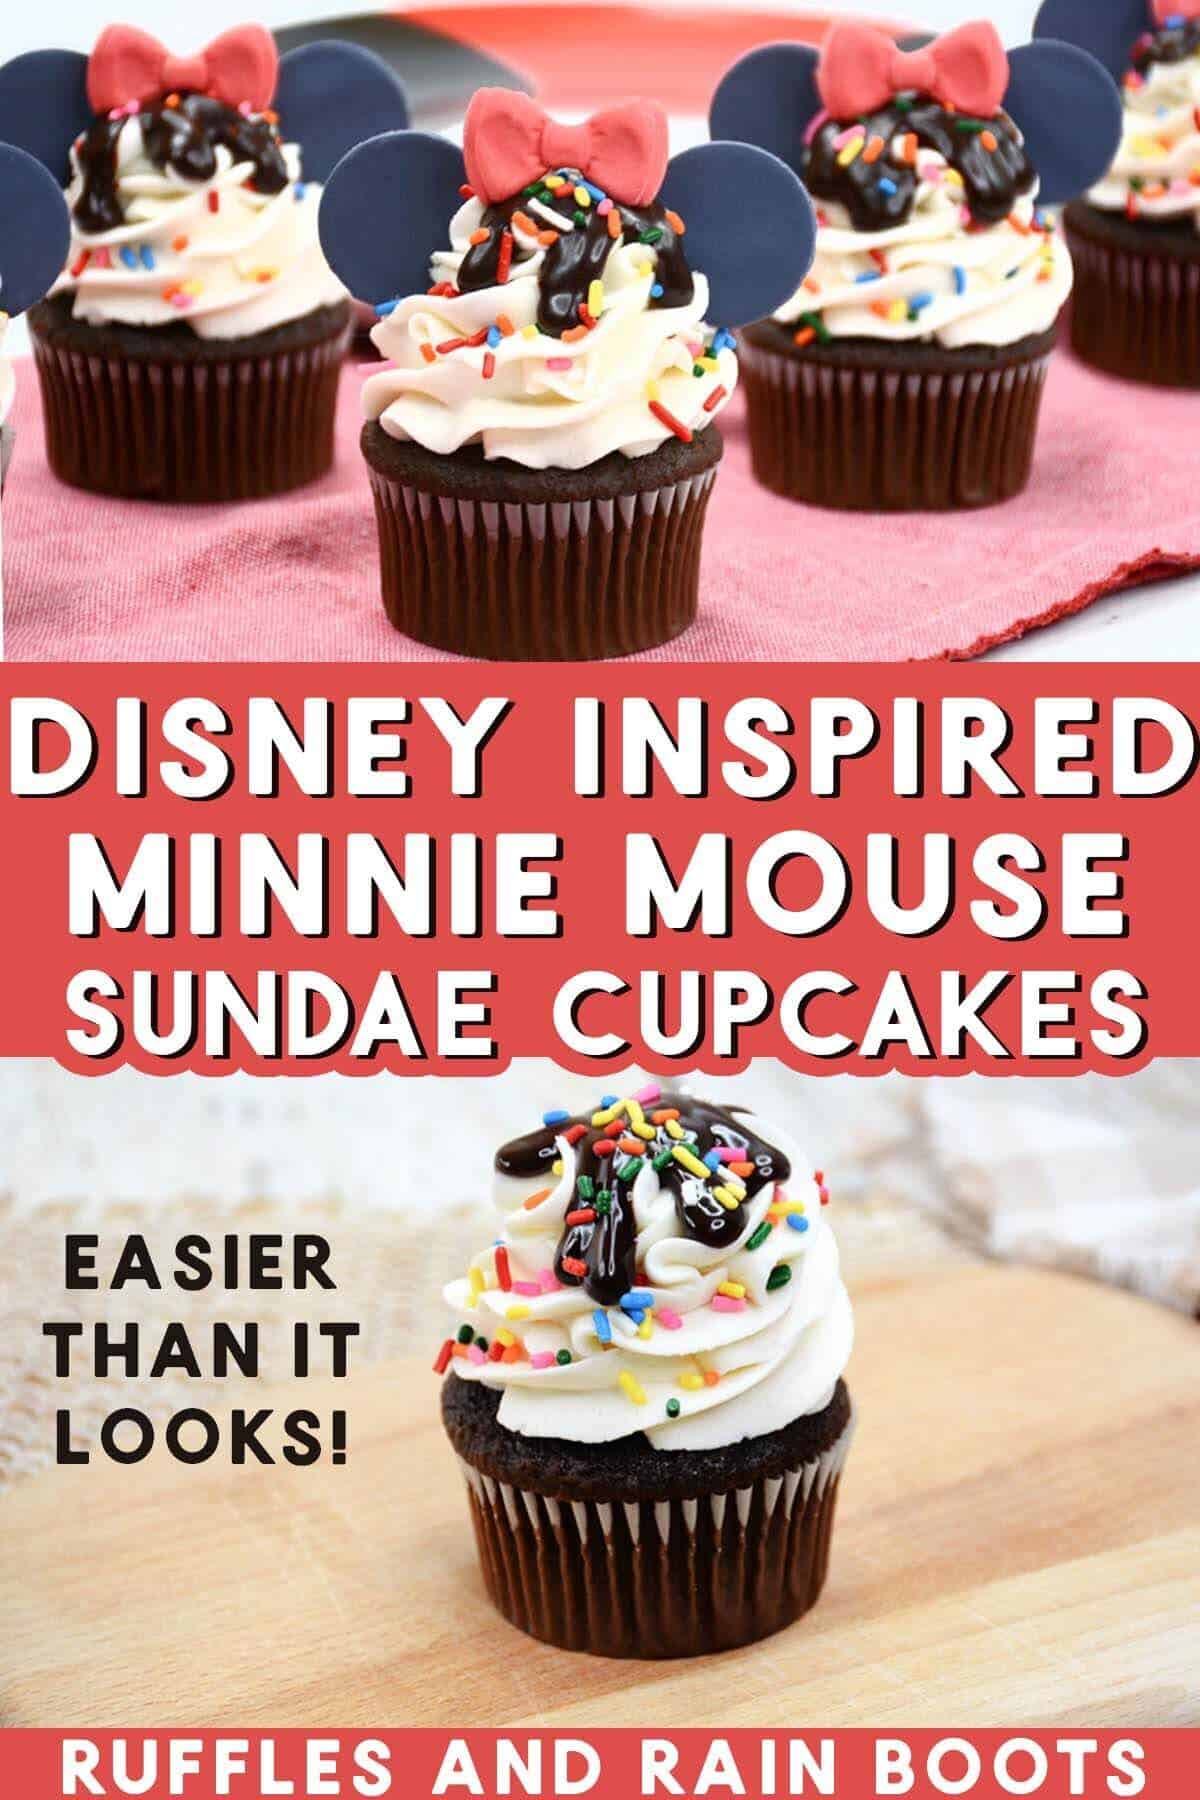
Minnie Mouse Ice Cream Sundae Cupcakes
All Disney fans can agree, these Minnie Mouse ice cream sundae cupcakes are wow-worthy for any event! They taste amazing and look like you hired a professional baker to whip them up for you.
Included in this single recipe are the delicious chocolate cupcakes, the creamy vanilla frosting, an intensely rich chocolate ganache, and the easy instructions to whip up adorable fondant details.

Be sure to check out my Safari Minnie Cupcakes for another fun Minnie Mouse treat. They make everyone go wild! :)
What You'll Find On This Page
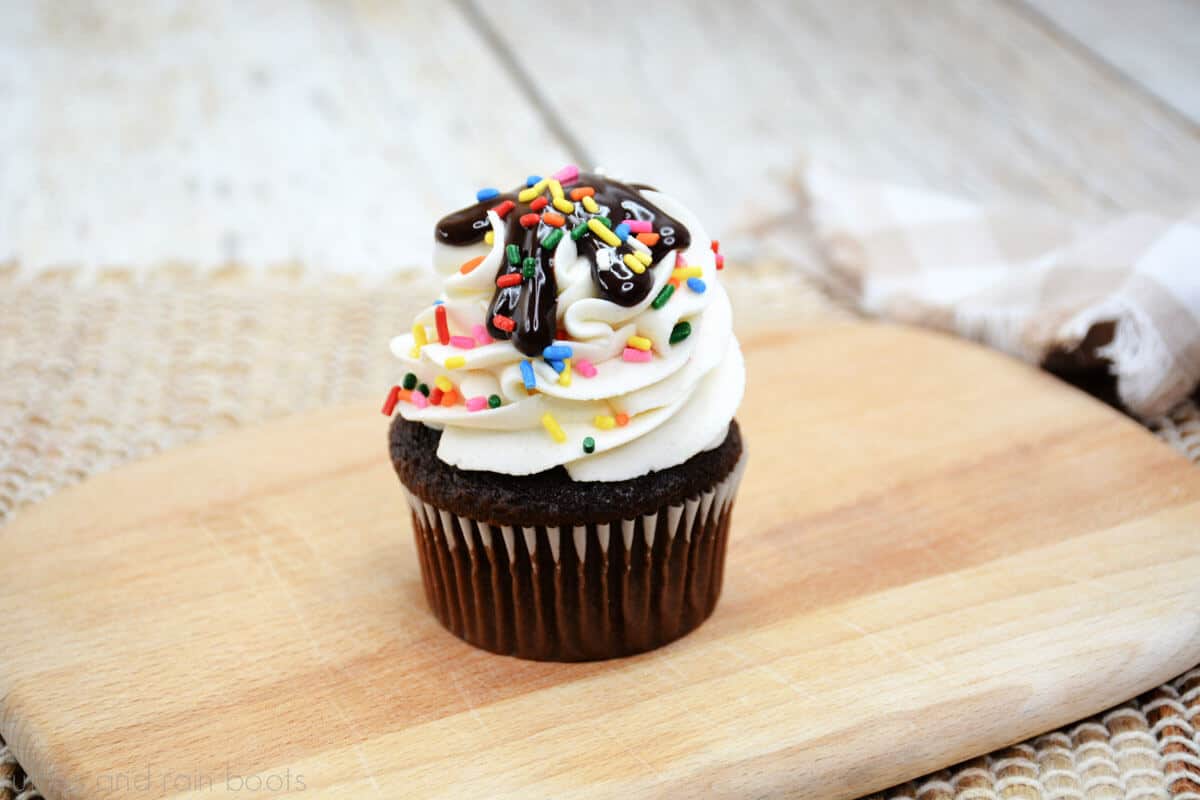
Ice Cream Sundae Cupcakes
Here at Ruffles and Rain Boots, I have never said no to a cupcake challenge. When we decide to make cupcakes around here, they’re usually vanilla and quick (I have the Internet’s most popular Easy Vanilla Cupcake recipe, after all).
This week, my daughter was on Spring Break and we decided to go all out. We popped on a Disney movie soundtrack playlist and got to work on these fun sundae style cupcakes.
Psst: if this seems daunting, just know that you can make everything in stages: the cupcakes can be made and frozen ahead of time. Just place them on the counter to thaw. The frosting can be made a day or two in advance and just whip it again before piping.
RELATED READING: Minnie Ears Ariel Cupcakes
No Time to Make This Now? Save or Share This
Need to gather some ingredients? Save this to a fun desserts pin board or share to a food and recipes group on Facebook. It’ll be easy for you to find when you’re ready to start.
As an Amazon Associate, I can earn from qualifying purchases. There could be affiliate links within this article.
Tips For Making Minnie Mouse Cupcakes
- If you have this silicone bow mold, you can make the fondant bows days (or weeks) in advance (keep them in an air tight container until ready to use). The circles are just punched with any 1-inch cutter (can use a large frosting tip).
- Let the cupcakes cool completely before adding the frosting. If you try to frost them early, the frosting is going to lose its hold and could slide off.
- I used a 1M star tip to frost the high cupcake mound. To master this technique, build a small mound in the center of the cupcake. Start at the outside base of the mound and use even pressure while pulling the frosting bag away and up. End the pipe at the top of the mound.
- If you use a tub of store bought frosting, be sure to add powdered sugar and a very small amount of milk when whipping.
Easy Alternate Decorating Ideas
We styled ours in a Minnie Mouse theme, but here are some other ways to make sundae cupcakes amazing for any party or occasion.
- Create a mock ice cream mound. Use an ice cream scoop for the frosting and place it on top of each cupcake. If you want, you can even add it onto a bed of frosting (very decadent).
- Use bottled or chocolate sauce in a jar. We’ve used the Magic Shell before and kids of all ages love to hear the crack!
- For a fun treat, use a Maraschino cherry on top in place of any fondant decorations. Just note that the color may spread so add it just before serving for the best presentation.
RELATED READING: Amazing Dinglehopper Ariel Cupcakes
Ice Cream Sundae Cupcakes Recipes and Instructions
These adorable Minnie Mouse cupcakes are perfect for a Minnie birthday party idea or even a big Disney movie night at home. Be sure to read the tips section above before you get started and if you have any questions, please use the comments section below.
Minnie Mouse Ice Cream Sundae Cupcakes
You can make ice cream sundae cupcakes with all three recipes here. To make them Minnie Mouse themed in just minutes, pick up some fondant.
Ingredients
Bows and Ears Ingredients and Tools
- 1 package red fondant, 4 ounces
- 1 package of black fondant, 4 ounces
- 1 cup powdered sugar
- 1 silicone mold (I have this one)
- 1 small paint brush
- cutting board
- 1 inch round fondant cutter (can use 1M star tip)
Chocolate Cupcake Ingredients and Tools
- 1 Cup of Flour
- ½ cup Hershey dark cocoa powder
- ¾ teaspoon baking powder
- ½ teaspoon baking soda
- ½ teaspoon salt
- ½ cup light brown sugar
- ½ cup sugar
- ⅓ cup canola oil
- ½ cup buttermilk
- 1 egg
- 1 teaspoon vanilla extract
- Cupcake Pan
- Cupcake Liners
Vanilla Frosting Ingredients and Tools
- 2 cups unsalted sweet cream butter, softened
- 5 cups powdered sugar
- 2 teaspoon vanilla extract
- 6 tablespoons heavy whipping cream
- 1 large piping bag with 1 M star tip
- 2 cups sprinkles
Chocolate Ganache Ingredients and Tools
- ½ cup semi-sweet chocolate chips
- ¼ cup heavy whipping cream
- 1 squeeze bottle (or zip top bag)
Instructions
Make Fondant Decorations (if using)
- Add a sprinkling of powdered sugar to the cutting board and knead the fondant with your hands until it's soft.
- Place the silicone mat onto the cutting board and use the paintbrush to add powdered sugar to each mold cavity (just a dusting).
- Pinch 1 and 1/2 teaspoons of red fondant and put it into the mold of the bow. Let it sit for 5 minutes and remove it from the mold. Repeat to make 11 bows.
- Add more powdered sugar to the cutting board and knead the black fondant to make it soft.
- Roll the fondant out to be about 1/2 inch thick and cut out 24 circles. Let the bows and circles harden overnight.
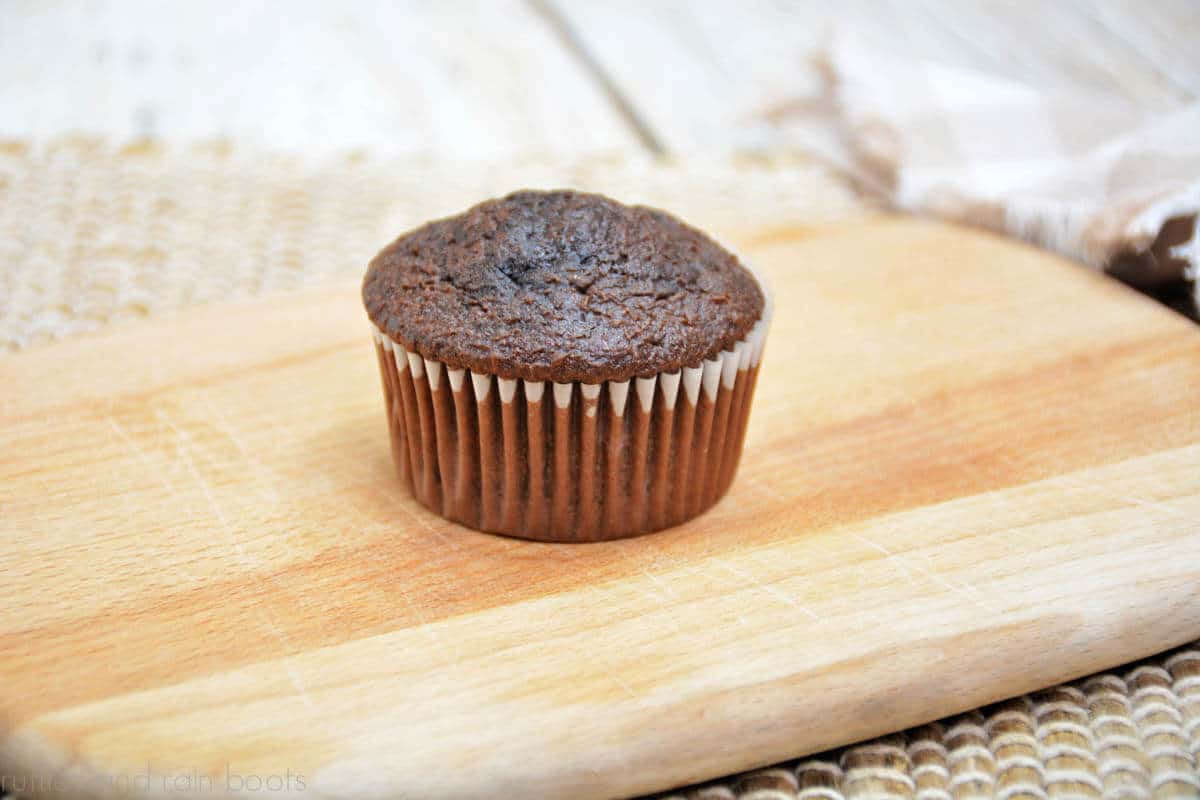
Make the Chocolate Cupcakes
- Preheat the oven to 350 degrees and add cupcake liners to the pan.
- Mix flour, cocoa, baking soda, baking powder, and salt into a bowl with a whisk.
- Use a mixer to beat the sugar, brown sugar, oil, egg, and vanilla well.
- Create the batter by alternating buttermilk and flour additions. Mix until smooth and combined.
- Pour the mixture into the cupcake liners about 3/4 full and bake for 21 minutes in the oven. Let cool completely.

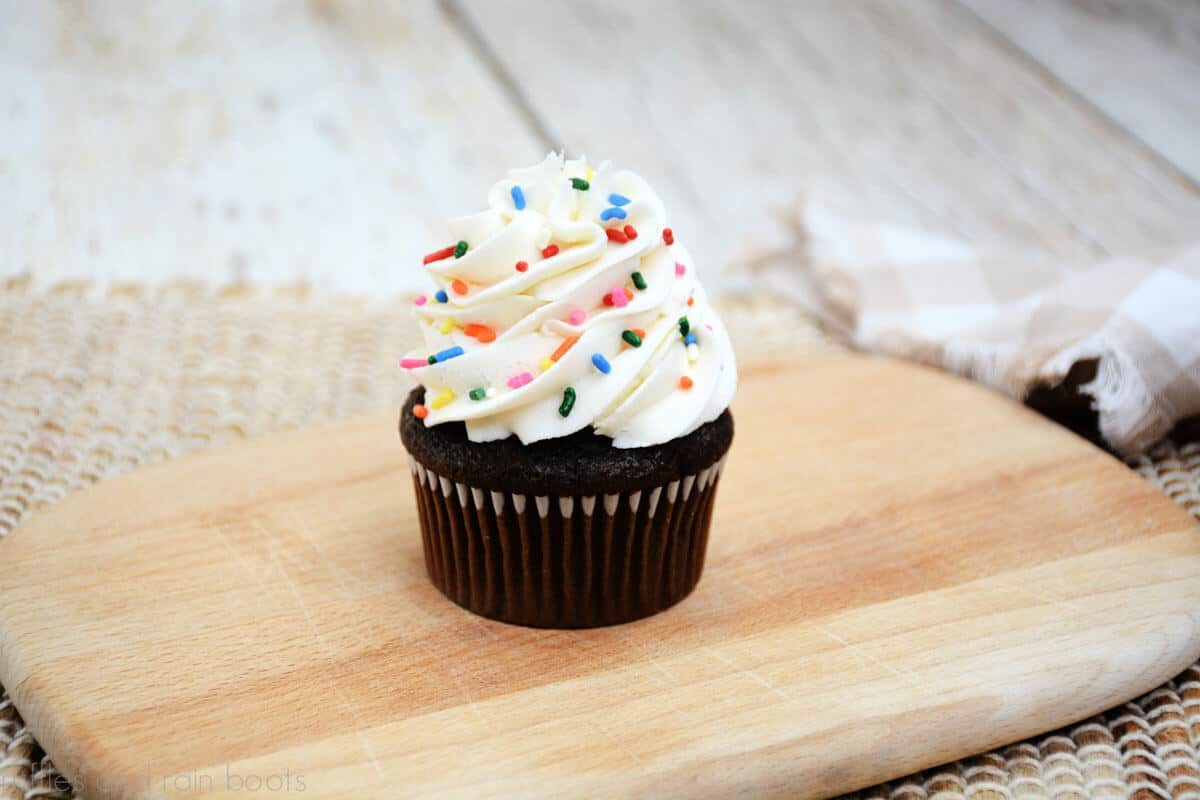
Make the Vanilla Frosting
- Use a mixer to beat the powdered sugar, butter, whipping cream, and vanilla. This will take about 5-7 minutes to make it smooth and fluffy.
- Transfer the frosting into the bag with the star tip.
Make the Chocolate Ganache
- Bring the heavy whipping cream to a simmer in a pot on the stove.
- When ready, pour the hot mixture over the chocolate chips into a bowl. Let it sit for one minute and whisk until smooth.
- Add the ganache to the squeeze bottle and let the mixture cool for 5 minutes before using.
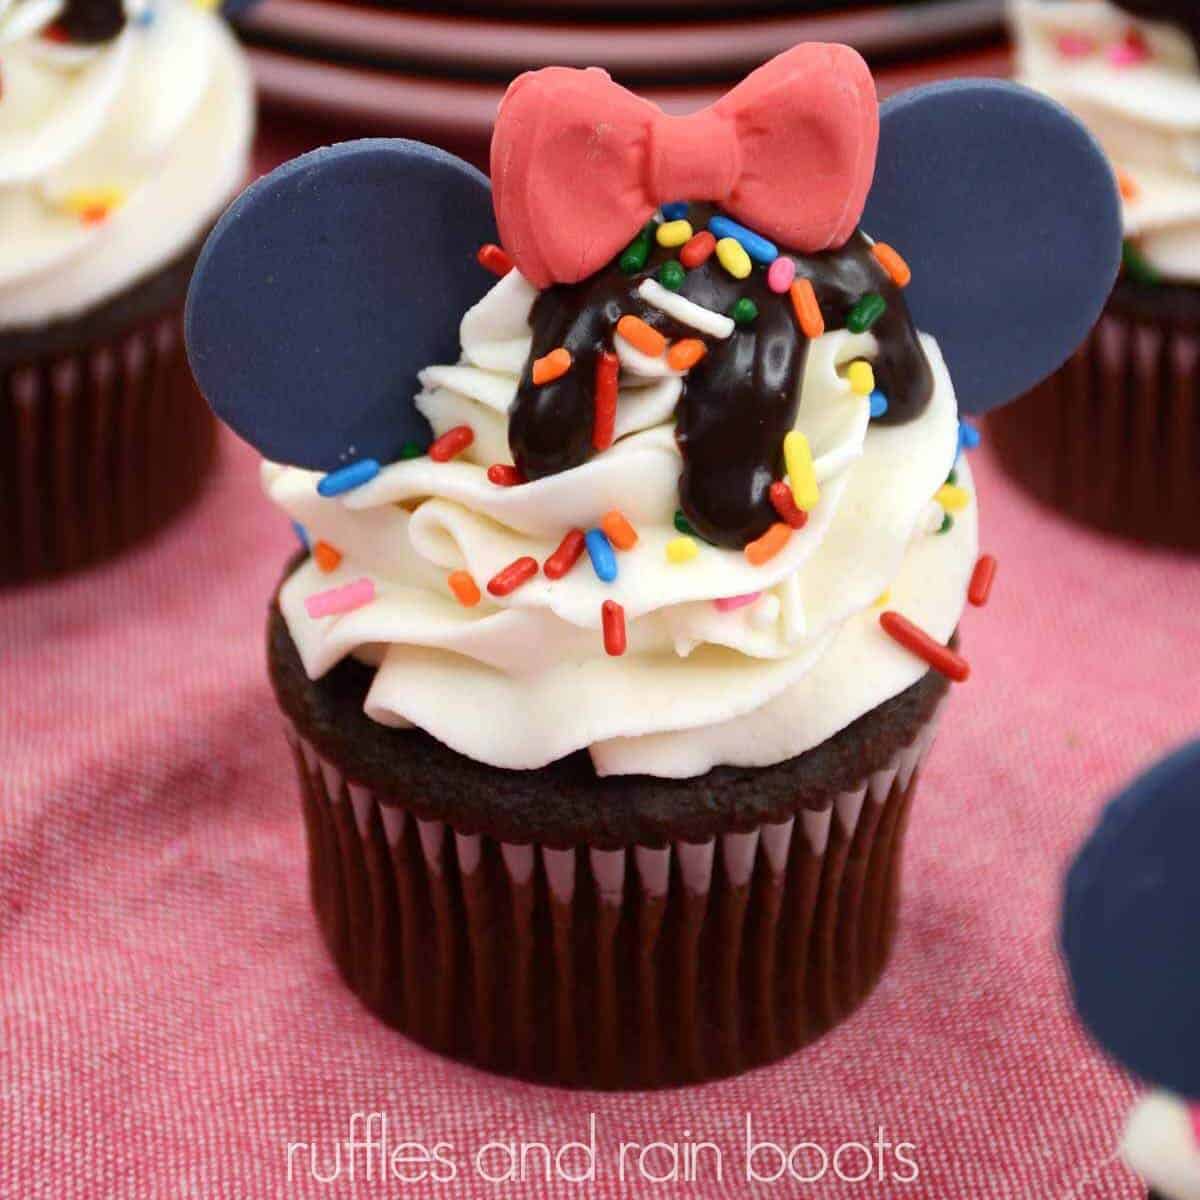
Decorate the Cupcakes
- Create a mound of frosting in the center of the cupcake. Starting at the outside edge of the cupcake, pipe the frosting up to the top of the mound.
- Add sprinkles.
- Create the ganache drips on the peak of the frosting and add more sprinkles.
- If using, place the red bow in the center of the frosting mound and add one black circle to each side of the frosting.

Notes
Leave off the fondant and add a Maraschino cherry to the top of the cupcake.
Place a small, decorative spoon to coordinate the cupcakes with your party decor.
Nutrition Information:
Yield:
12Serving Size:
1Amount Per Serving: Calories: 977Total Fat: 52gSaturated Fat: 24gTrans Fat: 2gUnsaturated Fat: 25gCholesterol: 108mgSodium: 425mgCarbohydrates: 129gFiber: 1gSugar: 112gProtein: 3g
All nutrition information is estimated. For accuracy, please calculate your exact brands and ingredients if accuracy is desired.
More Delicious Treats
- This Delicious Maple Bourbon Cupcake Recipe Will WOW– These are appropriate for all ages, but grown ups are going to LOVE the deep flavor of these gourmet cupcakes.
- These Epically Easy Cruella DeVille Cupcakes are Wickedly Fun – No one will be turning down any of these tasty desserts.
- Day of the Dead Minnie Cupcakes – These are so much fun and they were such a big hit at the Halloween party.
Please Save or Share
Thank you so much for reading through my recipe. Your shares are how this site grows and I am sincerely grateful. Please save this to a yummy desserts pin board or share to Facebook.
Meet the Creator
Hi there, I’m Sarah Nenni-Daher. I’m a crafty gal and always have at least 14 projects going at once. I am a crafter, designer, DIYer, and pattern maker. I share my creations here and in the Ruffles and Rain Boots® Shop.
Here at Ruffles and Rain Boots®, you’ll find DIY gnomes, crafts, gifts, cupcakes, laser crafts, and so much more. I love sharing video tutorials over on YouTube and chatting with other crafters in my Facebook groups. We’d love to have you!