
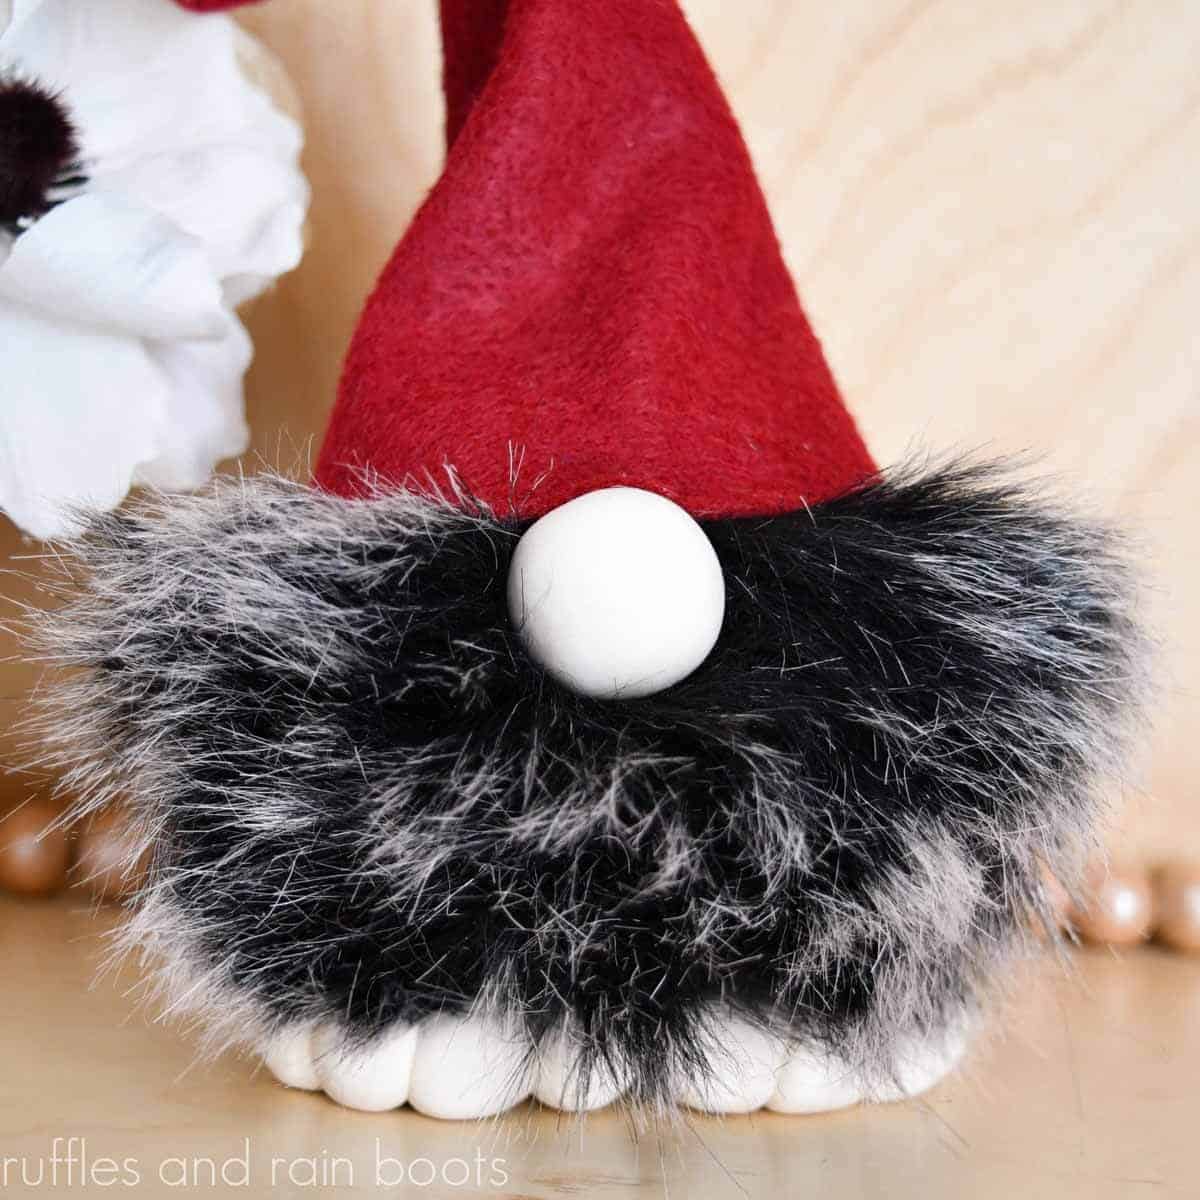
Big Foot Pompom Gnome with a Fur Pom Pom!
Today’s big foot pompom gnome is such a fun craft that I couldn’t wait to share it with you! It uses simple supplies, comes together so easily, and is probably the most adorable gnome you can make with a pompom.
For this easy craft, you will need a pompom, craft felt, wire, a hot glue gun, and some Model Magic®. Let’s get started making this adorable mini gnome with feet.

RELATED READING: PomPom Pets – The Perfect Accessory for Gnomes!
What You'll Find On This Page
DIY Big Foot Gnome with Model Magic®
Here at Ruffles and Rain Boots, I cannot wait to come up with new ways to make gnomes. When I can’t sleep or I’m stuck on a long car ride, I whip out the iPad and start sketching.
Patterns, designs for Cricut and Silhouette cutting machines, paintings, and so much more are born from my creative (chaos-filled) brain with just that little Apple Pencil and iPad! And that’s how today’s little DIY gnome came to be, as well.
No Time to Make This Right Now? Save or Share for Later
If you need to grab some pompoms or Model Magic® or pompoms, you can easily find this later by saving it to a crafty pin board or sharing it to your Facebook wall.

The Pompom Gnome Series on Ruffles and Rain Boots
If you’re new here, I make a lot of gnomes (there are hundreds here on the site and my YouTube channel). Over the years, I’ve created some of the most popular gnome tutorials on the Internet and have sold tens of thousands of free and premium patterns.
Years ago, I created the pompom pets sensation that spawned so many adorable gnome dogs, cats, bunnies, and more. The little fur balls are easy to make and are perfect for those wonky sizes of faux fur you have left over. But over the years, many have asked me about pre-made pompoms. Psst: they work for pets, too!
But because I like to challenge myself, I have been working on a series of pompom gnomes using basic materials you have on hand or can easily get. Today’s adorable little gnome DIY craft is part of that series.
What is Model Magic?
For today’s craft, I am using the Crayola® Model Magic to create a pair of bubbly-toed feet for a little felt hat gnome. It’s not a clay, per se, but a modeling foam and remains “spongy,” for lack of a better term. According to Crayola®, “it’s lightweight and somewhat flexible even why dry.”
Working with this is very different than working with polymer or air dry clay. I learned a LOT from this project and will share my mistakes and wins with you, just like always.
You can paint Model Magic®, though I opted to leave my project the original color. If you do want to use paint, wait 72 hours until the project is completely dry. Use acrylic paint and and seal it with an acrylic varnish.
What Pompoms Should I Use for Pom Pom Gnomes?
You can make your own pompoms, as shown in the pompom pets tutorial linked above, or you can purchase some. That’s what I did for this series and it honestly makes it so easy!
These are the pompoms I have been using. They’re on Amazon, inexpensive, and had great reviews on size, color, and variety. There are a few different color packs to give you options, as well.
How to Make a Model Magic Big Foot Pompom Gnome
Below is the written and printable tutorial for this 6-7 inch gnome with a felt, twisty hat. If you are a visual learner, watch the full, detail-filled Model Magic® fur pompom gnome with big feet video tutorial here on YouTube. Subscribe to the channel – we have a lot of fun over there.
There is no hat pattern provided in this one, but I promise the video makes it so easy to understand. It also gives you two ways to make the hat: straight or bent to the side or twisty (my favorite).
Big Foot Pompom Gnome

This adorable big foot pompom gnome is made with simple supplies and is honestly just a lot of fun to make! You will need to prepare the feet and nose in advance and let them air dry.
Materials
- Pompom
- Model Magic® (I used 2 full packs and part of a 3rd)
- Craft Felt
- 14 Gauge Wire
- Optional, 2 Pipe Cleaners
Tools
- Glue Gun and Glue Sticks
- Pliers
- Wire Cutters
- Craft Knife or Butter Knife
Instructions
- Fluff the pompom by holding onto the elastic, pulling out the fur, and shaking it vigorously.

- Cut two 4 inch sections of 14 gauge wire using the wire cutters.
- Bend one end of each of the wire sections with the pliers perpendicular about 1/4 of an inch.
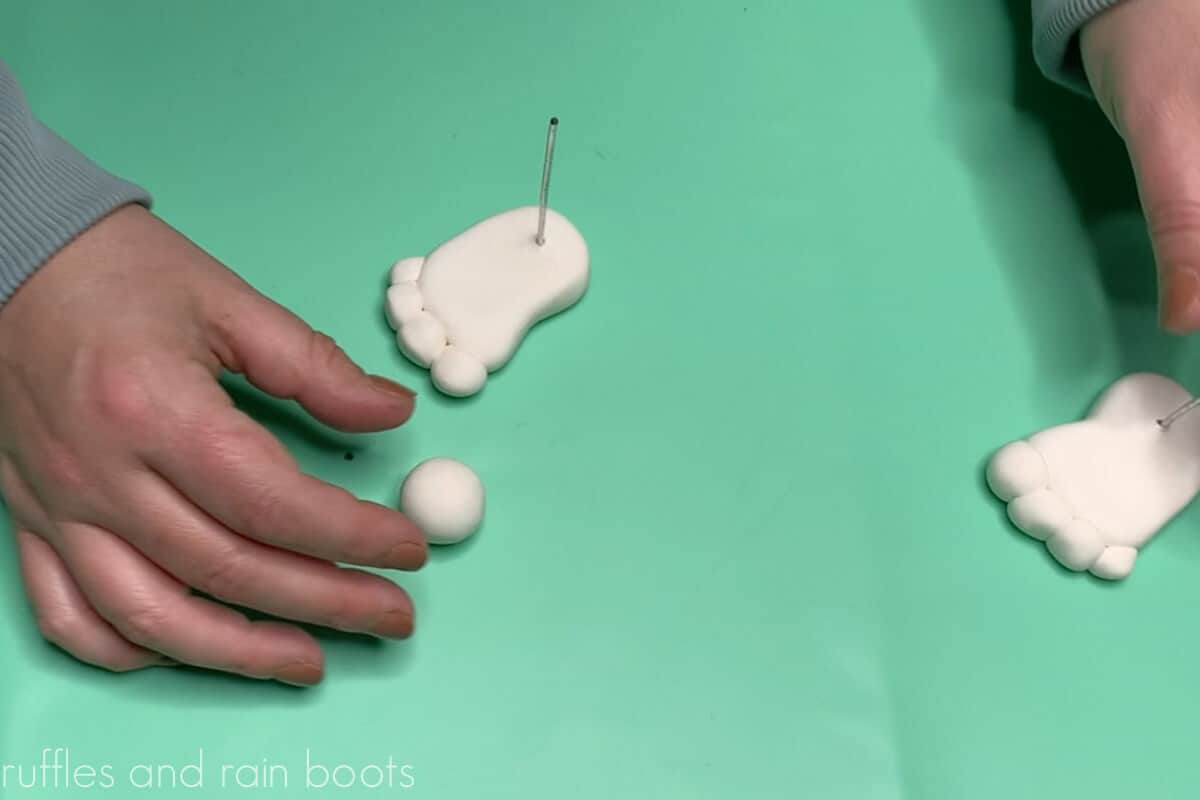
- Remove one pack of modeling foam and roll into a ball. Flatten it and shape into a kidney bean shape. Repeat with another package to make the other foot.
- Cut off the top portion of each kidney bean shape. We will use this to form all of the toes.
- Combine the two cut portions into one and roll into a log.
- Use the craft or butter knife to cut the log into portions for toes. I made four sets of toes, descending in size.
- Roll each toe into a circle (or shape you would like). Cut a small portion of wire, press it into the foot, and then press the toe into the wire for stability and longevity.
- Repeat until all toes are made and attached on both feet.
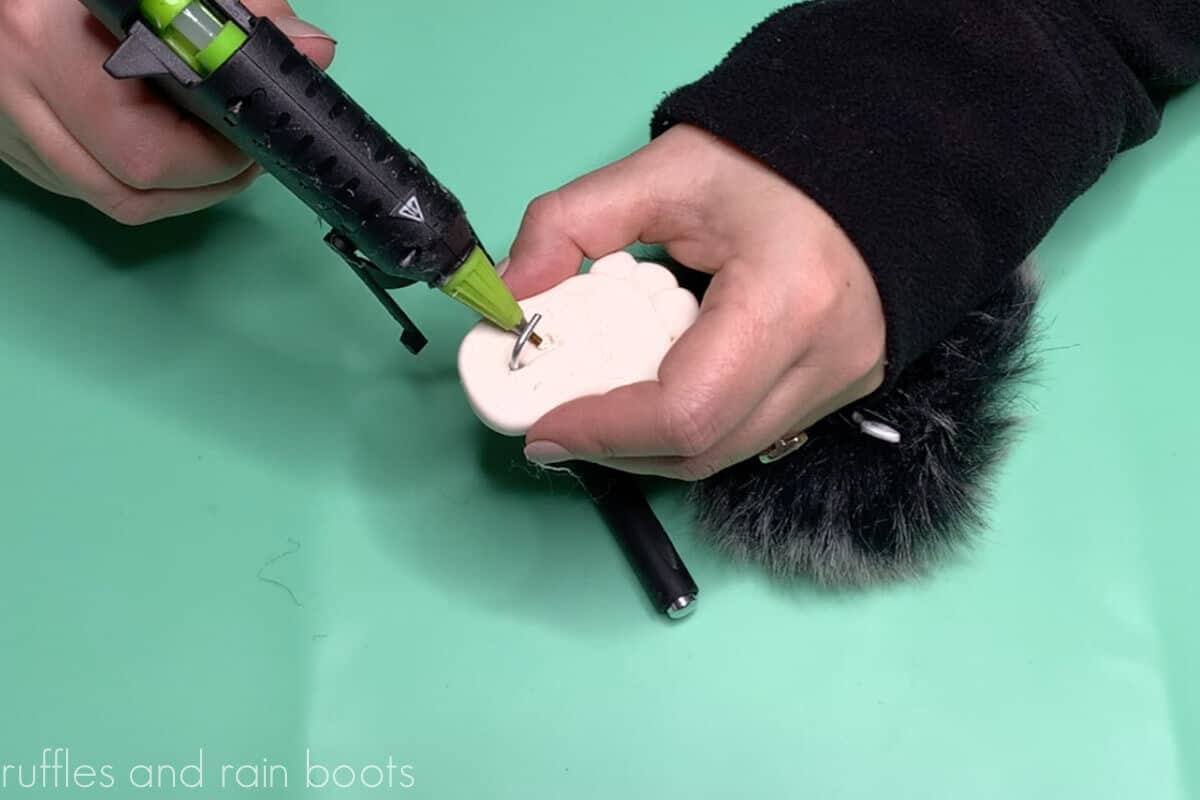
- Press wire (unbent portion on opposite end) into the bottom of the foot until the bent wire is pressed into the foot base and is flush.
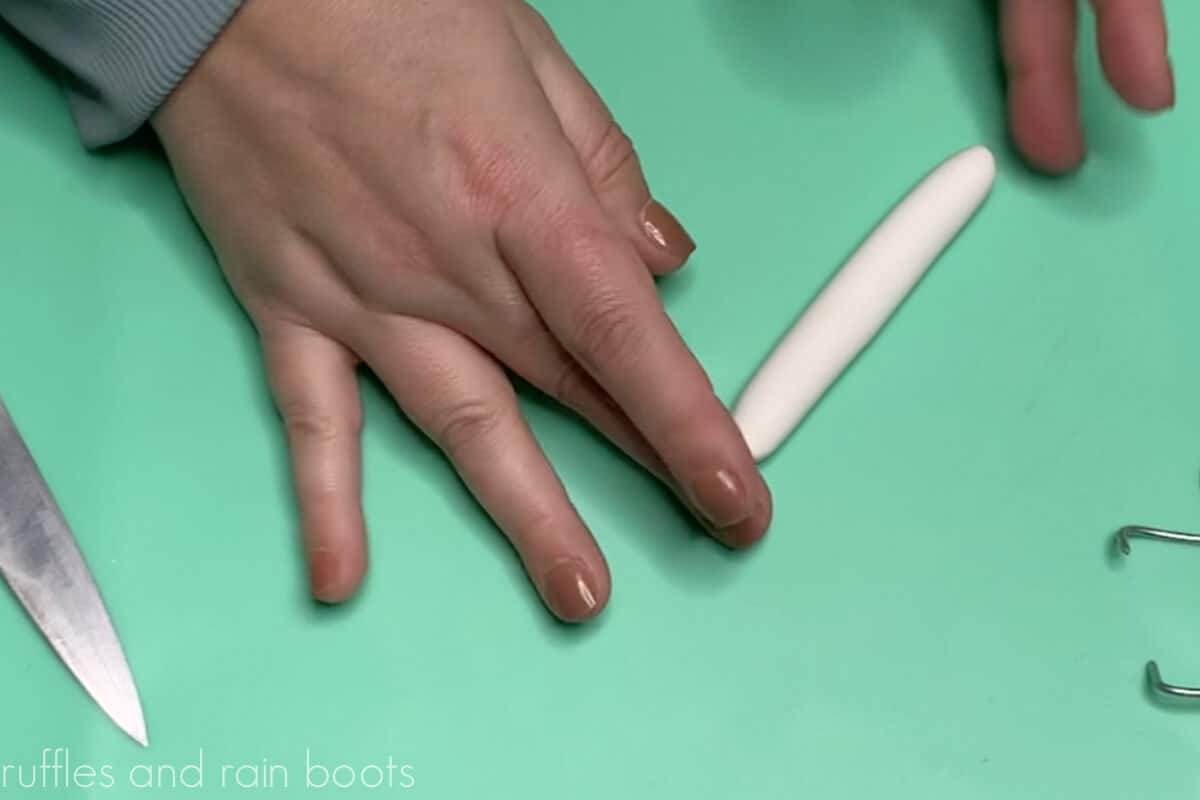
- Roll modeling foam into a nose (mine was 1 inch). Leave all clay to dry (24 hours minimum).
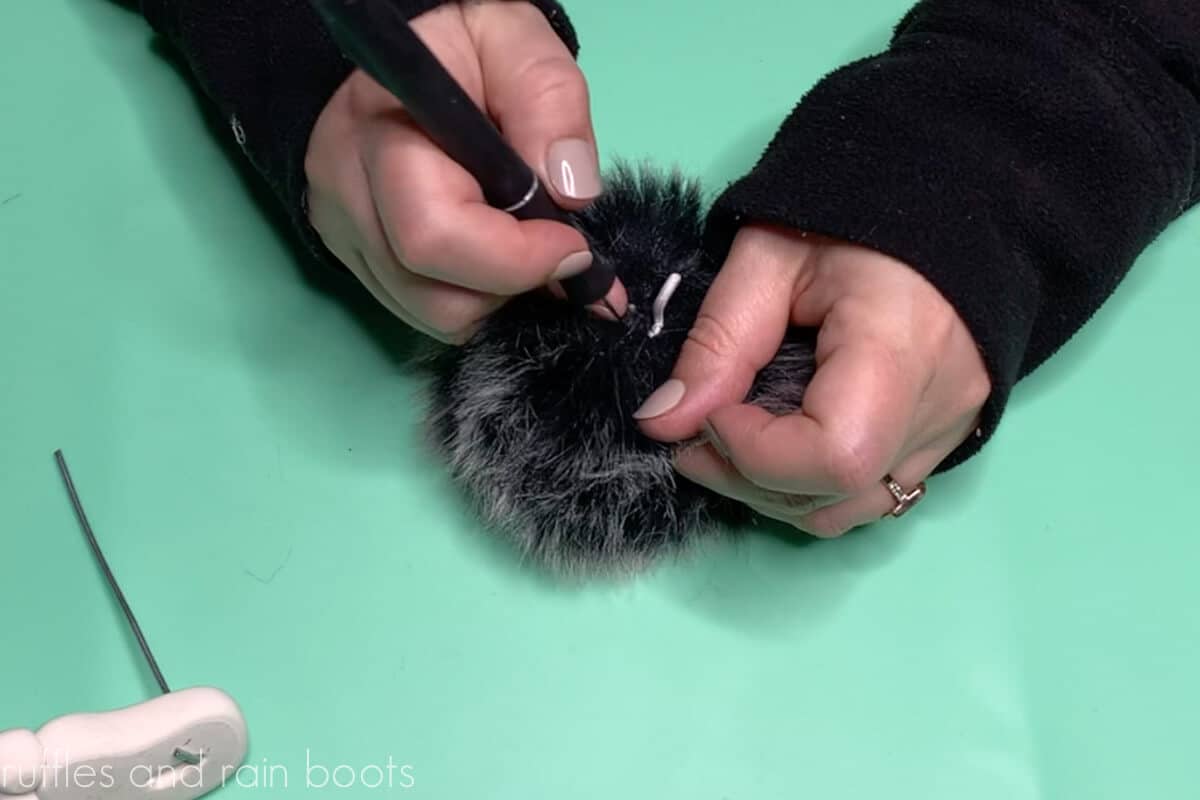
- Cut open the pompom (find the seam by feeling around the area where the elastic is and slice the glue gently with the craft knife.
- Glue the wire base into the bottom of the foot with the hot glue gun and glue sticks.
- Use the pliers to bend over the top one inch of each leg.
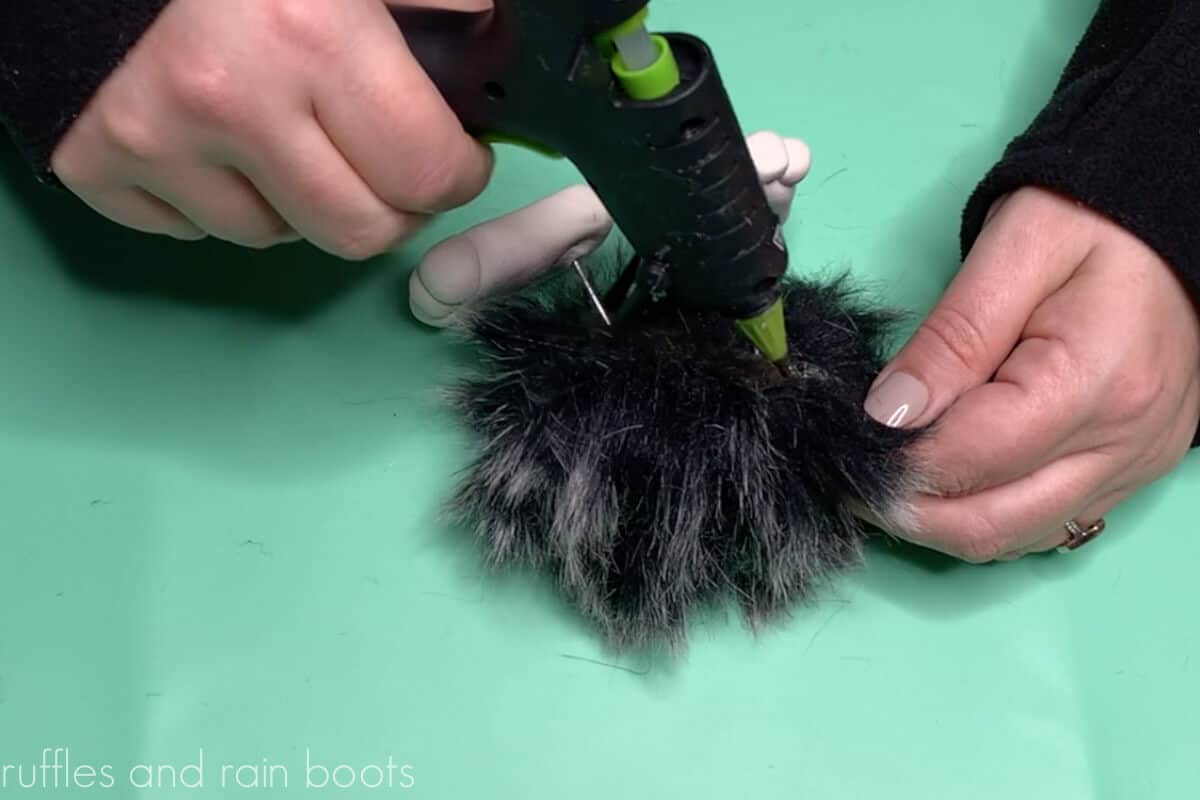
- Glue each bent portion of the legs into the back of the inside of the pompom (the back fabric piece behind the inner stuffing.
- Use the hot glue to secure the front inside portion of the pompom (the fabric) over the wired legs and adhere it to the back portion, essentially locking in the legs and stuffing.
- Use the scissors to cut a felt hat triangle (detailed measurements and instructions provided in the video tutorial). Use pipe cleaners (optional) for a bendable hat - again, detail in video. Secure with glue.
- Part the fur to the fabric backing, add a generous portion of hot glue, and secure the nose.
- Slip on the hat. Glue the front to the top of the nose and the back between the modeling foam feet.


Notes
- Use one packet per foot for the gnome feet so that they are large enough to be seen from under the body.
- Glue the wire into the clay. If you bend it a lot after gluing it might need to be glued again.
- Pull the hat all the way down to the feet and secure in place in the back.
- Fluff the pompom to cover the wire legs in the back.
More Fun Gnomes with Feet You Might Like
- Fabric Gnome with Clay Feet – This big foot gnome went wild on YouTube and Pinterest because it was the first of its kind (and it’s hands-down adorable).
- Dollar Tree Gnome with Feet – These are quick and easy to whip up and can be used with jars, pumpkins, soccer balls and other pieces from the Dollar Tree.
- Polymer Clay Big Foot Gnomes – These are a fun and surprisingly easy set of gnomes to put together in an afternoon.
Please Save or Share This
Your shares are how this site grows and I am sincerely grateful. Please save this to a DIY projects pin board or share it to a crafty group on Facebook.

Meet the Creator
Hi there, I’m Sarah Nenni-Daher. I’m a crafty gal and always have at least 14 projects going at once. I am a crafter, designer, DIYer, and pattern maker. I share my creations here and in the Ruffles and Rain Boots® Shop.
Here at Ruffles and Rain Boots®, you’ll find DIY gnomes, crafts, gifts, cupcakes, laser crafts, and so much more. I love sharing video tutorials over on YouTube and chatting with other crafters in my Facebook groups. We’d love to have you!