DIY Fall Shelf Sitter Gnome Pattern
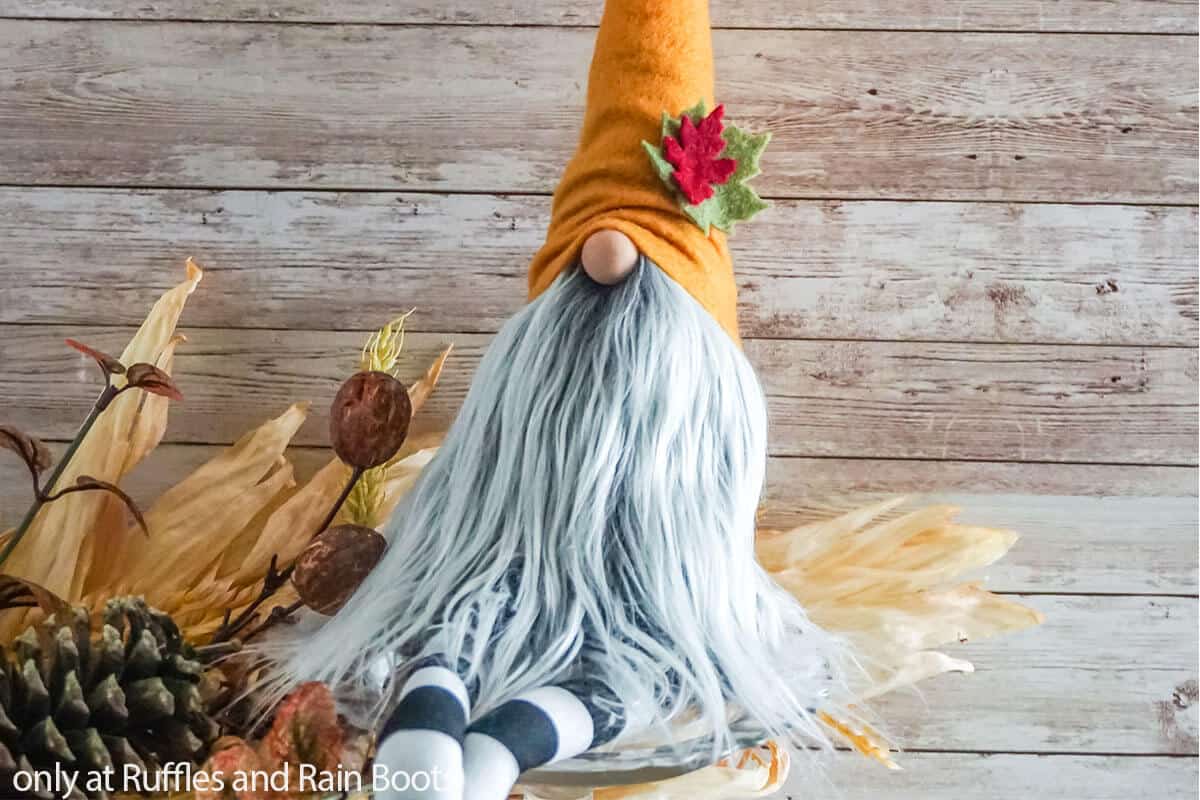
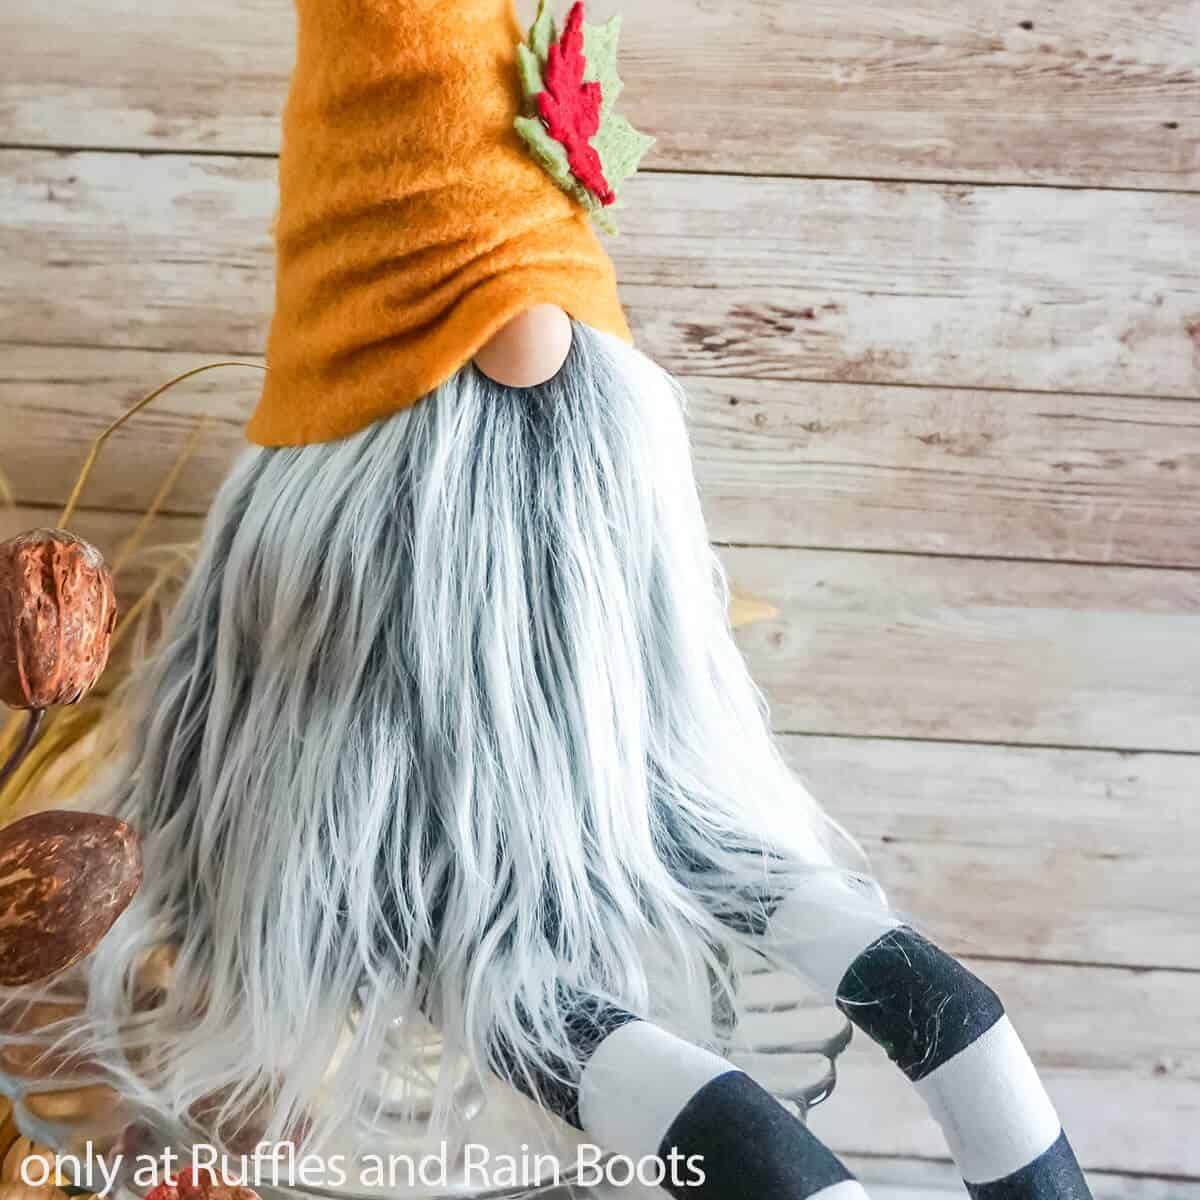
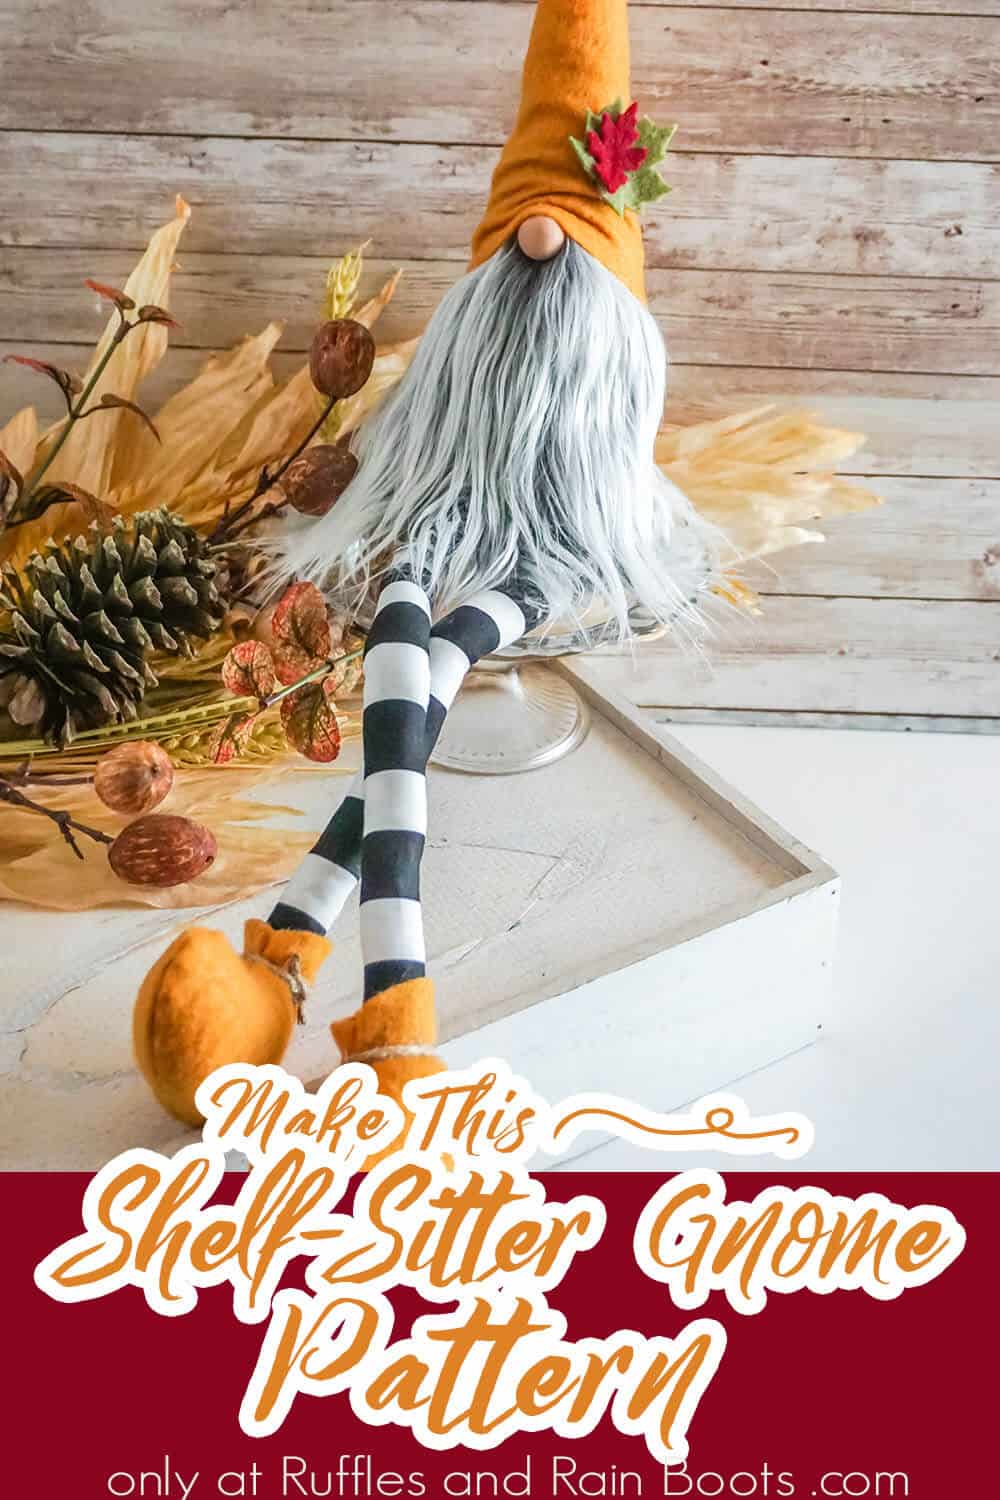
I wanted to make a beautiful Autumn gnome and this fall shelf sitter gnome pattern really hit that sweet spot. This has become a very popular gnome pattern with long legs to dangle.
This Autumn gnome uses the best selling gnome pattern I have ever made, the Scandinavian Sweeties pattern. The legs are an addition and you can either sew or hot glue this adorable fall gnome.
RELATED READING: DIY Fall Sock Gnome with Free Gnome Hat Pattern
What You'll Find On This Page
Fall Shelf Sitter Gnome Pattern
Here at Ruffles and Rain Boots, I love making gnomes but when I realized I didn’t have any gnomes with dangling legs, I needed to create a few. The black and white striped fabric I had just called to me and, taking a chance, I found a way to make a truly elegant and fun fall shelf sitter gnome.
Get Secret Gnomes, Tips, & Freebies Delivered!
What is the best pattern to use when you don’t want to sew? Do you know the secrets to a properly-proportioned gnome? Do you know where to get the best-priced fur?
Get all of this (and exclusive content just for you) delivered right to your inbox with the gnome-making series, free of charge. Sign up to get the once-weekly newsletter (and a jaw-dropping special offer)!

The bonus is that this pattern has these adorable little slopey boots (a free gnome boot pattern) that I can’t get enough of! This guy is just too sweet and the perfect color combination for fall.
RELATED READING: Beautiful Famrhouse Gnome Pattern (Same Pattern)

No Time to Make This Now? Save or Share This Autumn Gnome for Later
If you love this guy but can’t start on him right now, save this to a fall crafts pin board or share it to Facebook. Either way will make this easy to find when you’re ready to begin on your gnome with long legs.

As an Amazon Associate, I can earn from qualifying purchases. There could be affiliate links within this article.
Tips to Make This Fall Gnome Pattern
- First, start by getting the easy gnome sewing pattern here. It’s an incredibly versatile pattern that can seriously be used to customize for any season or holiday. Plus, the gnomes that this pattern creates are just too darn cute!
- One of the best parts about this particular fall gnome pattern is the boots. Those aren’t just “regular” boots though – they’re FREE! You get the slopey boot pattern here.
- This particular gnome pattern is one of the most flexible I’ve ever made and consistently earns 5 star reviews. This pattern has specific directions to either make it into a bunny gnome like the one here, make a traditional gnome like this 4th of July gnome, or even make the curved hat without a wire like I did in this tutorial for a farmhouse gnome.
- I decided to add a little fall leaf action on my hat as a little touch of, well, fall. Unfortunately for me, though, there was not a fall leaf available to me that fit my aesthetic. So, I cut my own from felt. I made a cut file set here that you can cut on your cutting machine or you can print out and use as a pattern for your own leaves.

Get the Gnome Pattern Here
Click below to get this amazing pattern. Have fun crafting with it (I hope you love it)!
RELATED READING:
Autumn Shelf Sitter Gnome Pattern and Video Tutorial
If you’re a visual learner, watch the fall shelf sitter gnome pattern video tutorial on YouTube. Be sure to subscribe – we have a lot of fun over there.

More Fall Gnome Crafts You Might Like
- Farmhouse Scarecrow Gnome – Simple and easy to make, this quick scarecrow gnome pattern is a fast work-up and just too cute (the boots – eeep!).
- Gorgeous Sunflower Gnome Pattern – One of those elegant gnomes I just can’t get enough of, this pattern is so fun to put together, too.
- Adorable Pine Cone Gnome – Itty-bitty and perfect for a farmhouse tiered tray, this gnome has a pine cone hat of awesome.
Please Save or Share This Shelf Sitter Gnome DIY
Your shares are how this site grows and I am sincerely grateful. Use the sharing buttons to share this with a crafty group on Facebook or save it to a DIY pin board.
How to Make a Shelf Sitter Gnome Pattern
Below is the written tutorial for this gnome with long legs. Keep this page open and follow along or print out the tutorial.
Fall Shelf Sitter Gnome Pattern

So easy and a perfect way to add a touch of fall to your mantle or shelf, this adorable fall shelf sitter gnome pattern is just too cute. Make this easy fall gnome pattern in minutes with limited supplies!
Materials
- 1/8 yard Felt Fabric, Color 1 (body)
- 1/8 yard Fleece Fabric, Color 2 (hat and shoes)
- 1/8 yard Cotton Fabric, Color 3 (black and white striped)
- Mongolian Faux Fur (or other beard material)
- Poly-Fill
- 1 cup Poly Beads
- 1 or 1 1/2-inch Wood Round (or other nose)
- Floral Wire, optional
- Twine
- Scandinavian Sweeties Pattern
- Slopey Boot Pattern
- Fall Leaf Cut File Set
- Fall-Colored Felt Scraps for Leaves
Tools
- Hot Glue Gun & Glue
- Scissors
- Razor Blade or Craft Knife
- Sewing Machine or Needle & Thread
- Funnel
- Ruler
- Pins
- Cricut Maker or Other Cutting Machine, optional
Instructions
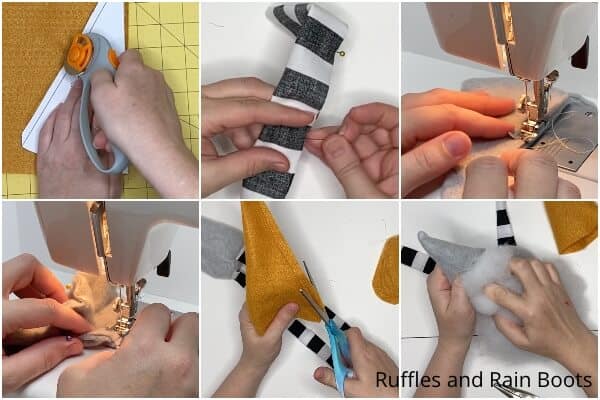
- Cut the body shape, a base shape from fabric color 1. Note the fold lines. Cut a hat shape and two shoe shapes from fabric color 2. Cut two rectangles from fabric color 3, about 8-inches long by 3 inches wide.
- Pin the body together right-side to right-side and sew it closed, taking care to note where it should be left open on the pattern. Because you are sewing on legs, do not sew the base of the body on yet.
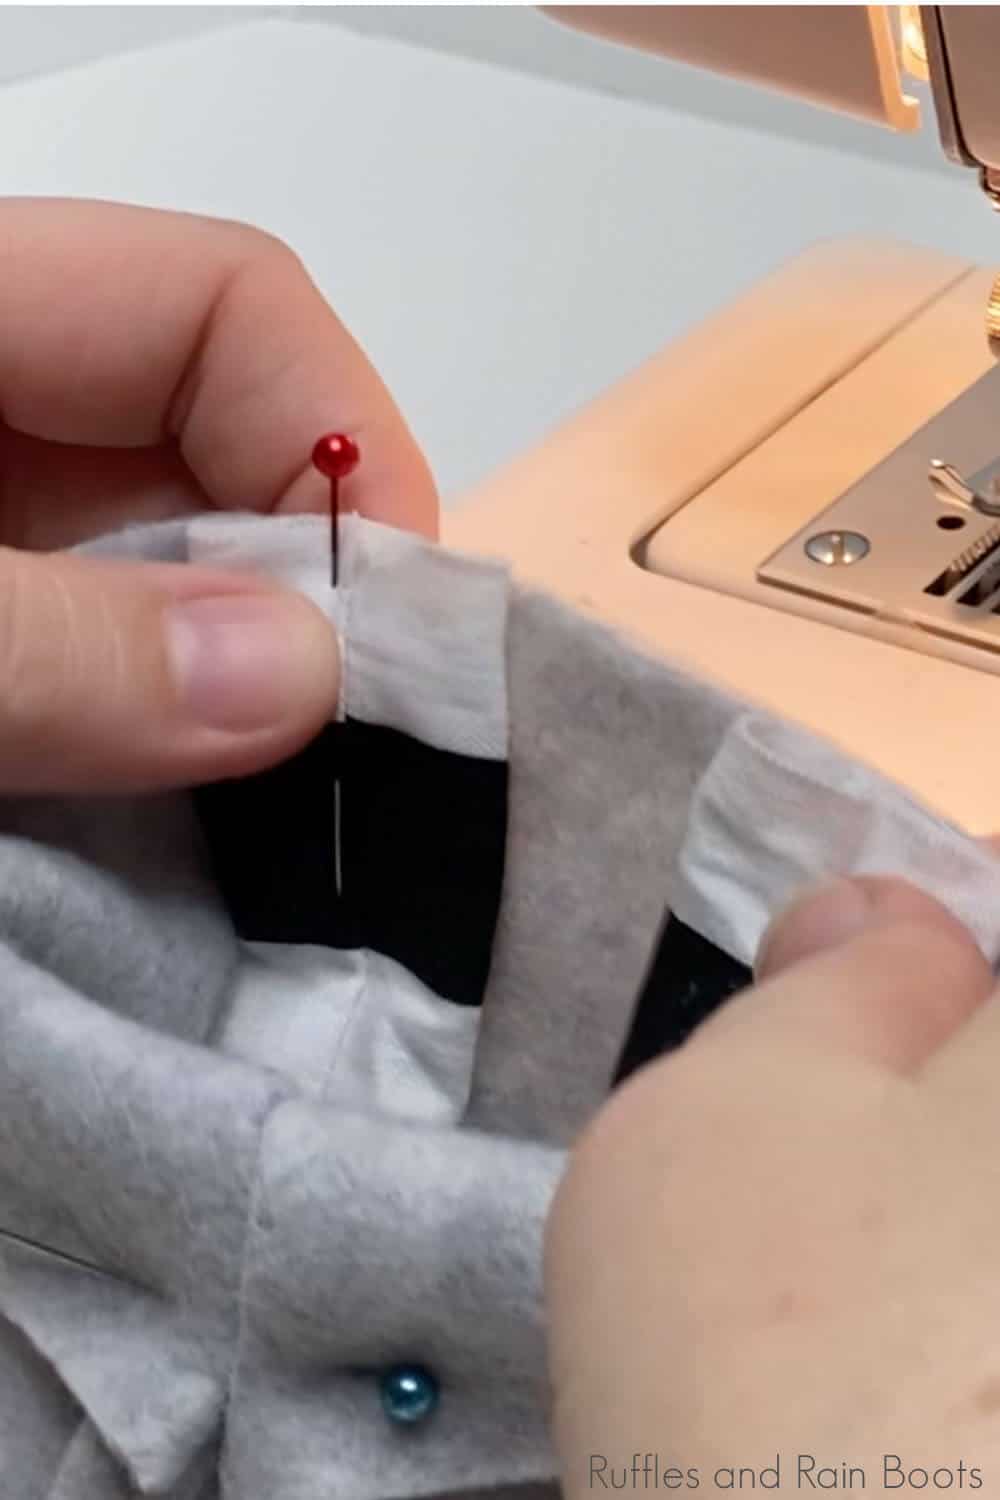
- To make the legs, pin the two of the rectangle shapes together right-side to right-side and sew along the long side, leaving both ends open. Repeat with the second leg. Turn the legs right-side out. Tuck the legs inside the bottom of the body piece, toes pointed inside and angled slightly toward each other. Sew each of the legs onto the front of the body only, going slowly.
- Pin the base onto the body, with the legs still pointed inside the body, with the right side of the base facing inside (the right side) of the body. Sew the base onto the bottom of the body, taking care to go slow where the legs are already attached. Set the body aside.
- Pin the hat and sew along the long side, leaving the brim un-hemmed. Set aside.
- Fold the shoe pieces right-side to right-side and pin them together, Sew along the hem line. Trim the excess fabric away, to make the curve of the shoe less lumpy.
- Turn the body shape, hat and other pieces right-side-out.
- Add Poly Beads to the body, then stuff with Poly-Fill, adding a floral wire, if desired, and hand-sew the body closed.
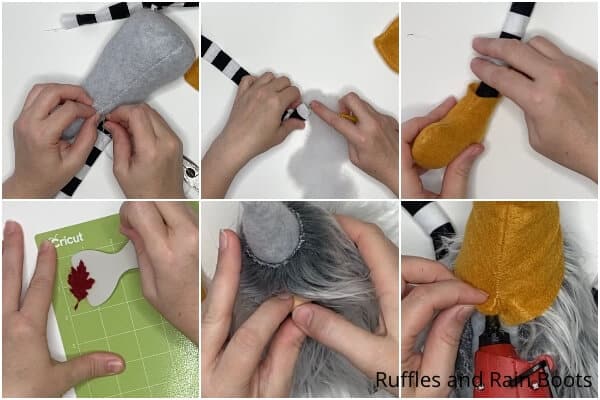
- Add Poly-Fill to the legs and shoes, to give them a little body.
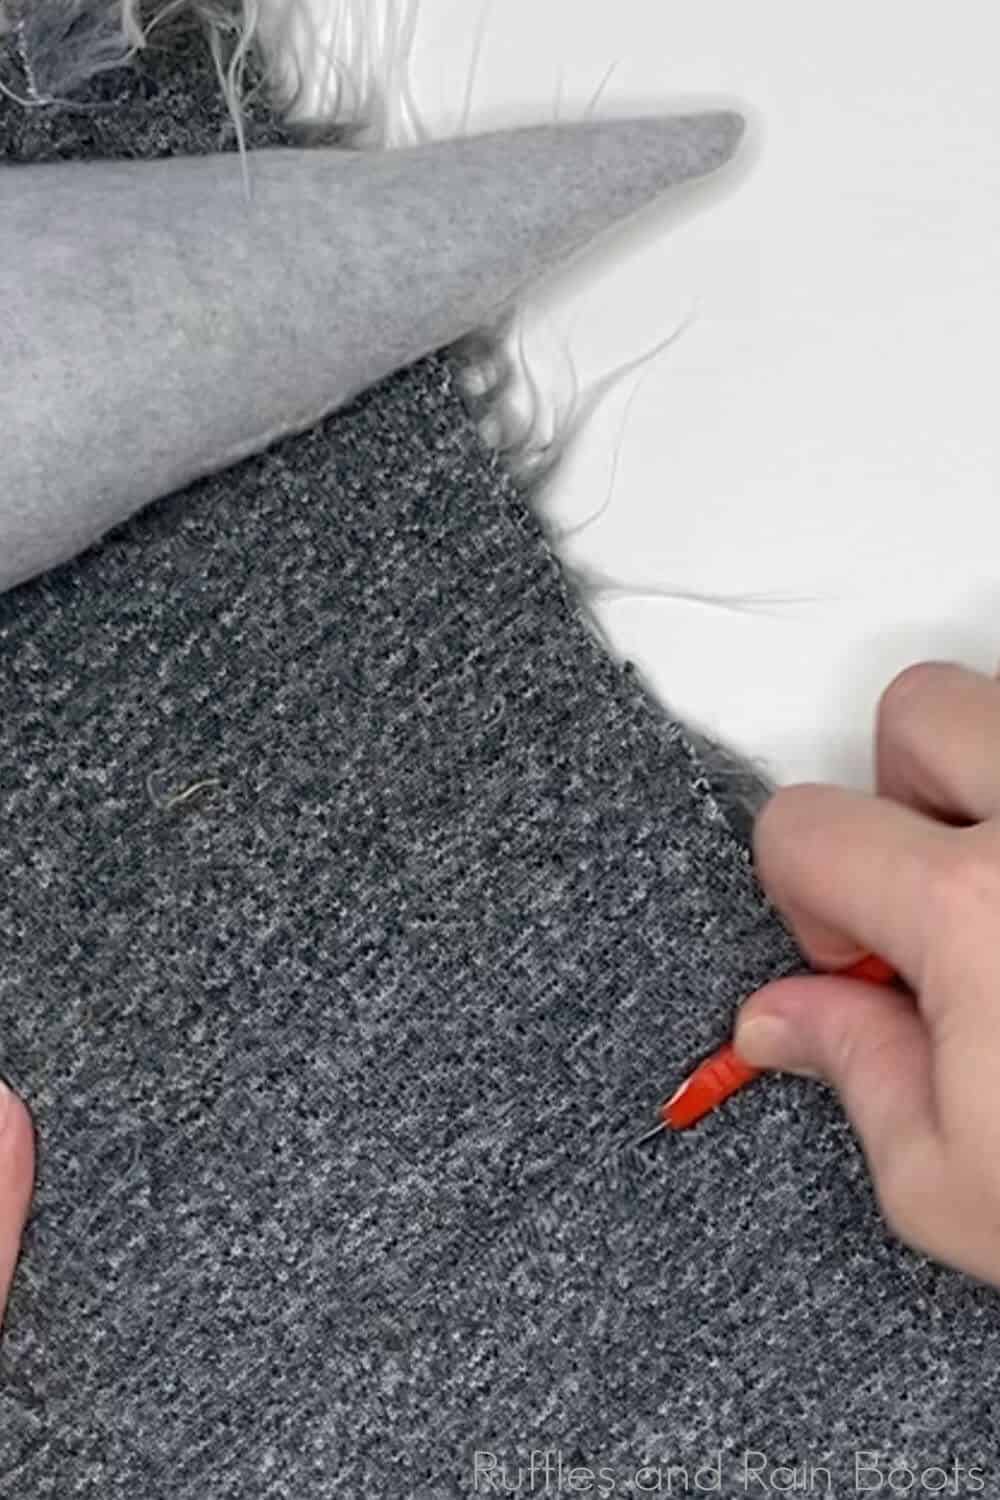
- Wrap the faux fur around your gnome's body and cut a large rectangle of fur by flipping it over and cutting it with a razor blade or craft knife. Wrap the rectangle of faux fur around the entirety of the gnome's body and hot glue it in place with the seam along the back of the gnome.
- Test-fit the hat to identify where you want the nose to sit. Part the faux fur to the fabric backing and hot glue the nose in place, then pull the hat down in place and tack it in place in the back, nose, and sides.
- Download the fall leaf cut file set and upload it to Cricut Design Space, cutting out 2 or 3 leaves from fall-colored felt. Hot glue the felt leaves to the side of the gnome's hat.
- Hot glue the shoes onto the ends of the legs, then tie a piece of twine around the ankle to finish. Then get ready to display your gnome because he's ready!
Notes
For more fun gnome patterns, visit Ruffles and Rain Boots!
Recommended Products
As an Amazon Associate and member of other affiliate programs, I earn from qualifying purchases.

