
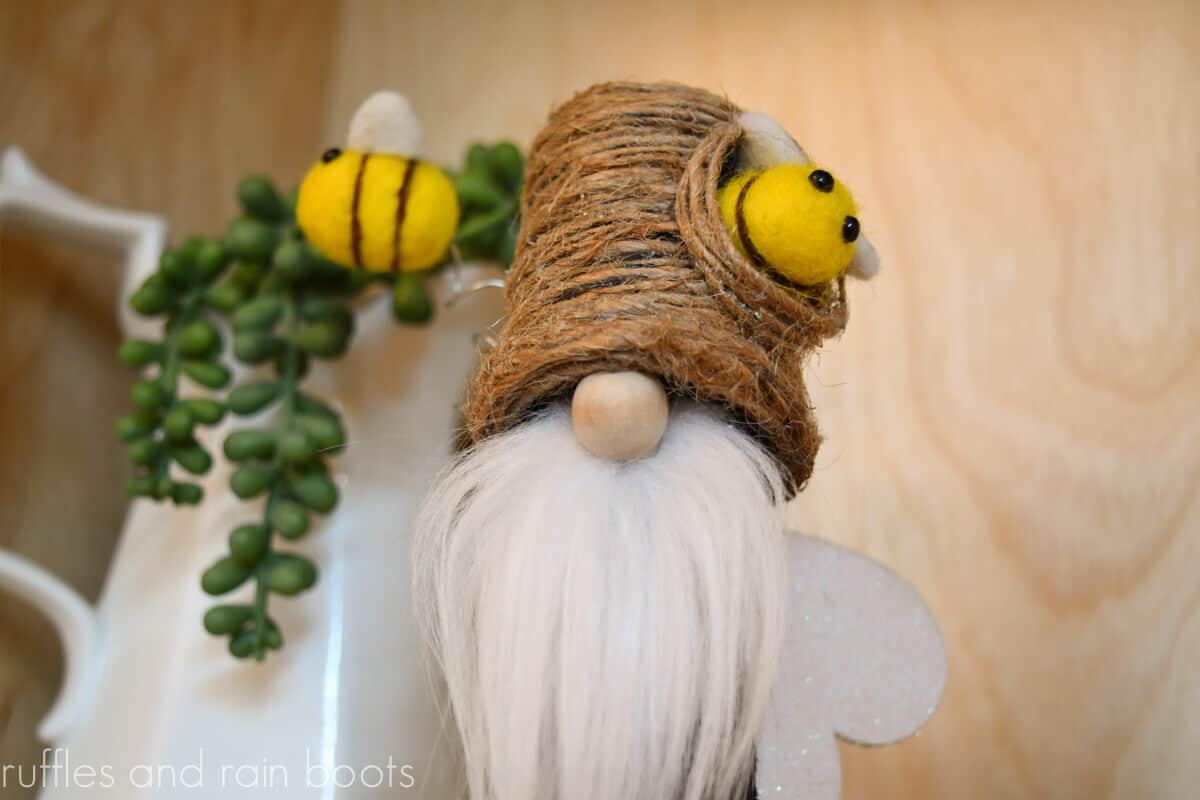
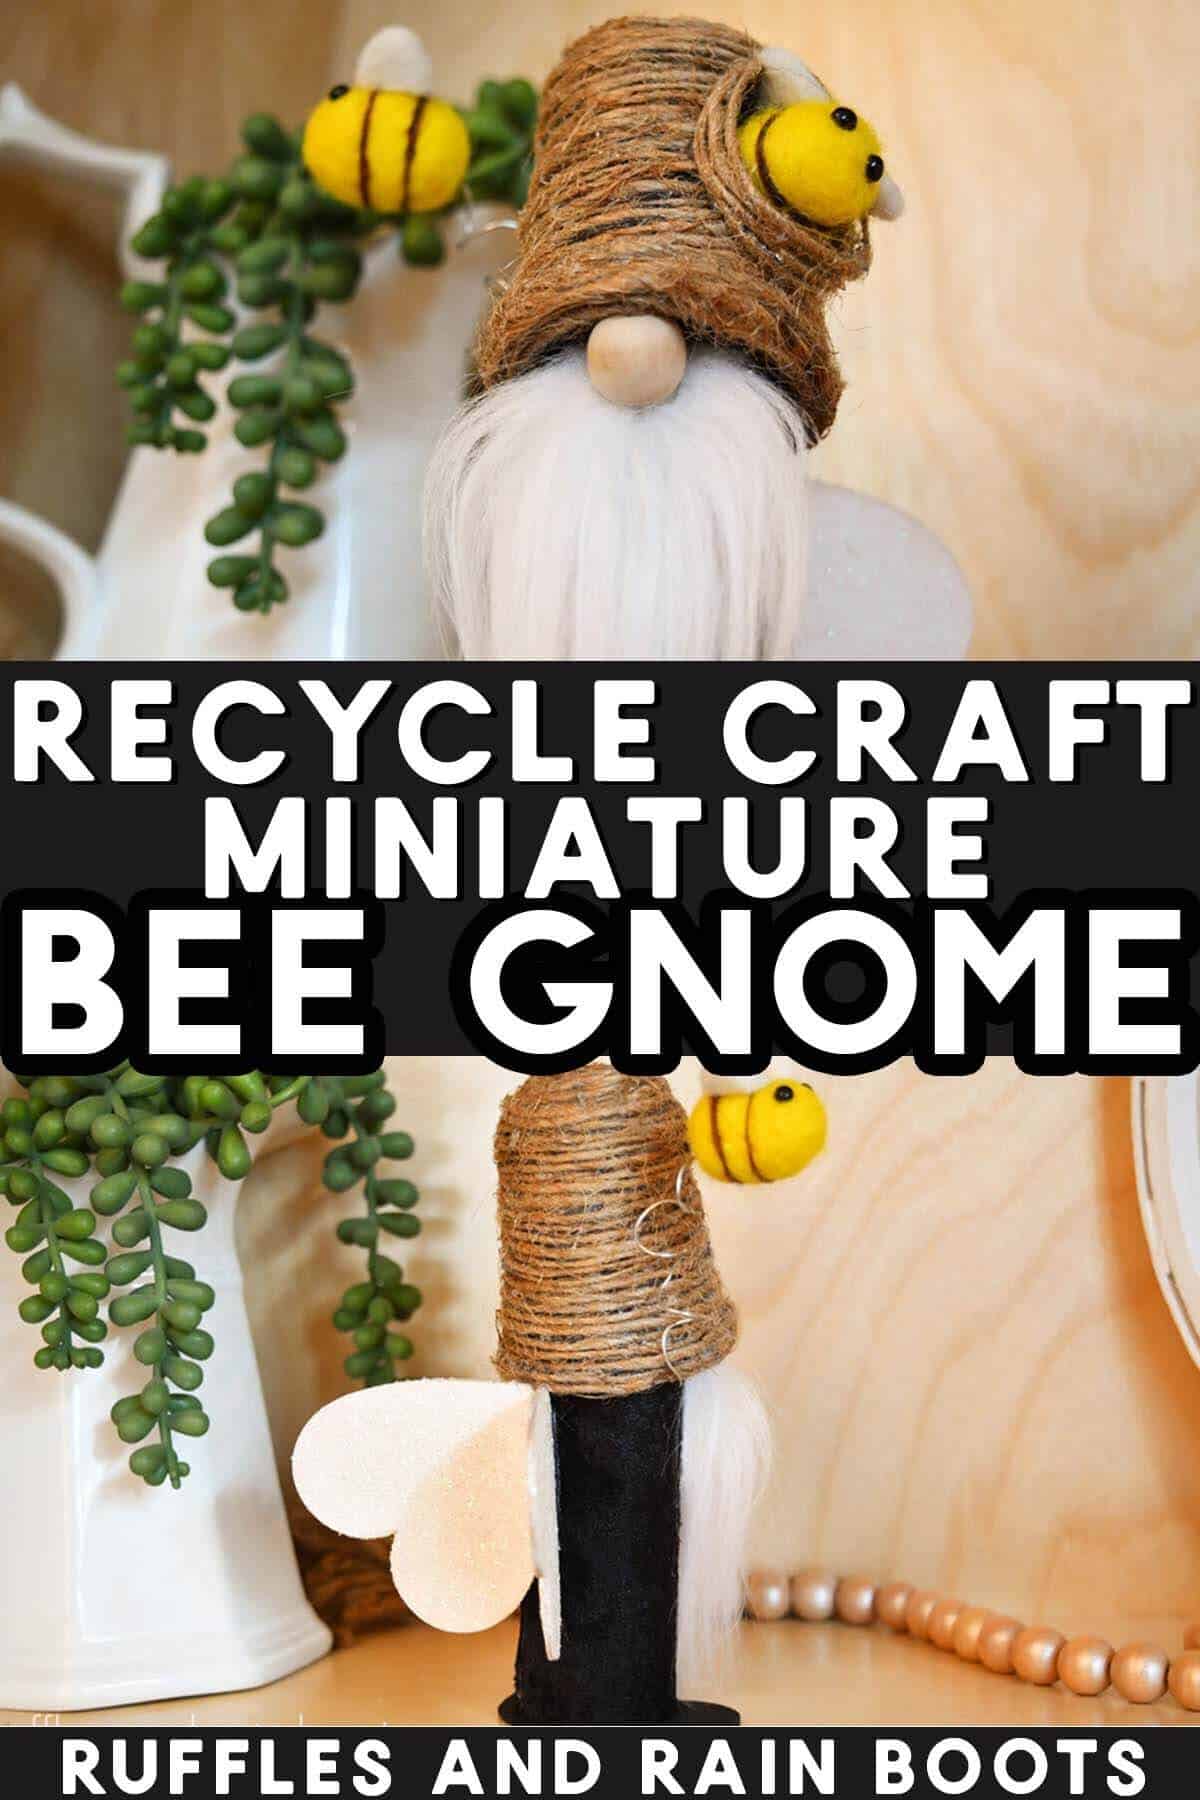
Easy Recycled Mini Bee Gnome
This adorable mini bee gnome is made using recycling bin items, a bit of fabric, and some hearts. Your little gnome is going to have a beehive gnome hat, cute little wings, and a very stable base. For a gnome standing upright, his stability makes him perfect for tiered trays or displays in high-traffic areas.
The length of the eco friendly craft is mostly taken up by wrapping the hat in twine (took me 15 minutes), so I recommend popping on some music or television while you’re working on the newest of the Ruffles and Rain Boots bee gnome DIY collection. Let’s get started.
RELATED READING: Bee Gnome Sewing Pattern – A Tall, Elegant Gnome
What You'll Find On This Page
Mini Bee Gnome with Recycled Materials
Here at Ruffles and Rain Boots, I have a very well-stocked craft room (some would say over-stocked). That said, a few of the best crafting supplies are things I rescue from a date with the recycling bin.
Today’s DIY gnome is one of those “it started with a recycled paper roll” crafts, except we aren’t stopping there. Grab a K-cup if you have it or a mini pail from the Dollar Tree if you don’t. Also, gather up a small ball of clean aluminum foil (I used a piece from some clay items I baked). Before we get to the tips section…
No Time to Make This Now? Save or Share it for Later
If you need to raid your recycling bin, save this to a spring crafts pin board or share it on Facebook. Both will make it easy to find later.
As an Amazon Associate, I could earn from qualifying purchases. There could be affiliate links within this article.
RELATED READING: How to Make a Beehive Using Dollar Tree Supplies
Tips for Making This Adorable Bee Recycled Gnome
- DIY Gnome Beehive Hat: For the base of the hat, I used a K-cup, however, if you don’t use them, go to the Dollar Tree and get the mini party favor pails in the baby shower party section. They work perfectly when the handle is removed.
- Gnome Base and Bee Wings: Each of these items use a craft store staple – thin wood hearts. If you don’t have any on hand or can’t find them, cut a 3-inch wide (at the widest part) heart from cardboard and use that. You can paint each piece as I did or leave them natural.
- Bee Wing Tutorial: If you want a wire and fabric wing, I share how to make bee wings in this tutorial.
- Miniature Bumble Bee Accessories: I picked up these adorable mini felt bees (and they are beyond cute, friends).

RELATED READING: No Sew Bee Gnome (Easy and Adorable)
Instructions on How to Make Mini Gnomes with Beehive Hats
Below are the written and printable instructions for this adorable no sew gnome. If you are a visual learner, check out the full-length mini gnome tutorial with beehive hat here on YouTube. Psst: be sure to subscribe while you’re there – we have a lot of fun.
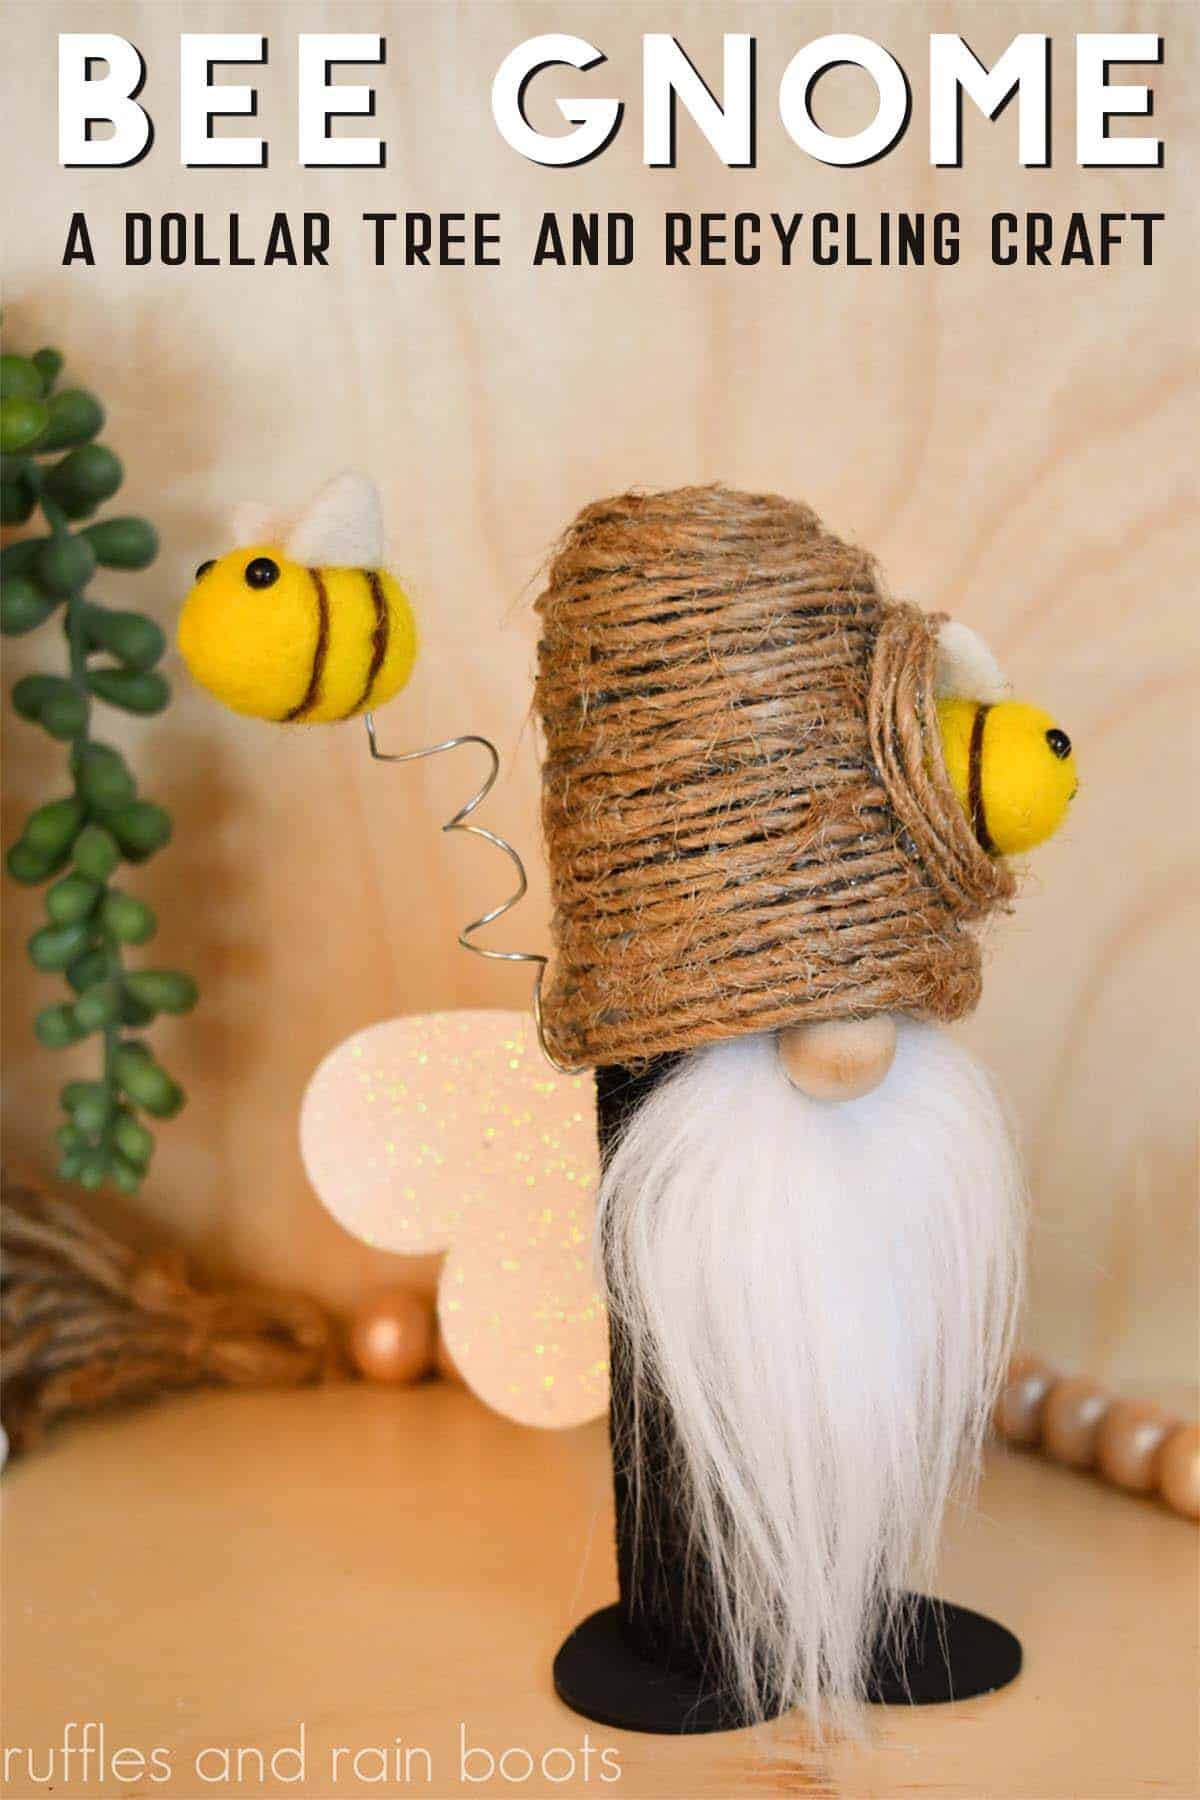
DIY Mini Bee Gnome - Recycled Gnome
This adorable DIY mini bee gnome is made with recycled products you can find around the house. Opt for pre-made wings or learn how to make your own with two heart shape wood cutouts from the craft store. This is such a fun gnome DIY, let's get started.
Materials
- K-Cup or Mini Pail
- Black Paint
- Jute Twine
- Small Bee Accents
- Floral Wire
- Black Fabric
- Paper Roll
- Scrap Faux Fur
- Small Wood Bead
- 3 Wooden Hearts (or Thick Paper)
- Scrap of Aluminum Foil
- Small Rocks or Other Weight
- Optional, White Paint and Glitter
- Optional, ModPodge
Tools
- Paint Brush
- Scissors
- Pencil
- Hot Glue Gun and Glue Sticks
- Sanding Block, optional
Instructions
- Paint the recycled and cleaned k-cup or mini pail black and set aside to dry.

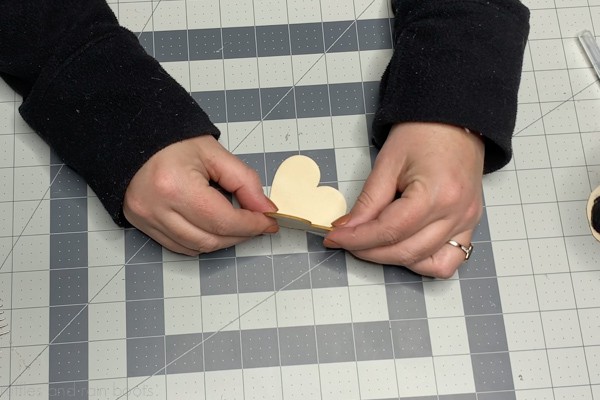
- Trace the back edge of the paper roll onto the wood heart, score, and cut out. Sand smooth.
- Cover the paper roll in black fabric and secure with hot glue.
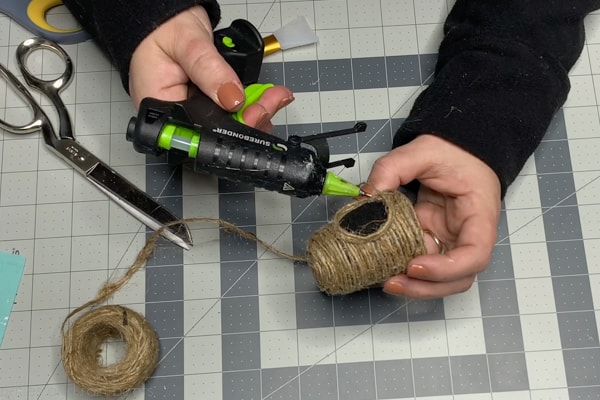
- Wrap the entire k-cup or pail in jute twine, starting with the inside bottom edge.
- To create the rounded top, ball up up foil and secure to the top of the k-cup with glue. Cover this in black fabric and finish covering with twine.
- Cut black fabric or felt in an oval shape and affix to the front of the hive. Wrap twine around this oval in layers, building up the sides.
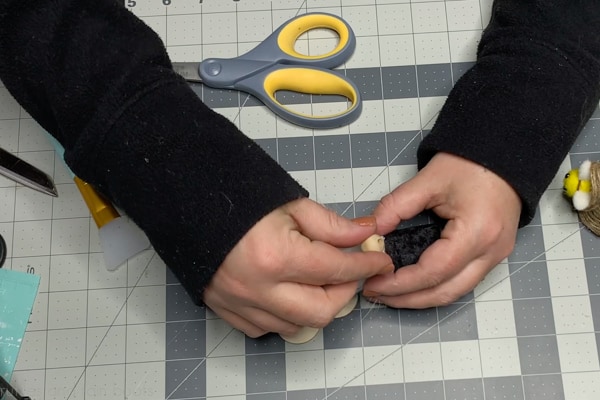
- Cut a felt bee in half and affix to the oval beehive entrance.
- Glue on a scrap of faux fur in the center front of the covered paper roll for a beard. Split the fur to the fabric backing, add glue, and secure on the wood bead nose with the hole pointing up and outward.
- Attach the hat by adding glue to the inside edge and positioning it over the paper roll, beard, and nose so that the top of the nose is covered.
- Glue in small rocks to the bottom of the gnome body.
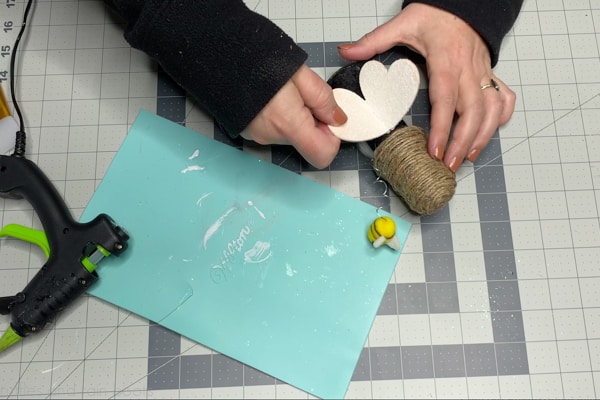
- Add base piece (gnome feet) to the body with hot glue. Paint with black paint (if desired).
- Hot glue two hearts together, attaching the edge of one to the top right of the other and lining up the bottom points.
- Create the flying bee by wrapping wire around the pencil with a 2 inch section added to the spring. Tuck into the hat and glue a bee on the bouncing end.
- Optional: paint the wings white and add iridescent glitter onto them while still wet. Coat in ModPodge to seal.
- Glue on the wings and the mini bee gnome is done.


Notes
Craft stores often have pre-made wings in the doll-making section if you would like to avoid making your own.
Any base can be used for the gnome feet, including a wood disc, plaque, or even covered cardboard.
Secure the floral wire in well and you will have fun making the bee next to the hat bounce around.
Recommended Products
As an Amazon Associate and member of other affiliate programs, I earn from qualifying purchases.


More Bee Gnome DIY Projects and Crafts You Might Like
- No Sew Bumblebee Gnome – When a little fella packs a this much punch, you a lot of fun squished into a small package.
- Elegant Bee Gnome Sewing Pattern – This tall, refined bee gnome is one of my favorites because of the little wings.
- Dollar Tree Beehive DIY from a Plant Pot – Using a planter from the dollar store, you can create any number of beehives for Spring decor.
- Wine Glass Beehive Display – Another way to bring a bit of Spring into your home is this fun wine glass tutorial.
Please Save or Share This Fun Gnome Craft
Thank you for joining me here today and sharing in the fun. Your shares are how this site grows and I am sincerely thankful. Please save this to a gnome pattern pin board or share it with a crafty group on Facebook.
Meet the Creator
Hi there, I’m Sarah Nenni-Daher. I’m a crafty gal and always have at least 14 projects going at once. I am a crafter, designer, DIYer, and pattern maker. I share my creations here and in the Ruffles and Rain Boots® Shop.
Here at Ruffles and Rain Boots®, you’ll find DIY gnomes, crafts, gifts, cupcakes, laser crafts, and so much more. I love sharing video tutorials over on YouTube and chatting with other crafters in my Facebook groups. We’d love to have you!