
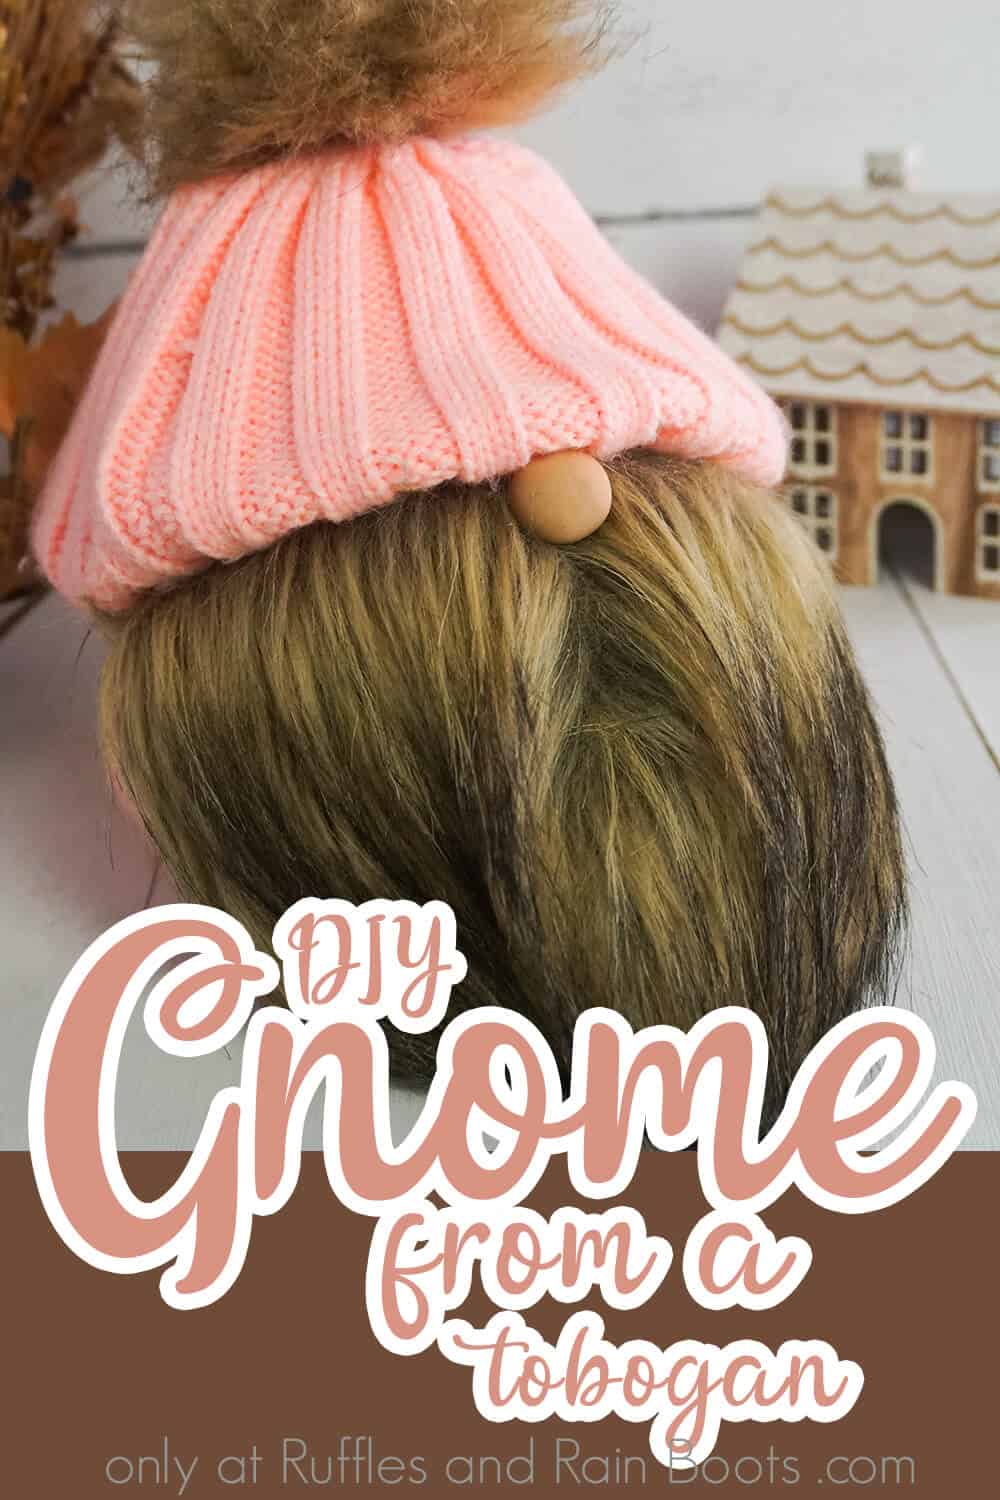
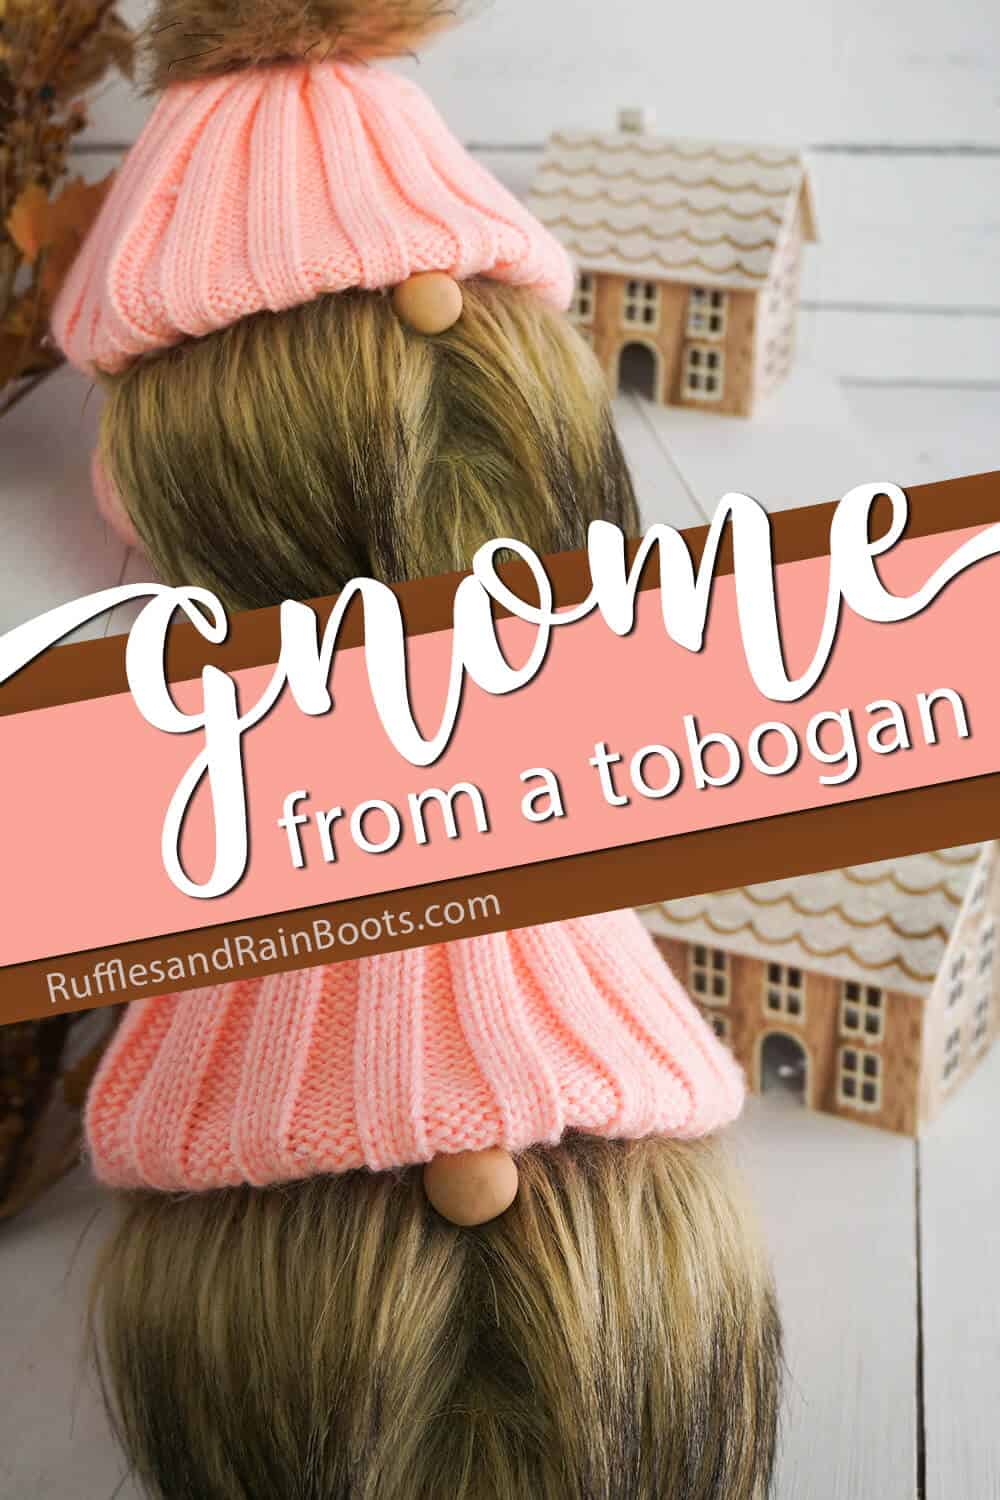
DIY Sweater Hat Gnome in Minutes
This easy up-cycled sweater hat gnome is, by far, the fastest gnome I’ve ever made. In 5 minutes, this cute winter gnome DIY is created and displayed.
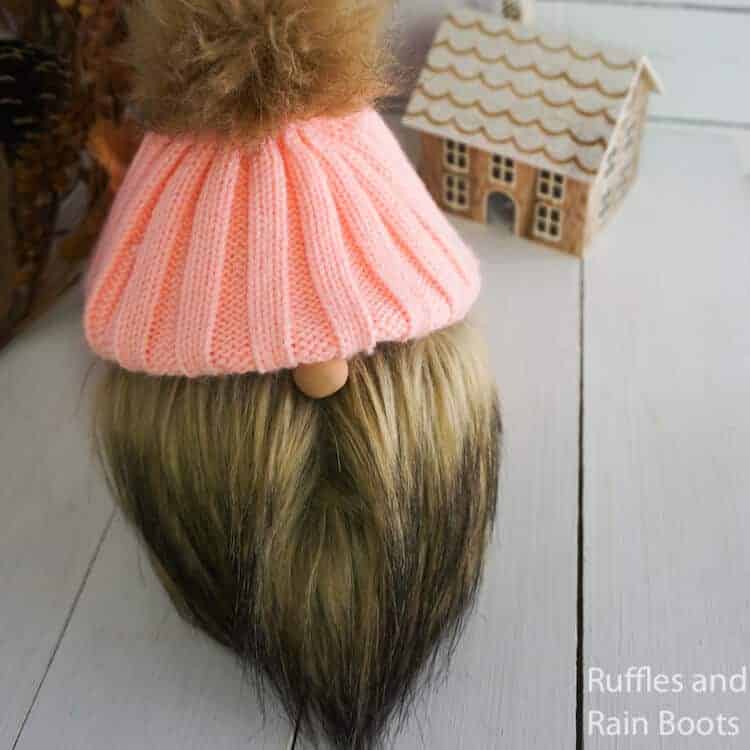
You will be able to create the cutest cold-weather gnome while highlighting a piece of your favorite faux fur. The gnome beard is the star in this easy gnome craft.

Upcycled Sweater Hat Gnome
Here at Ruffles and Rain Boots, I need a new title: Gnome Engineer. Seriously, I should be wearing a hardhat and drawing-up construction plans, because I make so many fun DIY gnome tutorials for you. But, this little recycled sweater hat gnome? It is FUN because it’s whimsical but also because it’s the fastest gnome to make.
RELATED READING: HOW TO MAKE A GNOME WITH A FACE 3 WAYS!
I had this gnome made in about 5 minutes. It took me longer to find the hat in our recycling bin / donate box than it took for me to make this gnome. So if you’re looking for a fast DIY gnome, let’s get started.
No Time to Make This Now? Save or Share it for Later
Need to grab a cute hat from the dollar store? Save this to your favorite up-cycled crafts ideas pin board or share it on Facebook. Use the sharing buttons and it will be easy to find when you’re ready to begin.
As an Amazon Associate, I can earn from qualifying purchases. There could be affiliate links within this article.
RELATED READING: DIY Christmas Gnomes – So Many Cute Ideas
Tips to Keep in Mind When Making This Recycled Hat Idea
- Use any winter hat. If you’re not recycling one of your own, head to the dollar store, the thrift store, or a consignment shop.
- If the hat doesn’t have a pom pom, you can make one from the same faux fur you choose to use. I have shown how to make a faux fur pompom a couple of different ways in case you need it.
- Don’t overfill this guy. You need some extra space to pull the fabric of the hat down to create the gnome’s hat brim.
- Love how smooth my gnome’s beard is? Me too. I did that by just brushing my fingers through it (no fancy brushes).
- Speaking of the faux fur I used, go to Amazon, Etsy, or your local craft or fabric store. There are SO many great faux fur fabrics out there (I have a nice collection I have used here).
Make this Recycled Sweater Hat Gnome
Below is the written tutorial for my easy winter hat gnome. Keep this page open and follow along with the steps.
If you’re making an easy craft ideas playlist on YouTube, here is the winter hat gnome video tutorial. While you’re there, go ahead and subscribe – we have a lot of fun on the channel.
Upcycled Sweater Hat Gnome

If you're looking for a fast gnome or a recycled craft project, this upcycled knitted hat gnome is the fastest you'll ever find!
Materials
- 1 Knitted Hat (I got this one on Wish about a million years ago)
- Brown Mongolian Faux Fur
- Wooden Bead or Polymer Clay Bead for a Nose
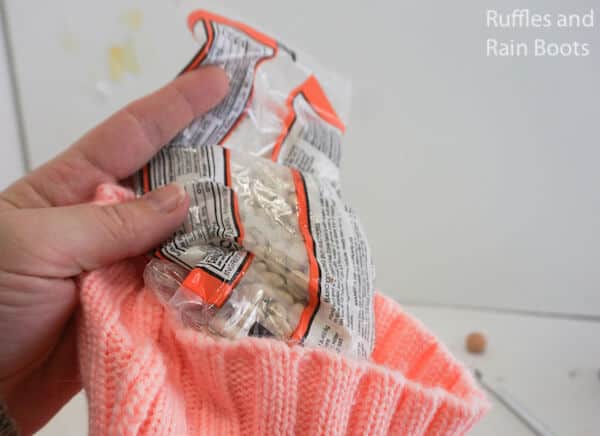
- 2-3 cups Filler (I used Northern Beans)
- Small Amount of Polyfill
Tools
- Hot Glue Gun and Glue
Instructions
- Open the hat and stuff a handful of polyfill into the top.

- Finish filing the gnome body (the hat) with the beans or other filler.

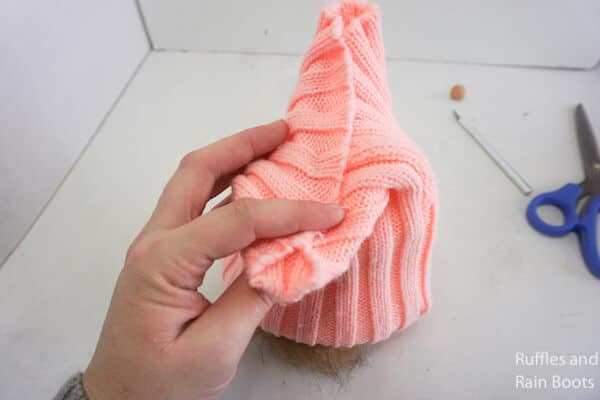
- Fold the two sides of the hat's opening over onto each other hot glue them in place.
- Fold the two flaps on the end of the seam you just made inward toward the center of the gnome body and hot glue those in place.
- Work the beans down and the polyfil up into the tip of the hat.
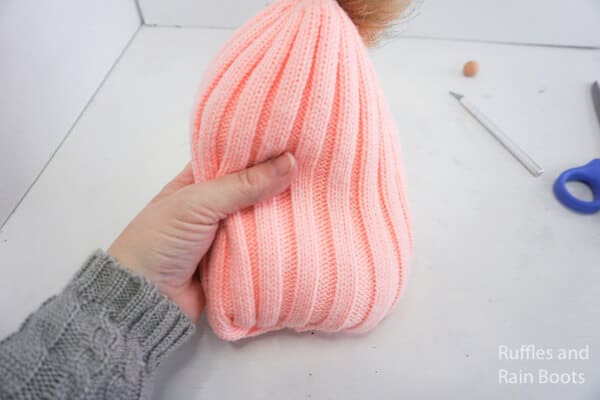
- Pull the center of the hat outward and make a bit of a shelf.

- Based on the area remaining under your "shelf" in the hat, cut out a rounded triangle of the Mongolian faux fur. Use an exacto knife or razor blade to cut only the fabric on the backside of the faux fur.
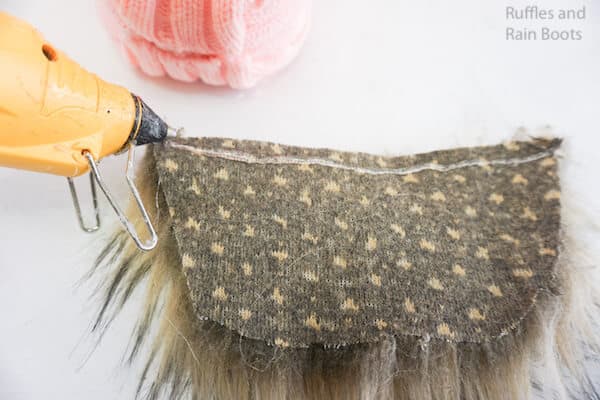
- Add a line of hot glue to the back of the beard along the top line and affix the beard to the front of the gnome.
- Hot glue the nose onto the top of the beard, about 1/4-inch from the edge.
- Fold the brim of the hat down over the nose and hot glue it in place on both sides of the gnome, the back and then over the nose to make a little wrinkle--I love that part!


Notes
For more (oh, so many more) gnome tutorials, visit RufflesandRainBoots.com
Recommended Products
As an Amazon Associate and member of other affiliate programs, I earn from qualifying purchases.


More Easy DIY Gnomes You Might Like
- DIY Farmhouse Gnome – Easily our most popular farmhouse gnome–and he’s
- RIDICULOUSLY simple to make!Welcome Sign with Gnome Display Shelf – All your gnomes need to live on a shelf of honor while you’re displaying it.
- Farmhouse Girl Gnome – If you need a cute gnome to keep you company in the kitchen, this cute girl gnome is perfect!
Please Save or Share This Fun Winter Gnome Idea
Your shares are how this site grows and I am sincerely grateful. Know a friend who’d like this? Please share it on Facebook or save it to your favorite easy crafts pin board.
Meet the Creator
Hi there, I’m Sarah Nenni-Daher. I’m a crafty gal and always have at least 14 projects going at once. I am a crafter, designer, DIYer, and pattern maker. I share my creations here and in the Ruffles and Rain Boots® Shop.
Here at Ruffles and Rain Boots®, you’ll find DIY gnomes, crafts, gifts, cupcakes, laser crafts, and so much more. I love sharing video tutorials over on YouTube and chatting with other crafters in my Facebook groups. We’d love to have you!