Easy DIY Pom Pom Pets Make Adorable Gnome Pets
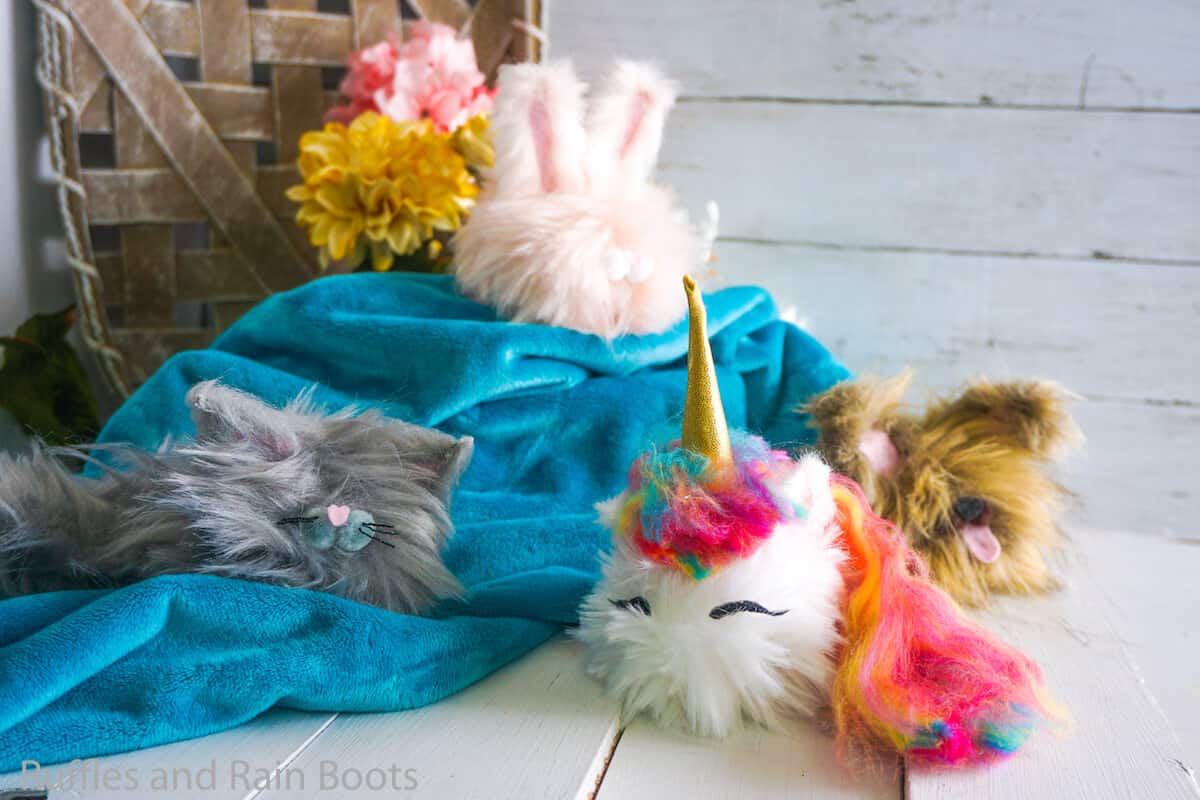
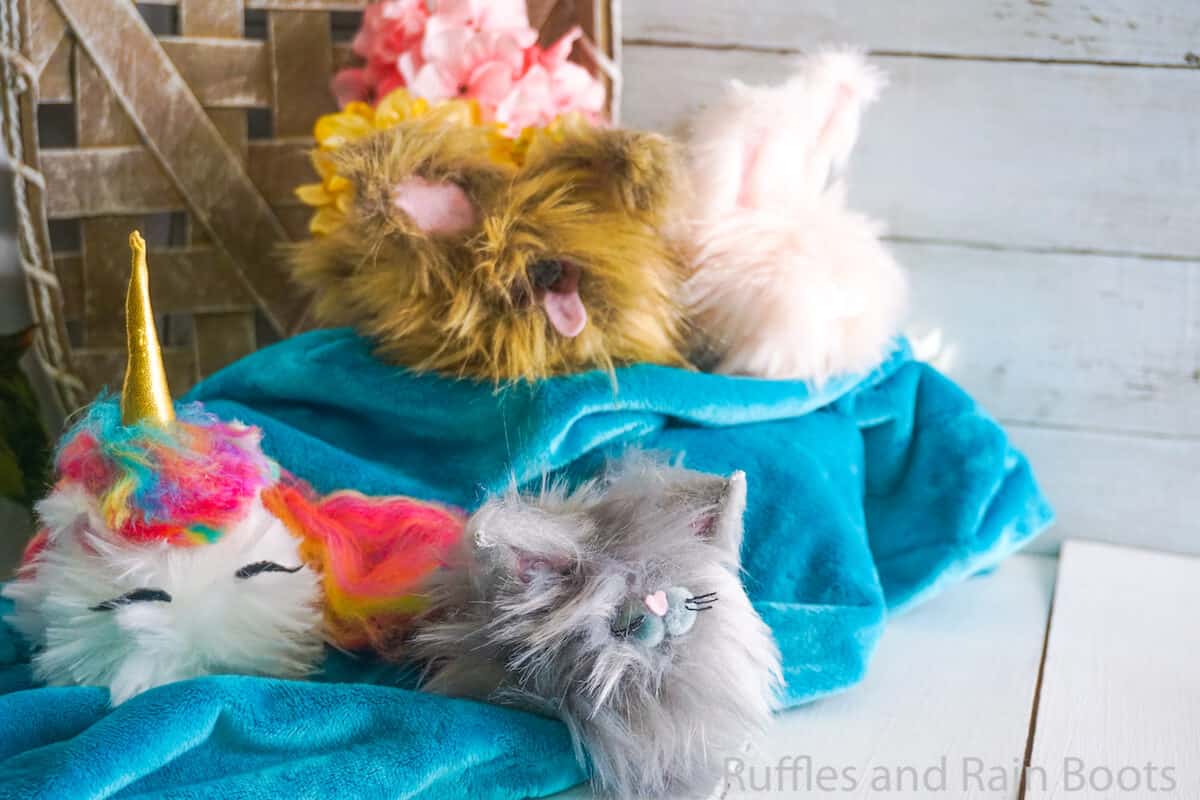
The kiddo was bugging me for a bunny for the gnomes. So we made these easy DIY pom pom pets–they make the perfect gnome pets!
What You'll Find On This Page
DIY Pom Pom Pets
Here at Ruffles and Rain Boots, we are super indulgent when it comes to our gnomes. I mean, they get what they want, because they’re doing their job making the house look adorable–and who am I to argue with a bunch of tiny gnomes?! Also, it’s funny when the kid tells me that the gnome “needs” something and suddenly we’re off making another craft! LOL!
RELATED READING: HOW TO MAKE A NO-SEW GNOME
The latest “need” our household gnomes had was pretty funny: gnome pets. I thought about this for about 5 minutes and came up with this ridiculously easy idea to make DIY no-sew pom poms and DIY pom poms with sewing to try out a theory I’d had. Sure enough, these DIY pom poms make perfect gnome pets when you add just a couple of details!
Get Secret Gnomes, Tips, & Freebies Delivered!
What is the best pattern to use when you don’t want to sew? Do you know the secrets to a properly-proportioned gnome? Do you know where to get the best-priced fur?
Get all of this (and exclusive content just for you) delivered right to your inbox with the gnome-making series, free of charge. Sign up to get the once-weekly newsletter (and a jaw-dropping special offer)!

If you’re ready to make pet for your gnome, let’s get started.
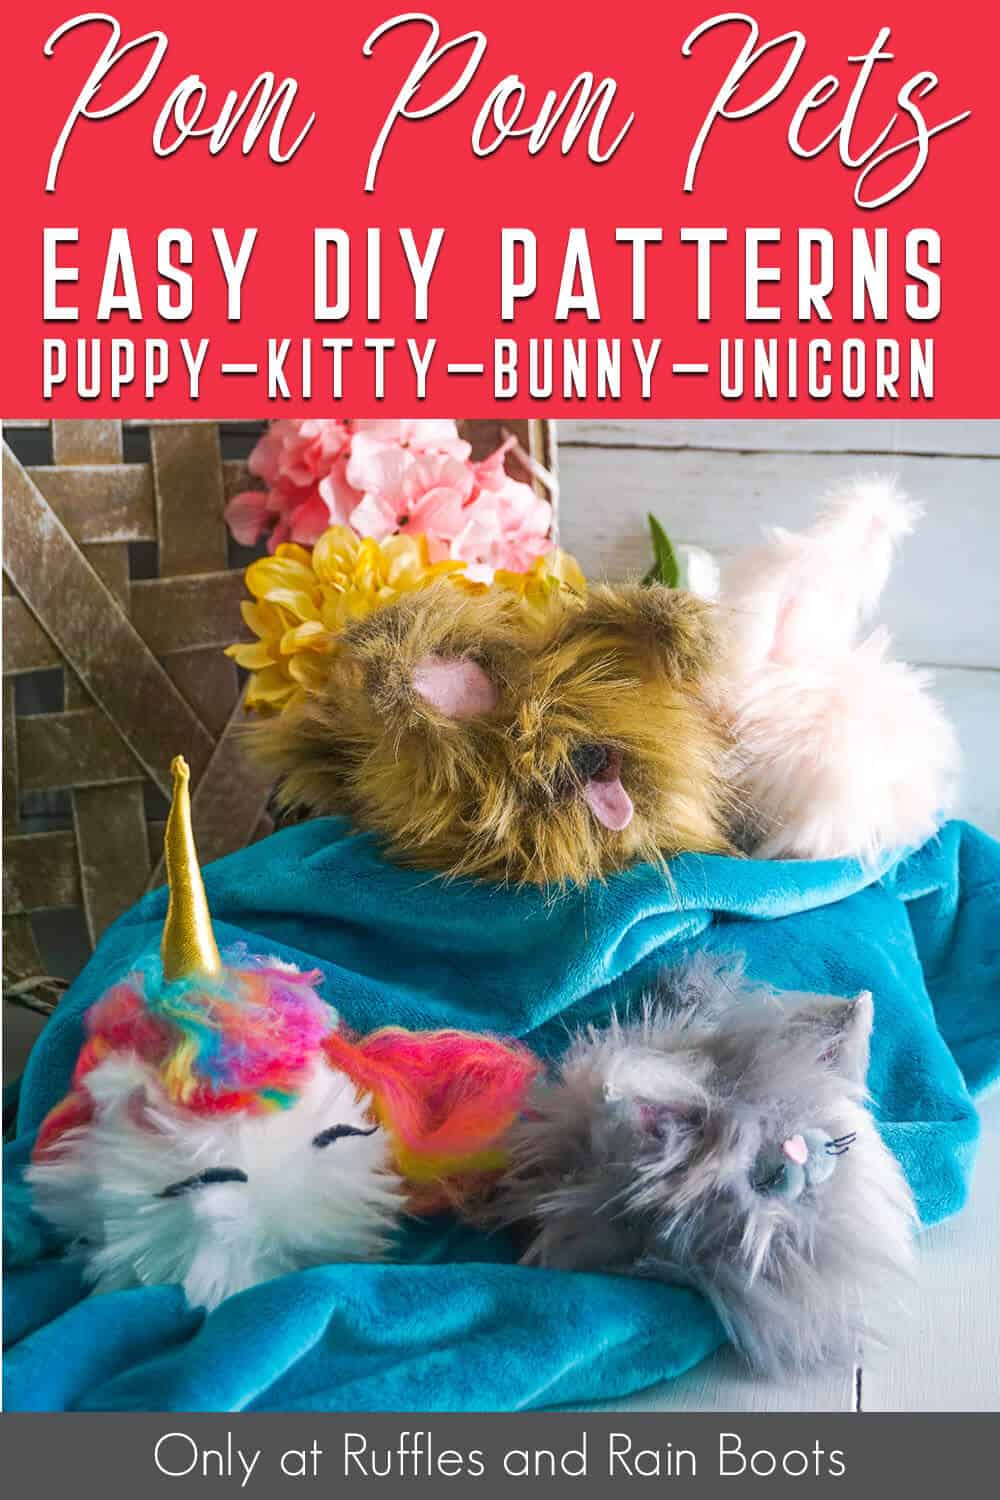
No Time to Make This Now? Pin it for Later
You’re busy, I get it. Pin this to your favorite easy crafts board on Pinterest and it’ll be here for when you’re ready.
As an Amazon Associate, I can earn from qualifying purchases.
RELATED READING: Use Extra Fur to Make These Adorable Highland Cows (SO Popular)
Tips to Make DIY Pom Poms
- First, click here to get the pattern for these adorable gnome pets. That’s going to get your noses, ears and tails figured out for each of these cuties.
- Now, with the pattern in hand, you’re probably wondering what you need to do to make each one special, keep reading. I’ve got tips for each laid-out below.
- When you’re making your DIY pom poms by sewing them, I like to double-up on embroidery thread. That way when you’re pulling it through at the end, you don’t risk breaking the thread.
- When you’re making your DIY no-sew pom poms, you don’t use needle and thread, obviously. But what you do want is fabric hot glue like the stuff I use here. Regular fabric glue takes too long to dry and you don’t want to be holding it for 30-45 minutes. And regular hot glue will make hard places in your pom pom, which is totally uncool. So, a mixture of both is absolutely necessary!
- If you have never cut faux fur before or you’ve hated how it turned out, I have a treat for you! You can’t just whip out your scissors and start cutting as that will leave a sharp edge on the fur. Instead, flip over the fur and, with a razor blade or Exacto knife, cut only the fabric and then pull the cut piece away from the whole. This will leave you with a beautiful drape on the beard and you’ll love it. I show you how to cut faux fur in the video.
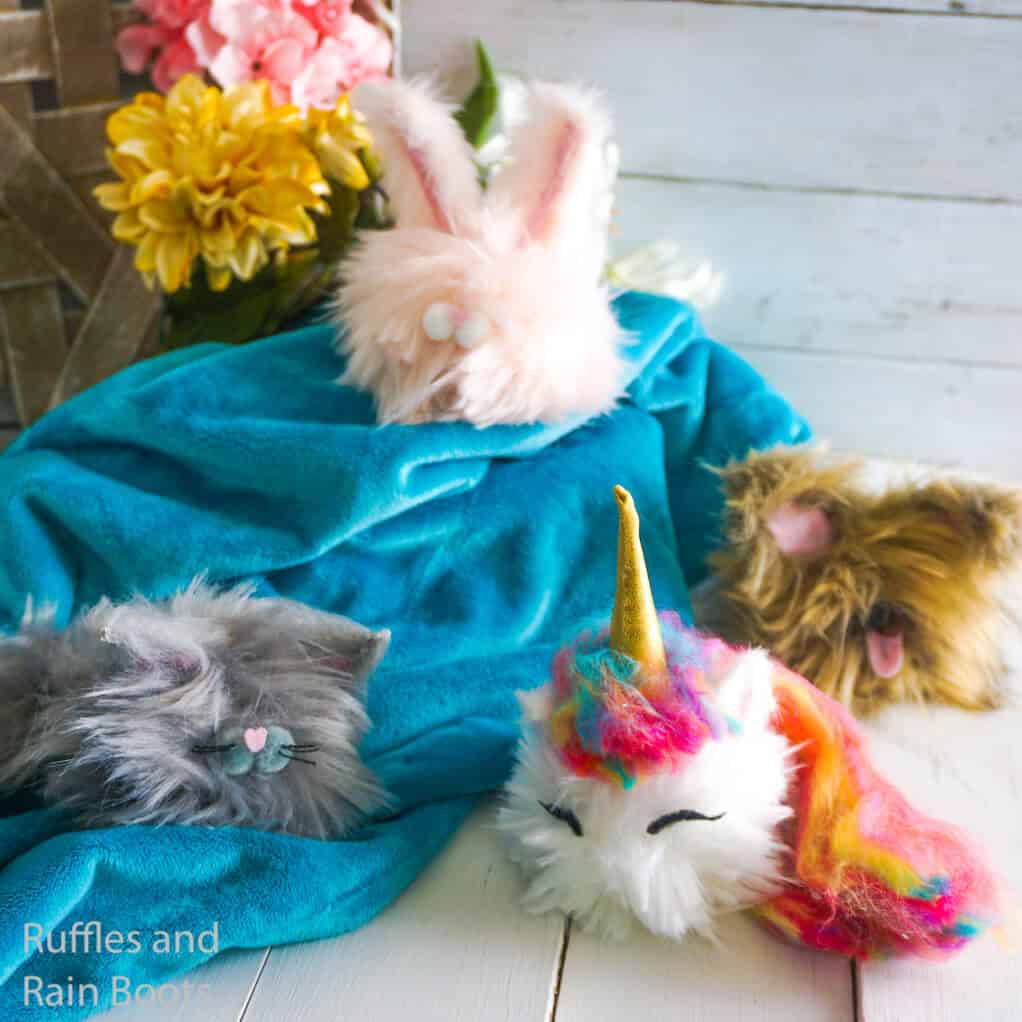
Get the PomPom Pets Here
Click below to add this fun pattern to your cart. So many gnomes can be made with this!

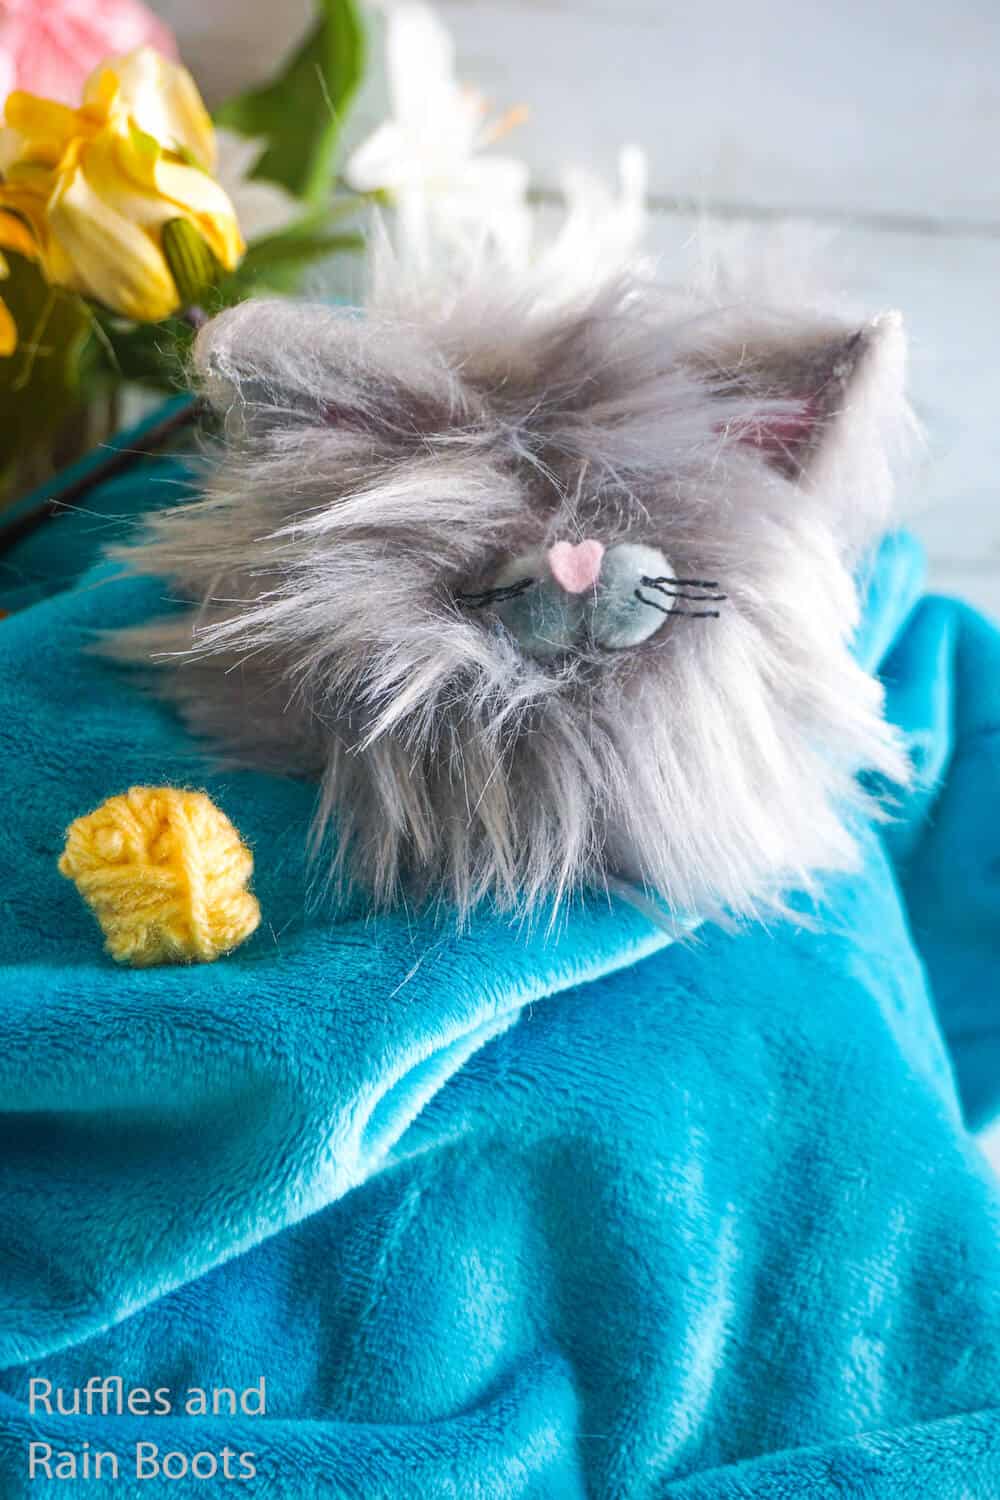
Tips to Make a Pom Pom Cat
- First, click here to get the pattern for these adorable gnome pets. That’s going to get your noses, ears and tails figured out for each of these cuties.
- Now, with that in hand, you’re going to want a little scrap of pink felt to go with your grey faux fur. And a couple of grey small pom poms and some black yarn (just a scrap).
- Be sure to put some fabric wire into the tail of your pom pom kitty so you can make it ridiculously posable. So funny.
Tips to Make a Pom Pom Bunny
- First, click here to get the pattern for these adorable gnome pets. That’s going to get your noses, ears and tails figured out for each of these cuties.
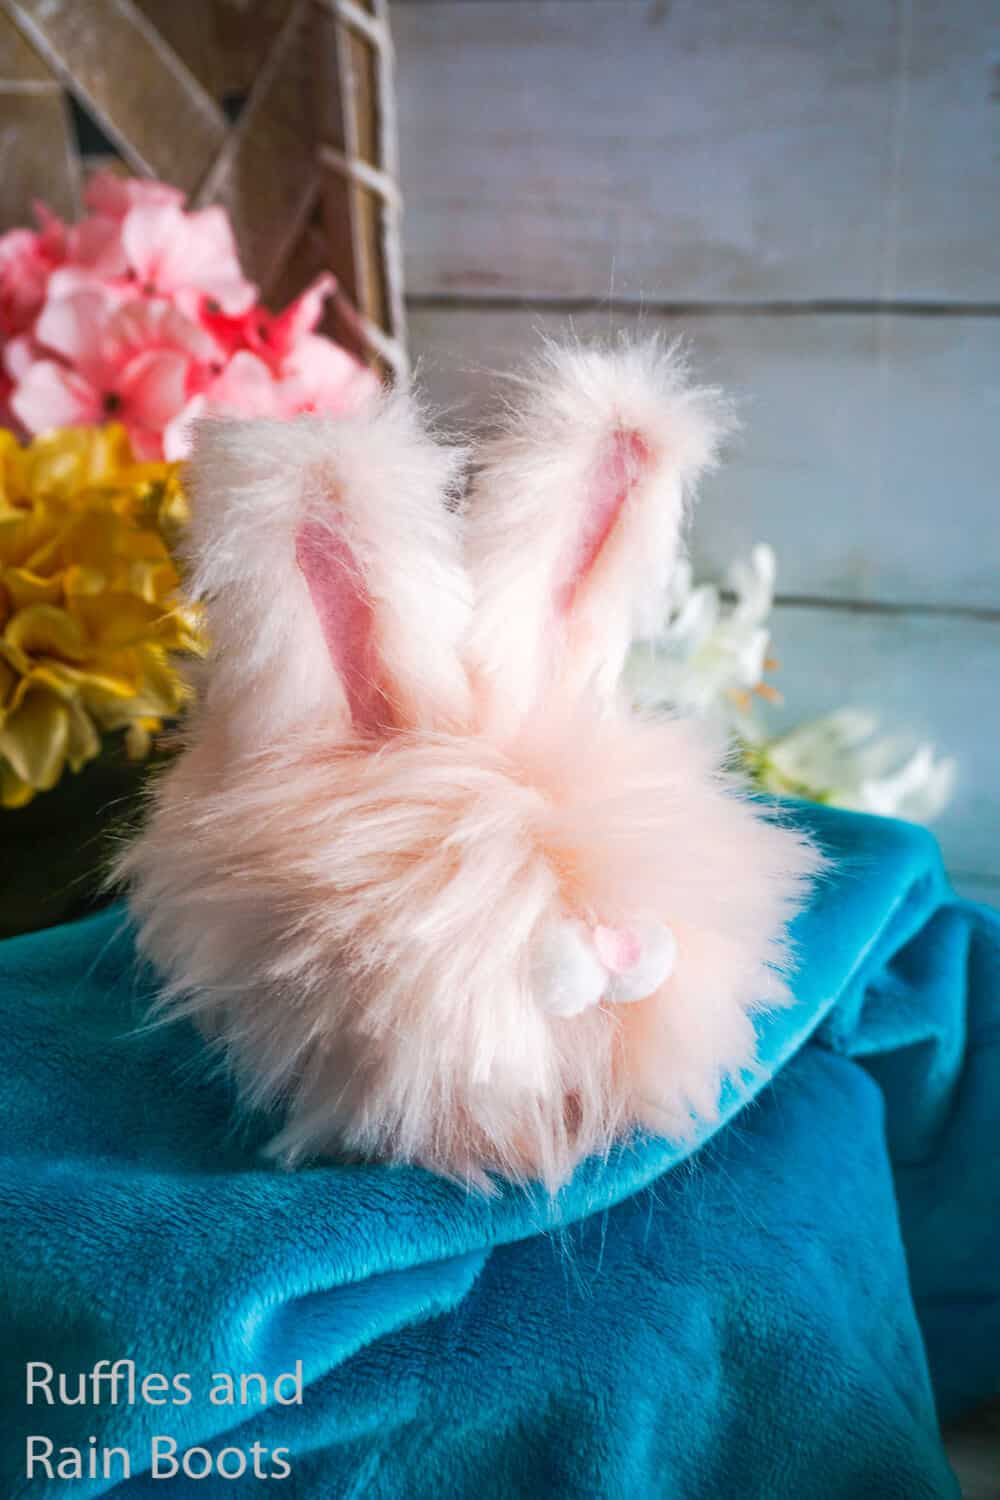
- The bunny is the first one I made, because that was the kid’s goal: make a bunny for one of the spring gnomes. So, it’s really the concept from which I based all of the other pom pom animals off of.
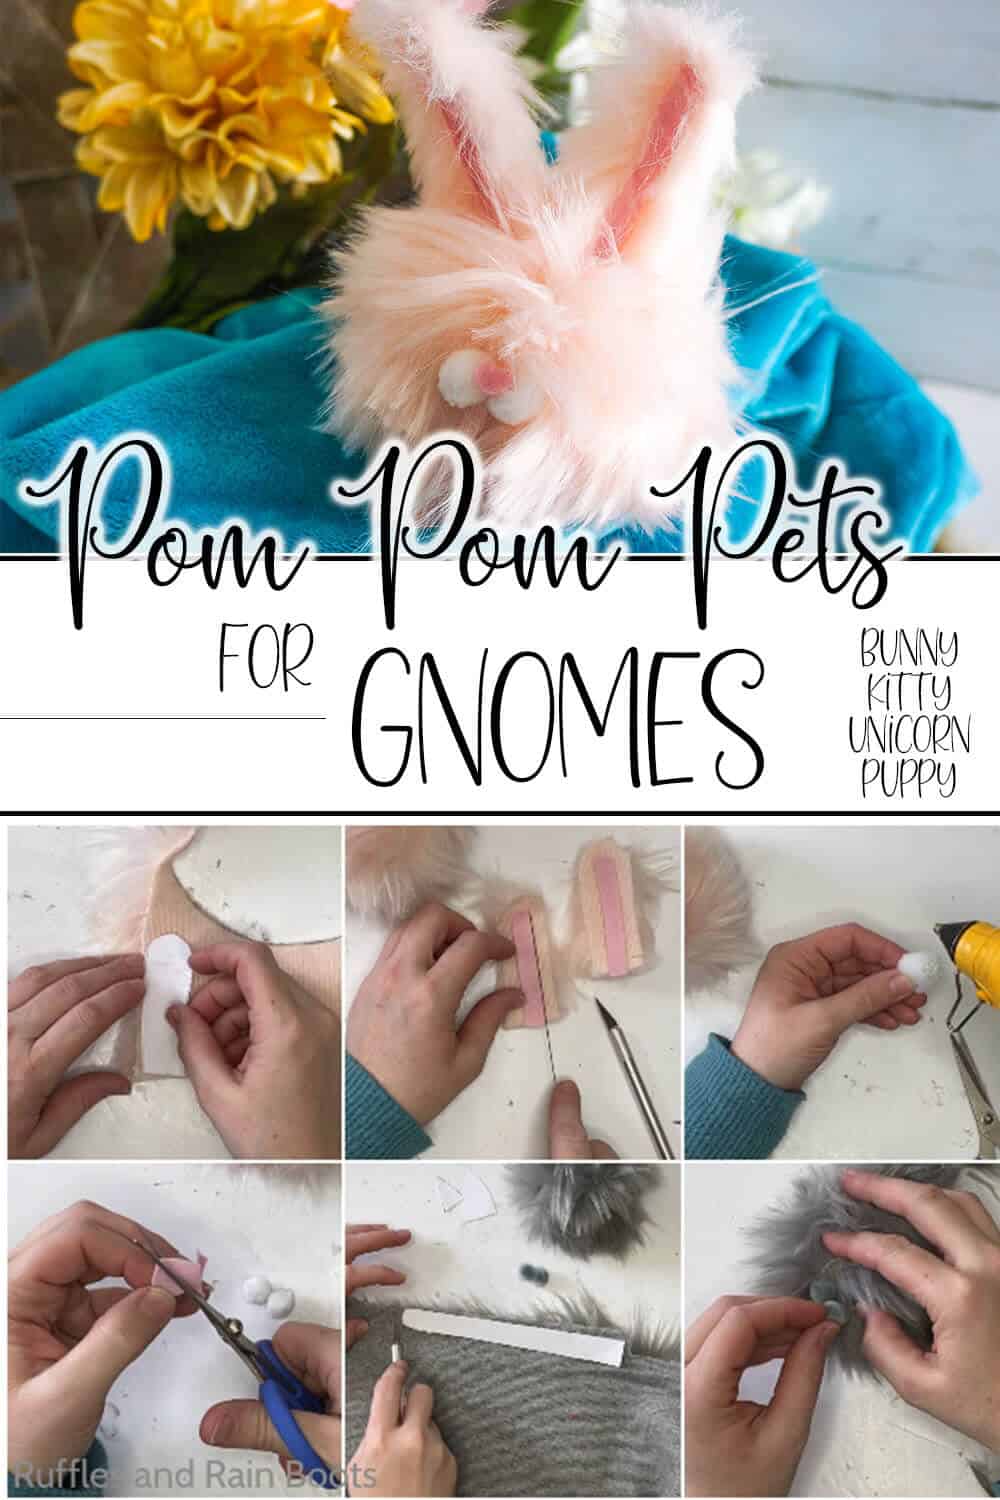
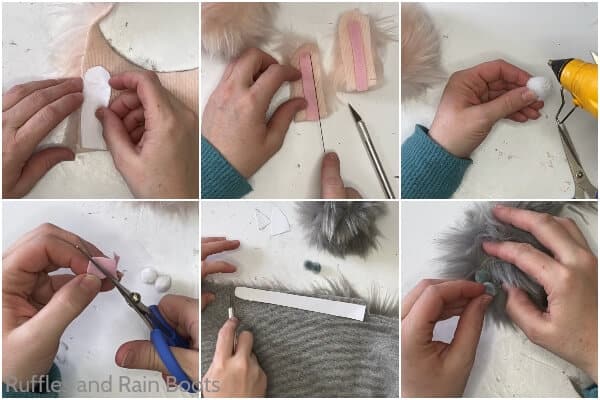
- The ears are way easier than they look. Just cut the patterns, glue the inner piece on the back of the outer piece, then wrap the outer piece around the edges and glue in place. I even forgot to put my floral wire in the ear and was able to work it into the edge–and it still worked.
- This pom pom bunny calls for 3 tiny white pom poms: two for the mouth/muzzle and one for the tail.
- You’ll also want some darker pink felt for your nose and inner ear pieces, but you just need a scrap.
- I used pale pink faux fur to make the pom pom for this bunny, but you can use grey, white, blue, yellow…anything. Bunnies are all colors, right?!
Tips to Make a Pom Pom Dog
- First, click here to get the pattern for these adorable gnome pets. That’s going to get your noses, ears and tails figured out for each of these cuties.
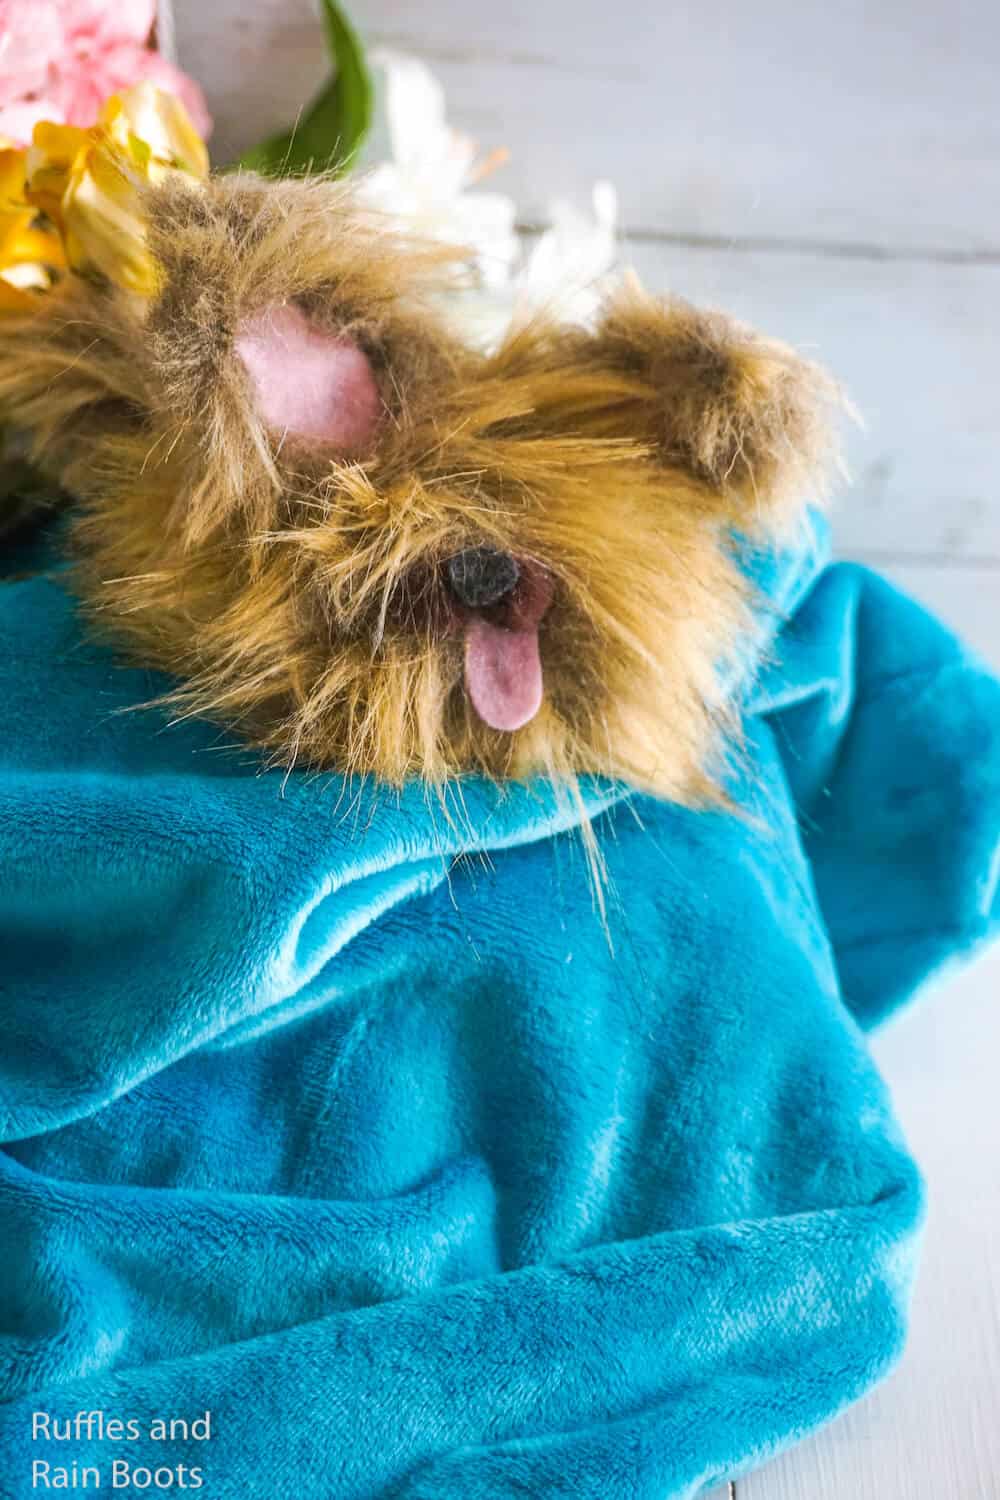
- The pom pom puppy is my favorite. I love a good unicorn, the bunny definitely has a place in my heart, and the kitty is cute–but the puppy? Oh, he’s freaking adorable. So, of course, he’s the “most complicated”. Which, for the purposes of this easy tutorial means that this pom pom puppy has one more piece than the others do: the tongue! LOL!
- Ears for the pom pom dog are done the same way as the bunny and kitty. Just cut the patterns, glue the inner piece on the back of the outer piece, then wrap the outer piece around the edges and glue in place.
- I added a little detail to the tongue with a pencil. Yep–just wrote write on the pink felt.
- To make the details stand out for your pom pom puppy, you’ll want some scraps of pink felt, a tiny scrap of black felt and a couple of dark brown tiny pom poms. Easy peasy!
Tips to Make a Pom Pom Unicorn
- First, click here to get the pattern for these adorable gnome pets. That’s going to get your noses, ears and tails figured out for each of these cuties.
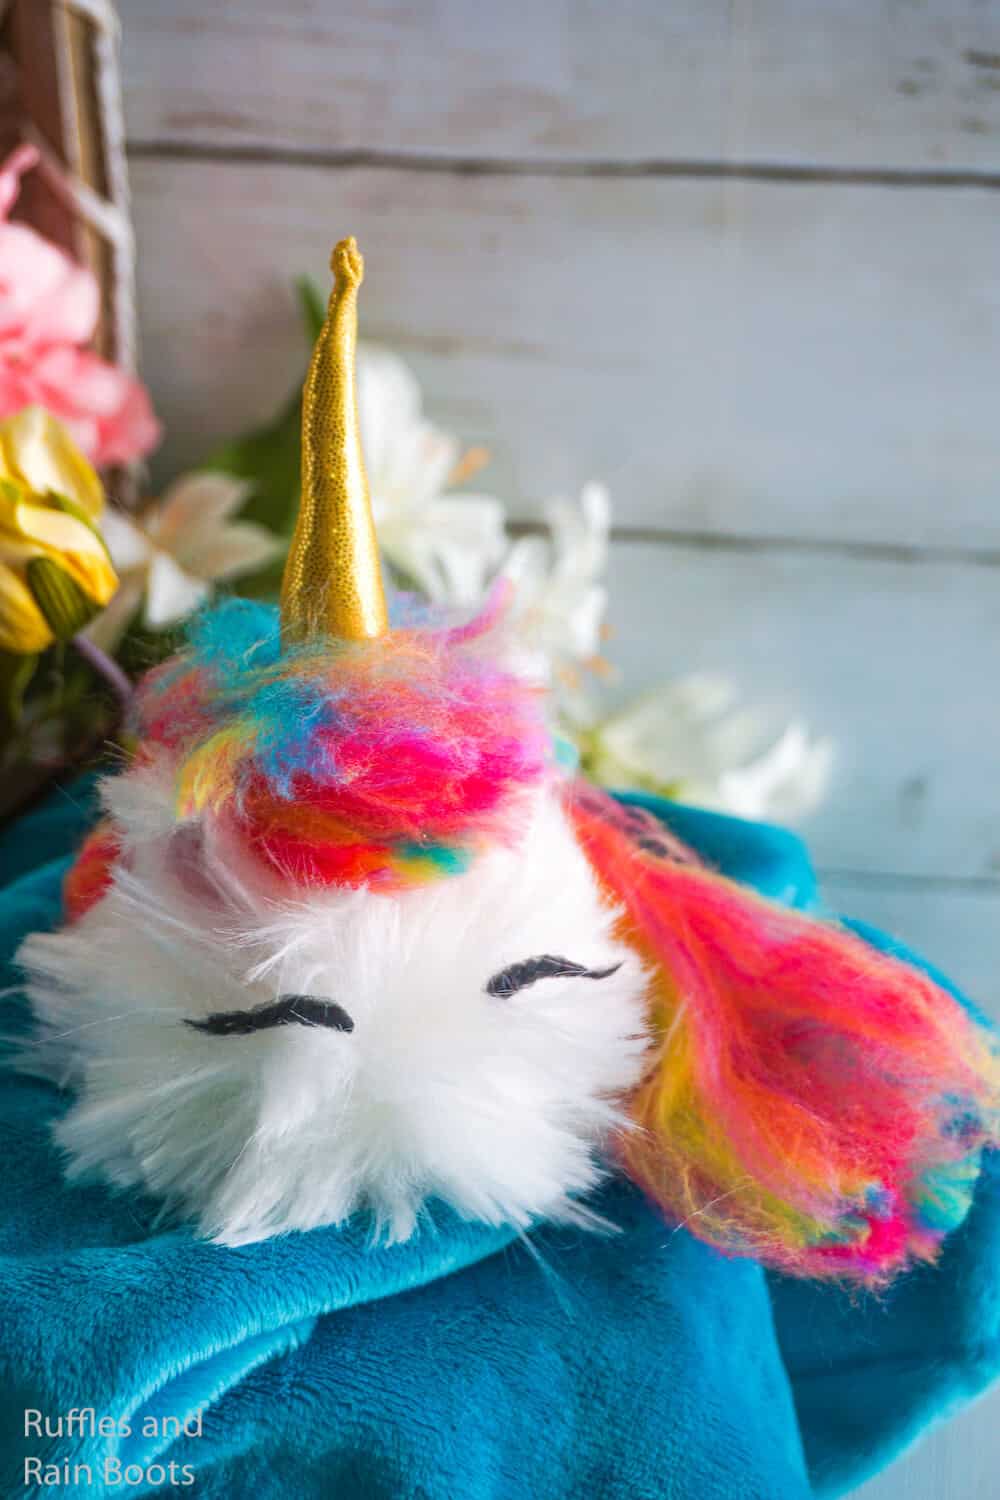
- The horn is really easy. Just cut two horn shapes from the pattern out of scrap gold fabric then sew them together–or, if your fabric is super stretchy, like mine was, you can just cut one piece and sew that, then rely on the stretchiness of the fabric to give you a bit more girth. Then stuff and glue it on the pom pom!
- For the unicorn’s mane, I just grabbed some super colorful rainbow awesomeness merino wool yarn that I found at the craft store. So much fun!
- To make the unicorn eyes, I just put a line of hot glue onto a piece of parchment paper and then laid a scrap piece of black yarn on top. Let that dry and you can peel it up from the parchment paper and just tack it down on the pom pom!
How Do I Make this Pom pom Pets?
I’m so glad you asked. Below is our written tutorial. If you’re more of a visual learner, check out the FULL VIDEO TUTORIAL here.
DIY Pom Pom Pets
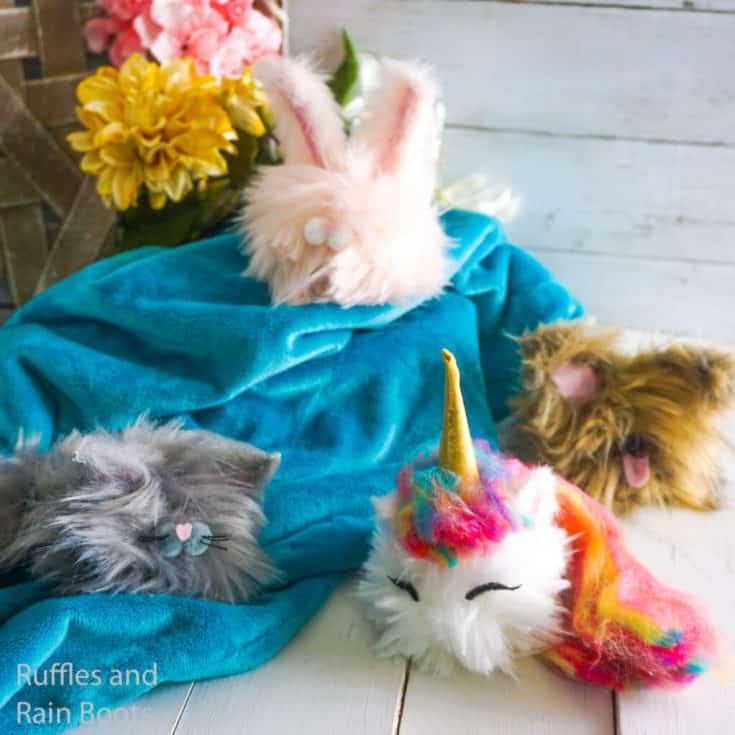
Seriously in love with these too-cute-to-be-real-but-they-are DIY pom pom pets. They're so simple and fun to make, I couldn't possibly stop after making just one gnome pet! LOL!
Materials
- Faux Fur (pink, grey, brown and white)
- Scraps of Craft Felt (pink and black)
- Scrap Black Yarn
- 7 Tiny Pom Poms in Coordinating Colors
- Small Amount of Polyfill
- Rainbow Merino Wool Yarn Scraps
- Floral Wire Pieces
- Scraps Gold Fabric
Tools
- Form to Trace on Faux Fur (I used a cereal bowl)
- Pattern for ears and other details
- Exacto Knife
- Needle and Embroidery Thread
- Hot Glue Gun & Fabric Glue
- Pencil
Instructions
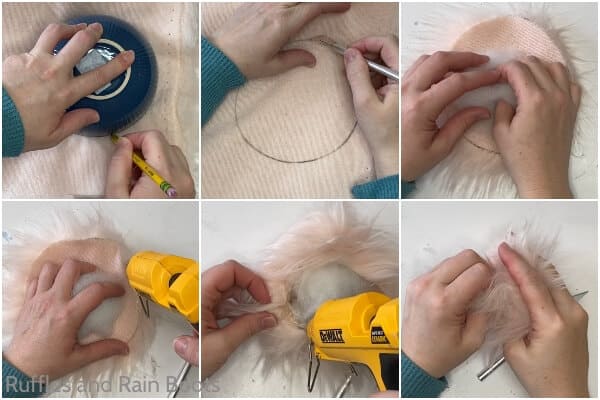
- Start by cutting your faux fur to make the DIY pom poms. Simply place the cereal bowl (or other form with a 4-inch diameter - although this is approximate and can be adjusted based on preference) on the back of the faux fur and trace the shape onto the fabric with the pencil. Remove the form and, cutting only the fabric backing using the exacto knife, cut out the circle and remove it from the remainder of the fur.
- To make the no-sew pom pom, place a handful of polyfill into the center of the faux fur circle and place a line of hot glue on the outer edge of the fabric backing of the faux fur, pinching the edges together and holding until the glue sets. Working around the circle should close the pom pom, but if it does not, add a dollop of hot glue and pinch the remaining hole closed.
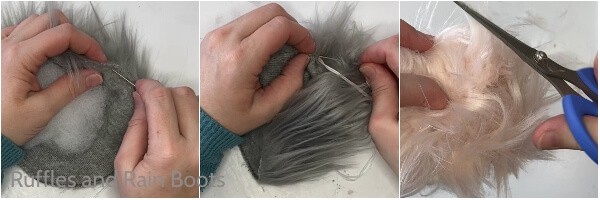
- To make the DIY pom pom by sewing, with your needle and embroidery thread, whip stitch about 1/4 inch from the edge of the circle all the way around, pulling it snug as you go. This should fairly well close the pom pom. About 3/4 of the way around the circle, push some stuffing down into the cavity of the pom pom, then finish stitching and pull it tight. Knot it closed tightly.
- Cut out the detail pieces from the pattern for each of the pom pom pets. Assemble the ears and glue them on top of the appropriate pet. For the bunny, puppy and kitty, hot glue two tiny pom poms in corresponding colors to the front of each pom pom animal. For the unicorn, make the horn and glue it in place, then drape the mane on and hot glue in place. Finally, attach the unicorn's eyes, as described above. Enjoy!
Notes
For more fun gnome tutorials, visit Ruffles and Rain Boots!
Recommended Products
As an Amazon Associate and member of other affiliate programs, I earn from qualifying purchases.
More Gnome Crafts You Might Like
- How to Make a Sock Gnome – I kid you not, sock gnomes are the best gnomes to make for the first-time-gnome maker. Just grab your favorite (or least-favorite) sock and get to making!
- Sock Gnome Holding a Coffee Cup – One of the more popular sock gnomes here, this adorable cutie is definitely earning his coffee–and he needs a puppy.
- Spring Sock Gnome with Boots – One of my most recent gnomes and he’s perfect for spring! Also, he’s looking to adopt a bunny…
Please Save This to Pinterest
Your shares are how this site grows and I am sincerely grateful. Know a friend who’d like this? Please share it on Facebook or save it to your favorite easy DIY ideas board on Pinterest.


love love love! I will be making some now out of my scrap fur. thanks for showing…
These are just so freaking adorable!! I can’t decide which one is my favorite – it’s close between the cat and the unicorn… oh who am I kidding? They’re all my favorite! A great tutorial, thanks for sharing.