
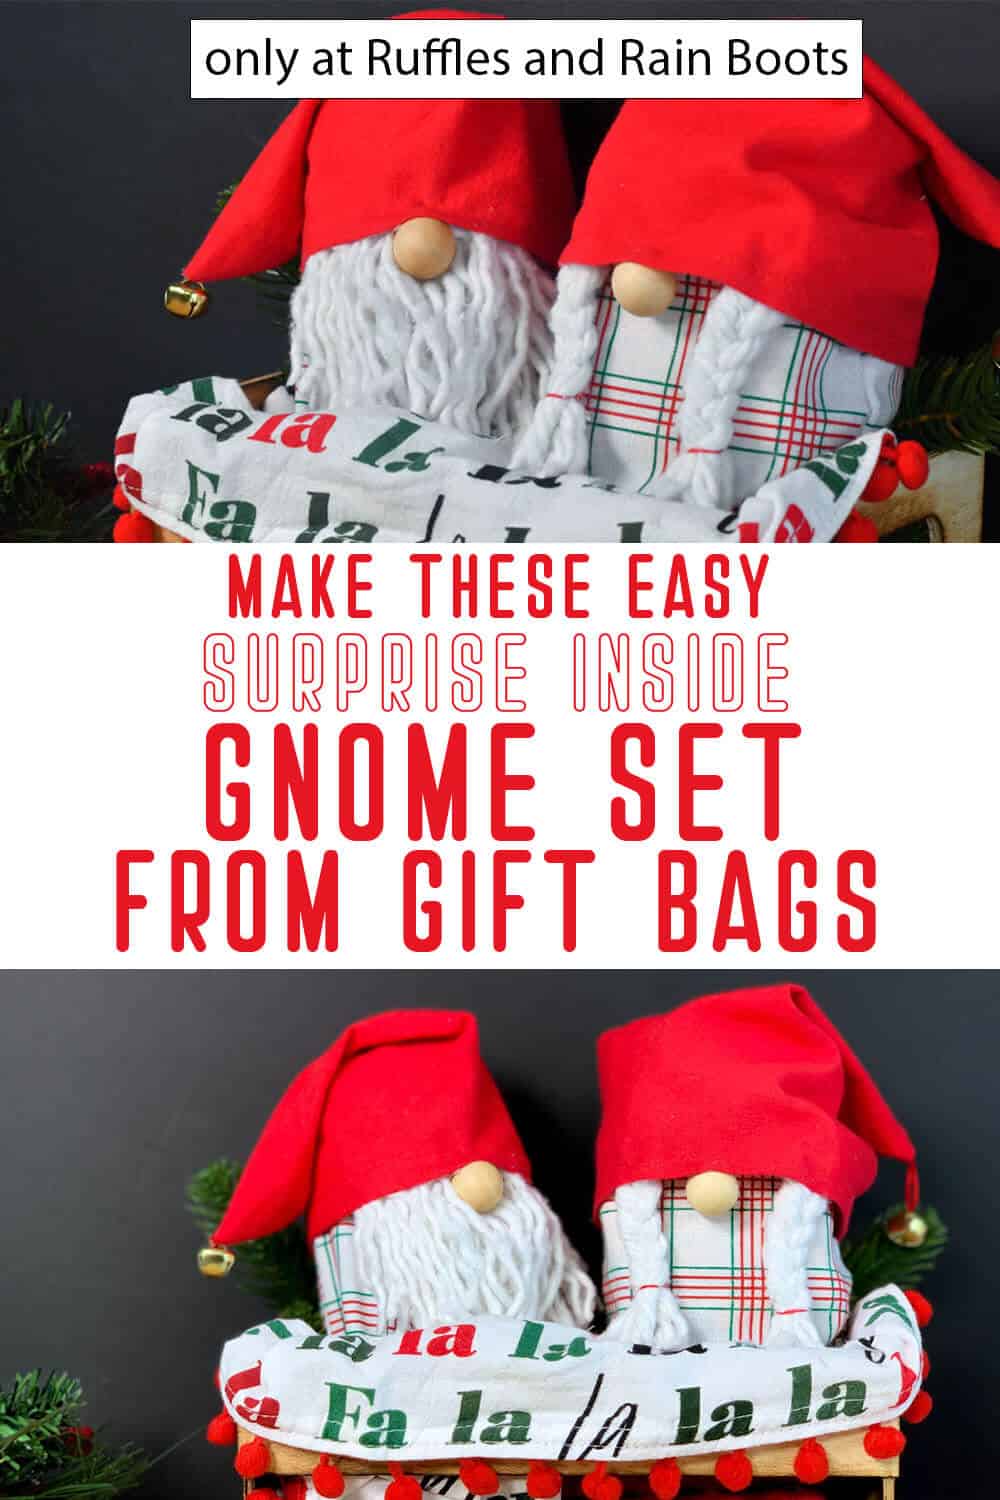
Surprise Inside Gnomes – DIY Mini Gift Bag Gnomes for Christmas!
These surprise inside gnomes make me giggle so much. They’re the perfect mini gift bag gnomes for Christmas that you can make fast!
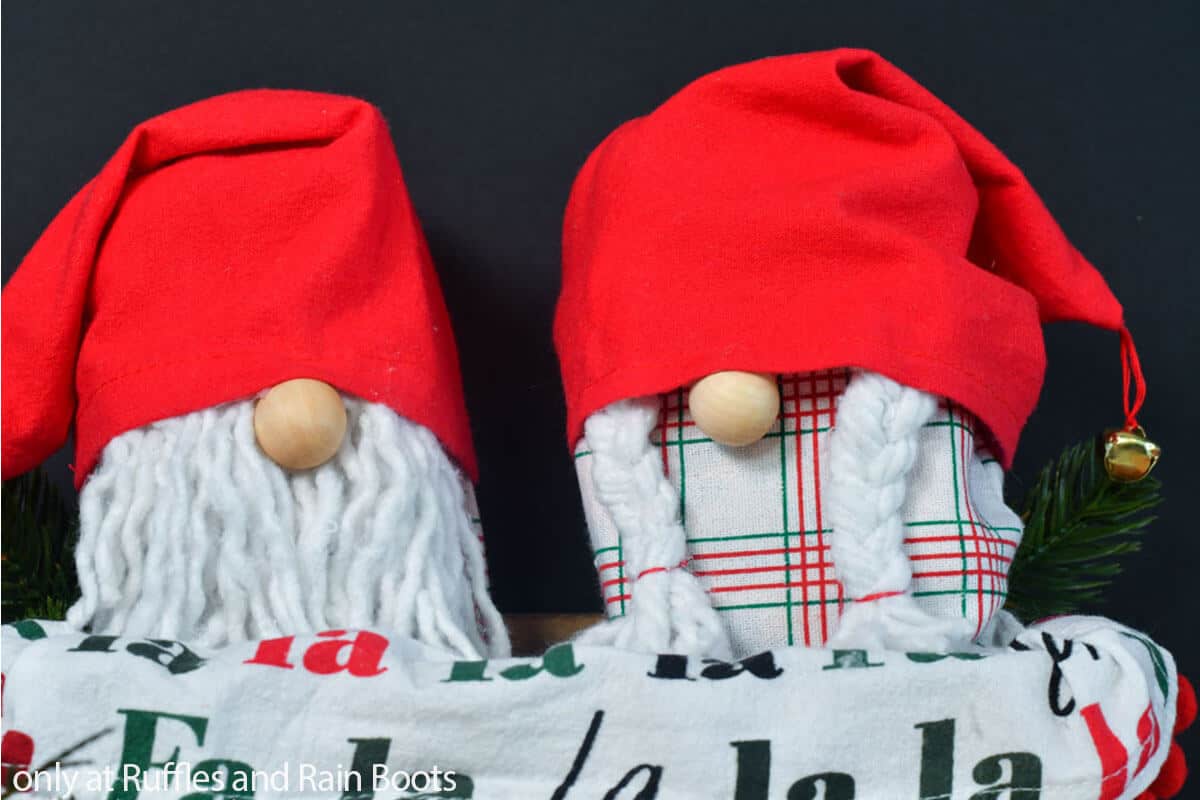
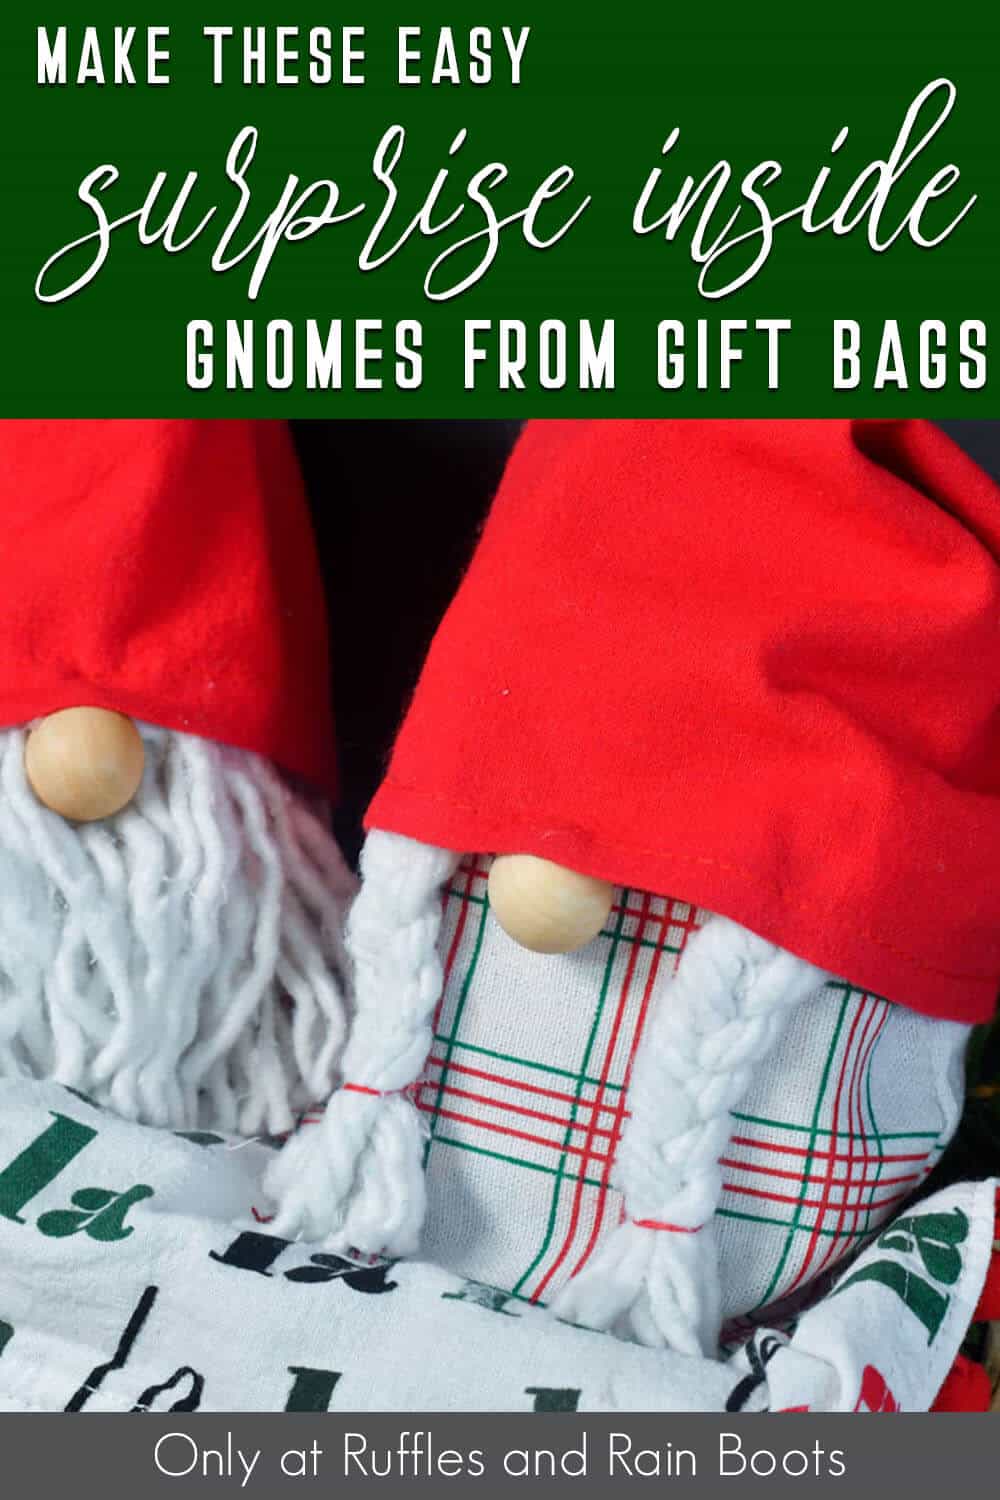
Surprise Inside Gnome
Here at Ruffles and Rain Boots, I always feel inspired to make a gnome. See a jar on the counter? My imagine tells me it’s a gnome in waiting. Spy a pile of scrap fabric on the shelf? Gnome patterns for weeks. See a random piece of wood on the side of the road? Could be a cool porch gnome.
Everything is literally inspiration. So, of course when I found these fun drawstring gift bags in my holiday crafting stash, I knew what I had to do: gnome it up!
RELATED READING: BEST SCANDINAVIAN GNOME PATTERN FOR CHRISTMAS
Quick and fun, this is a GREAT way to personalize a gift and make it more of a surprise than it already ways! Grab your favorite scissors and let’s get started.
No Time to Make This Now? Pin it for Later
You’re busy, I get it. Pin this to your favorite holiday DIYs board on Pinterest and it’ll be here when you’re ready.
As an Amazon Associate, I can earn from qualifying purchases.
Tips to Make Gift Bag Gnomes for Christmas
- The real “trick” for making this awesome gift bag gnome set is to start with a pre-made mini drawstring bag. They have them everywhere around the holidays, just those pre-made pretty fabric drawstring gift bags that come in packs of 2 or 3. I found mine in the Target Dollar Spot, but I have seen them at Dollar Tree, Dollar General, grocery stores – they’re literally everywhere. So grab some of those as our base.
- If you want a little larger gift bag gnome idea, I found a set of graduated size bags that are epic and have a fantastic holiday-esque pattern. So, these gift bags in this set will work great. Same idea, just for larger gifts!
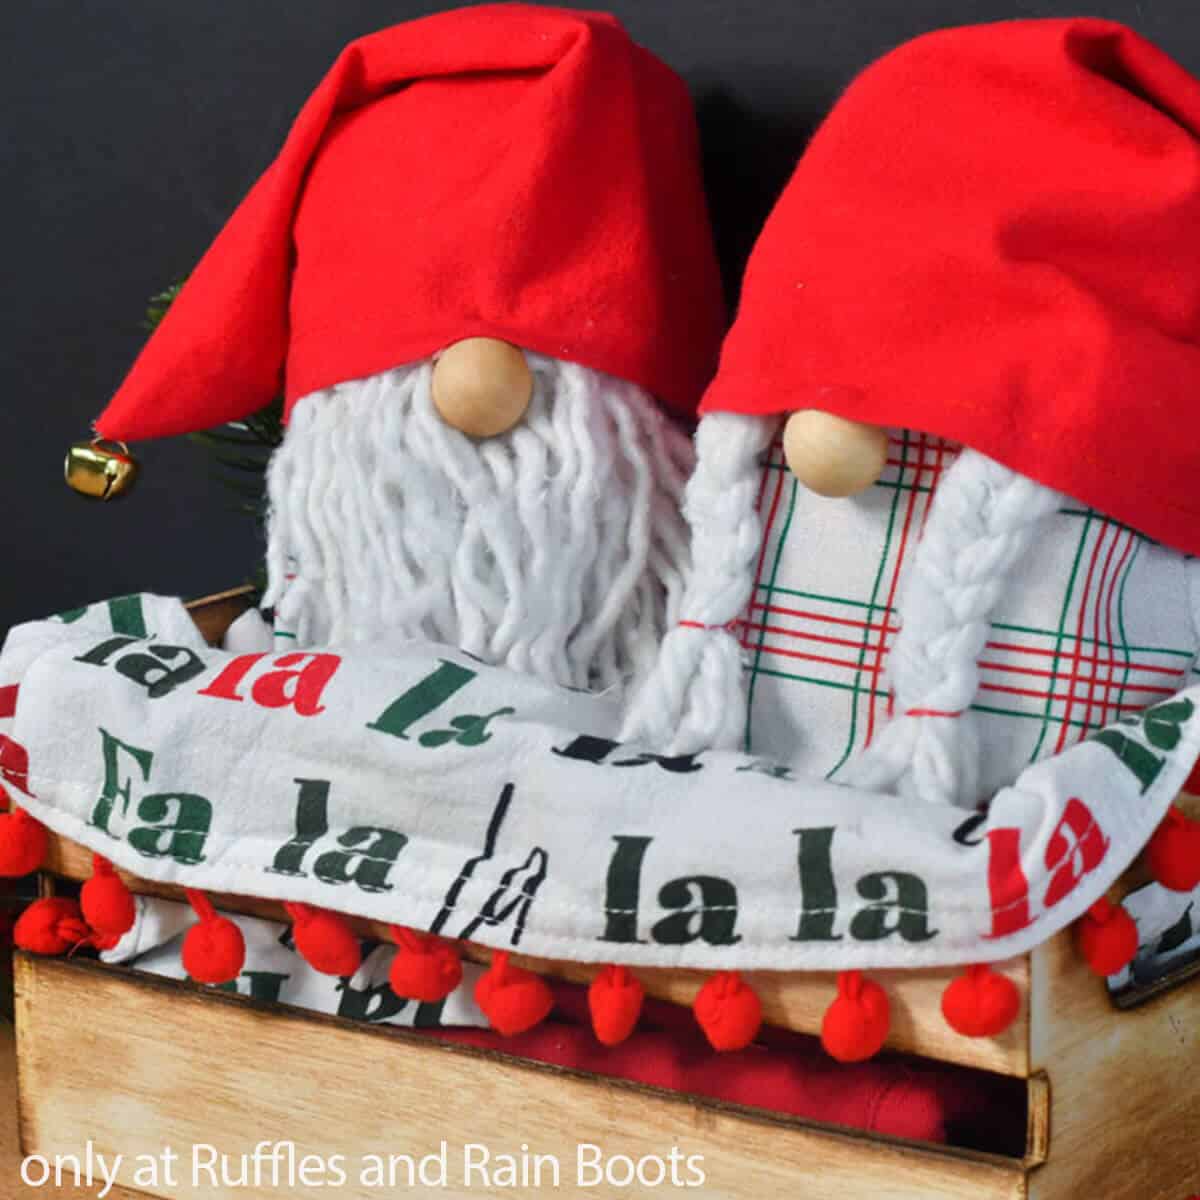
- As far as the beard, you can use so many different materials. But for my gifts, I wanted to keep this surprise inside gnome set as inexpensive as possible, so I used a mop head from the Dollar Tree. It worked to make both a beard and braids for my little gnomette! One thing I will say, though, if you choose to use a mop, don’t toss your hat material’s scraps away – you’ll want those to help you build the beard up. Just trust me.
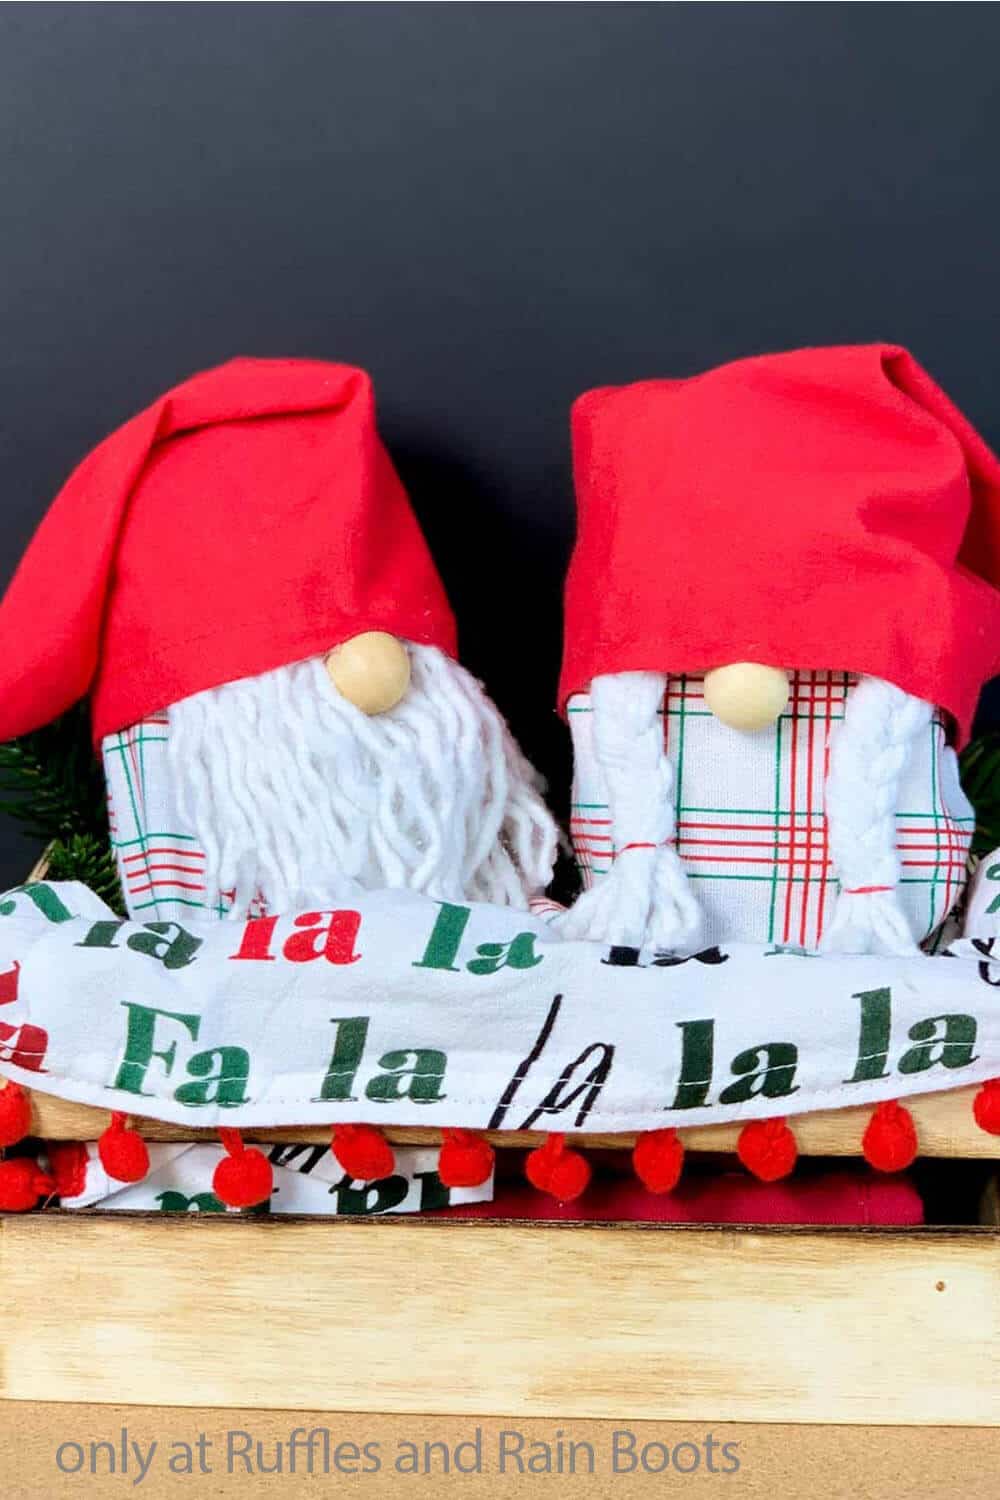
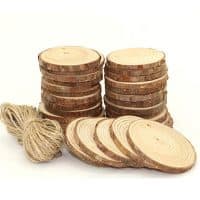
- Fun fact, this is a versatile gift bag gnome – you can put a jar inside, you can fit your gifts straight inside the bag, or you can pop a little wood round in the bottom and set your gifts on top of that, just to give it a little stability. So, no matter what you’re looking to gift, these gnomes will make it happen. LOL!
How Do I Make this Surprise Inside Gnome?
I’m so glad you asked. Below is our written tutorial. If you’re making a Christmas crafts playlist on YouTube, here is our surprise inside gnome video tutorial.
Surprise Inside Gnomes

So fast and fun to make, these surprise inside gnomes are an adorable and easy way to really dress up a gift idea fast! Plus, who doesn't love a mini gift bag gnome to make your present that much more personal?!
Materials
- 2 Mini Drawstring Gift Bags (preferably made of Christmas print fabric)
- 1 Mop Head (or other beard material)
- 1 Cotton Dish Towel (or other fabric for hat with a festive print)
- 2 - 1-inch Wood Balls
- Jar or 3-inch Wood Round, optional (for stability)
Tools
- Sewing Machine, optional
- Needle & Thread, optional
- Hot Glue Gun and Glue
- Scissors
- Fabric Marker or Chalk Marker, optional
Instructions
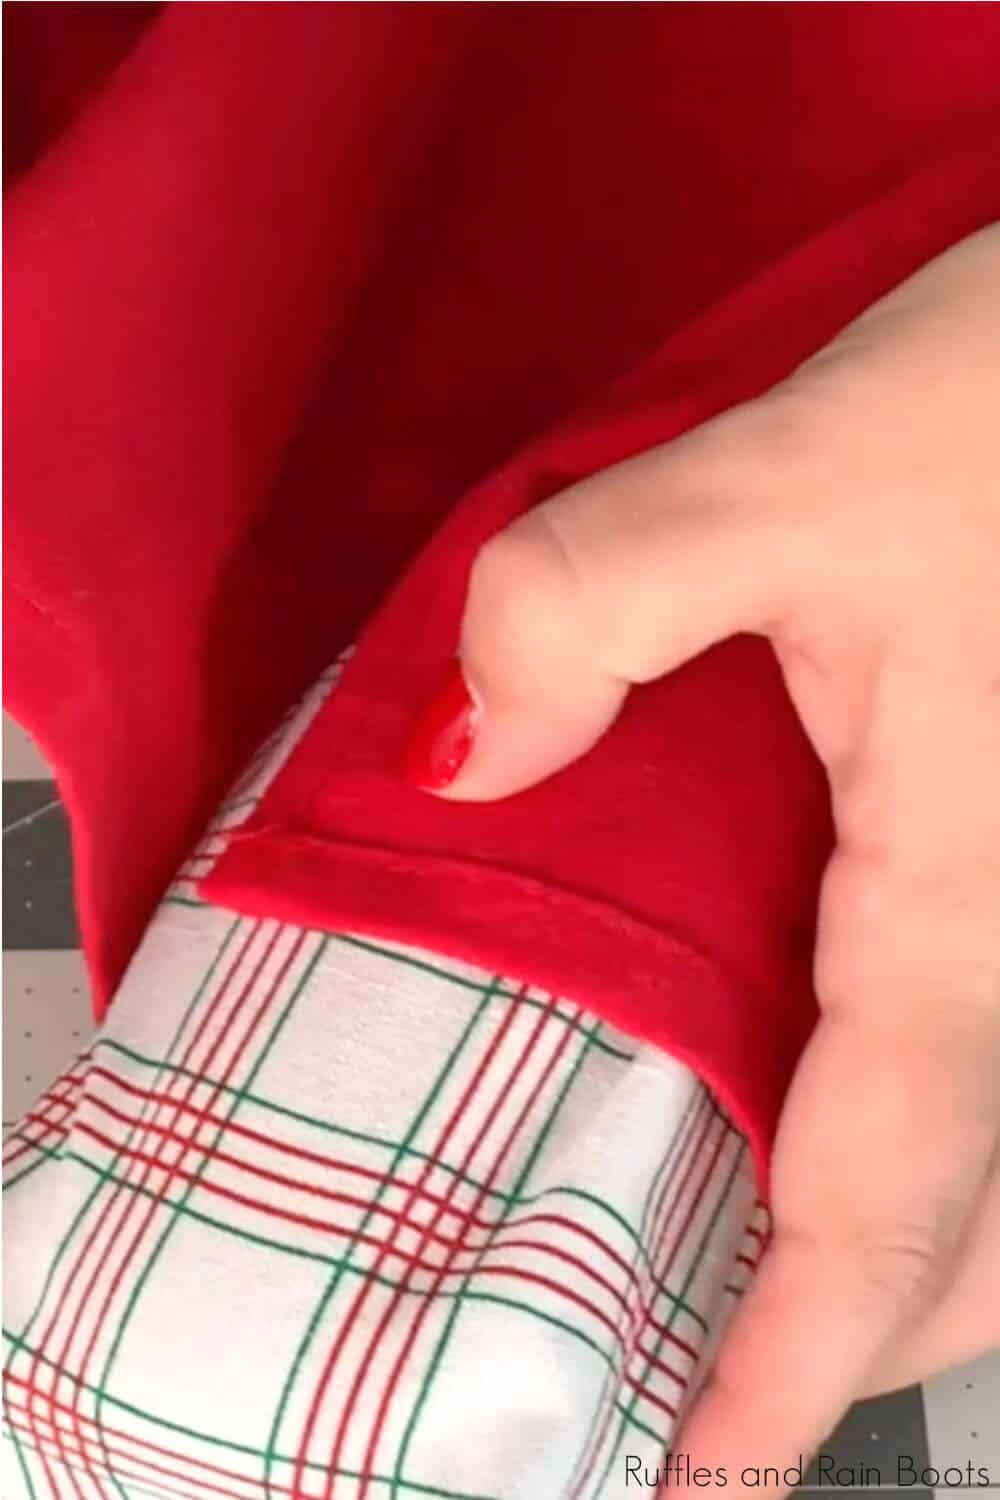
- Start by fitting your filler inside one of your drawstring gift bags. If you're dropping in the gift by itself, the jar, or a wood round, you just want to put it into the bottom, so you can note where the two points on the bottom of the bag poke out. Mark these locations, if desired, to assist in the next step.
- Remove the filler from the bag and turn it inside-out and fold the bag flat on your table in the opposite direction from the direction the bottom of the bag is hemmed. This will force the hemmed base of the bag to stick up. Fold those stuck up pieces over flat. Note where the marked locations on each point, then either hem or hot glue those points, running your stitch perpendicular to the hem on the bottom of the bag.
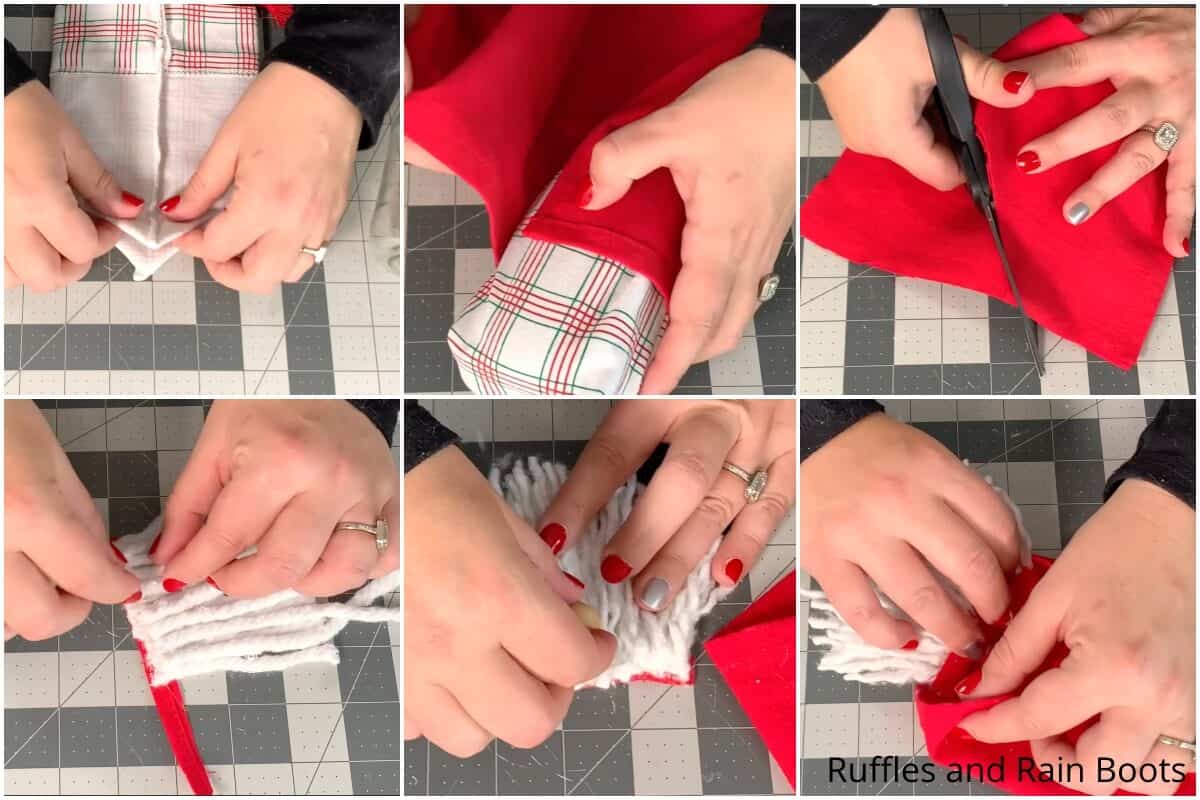
- Turn the bag right-side out and fit your filler back inside the bag. Using this filled bag to help you measure, wrap the hat material around your filled bag. Add 1/2-inch or 3/4-inch to the width and cut the fabric about 8-inches tall (or whatever height you want your gnome's hat to be).

- To refine the gnome hat's shape, fold the fabric in half right-side to right-side, then cut a diagonal, starting from about 3-4 inches from the bottom edge of the fabric over to the folded edge. Hot glue hem the cut edges together. Allow the hot glue to cool completely. Turn the hat right-side out and set aside.
- Cut about 10 mop head strands free from the mop head. With a scarp piece of the hat material cut into a rectangle roughly 1/2-inch by 8 inches long, hot glue the mop head strands to the fabric side-by-side.
- Cut the strands to about 4-inches long, then glue 8 pieces on top of the 10 already glued to the fabric strip. Allow the hot glue to cool completely. If desired, unravel the strands and brush.
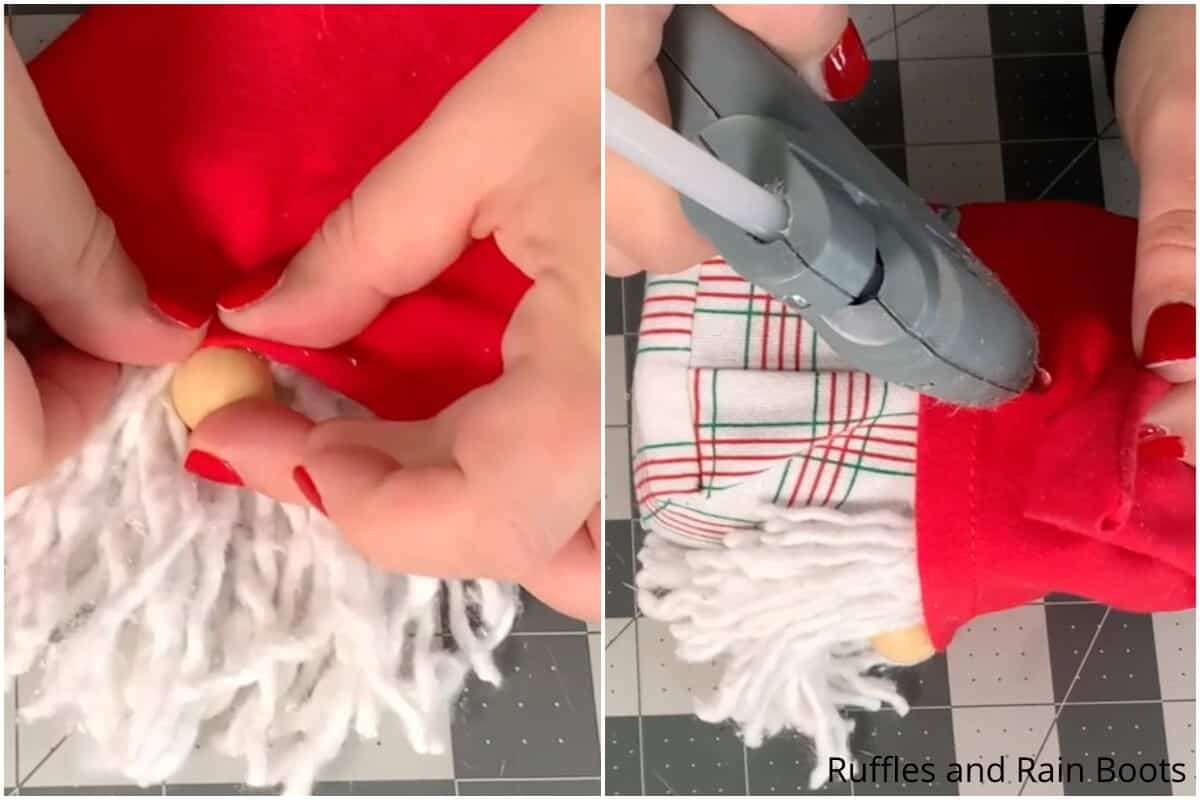
- Hot glue the nose onto the front of the beard, then lay the hat front-side down on your table. Hot glue the front of the assembled beard set onto the inside hem of the hat, taking care to overlap the nose to the hat center, so you can get that cute wrinkle. Allow the hot glue to cool completely. Turn the hat over and hot glue the fabric over the nose into the wrinkle then fit the hat onto your filled bag.

- To make the girl gnome, make 2 braids from 9 strands of mop head thread. You can follow this tutorial if you need help making the braids. Hot glue the nose in place in the center of the front of the hat on the inside, then glue the braids on either side of the nose, offset by about 1/2 to 1 inch. Turn the hat over and hot glue the fabric over the nose into the wrinkle then fit the hat onto your filled bag. And you're done - ready to gift!
Notes
For more fun Christmas gnome crafts, visit Ruffles and Rain Boots!
Recommended Products
As an Amazon Associate and member of other affiliate programs, I earn from qualifying purchases.

More Christmas Gnomes You Might Like
- Easy DIY Santa Gnome – One of the cutest gnomes I’ve ever made, it’s all about that velvet and boots – with the cutest little nose for booping!
- 10-Minute DIY Christmas Gnome – Only have 10 minutes to spare for crafts, make this quick and fun gnome pattern just that fast!
- DIY No-Sew Christmas Gnome Pattern – Literally one of my most popular gnome patterns in Christmas form!
Please Save This to Pinterest
Your shares are how this site grows and I am sincerely grateful. Know a friend who’d like this? Please share it on Facebook or save it to your favorite Christmas crafts board on Pinterest.
Meet the Creator
Hi there, I’m Sarah Nenni-Daher. I’m a crafty gal and always have at least 14 projects going at once. I am a crafter, designer, DIYer, and pattern maker. I share my creations here and in the Ruffles and Rain Boots® Shop.
Here at Ruffles and Rain Boots®, you’ll find DIY gnomes, crafts, gifts, cupcakes, laser crafts, and so much more. I love sharing video tutorials over on YouTube and chatting with other crafters in my Facebook groups. We’d love to have you!