DIY Sunflower Decoupage Coasters – A Simple Summer Craft
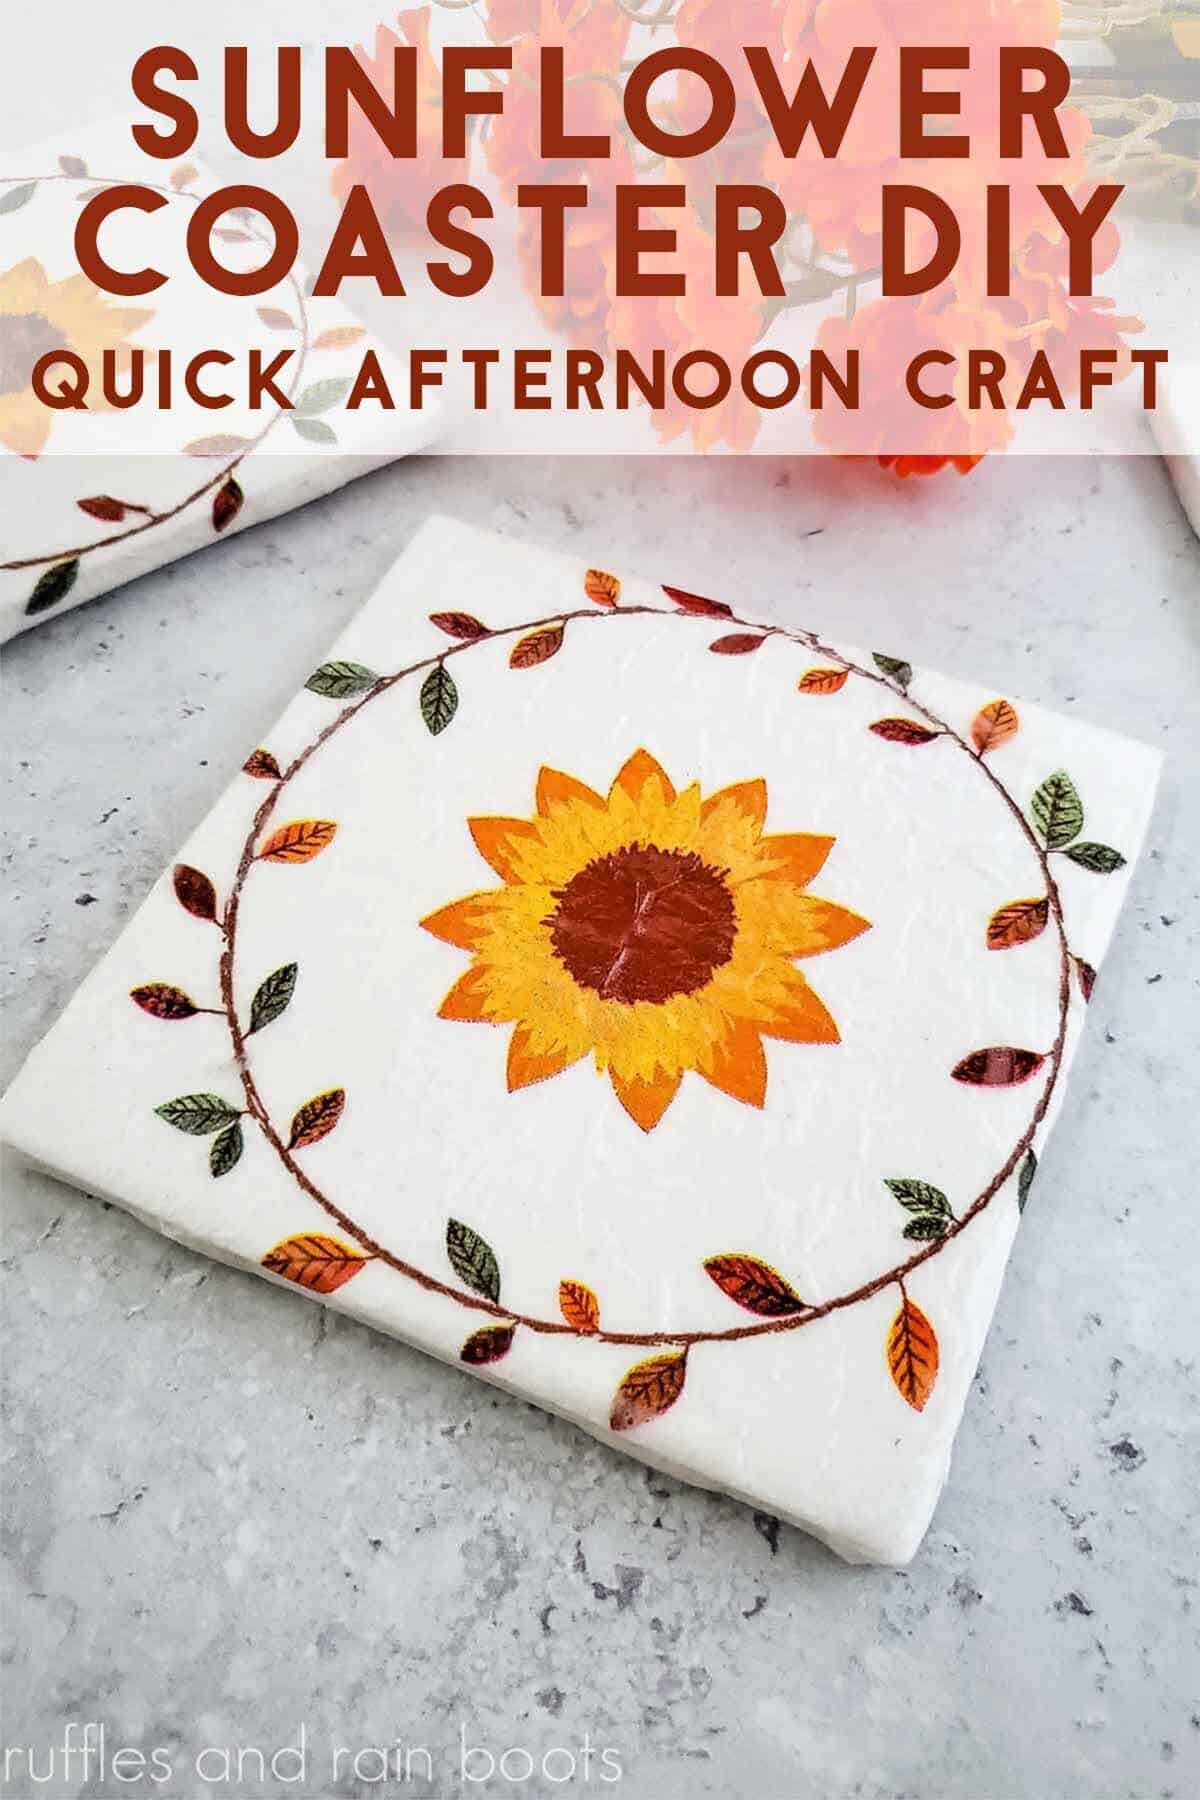
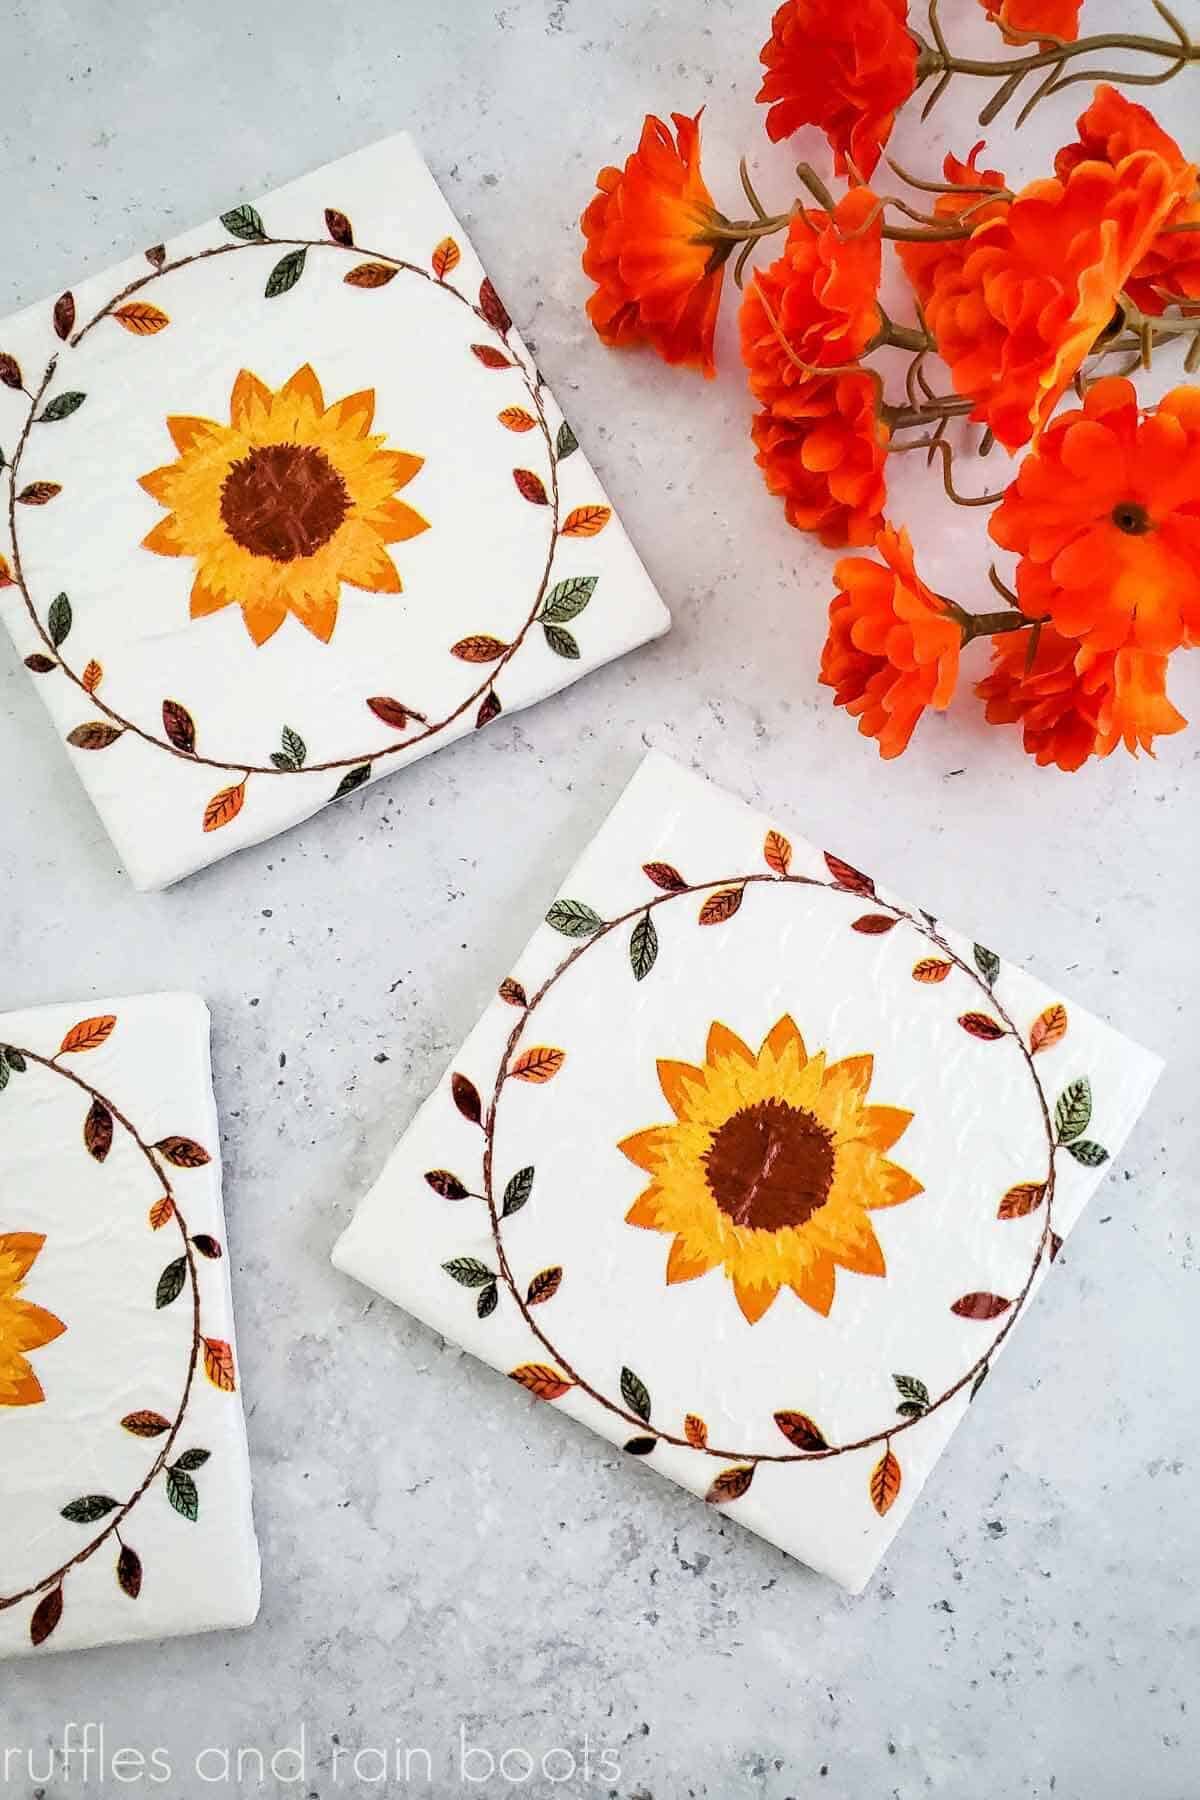
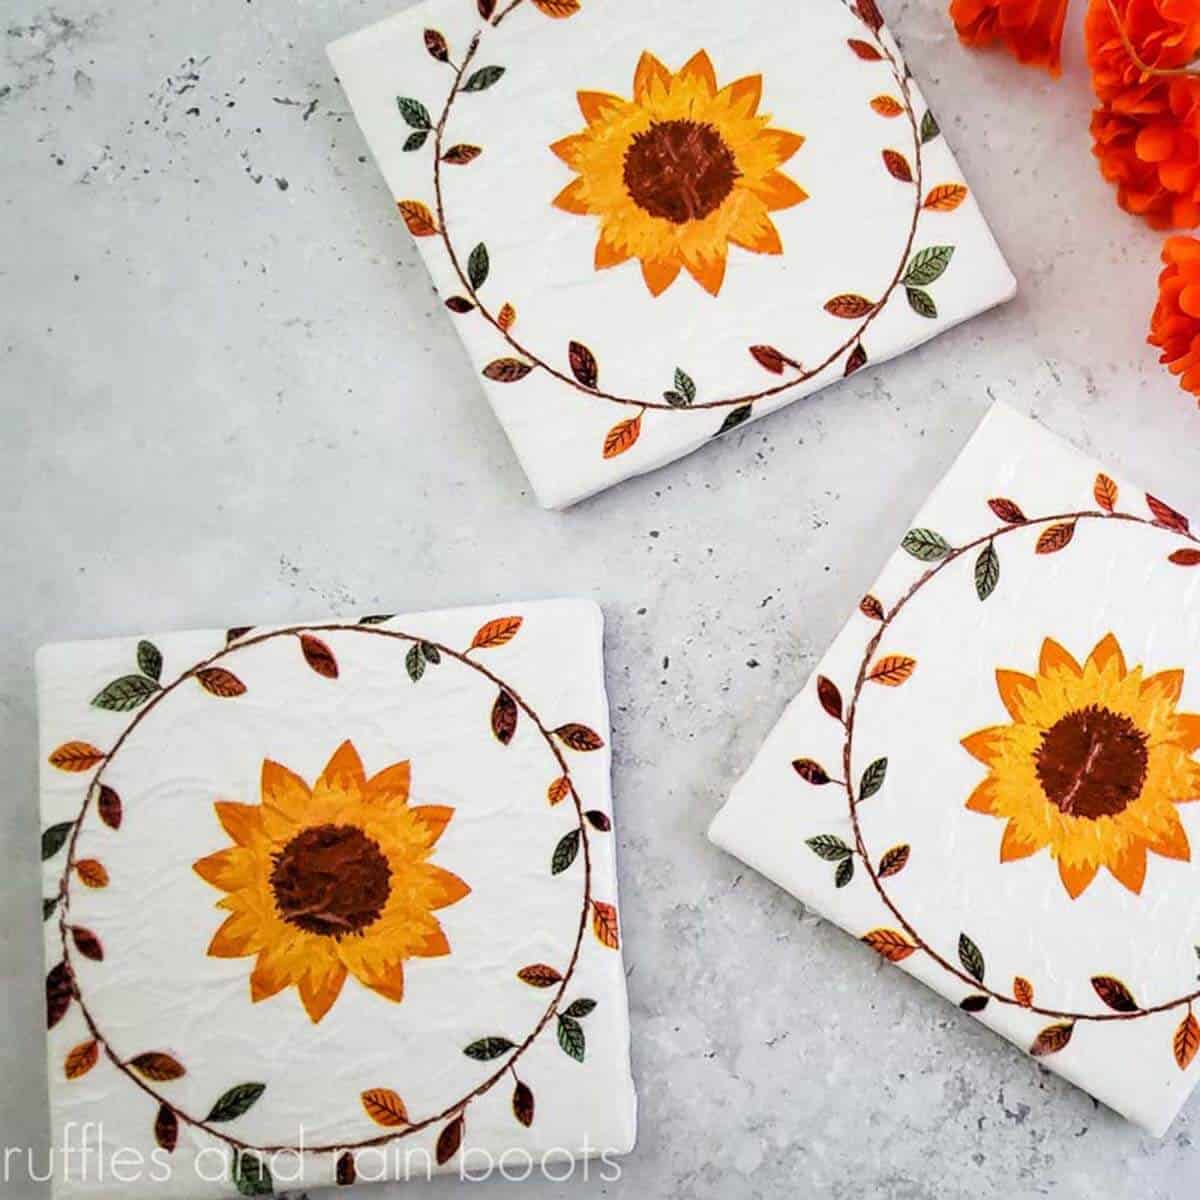
When you need a quick win or just a quick craft idea, make these DIY sunflower decoupage coasters. This method can be used for vases, shelf sitter signs, wood shapes, and much more, so check your craft stash.
When you find a paper napkin or cotton fabric with beautiful artwork, grab it for some easy decoupage crafts. Sometimes, even dollar stores are wonderful places to find supplies for inexpensive seasonal decor or gifts.
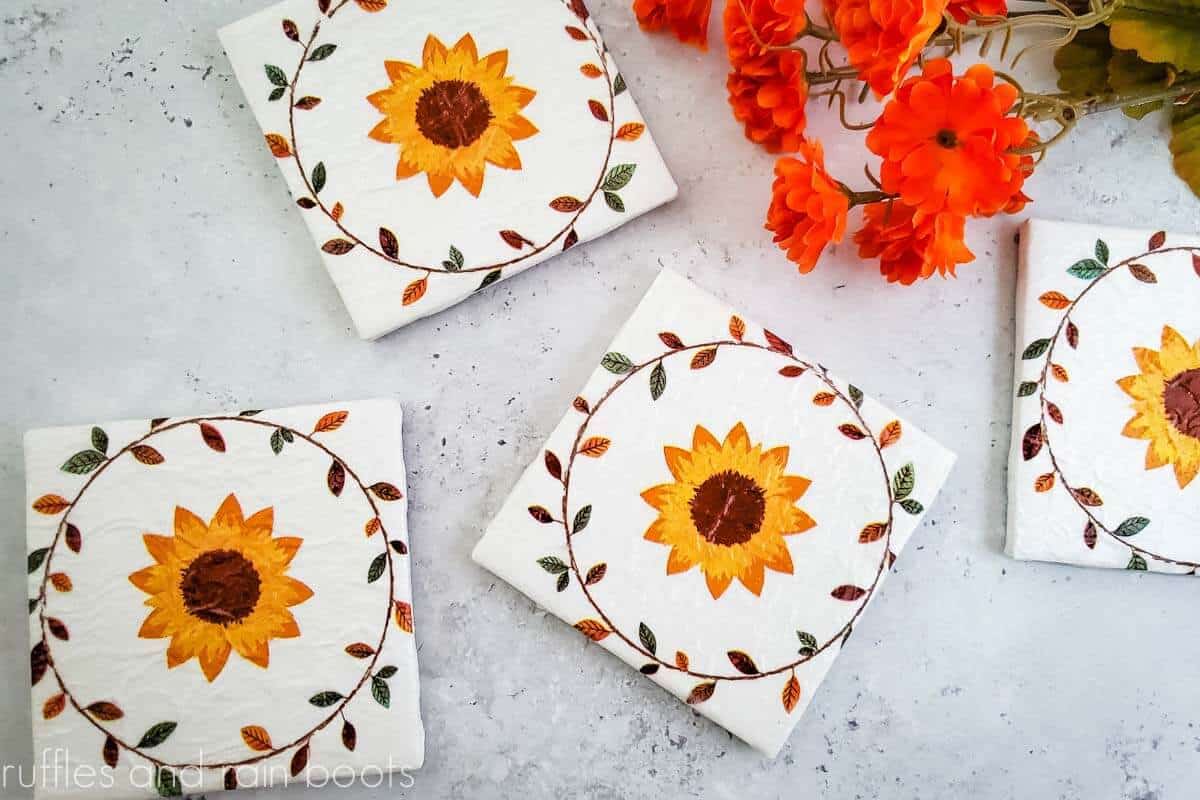
Be sure to check out my Braided Jute Coasters idea as well! You can never have too many coasters and your tables will thank you for it.
What You'll Find On This Page
Decoupage Sunflower Coasters
Here at Ruffles and Rain Boots, I am a big fan of the sunflower trend popping up everywhere. They are so bright and cheery and it makes me smile – I’m a simple gal.
Years ago, I got some wonderful advice from a fellow mom: always go down the party aisle in stores. Sure, you can find cute ‘earn bin’ toys and store some last-minute gift ideas for kids, but the napkins are a crafter’s dream!
This is a great afternoon craft or a fun weekend crafting idea to do with friends because you can drink wine and still get a great result. So pour a glass and let’s get started.
RELATED READING: Sunflower SVG Set for All the Most Fun Summer Crafts
No Time to Make This Now? Save or Share This
Need to find some fun napkin designs? Save this to your favorite DIY pin board or share it on Facebook. It will make it easier to find when you’re ready to begin and it really helps this site.
As an Amazon Associate, I can earn from qualifying purchases. There could be affiliate links within this article.
RELATED READING: DIY Tile Christmas Coasters – SO Easy!
Are ModPodge® and Decoupage the Same Thing?
While both are used during the act, ModPodge® and decoupage are not the same thing. ModPodge® is a glue used to adhere an item while decoupage is actually the art form.
The art of decoupage can be used with tissue paper, craft paper, wrapping paper, napkins, or even fabric. The adhesion medium might change, but learning how to decoupage is simple
- Prepare the surface of the finished piece by cleaning it and removing oils.
- Prepare the item to be transferred to the surface (cut, tear, iron, etc.).
- Choose an adhesive (I usually select one of many different ModPodge® formulas).
- Adhere the item and smooth it out.
- Protect the piece with a sealant or varnish.
RELATED READING: DIY Felt Fruit Coasters Summer Craft with Free Pattern
Can I Use Elmer’s Glue Instead of ModPodge®?
If you don’t have access to ModPodge®, you can make an alternative. Note: this is NOT the ModPodge® formula and it will not behave or dry the same. This alternative requires you to add the following to a jar with a lid and shake well:
- add 2 parts of PVA glue (school glue) and
- 1 part of water.
Be informed: this will leave a duller coat and finish and it could be a tad clumpy if not mixed very well. Additionally, I am unsure if it will yellow over time.
RELATED READING: Paint Pour Coasters
How to Make Decoupage Coasters
Have fun making these DIY sunflower coasters. These would be perfect in any living room, sun room, or outdoor patio area! NOTE: please do not skip the drying time recommendation before sealing.
If you are new to decoupage, this is a wonderful decoupage craft idea for beginners because it is fast and flat. You also get a few chances to practice before moving onto advanced shapes and curved application.
Decoupage Coasters with Sunflower Napkins
These decoupage sunflower coasters are stunning and so easy. This craft requires no glue guns or fancy crafting tools - just grab some napkins, tiles, and a bit of ModPodge®.
Materials
- 4" ceramic coasters
- Napkins
- ModPodge®
- Tacky Glue, Optional
- ⅜” Felt Sliders or Pads
Tools
- Scissors
- Foam Brush
Instructions
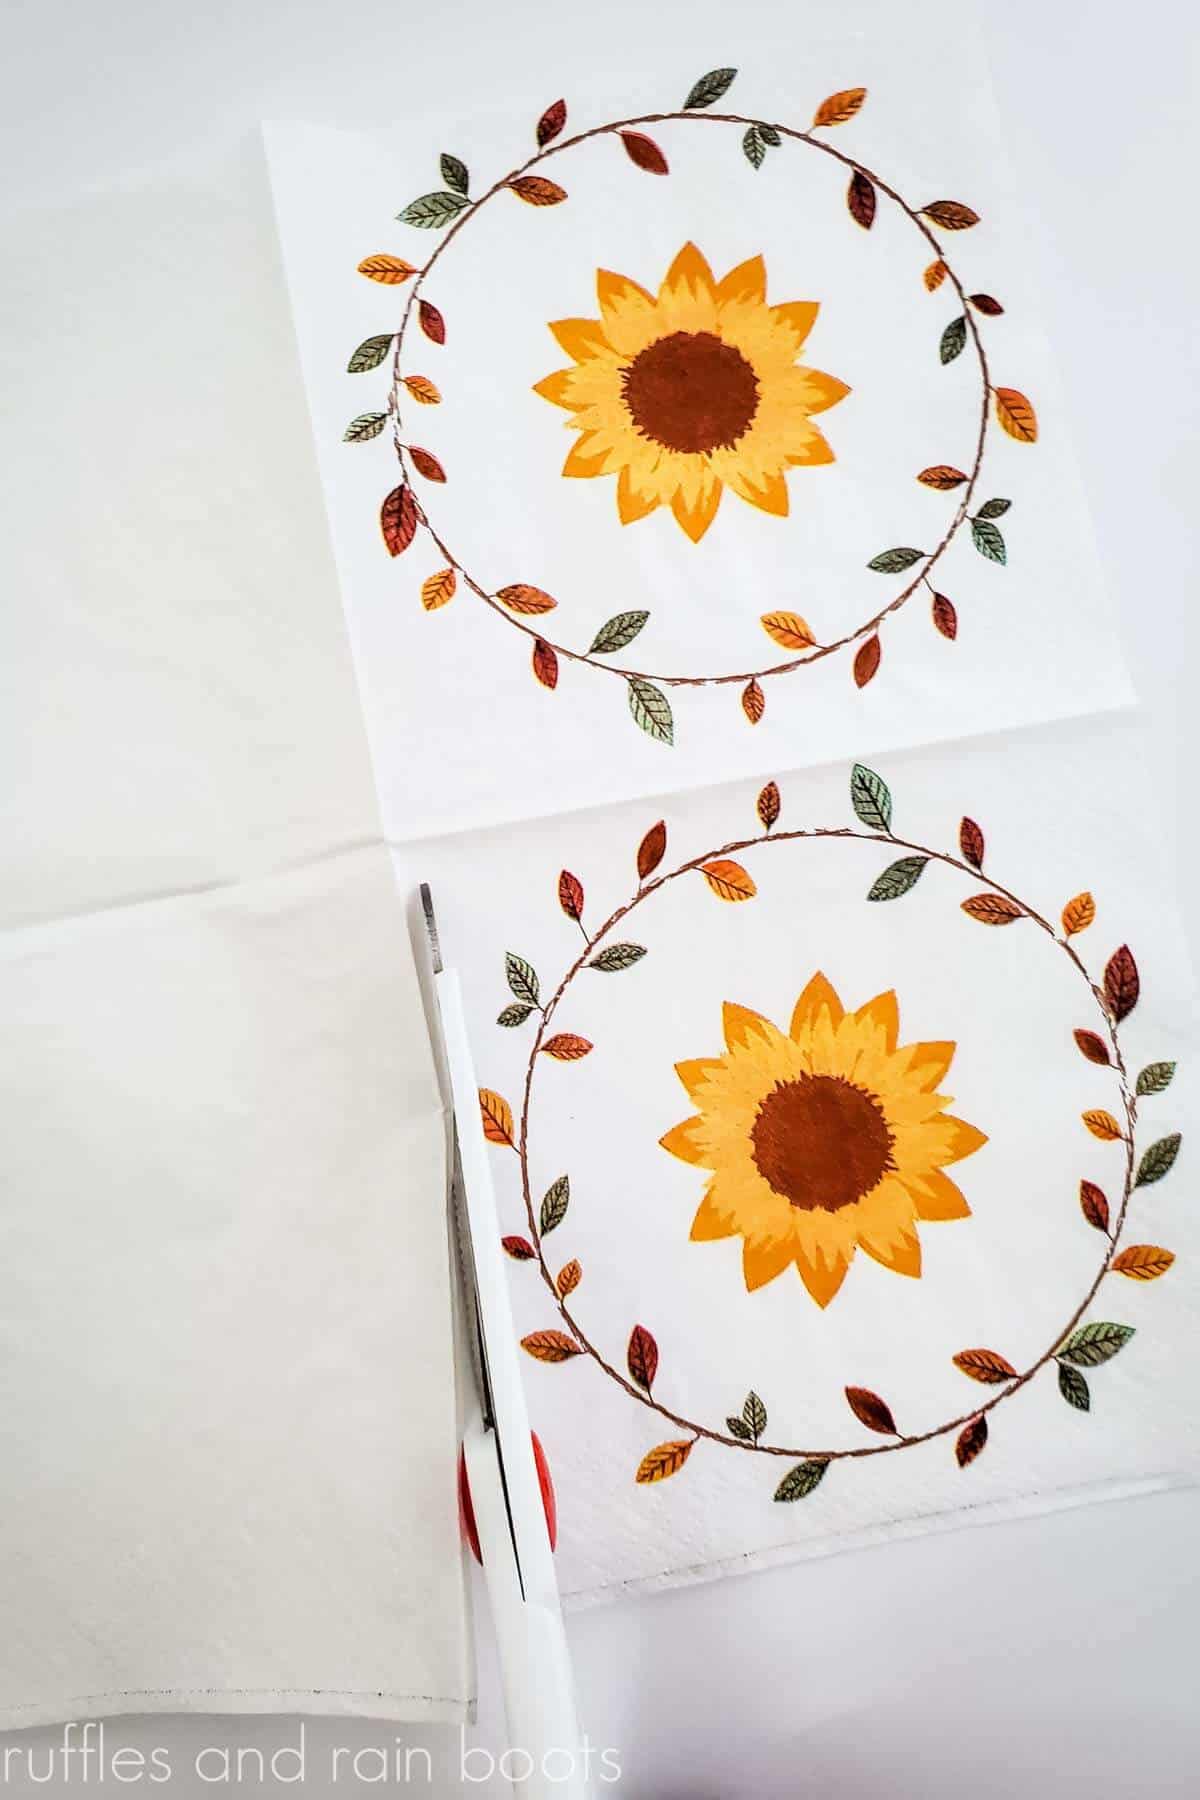
- Open the napkin, remove any additional layers (there is usually one printed layer) and cut out the section of the napkin that has the design.
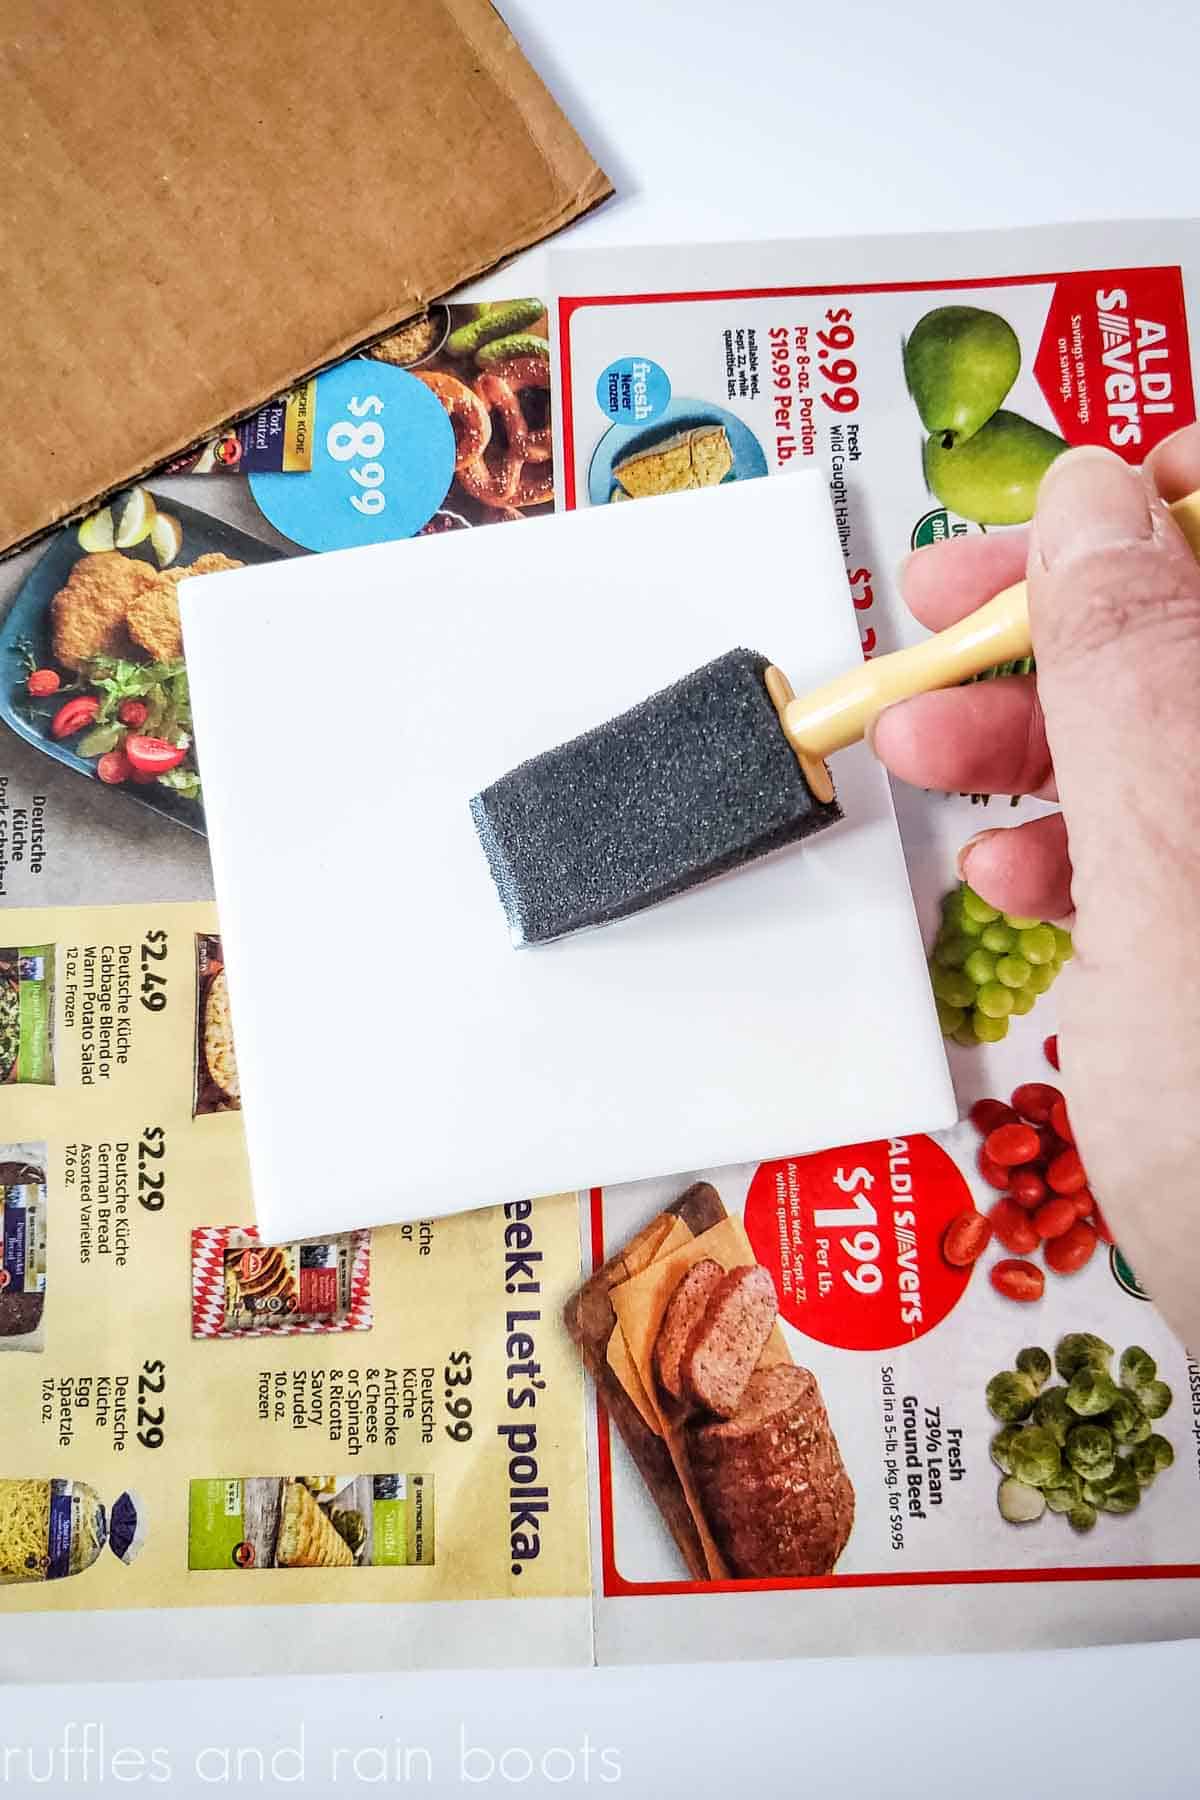
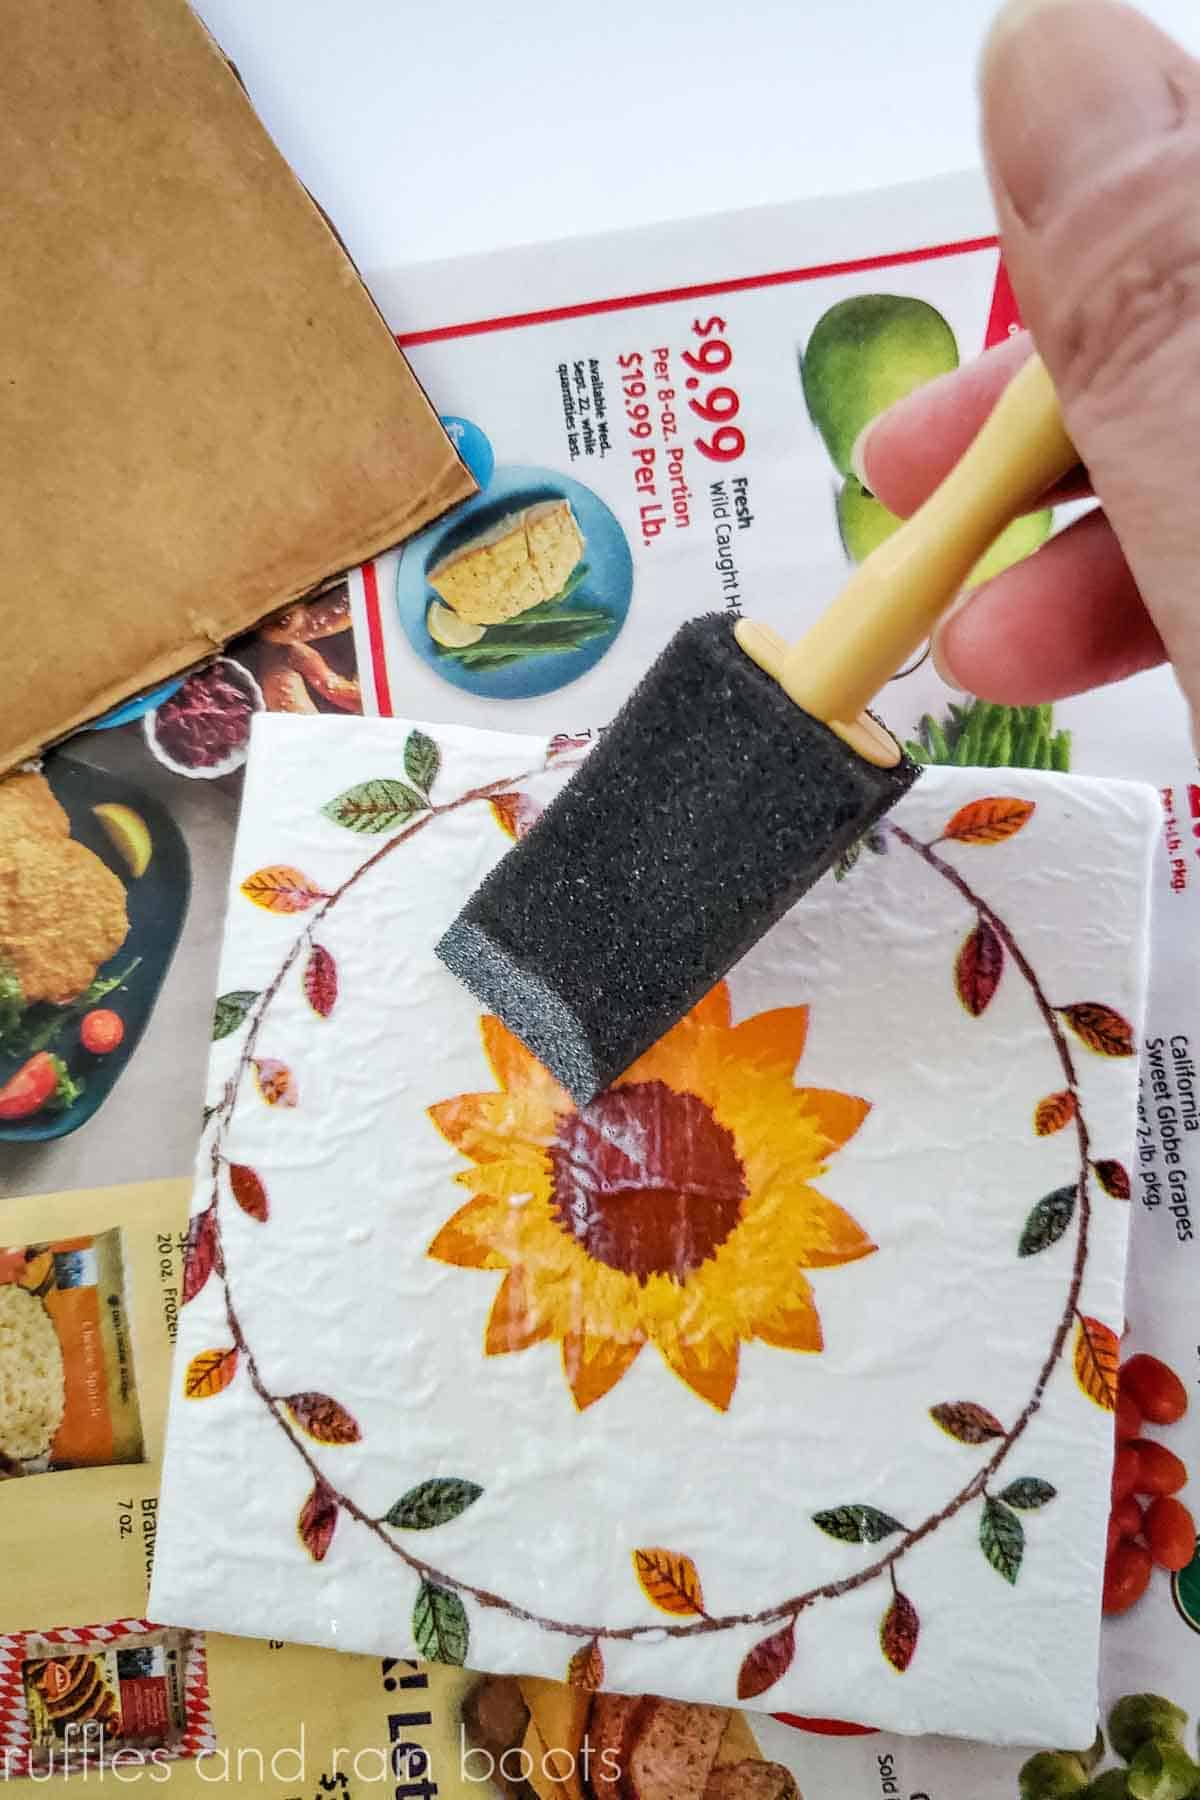
- Use the foam brush and put ModPodge® on the top and sides of the coasters.
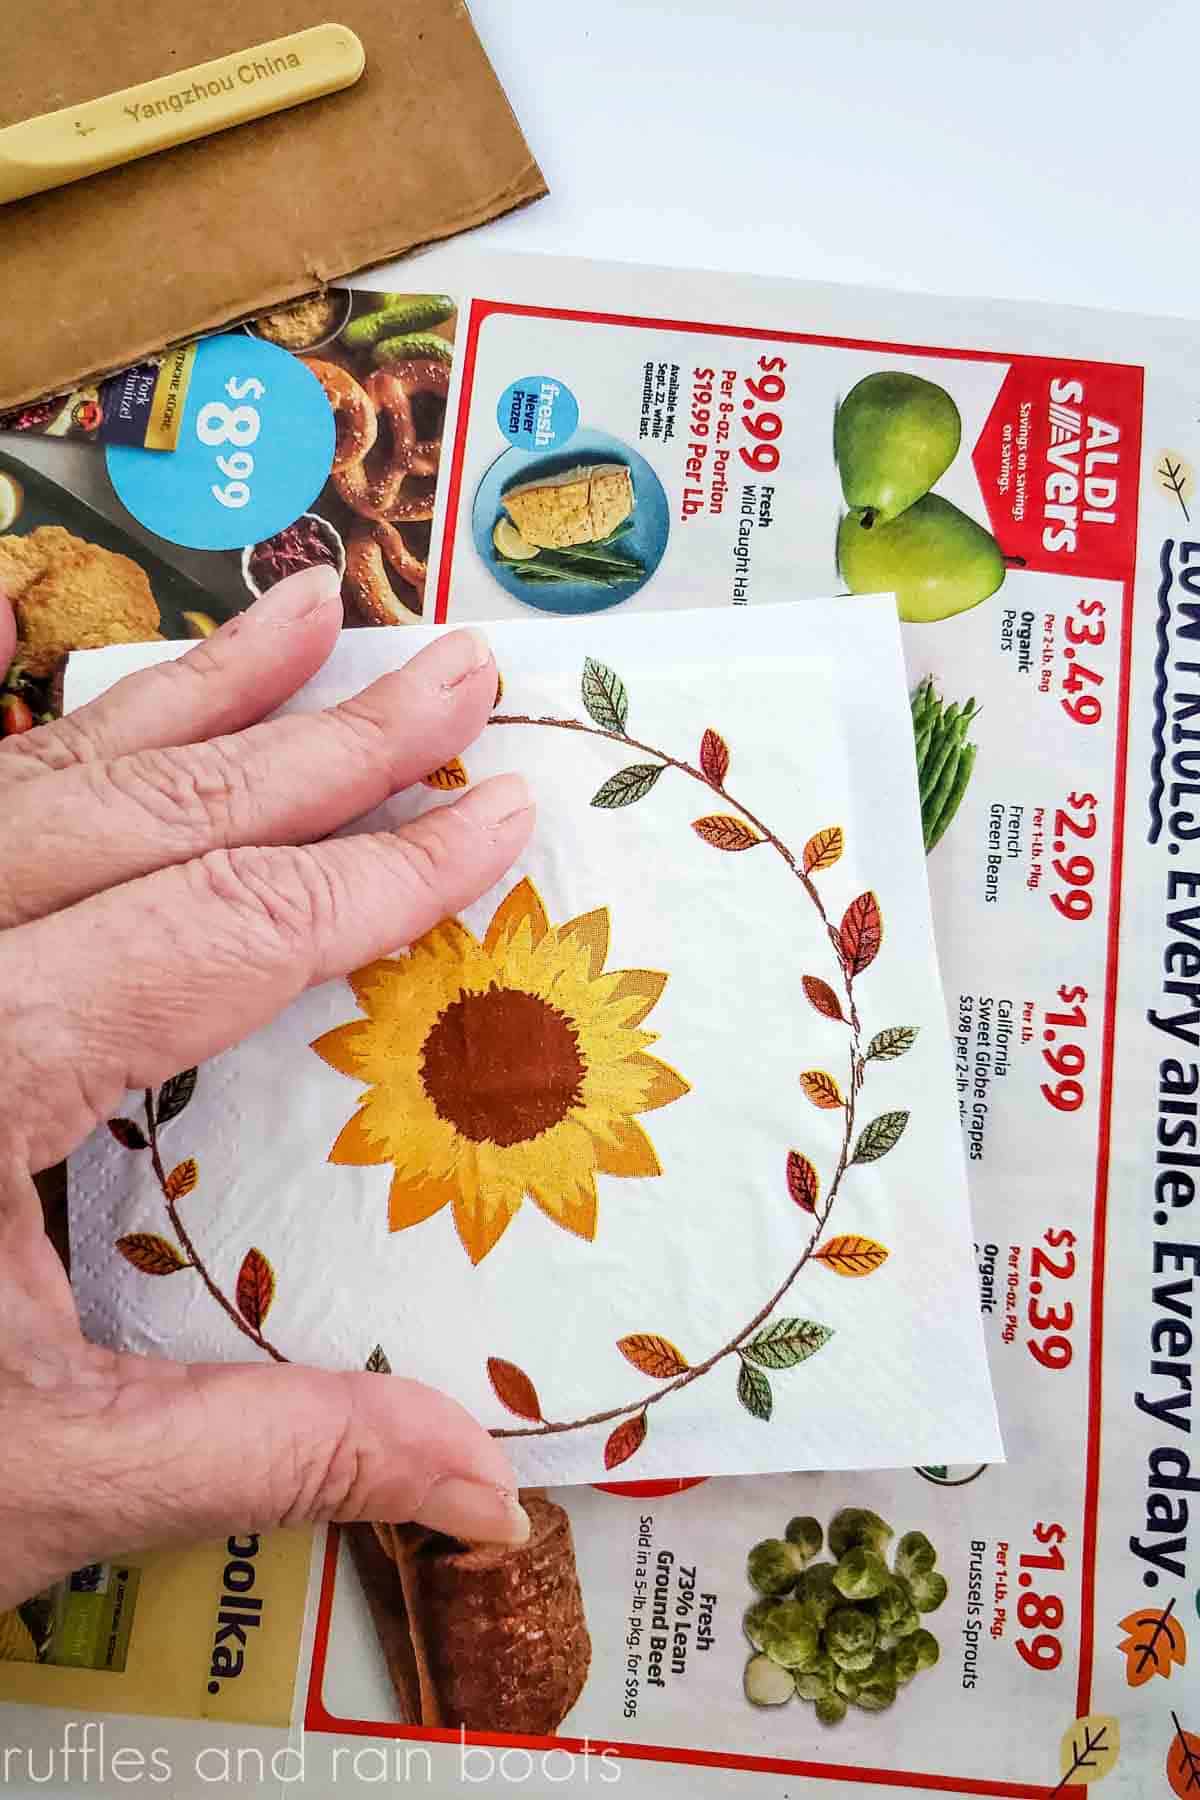
- Put the napkin in the center and smooth it out with your fingers or the brush. Fold the sides of the napkin slightly over the edge.
- Put ModPodge® on the top of the napkin and work it around the sides and onto the bottom to seal in the design. Let it dry and repeat with a second coat.
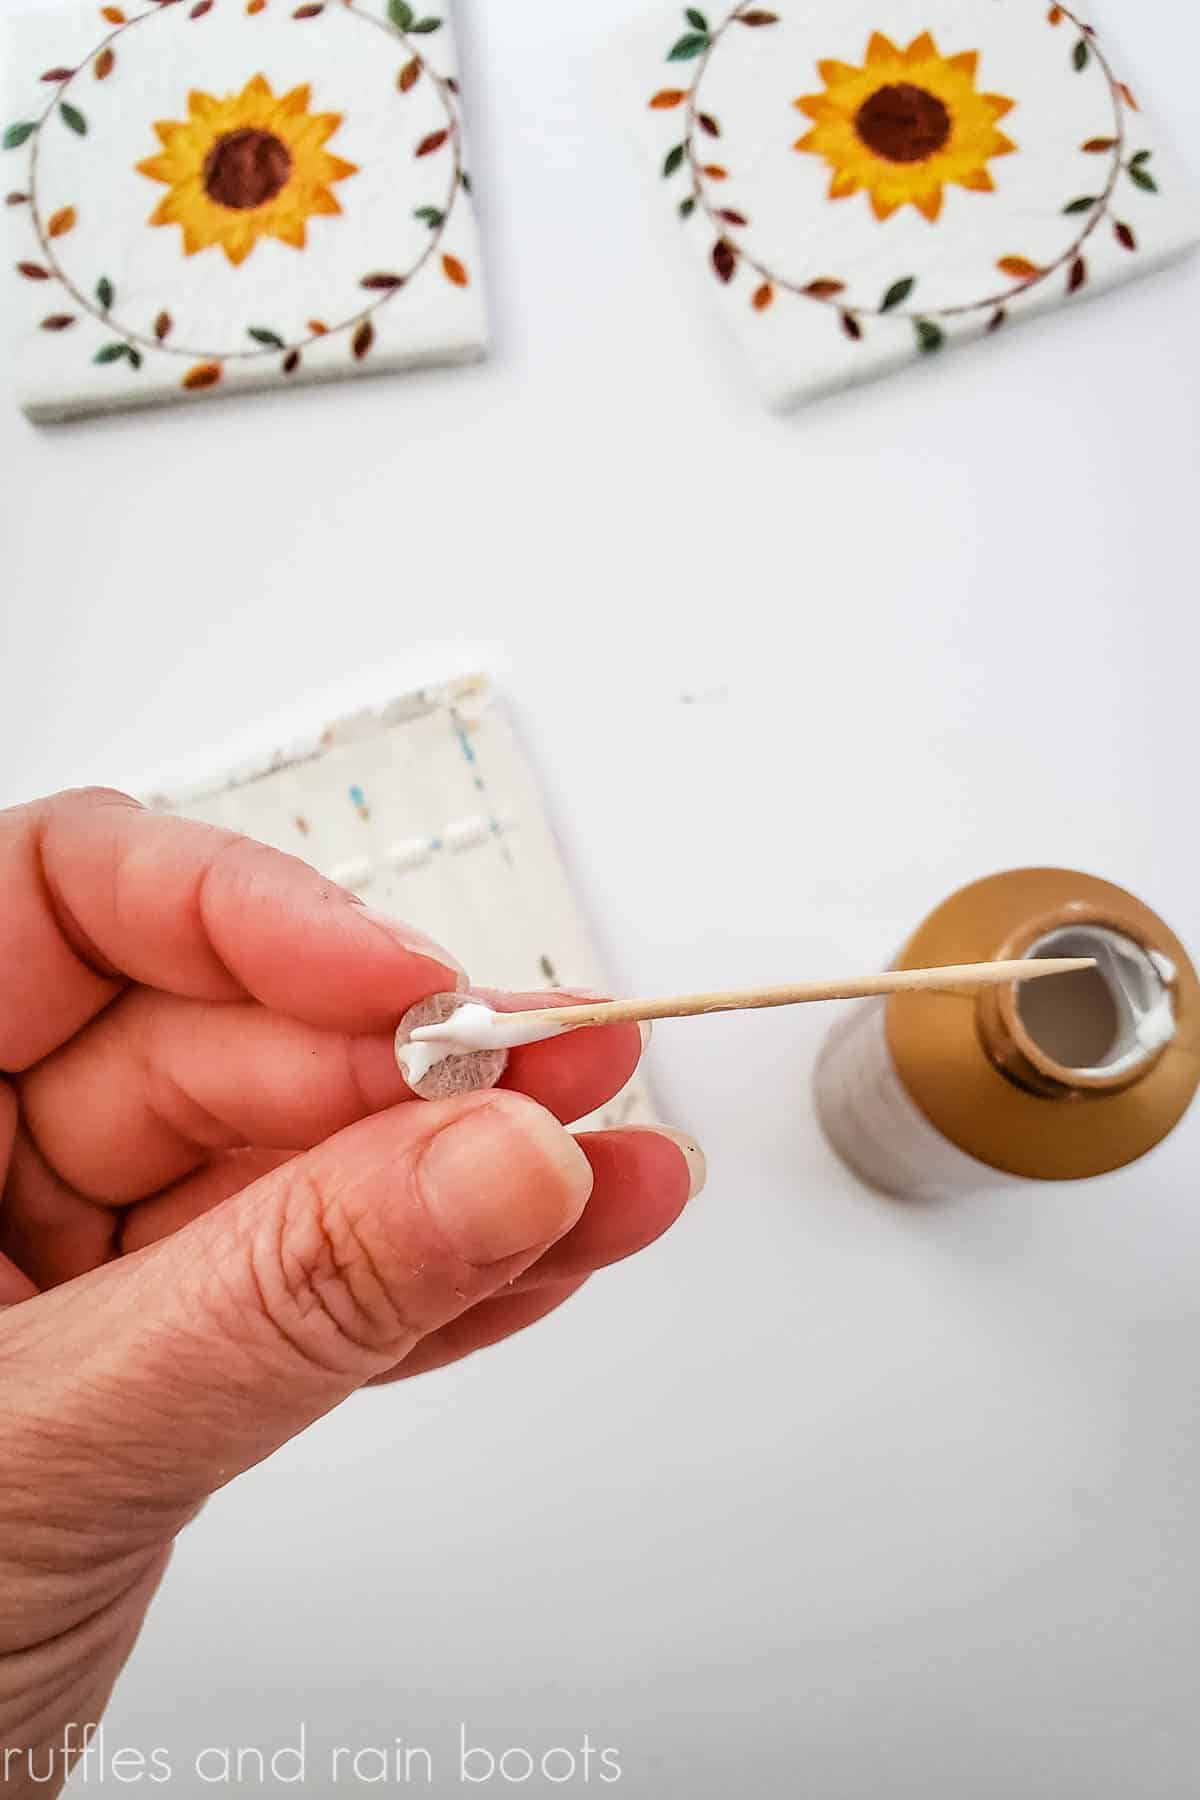
- Remove the backing from the sliders and put a dab of tacky glue on them (optional). Put four sliders on the bottom of each coaster on each of the corners. Be sure to leave 1/2-1 inch from the corners.
Notes
If you are new to decoupage, use a piece of cling wrap on top of the coated napkin (step 5) to help you smooth it out. Work quickly but gently.
Paint the edges of the coaster as an alternative to just the napkin. Metallics are always fun. Be sure to seal the edges, as well.
Recommended Products
As an Amazon Associate and member of other affiliate programs, I earn from qualifying purchases.
More Summer Crafts and Ideas
- Summer Book Stack Watermelon Themed- Create an on trend summer book stack with an adorable watermelon charm using a child’s craft supply.
- Easy and Fun Summer Farmhouse Trees – If you love farmhouse decor and easy crafts, make these accent pieces to match your decor.
- Adorable Sunflower Gnome DIY – Did you know you can make your own gnomes easily? Use these patterns and decorate with a sunflower cutie.
Please Save or Share This Fun Decoupage Craft for Beginners
Your shares are how this site grows and I am sincerely grateful. Please save this to an easy crafts pin board or share it to a crafty group on Facebook.
