
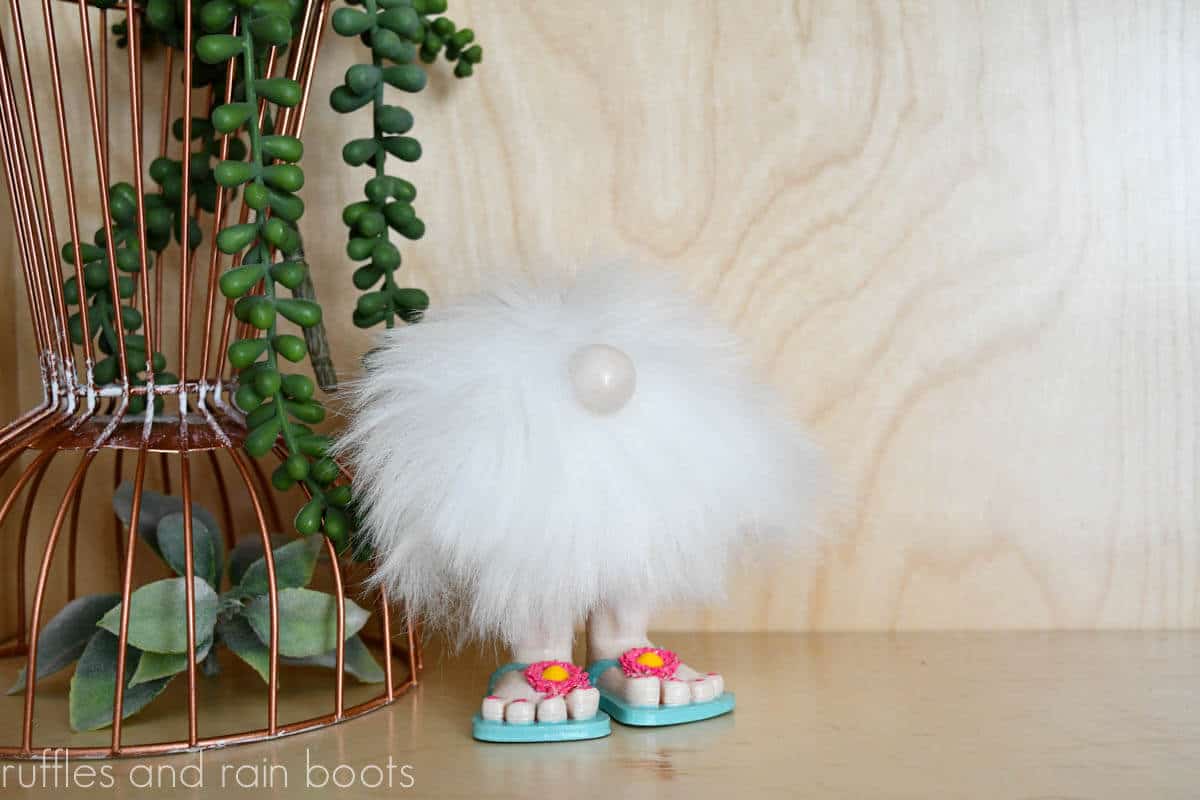
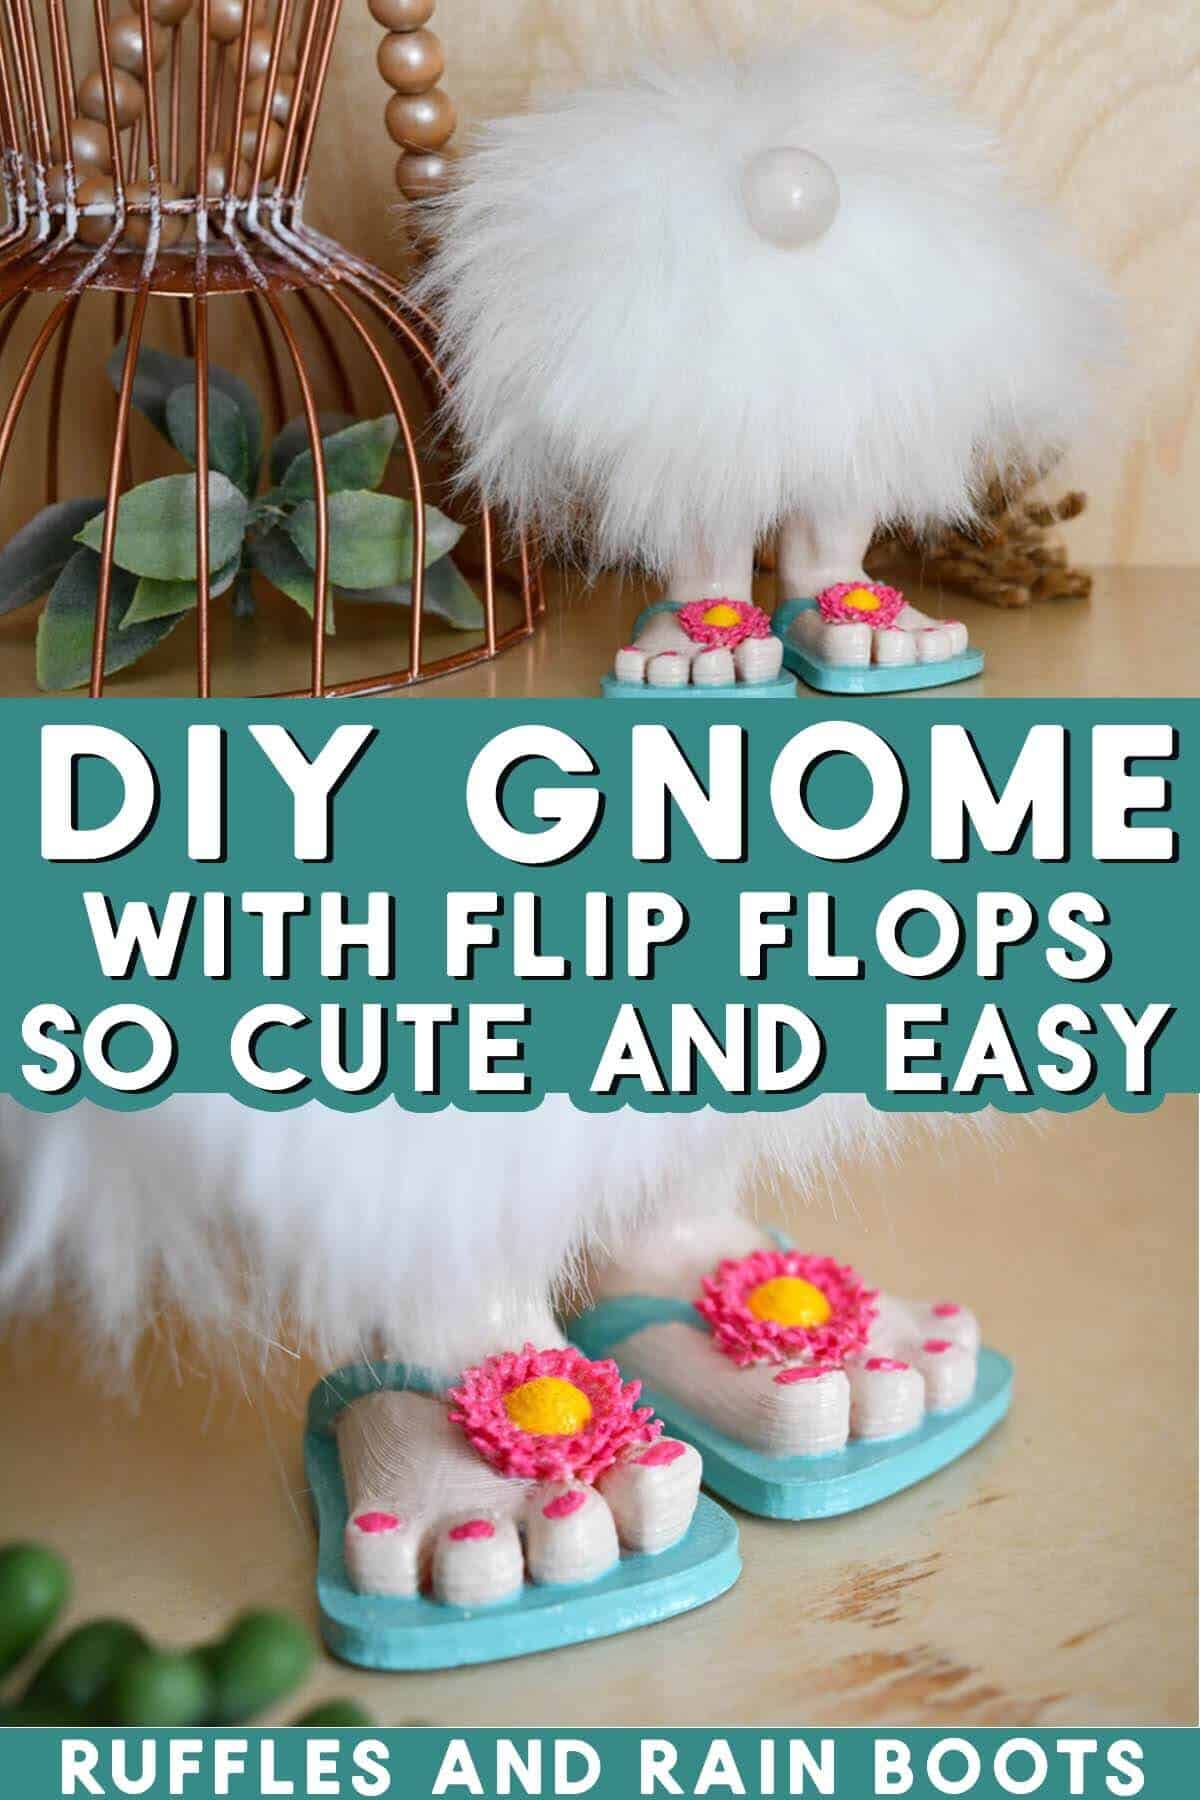
Summer Gnome for the Beach with Flip Flop Feet
This easy summer gnome is all set for the beach with these adorable flip flops you can paint to match any theme. Created using a pompom, this no sew gnome comes together a few different ways, depending on what you have on hand.
Scroll down to get this easy gnome DIY, perfect for a lazy afternoon crafting session. Be sure to watch the beach gnome video tutorial for all of the tips and tricks.
RELATED READING: Big Foot Gnome Made with a Pompom!
Make a Gnome in Flip Flops
Here at Ruffles and Rain Boots, I’m no stranger to coming up with creative, no sew gnomes. For years, I’ve been bringing new ideas to the maker space and sometimes crack myself up to the point I actually snort!
And that’s exactly what happened with this little girl gnome, friends. I saw the flip flops from a fellow small business owner and I could not pass them up! A couple of clicks and a few days later, my gnome flip flop feet arrived and I was sketching this cutie.
No Time to Make This Now? Save or Share for Later
If you’re working on gathering some supplies (those pompoms are the BEST), save this to a DIY pin board or share it on Facebook. Just click either of those easy sharing buttons and you’re set!
As an Amazon Associate, I could earn from qualifying purchases. There could be affiliate links within this article.
RELATED READING: Make an Adorable Gnome in a Flower Pot Using a Pompom
How to Make a Gnome in Flip Flops
I’ve shared how to make feet quite a few ways over the years and demonstrate each of these methods on my YouTube channel. I have created barefoot gnomes using Model Magic®, polymer clay, and even fabric!
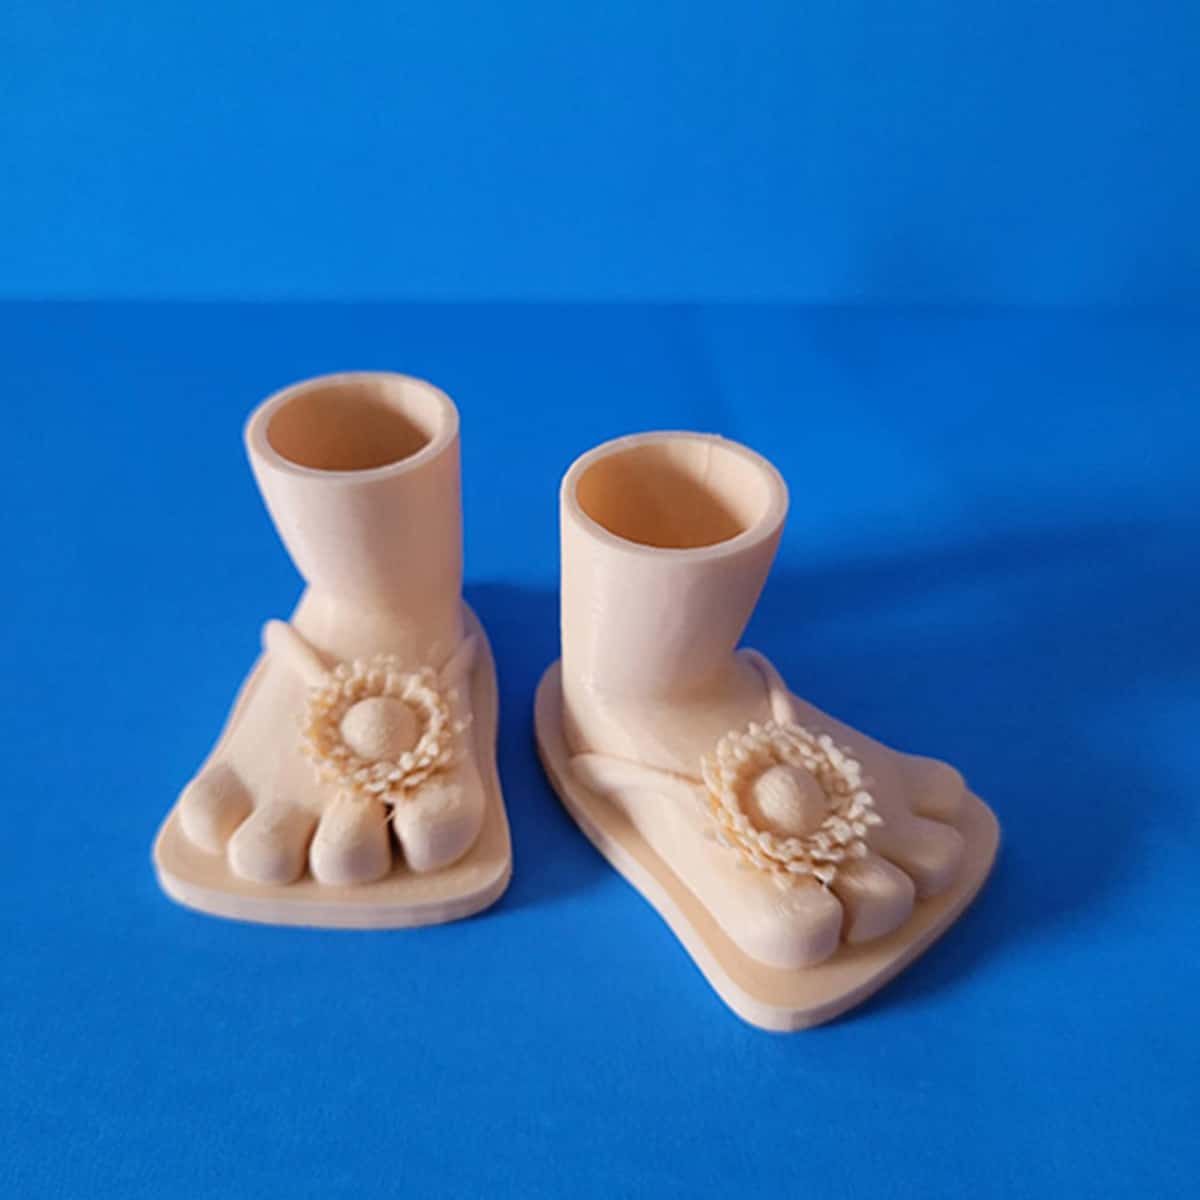
When I saw these 3D printed gnome feet in flip flops, I ordered them right away. And you can too:
- Gnome Feet with Flip Flops – These are my favorite of the two pair because I like making boy gnomes over girl gnomes.
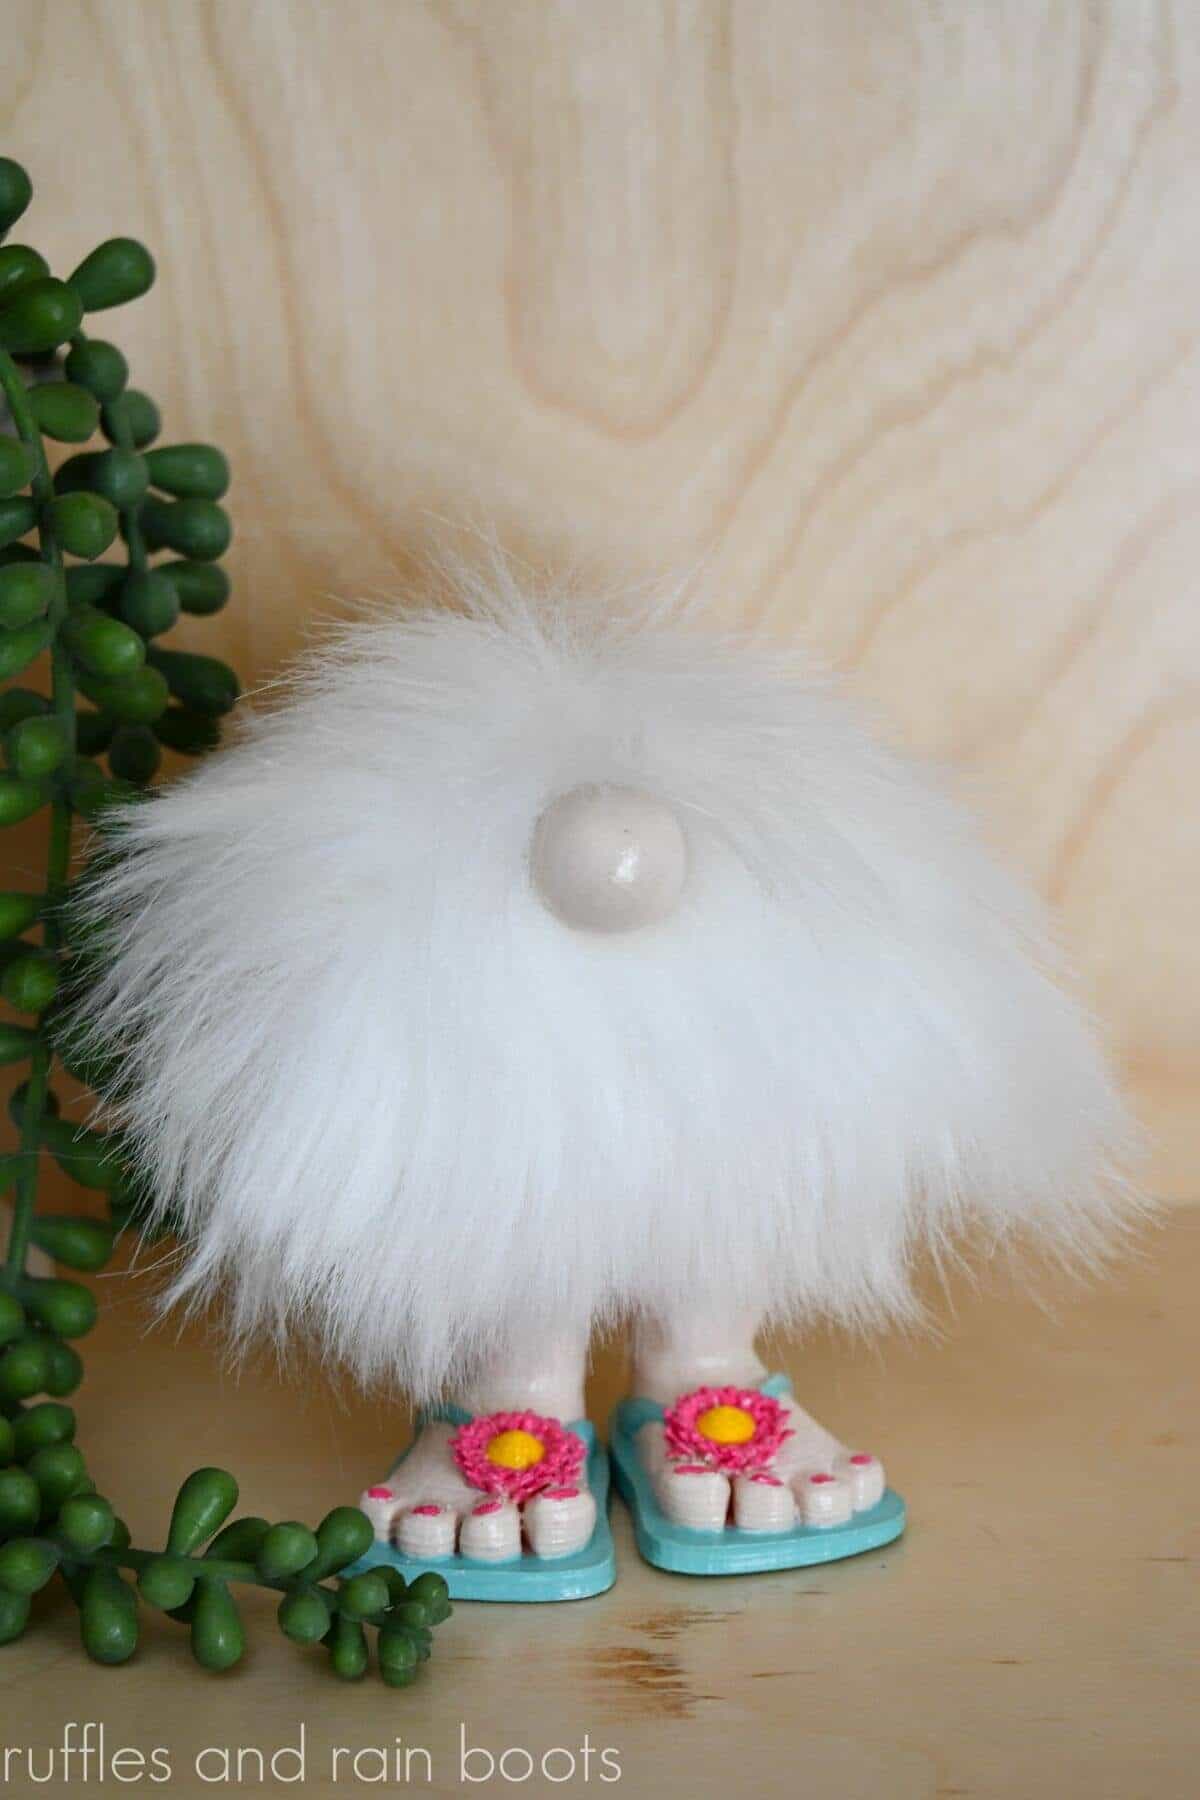
- Flip Flops with Flowers – These are the model I’m using in this tutorial. They’re a big, bold flower on the same foot bed as the ones without the flower.

Tips on Making This Beach Gnome DIY
- Prime the areas where you want the colors to be most vibrant. I like to use a white gesso, but acrylic or chalk paint will work, as well.
- Create a fun pair of sunglasses (watch the video tutorial) or add on a straw beach hat for a little extra fun.
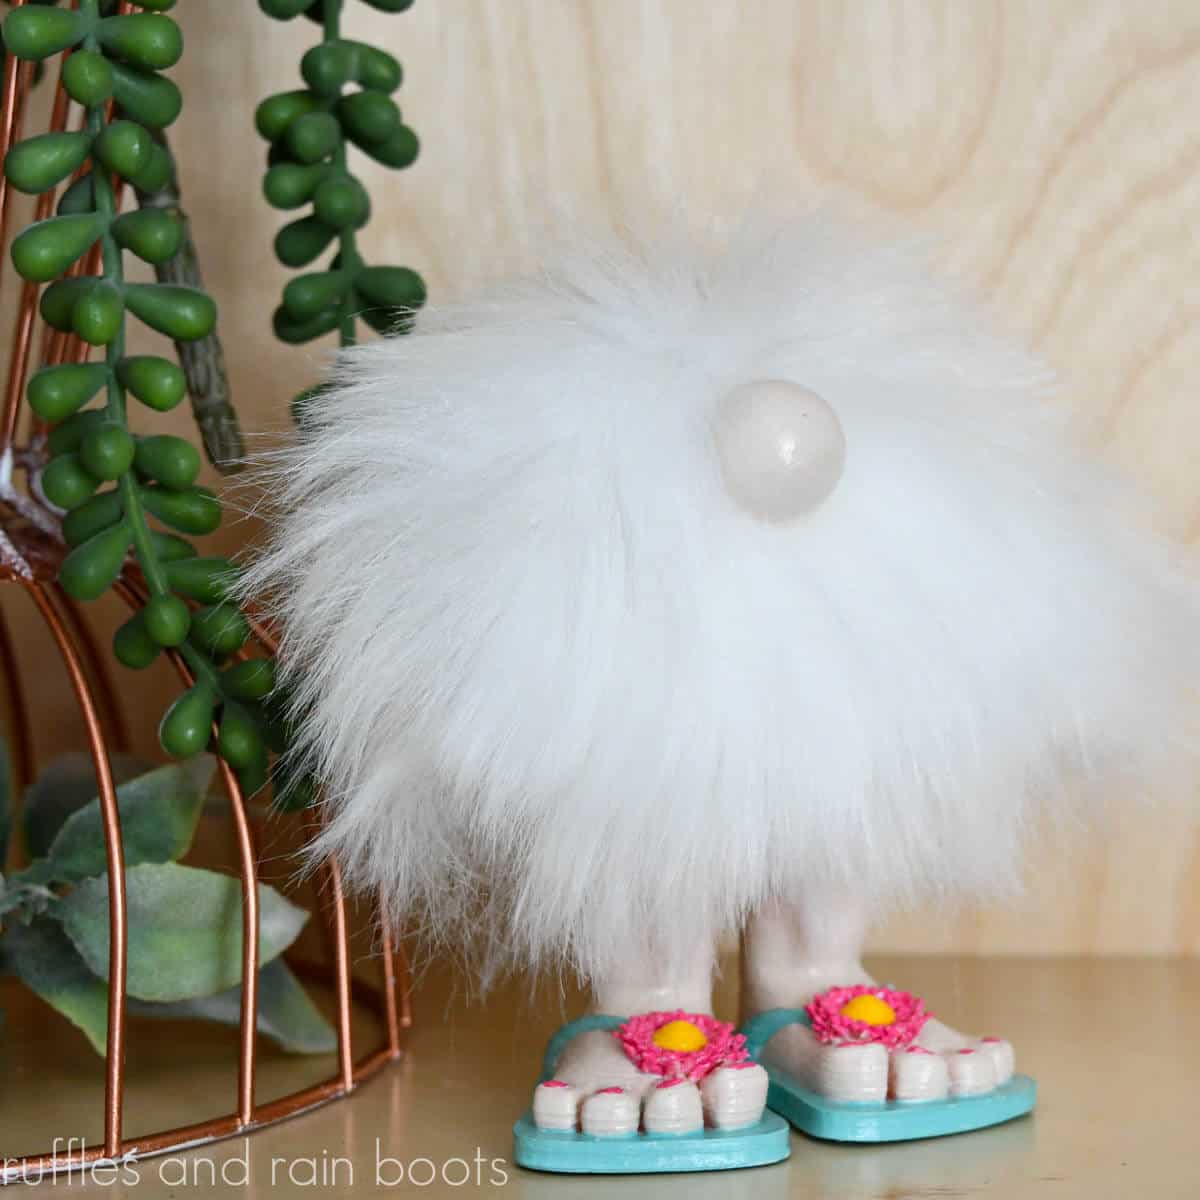
- I used a wood ball for the nose but if you have a wood bead, use that. Other ideas include a mini pompom, a clay nose you’ve rolled or sculpted, or fabric stuffed with poly fill.
- These are small feet and produce small or even mini gnomes. Use a larger pompom for an oversized look or make your own. I show you how in this pompom gnomes pet tutorial.
- The gnome body is the pompom, so there is no need for Poly-Fil or Poly Pellets like stuffed or no sew sock gnomes require. You have to love that!
- If you want to create your own pompom for the body, cut a square of faux fur about 4 inches.
- Whether you use something designed as a varnish or ModPodge, use light, thin applications to ensure nothing gathers or puddles in an area. It could make the finish piece look cloudy or show brush strokes.
- Although I am making a beach-ready gnome, you can make a Christmas gnome easily using another of this creator’s gnome feet… I don’t want to ruin the surprise, go check out her shop.
Beach Gnome Tutorial with 3D Printed Gnome Feet
Below is the written tutorial for this fun summer gnome craft. Use the comments below if you have any questions or watch the full length gnome with flip flops video tutorial here on YouTube. Be sure to subscribe while you’re there or watch any of the pom pom gnome tutorials for inspiration.
Beachy Summer Gnome with Flip Flop Feet
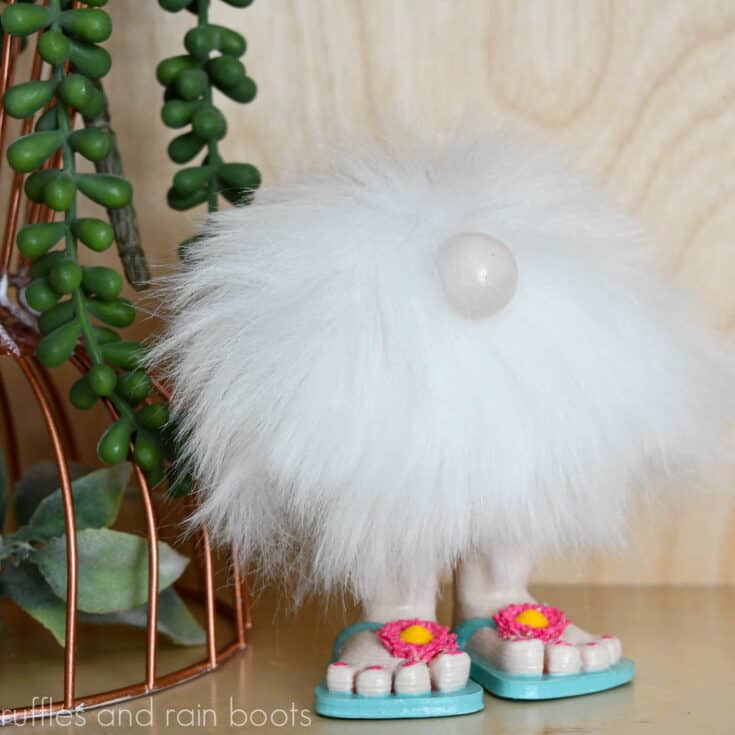
The cutest little feet make this beach pompom gnome a wonderful addition to your summer decor. This DIY gnome is done in about an hour and can be made so many different ways using a pre-made pom pom.
Materials
- Pre-Made Pompom (I Used These)
- 3D Printed Flip Flop Gnome Feet (below)
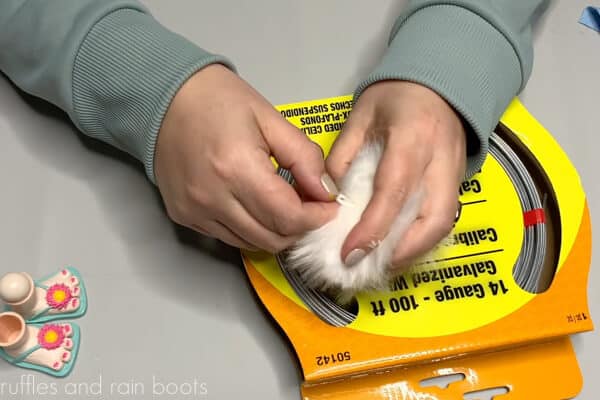
- 14 Gauge Wire
- 3/4 inch or 1 inch Wood Round Nose
- Paint (Beige, Pink, Blue, Yellow, and White)
Tools
- Hot Glue Gun and Glue Sticks
- Pliers
- Wire Cutters
- X-Acto or Craft Knife
- Paint Brushes
- Sealant or Varnish
Instructions
- Fluff the pompom by holding the hang tab and shaking vigorously.

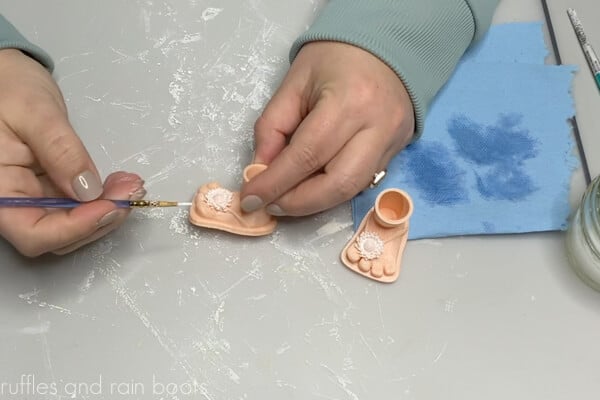
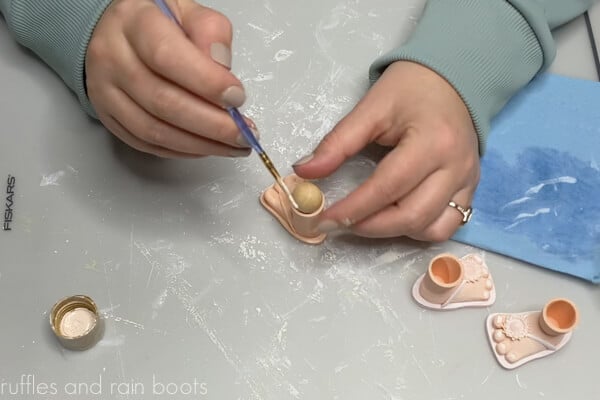
- Paint the gnome flip flop feet accent areas in white paint so the colors are more vibrant.
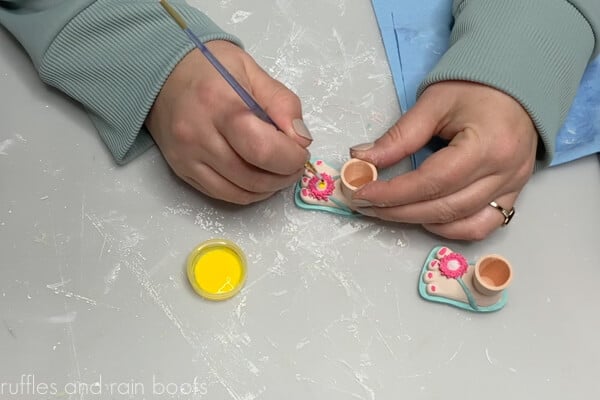
- Pain the flip flops in desired colors, varnish, and let dry.
- Paint the nose, varnish, and let dry.
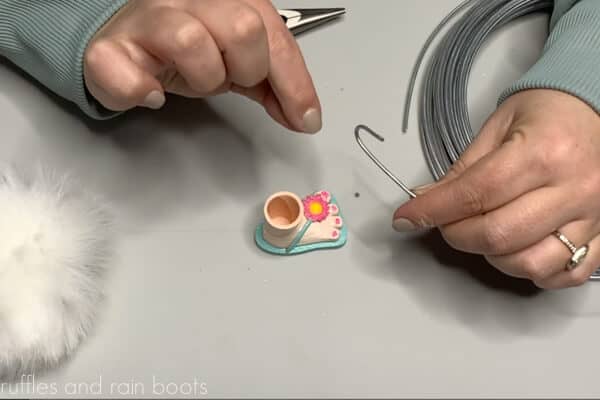
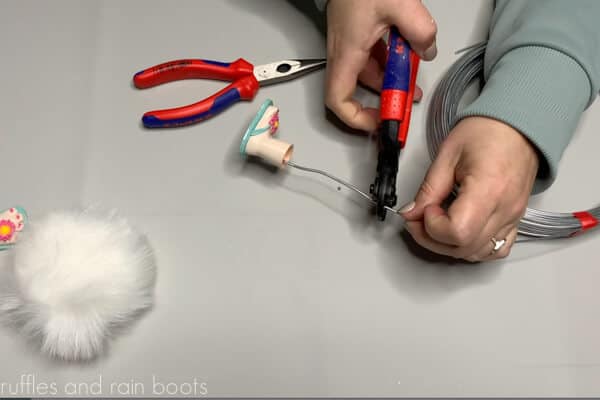
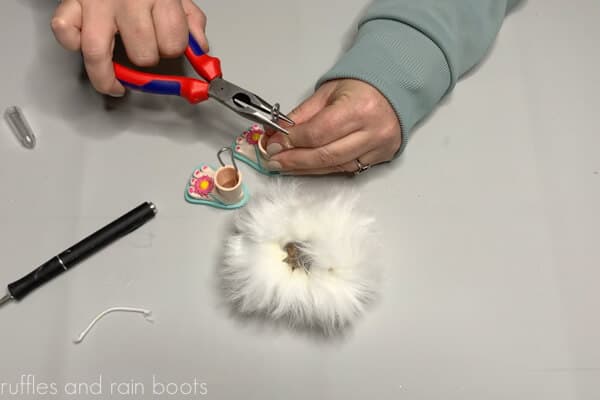
- Using the pliers, bend over about an inch of wire into a wide "V" shape. Friction-fit this into the foot base.
- Hold the pompom to the top of the feet to determine the height of the wire and add at least asn inch before snipping with the wire cutters.
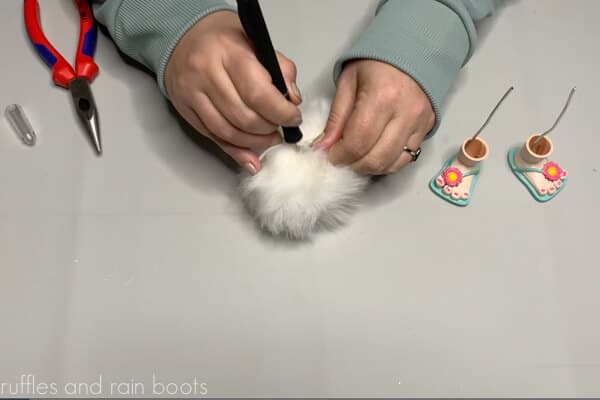
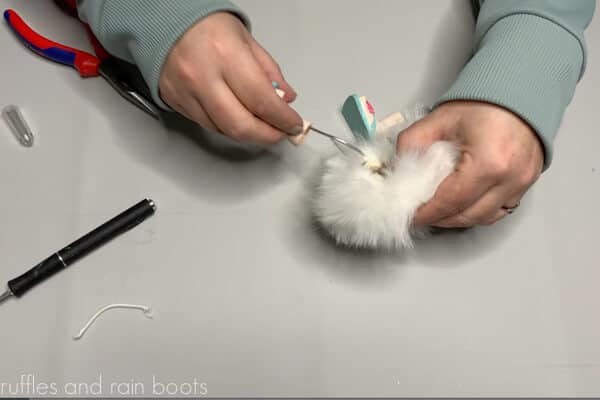
- Use the craft knife to open the pompom along the sealed edge (where the hang tab is). Remove the tab and some stuffing.
- Bend the 'leg's' top portion down to prevent the wire poking through the pompom.
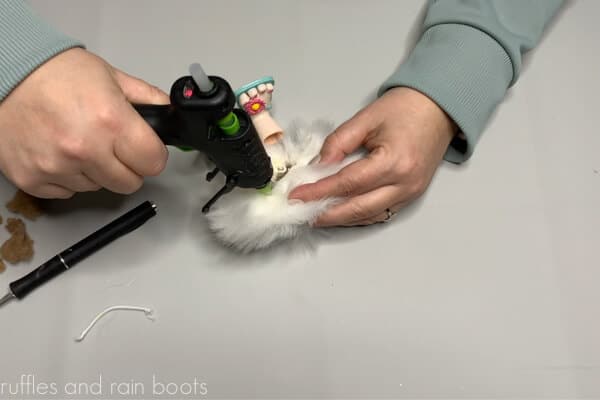
- Using hot glue, affix the bent portion of the wire (the top of the leg) to the back of the pompom's fur fabric inside. Repeat with the other leg.
- Fold down the front edge of the fabric backing and glue it to the top of the legs and along the back inside edge. Glue the sides of the fur fabric backing together (see video).
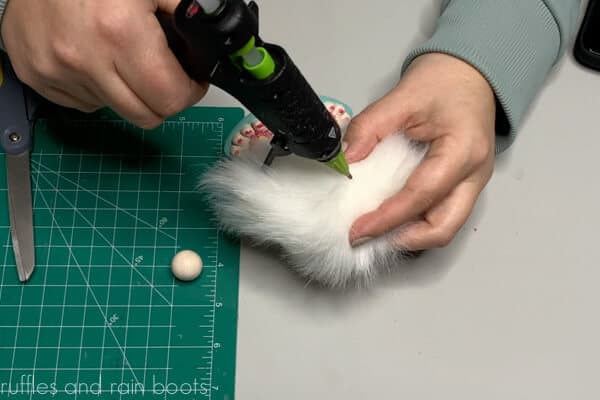
- Split the fur to the fabric, add a generous portion of hot glue, and affix the gnome nose and your'e done!
Notes
One can use wood dowels or strengthened foam hair rollers for the legs, if preferred.
Due to the quality of the pre-made gnome feet here, you do not even have to paint them! Check out all of the variations of pre-made, 3D-printed gnome feet here.
Recommended Products
As an Amazon Associate and member of other affiliate programs, I earn from qualifying purchases.
More Pompom Gnomes and Summer Gnomes You Might Like
- Big Foot Pompom Gnome – This no sew gnome is SO fast to come together and you get to use a fun kid’s craft supply (get it at the Dollar Tree).
- Flower Pot Gnome – Yes, this guy is hanging out IN the mini flower pot. He’s a lot of fun to make and comes together with only a glue gun.
- No Sew Beach Floatie Gnome – From his adorable toes and flip flops to the awesome board shorts and fun bucket hat, this guy steals the show!
Please Save or Share This Fun Beach Gnome
Your shares are how this site grows and I am sincerely grateful. Please save this to a DIY gnome pin board or share it with a crafty group on Facebook with those easy sharing buttons.
Meet the Creator
Hi there, I’m Sarah Nenni-Daher. I’m a crafty gal and always have at least 14 projects going at once. I am a crafter, designer, DIYer, and pattern maker. I share my creations here and in the Ruffles and Rain Boots® Shop.
Here at Ruffles and Rain Boots®, you’ll find DIY gnomes, crafts, gifts, cupcakes, laser crafts, and so much more. I love sharing video tutorials over on YouTube and chatting with other crafters in my Facebook groups. We’d love to have you!