
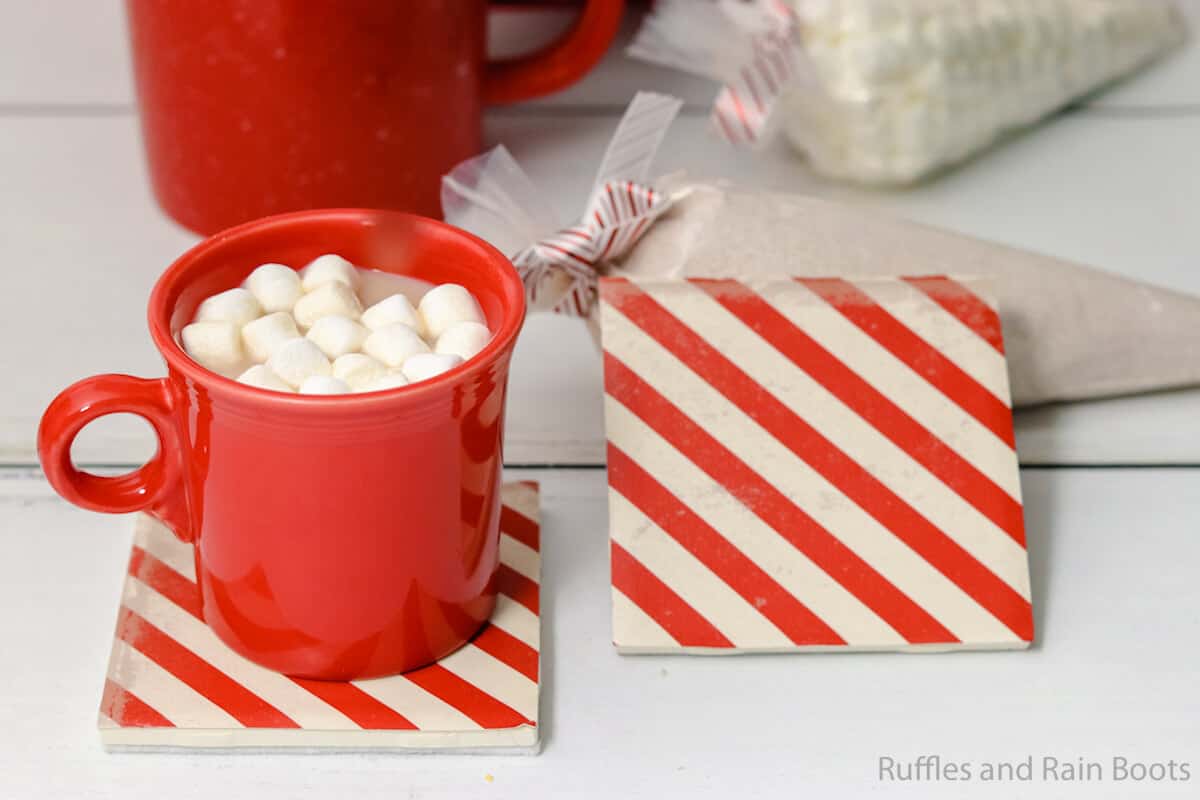
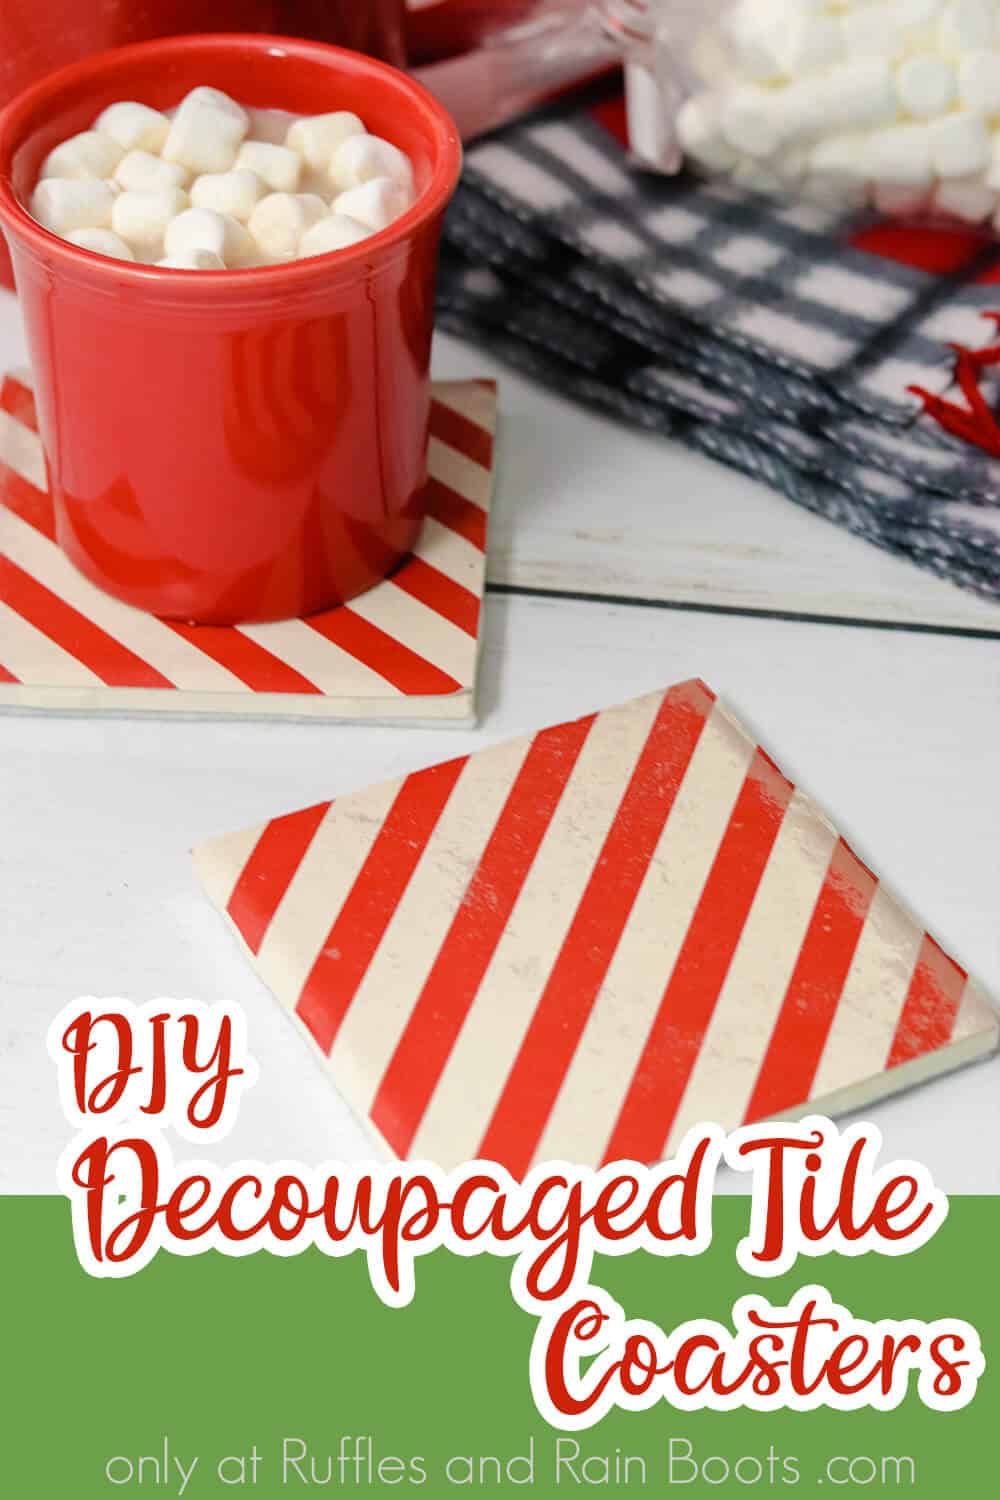
DIY Decoupaged Tile Coasters – Christmas Coasters
I love this easy DIY decoupaged tile coasters craft because it’s so simple and the result is amazing. The best part is that you don’t need to be an artist – the art is already done for you!
This Christmas, I am passing these handmade coaster gifts out like candy. And the best part is you can learn how to decoupage with this beginner project idea.
RELATED READING: Easy Jute Coaster DIY – Braided Coasters
What You'll Find On This Page
DIY Decoupaged Tile Coasters
Here at Ruffles and Rain Boots, I love homemade Christmas gifts. And I needed a quick project to tuck into a hostess gift that was kitchen – well, wine – themed and though a DIY coaster craft was in order.
These DIY decoupaged tile coasters are easy and fun and you can choose to match any decor, any holiday, any event – anything! If you’re ready to make a set of fun handmade coasters, let’s get started.
If you’re just in the ‘gathering ideas’ stage, save this to your favorite Christmas crafts pin board or share it on Facebook. Either way, this will be easy to find when you’re ready to begin.

As an Amazon Associate, I can earn from qualifying purchases. There could be affiliate links within this article.
RELATED READING: DIY Acrylic Pour Coasters – A Little Paint and MAGIC!
Tips to Make Christmas Coasters
- First, pick up solid white tiles like these. If you get something with a pattern or a dark color, it might show through.
- Do not substitute cork coasters for this project. You can use wood coasters, just make sure they are the coaster size and not ornament size.
- Can I get a round of applause for the finding of this pretty red and white scrapbook paper? If you want some exactly like this, you can click here to get a 12-pack of sheets and make TONS of coasters.
- That said, the decoupaged tile coaster technique works with napkins, tissue paper, printed paper patterns, and even fabric. Don’t limit yourself!
- I ran out of my bottle, but I recommend using the dishwasher-safe Modge Podge you can get here for these DIY coasters. That way you don’t have to worry about the coating washing away over time.

RELATED READING: Felt Coasters DIY with Free Patterns
Step By Step: How to Make Tile Coasters Using Decoupage
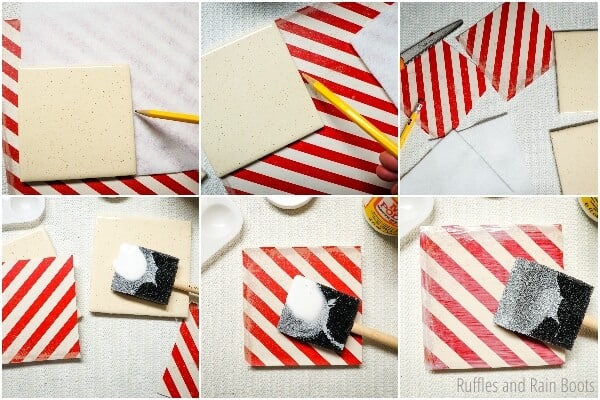
- Trace the shape of the ceramic tile onto the back of scrap book paper, a napkin (remove all but the top layer), or tissue paper. Cut out the tile shape.
- Use a foam brush to apply Mod Podge on the tile top and on the back of the scrapbook paper. Lay the scrapbook paper onto the tile and make sure it’s positioned where you would like. Let it dry.
- Place another coat of ModPodge on top of the scrapbook paper to give it a waterproof coat. Allow it to dry completely.
- Optional: Brush the edges of the scrapbook paper with sandpaper to give it a rough and worn looking edge. Apply an additional coat of Modge Podge to waterproof this scratched surface.
Note: you can also use a paint pen in a gold or silver accent to add interest. Just be sure the sealant doesn’t run when applying. - Trace the tile shape onto the felt and cut it out. Hot glue the felt tile shape onto the bottom of the tile and allow the glue to dry completely before using or gifting. This will protect the coffee table, bar, or other surface.
More Christmas Crafts You Might Like
- Naughty & Nice Gnomes – If you want a fun DIY gnome set, this one is the BEST! So simple and fun, plus there are free cut files to put “Naughty” and “Nice” on their hats!
- 25+ Mason Jar Lid Crafts for Christmas – All sorts of fun to be had with mason jar lids! Oh, so much fun.
- Best Gift in a Jar Ideas for Christmas – I love a good gift-in-a-jar, so I pulled together the best, most fun projects to give as gifts in jars!
Please Save or Share This Tutorial on DIY Coasters
Your shares are how this site grows and I am sincerely grateful. Please share it on Facebook or save it to your favorite Christmas crafts pin board.
How to Make DIY Decoupaged Tile Coasters
If you’re eager to get started, the step by step tutorial is below. Keep this page open and follow along or print this DIY coaster craft.
DIY Decoupaged Tile Coasters - How to Make Christmas Coasters

These decoupaged tile coasters make a beautiful handmade Christmas gift set. Match any theme, decor, or holiday using the decoupage tips and tricks.
Materials
- 4x4 tiles (as many as you would like to make)
- Scrapbook paper or napkin (1 ply) of choice
- Craft Felt
Tools
- Mod Podge
- Scissors
- Pencil
- Foam Brush
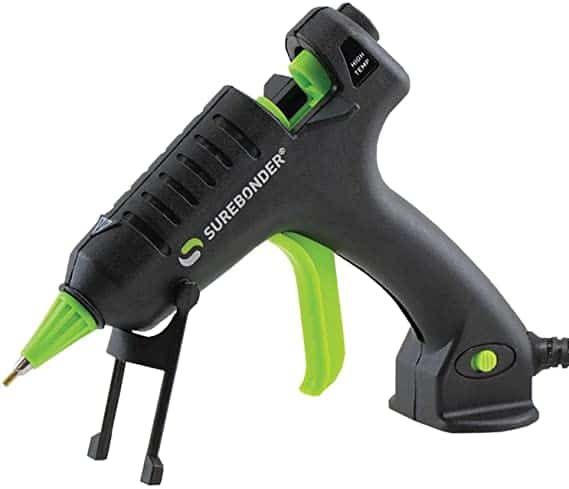
- Hot Glue Gun and Glue Sticks
Instructions
- Trace the shape of the tile onto the back of the scrapbook paper and it out.
- Brush a coat of ModPodge on the tile top and on the back of the scrapbook paper. Align the scrapbook paper onto the tile top and press.
Tip: be sure to gently press it flat and remove any bubbles. - Place another coat of ModPodge on top of the scrapbook paper to give it a waterproof coat. Allow it to dry completely.
- Optional: Brush the edges of the scrapbook paper with sandpaper to give it a rough and worn looking edge. Apply an additional coat of ModPodge to waterproof this scratched surface.
- Trace the tile shape onto the back of the felt and cut it out.
- Hot glue the felt tile shape onto the bottom of the tile and allow it to dry.

Notes
For more fun Christmas craft ideas, visit Ruffles and Rain Boots!
Recommended Products
As an Amazon Associate and member of other affiliate programs, I earn from qualifying purchases.
Meet the Creator
Hi there, I’m Sarah Nenni-Daher. I’m a crafty gal and always have at least 14 projects going at once. I am a crafter, designer, DIYer, and pattern maker. I share my creations here and in the Ruffles and Rain Boots® Shop.
Here at Ruffles and Rain Boots®, you’ll find DIY gnomes, crafts, gifts, cupcakes, laser crafts, and so much more. I love sharing video tutorials over on YouTube and chatting with other crafters in my Facebook groups. We’d love to have you!