
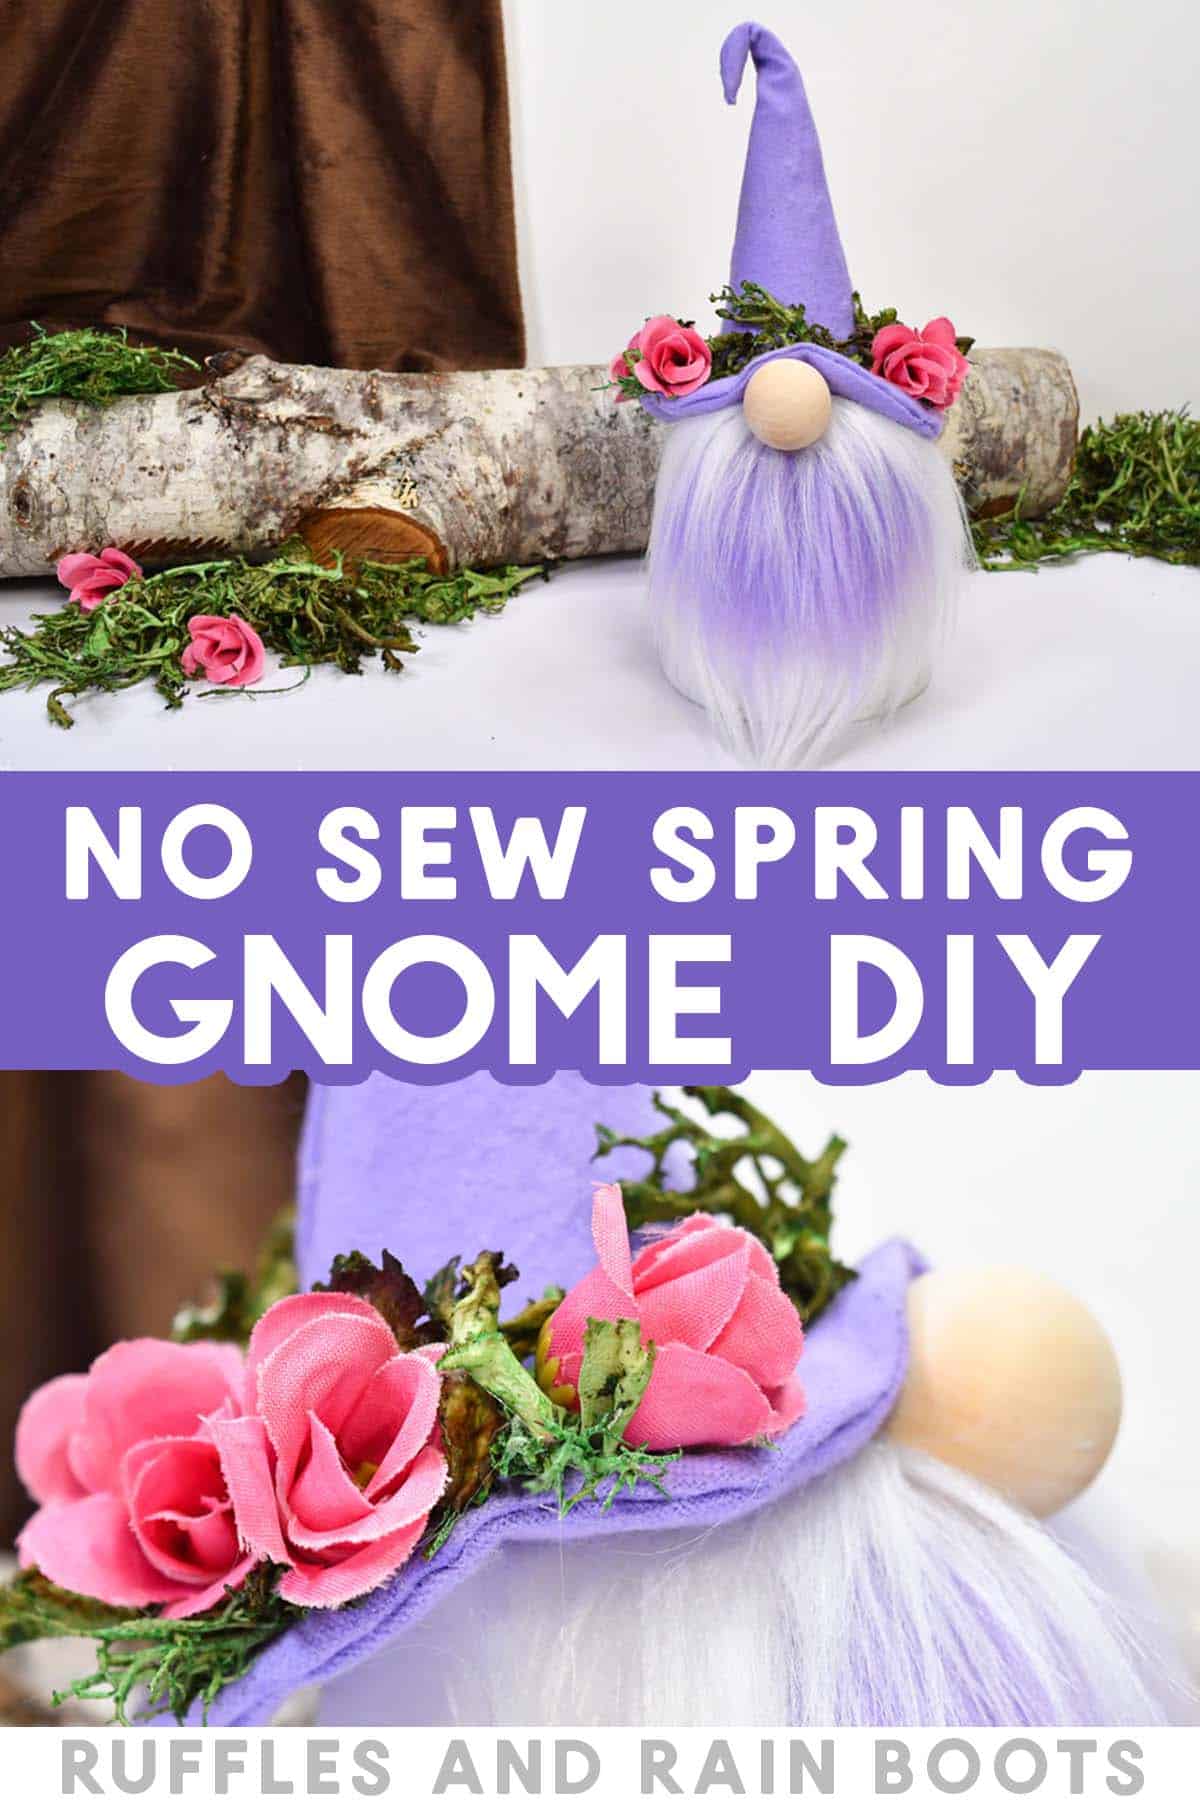
Adorable No Sew Spring Clay Pot Gnome with Wide Brim Hat
You don’t need much to make this adorable Spring clay pot gnome – most of it might already be in your craft room! Learn how to make him and a wide brim gnome hat, perfect for this guy, witch gnomes, and even wizard gnomes!
What You'll Find On This Page
Easy Spring Gnome
Here at Ruffles and Rain Boots, I am sitting on a clay pot stash of a sizable amount. When I find terra cotta pots, something calls out to me to grab them and when the Dollar Tree puts them out, well… I end up making a lot of crafts with them.
If you’re new around here, I’ll put some of my other clay pot crafts down below but let’s get started with this Spring gnome. Grab your hot glue and glue sticks and let’s head to the craft room.
No Time to Make This Now? Save or Share
If you need to gather up supplies to make this adorable gnome, save this to a crafty pin board or share to a Facebook group. Psst: you can also join our Facebook group here (it’s a kind and helpful place).

As an Amazon Associate, I could earn from qualifying purchases. There could be affiliate links within this article.
Tips for Making This Clay Pot Gnome
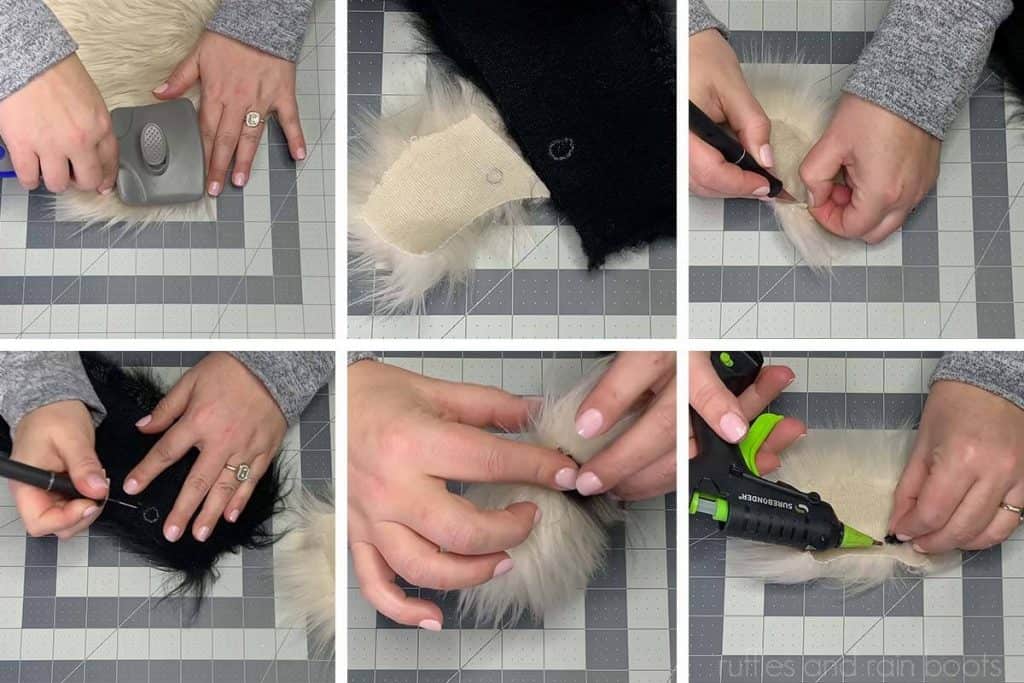
How to Make Custom Gnome Beards
The two color gnome beard I made for this flower pot gnome actually has a heart shape built right into it by combining two colors of fur. I shared the technique of making shapes in faux fur here (and in this video tutorial on how to make patterns in fur), so if you want to do that first, it’s an easy DIY.
Ideas for Decorating the Gnome Body (Terra Cot Pot)
I also started by painting my terra cotta pot white with chalk paint and using light colors to fit Spring decor, but you can change it up. Use different styles and textures of fur or moss and decorate your ‘gnome body’ any way you would like. Here are a few ideas:
- Paint or Patterns: paint a single color or patterns directly onto the pot and seal it
- Decoupage: decoupage napkins (seasonal or theme) onto the clay pot
- Fabric: cover the pots in a thin cotton fabric with glue or ModPodge
- Mosaic Tiles: create a mosaic with these irregular tiles and un-sanded grout
RELATED READING: Adorable Gnome Treat Jar in 5 Minutes!
Things to Keep in Mind
Because I chose to use faux fur, this is an indoor gnome and not a garden gnome. If you want to make an outdoor gnome (or any sized gnome to decorate your garden), use this Clay Pot Gnome Statue tutorial instead. It is weather resistant and once sealed, can withstand sun and rain.
Kids can join you in making gnomes from clay pots with a low temperature glue gun under supervision. You can also use a tacky craft glue, just know that there will be an extended drying time.
If I had to do it again, I would not use the Liquid Stitch for the wide brim gnome hat base. Just use the glue gun (or take it to your sewing machine) and you will be done in less time. I am so impatient having to wait until it dries but it did a great job and created a solid seal.

DIY Spring Gnome with Clay Pot Printable Tutorial
Below is the written tutorial which you can print out or follow along here. If you are a visual learner, watch the full Clay Pot Spring Gnome tutorial on YouTube here (and subscribe while you’re there).
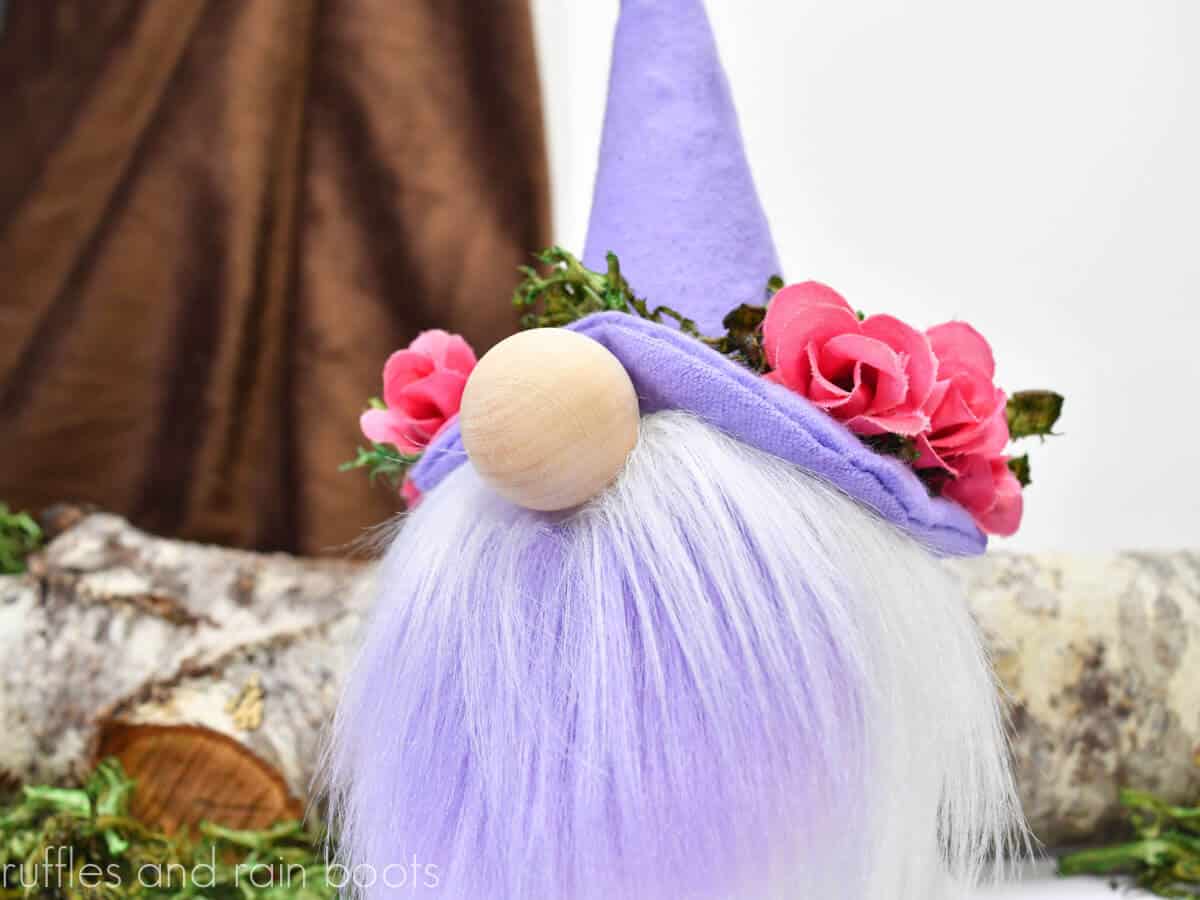
Spring Clay Pot Gnome with Wide Brim Hat
This adorable Spring clay pot gnome is going to be done in no time at all. I used Liquid Stitch but you can sew or use hot glue and be done faster because you won't have to wait on it to dry.
Materials
- 3” Clay Pot (painted and sealed)
- Craft Paper or Card Stock
- 4 inch Paper Maché Cone (or make one with craft paper)
- Thin Flannel or Cotton Fabric (can use a fat quarter)
- Optional, Pipe Cleaner
- Bendable Floral Wire
- Faux Fur or Other Beard Material
- Wood Ball or Other Nose
- Reindeer Moss and Small Florals
- Masking Tape and Floral Tape (or Wire)
Tools
- Hot Glue Gun and Glue Sticks
- Scissors and a Sewing Pin
- Chalk, Pencil, or Fabric Marker
- Optional, Liquid Stitch
Instructions
Create Wide Brim Gnome Hat
- Trace the opening of the 3 inch clay pot onto fabric or craft paper. Fold flannel fabric right-sides together, pin, and cut out so you have two pieces.
- Use the paper maché cone base to trace into the center of the pinned brim pieces. Cut into the center and snip from the center to just before the traced cone line (these should look like triangles).
- Glue, use Liquid Stitch or sew the outer rim of the brim with an 1/8th of an inch seam. Turn right sides out.
- Measure floral wire to join into a circle to fit just inside the brim opening. Overlap the ends of the floral wire and secure with masking tap. Tuck into the brim, aligning it with the outside edge.
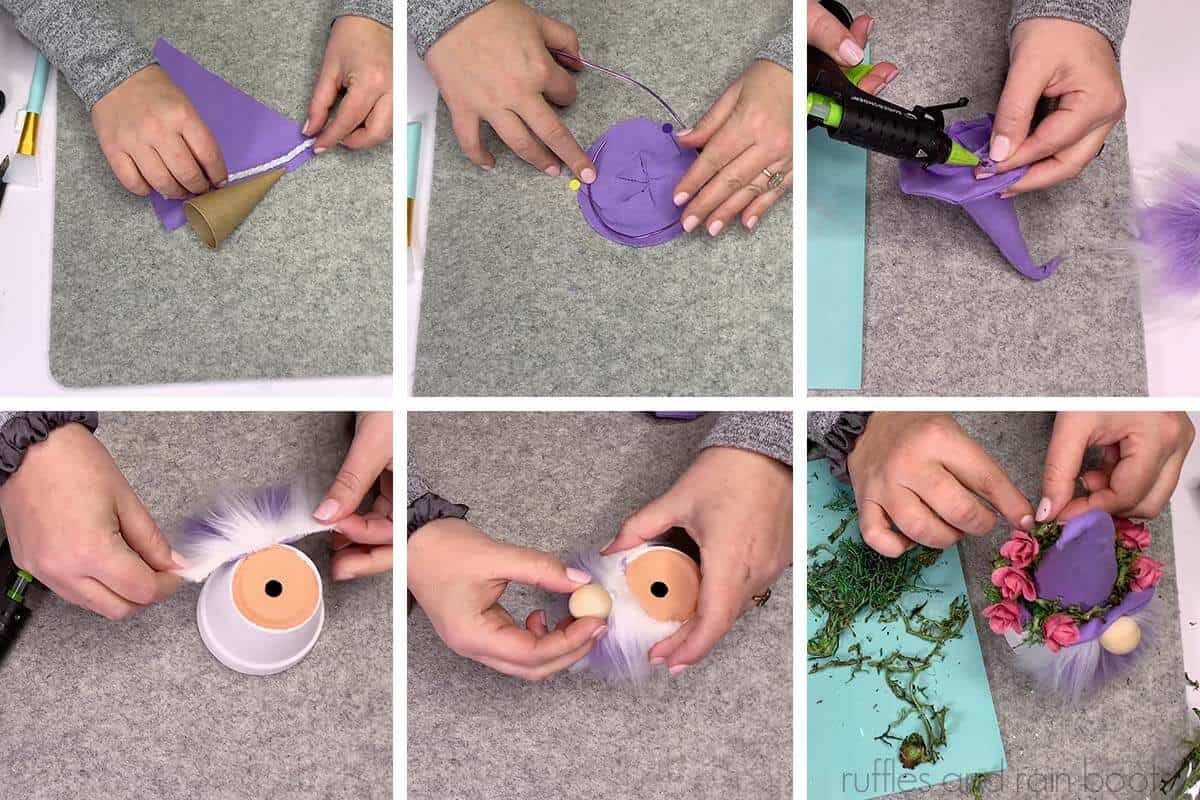
- Cover the cone with the flannel fabric, adding the optional pipe cleaner above the top of the cone about 1.5-2 inches for a bending tip. Ensure you have about 3/4 of an inch overhang (can trim). Secure the flannel in place on the cone with hot glue.
- Snip the overhang and tuck and glue into the middle of the cone.
- Slide the cone into the opening in the center of the brim, ensuring the tabs of the brim are pointing down. Be sure to align the bottom edge of the cone with the fabric of the brim. Glue the tabs to the inside of the cone, bend the brim to your liking, and the witch gnome hat (or wizard gnome hat) is done.

Assemble Clay Pot Gnome
- Paint clay pot and seal, if not already completed. Turn upside down so the opening is on the table.
- Cut gnome beard (or create a heart pattern in fur as I did with this tutorial) which covers the entire front of the clay pot. Glue to the top of the clay pot and secure it all around.
- Split the fur to the fabric backing, add a generous amount of hot glue, and affix the nose.
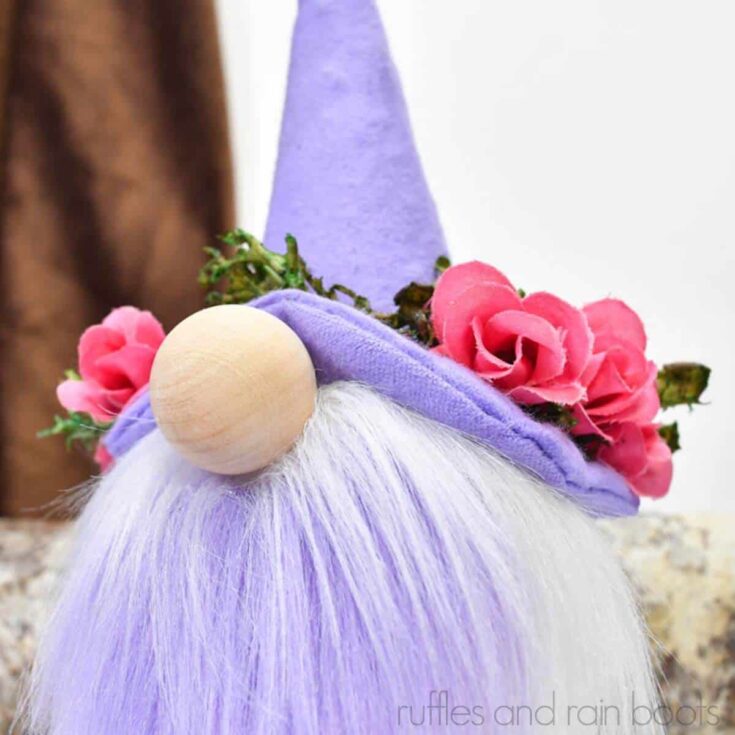
- Glue on the hat and decorate with moss and small florals for a fun spring gnome.
Notes
This pattern creates a 4 inch high witch hat, wizard hat, or wide brim gnome hat pattern.
Use this easy gnome hat on top of jar lids to make a fun (and easy) treat jar!
For full video instruction, visit the YouTube channel here: https://youtube.com/c/sarahnennidaher
More Clay Pot Crafts on Ruffles and Rain Boots
- Spring Treat Jar from Clay Pot and Saucer – Listen, you can decorate this any way but check out this craft that doubles as cute spring decor.
- Clay Pot Garden Gnome – Creating this fun garden gnome was easy and the kids loved it. It’s an easy craft for all ages.
- Make a Snowman Gnome from Clay Pots – This cutie takes almost no time at all and is made with items from the Dollar Tree!
Please Save or Share This Craft
Your shares are how this site grows and I am sincerely grateful. Please save this to a Spring pin board or share it into a fun and crafty Facebook group.
Meet the Creator
Hi there, I’m Sarah Nenni-Daher. I’m a crafty gal and always have at least 14 projects going at once. I am a crafter, designer, DIYer, and pattern maker. I share my creations here and in the Ruffles and Rain Boots® Shop.
Here at Ruffles and Rain Boots®, you’ll find DIY gnomes, crafts, gifts, cupcakes, laser crafts, and so much more. I love sharing video tutorials over on YouTube and chatting with other crafters in my Facebook groups. We’d love to have you!