
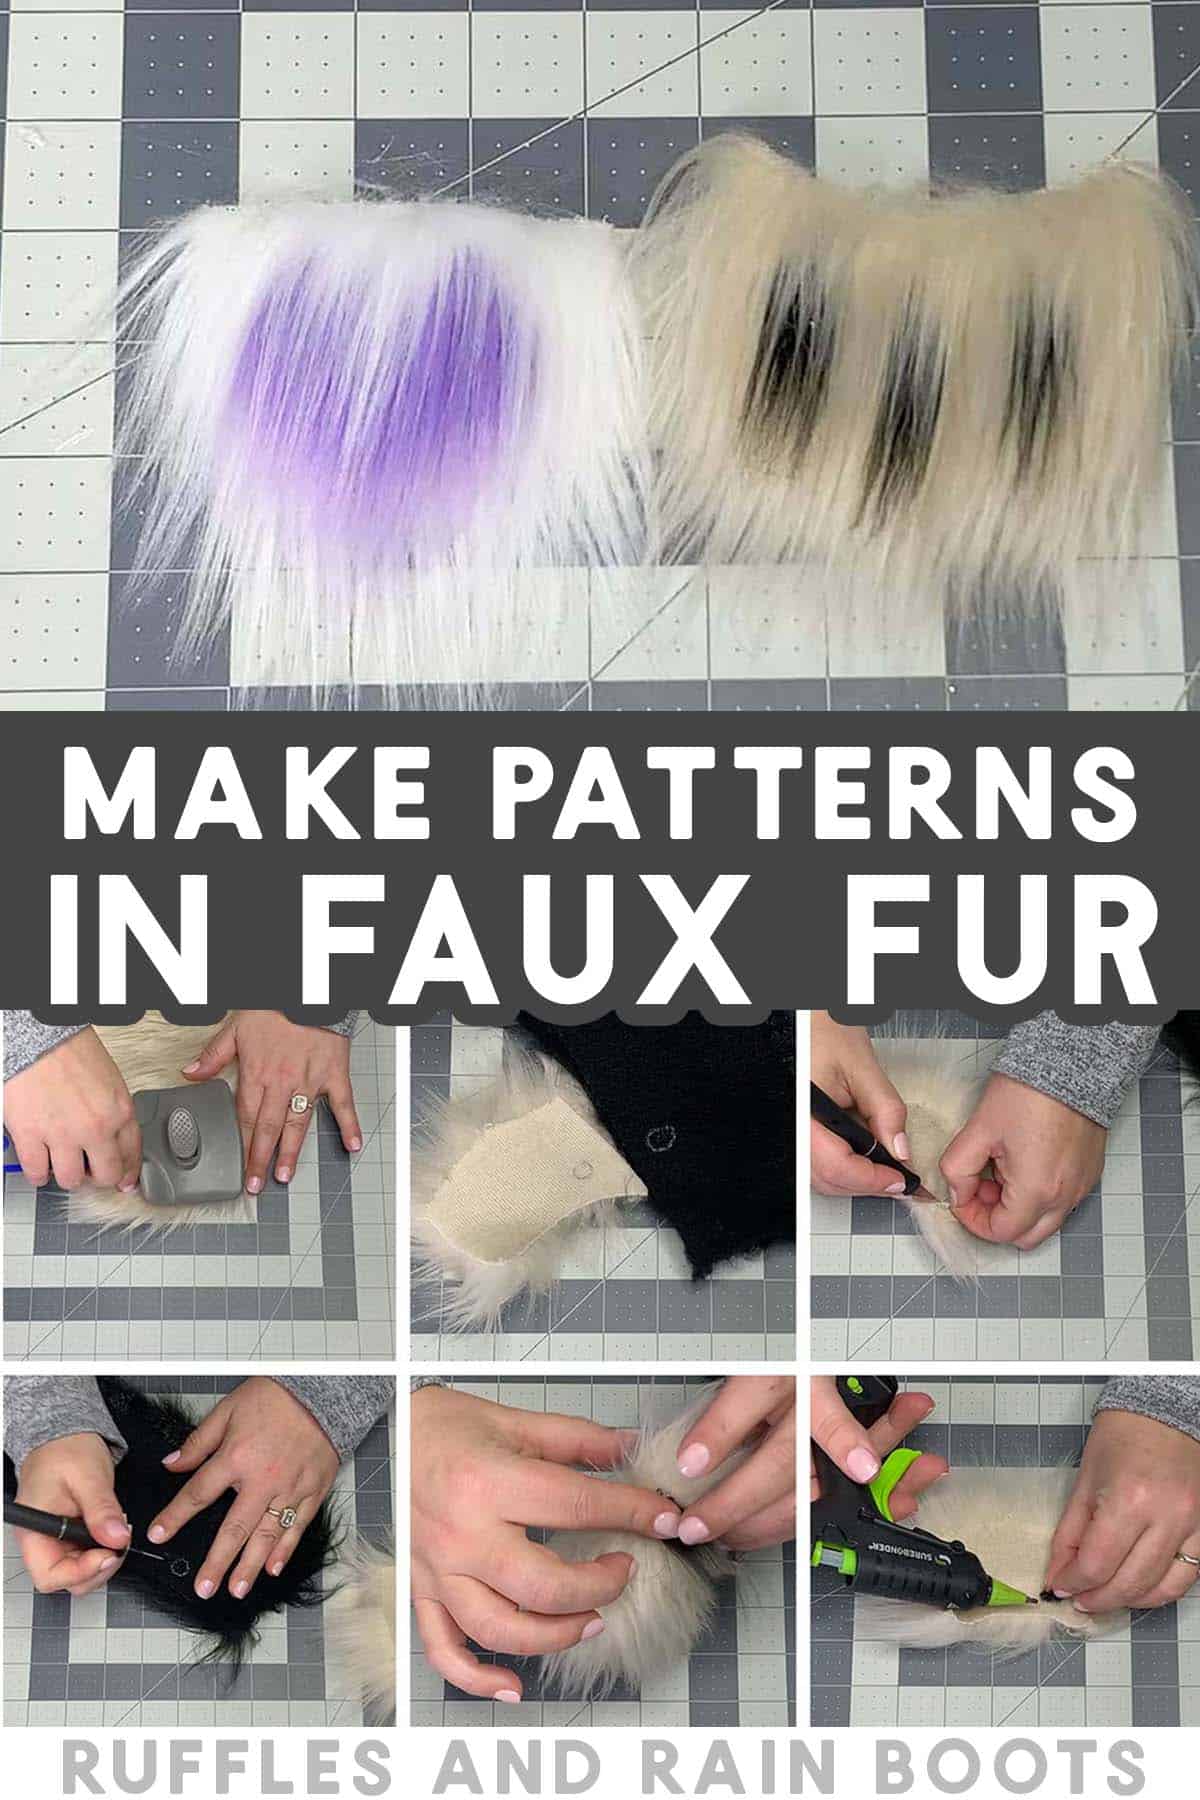
How to Make Patterns in Fur with a Hot Glue Gun
Creating patterns in fur without a sewing machine is so easy. From shapes like hearts and stars to patterns like stripes and spots, read on to learn how to make patterns and shapes in faux fur using only a hot glue gun.
What You'll Find On This Page
Shapes and Patterns In Faux Fur
Here at Ruffles and Rain Boots, I like to be innovative in my gnome making, gnome patterns, and just overall crafting. I want to bring forward techniques that haven’t been shared before and this one is definitely a new one! I’ve come up with a way to easily customize fur projects like gnome beards using a hot glue gun and an Exacto knife.
For this project, you will need only a few items: faux fur (long or short pile both work), an Exacto or craft knife, and a hot glue gun. In the tutorial below and on YouTube, I use gel pens in colors which allow me to draw on a pattern or shape – those are recommended, but not required.
RELATED READING: How to Make Gnome Beards
Why Make Gnome Beards This Way?
There are two ways you could benefit from adding this new gnome making technique into your crafting. First, it solves the problem of color transfer and second, it allows for easy custom work.
Avoid Color Transfer
When we color synthetic fur with items like paint, dyes, markers, and inks, there is always the potential the color will rub off. It can transfer onto the fabric of the item, other items when put into storage, and I’ve seen it rub off right onto people’s hands!
None of that is good, especially if you are selling or gifting your crafts. This method makes all of those issues obsolete.
Custom Gnome Beards
Additionally, this process allows you to offer completely custom fur items. Whether you are making custom gnome beards or creating crafts with fur, this process can incorporate patterns and even shapes. I’ve made hearts, stars, and crescent moons.
Tips for Making Shapes and Patterns in Fur
The tutorial is below but before we get to it, here are a few things to keep in mind when using this method to make gnome beards made of fur. The piece to which you are adding a pattern is referred to as the block and the piece which makes the pattern is the insert.
- The fur insert piece must be larger than the opening in the fur block.
- My method works with Mongolian fur, Gorilla, alpaca, and many more styles and pile lengths of faux fur.
- Stay at least 1/2 inch away from the edges of the fur block when creating shapes or patterns.
- If you are making a repeating pattern in fur, use a template. Even a hand-drawn template will allow for more consistency and a better finished product.
- Keep in mind “shape warp.” When you create something flat and then wrap it around an item, you could warp the design or pattern. Measure the semi-finished item before making the fur pattern, especially when you are attaching it to a gnome body.
- Learning how to cut faux fur the right way is critical to this process. I prefer using an Exacto knife to score the fabric backing and then pull away the fur. If you use scissors, carefully cut only the fabric backing.
How to Make Patterns in Fur
Below is the written tutorial. I recommend watching the full video tutorial on how to make patterns in fur before starting. It is a real-time tutorial and very informative. Psst: there are some tricks you’ll learn.
How to Make Patterns in Fur
You can create patterns in fur without a sewing machine. From shapes like hearts and stars to patterns like stripes and spots, learn how to make patterns and shapes in faux fur using only a hot glue gun.
Materials
- Faux Fur in Color 1
- Faux Fur in Color 2
Tools
- Exacto Knife
- Hot Glue Gun and Glue Sticks
- Gel Pens (white and black)
- Brush
Instructions
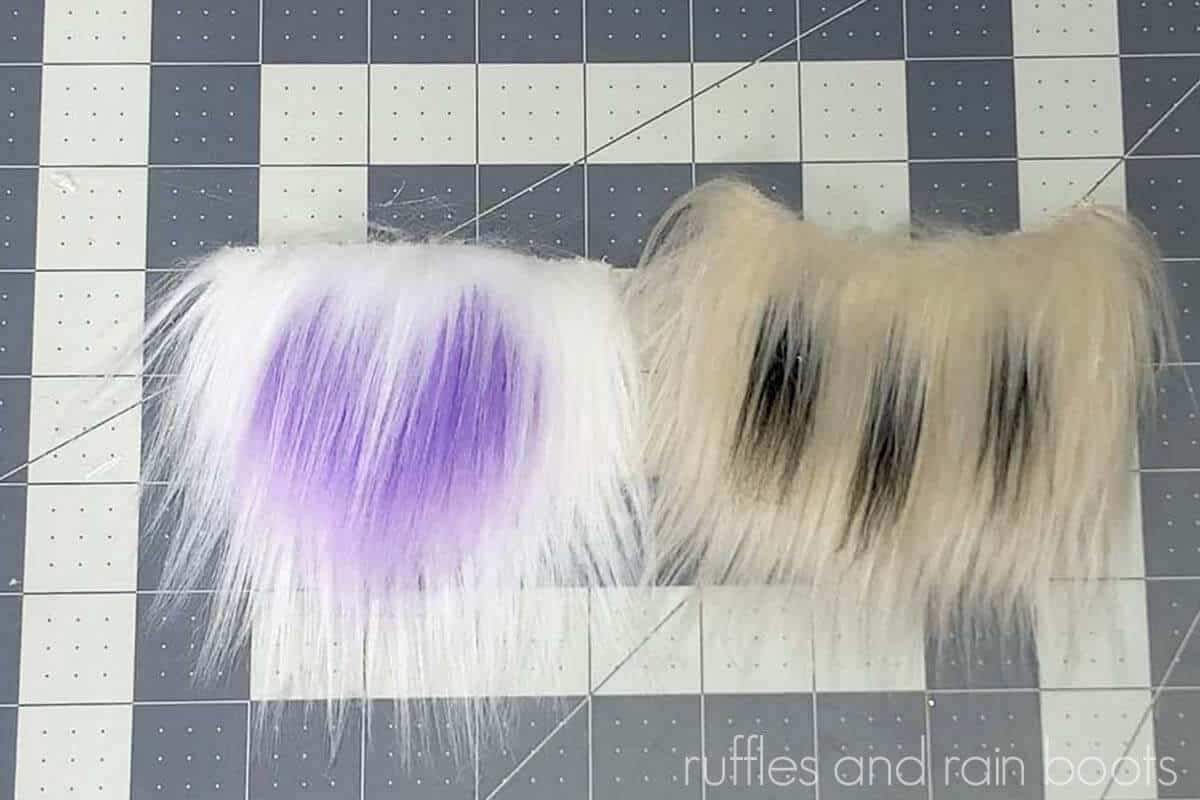
- Brush out both colors of fur so the pile is knot-free and down.
- On the back of both the fur for the insert piece and the fur block, use the gel pens to create the patterns. You can (and should) write directly onto the fabric backing of the fur. Note that the fur insert piece must be larger than the fur block to which it is being added (I use 1/8th of an inch).
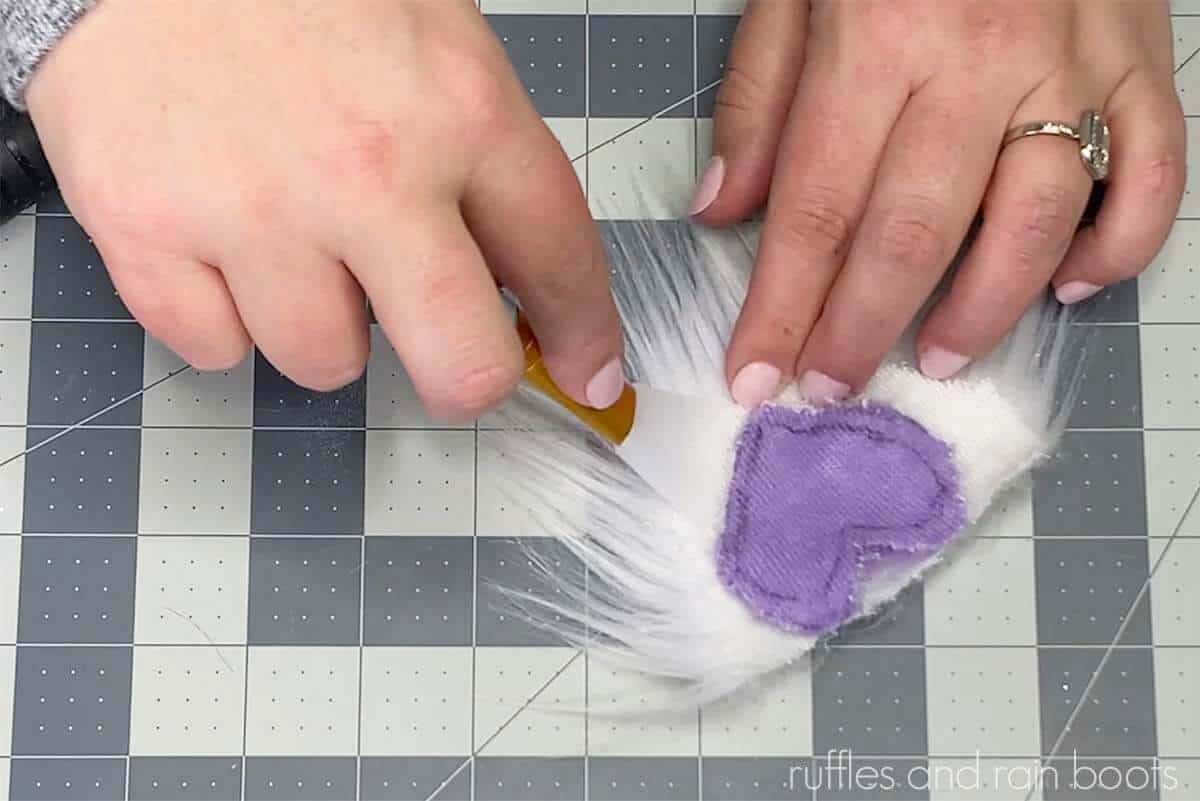
- Use an Exacto knife to score the fabric backing of the fur insert piece. Do not push the knife through the fabric - it is not necessary. Pull away the fur insert piece.
- Use an Exacto knife to score the backing of the fur block.
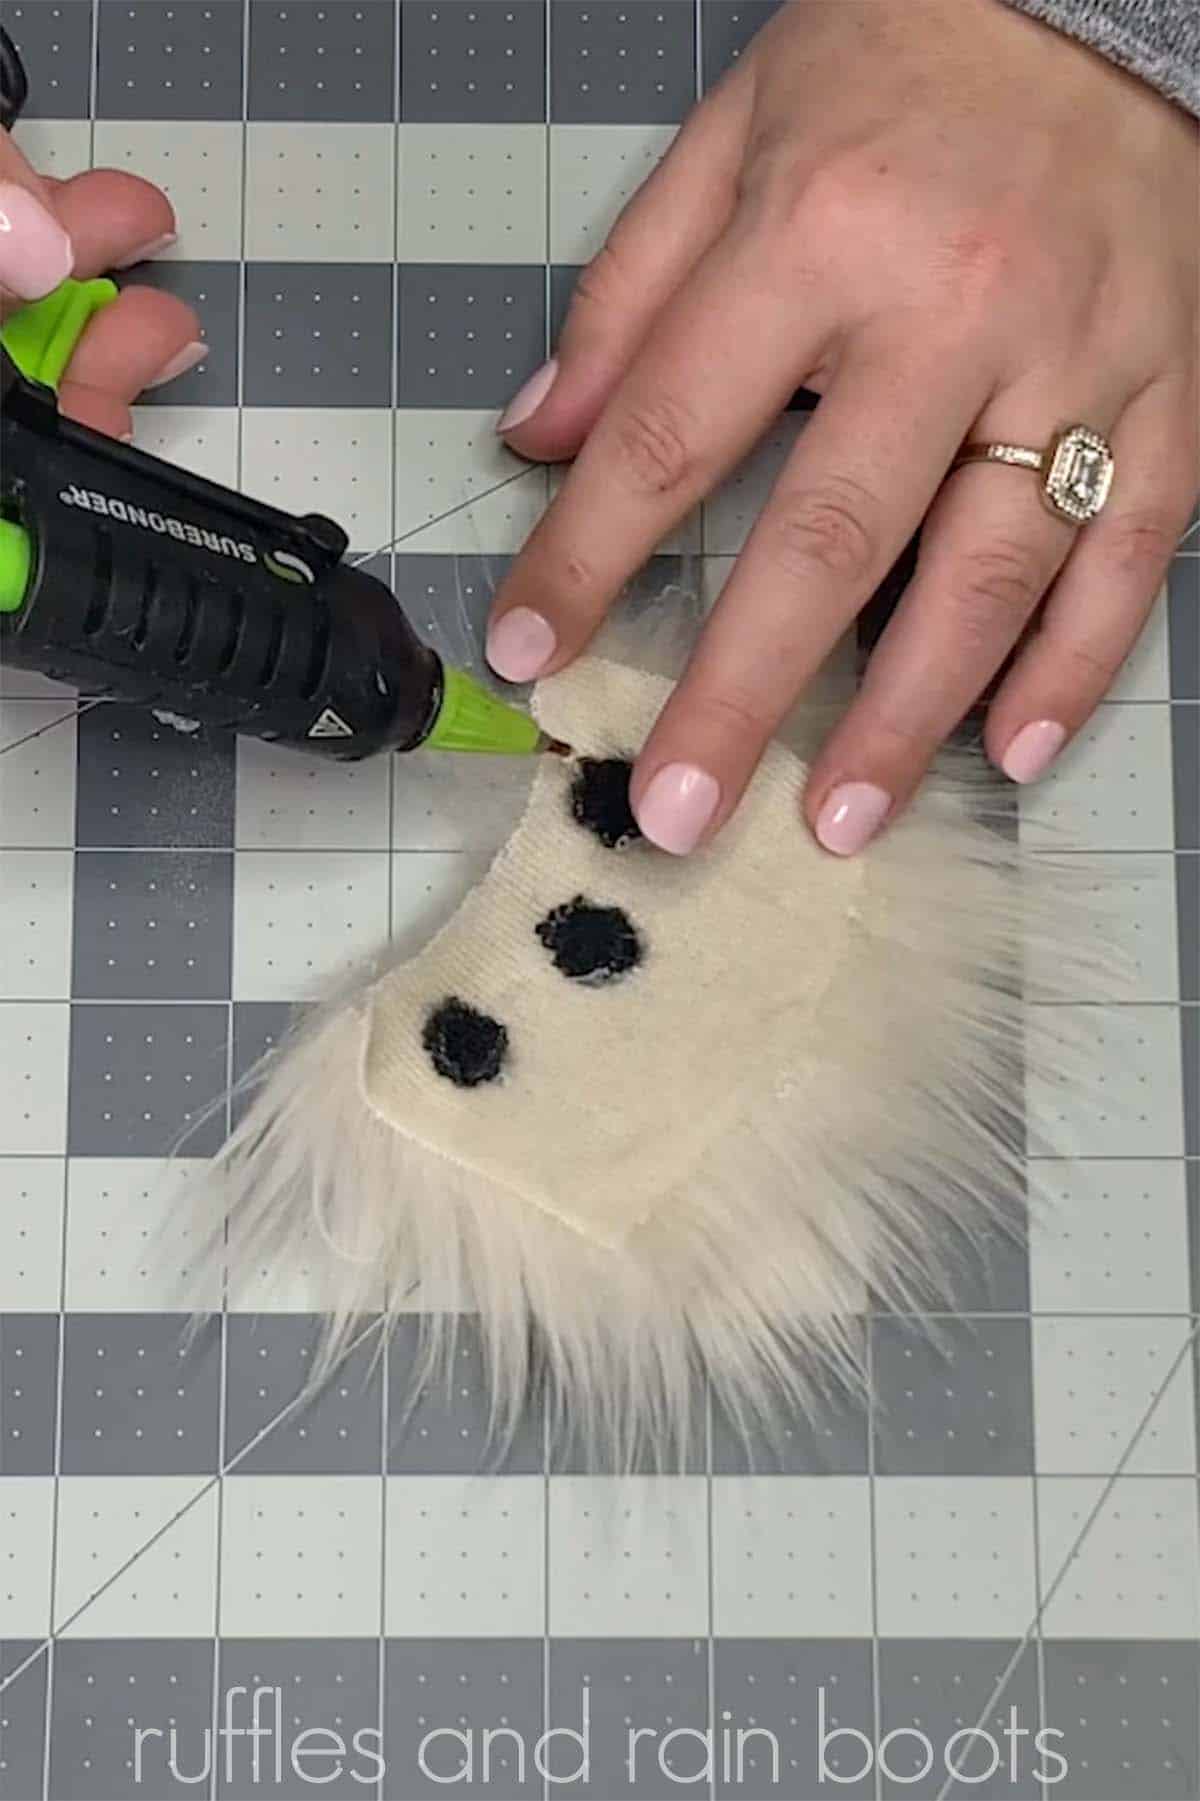
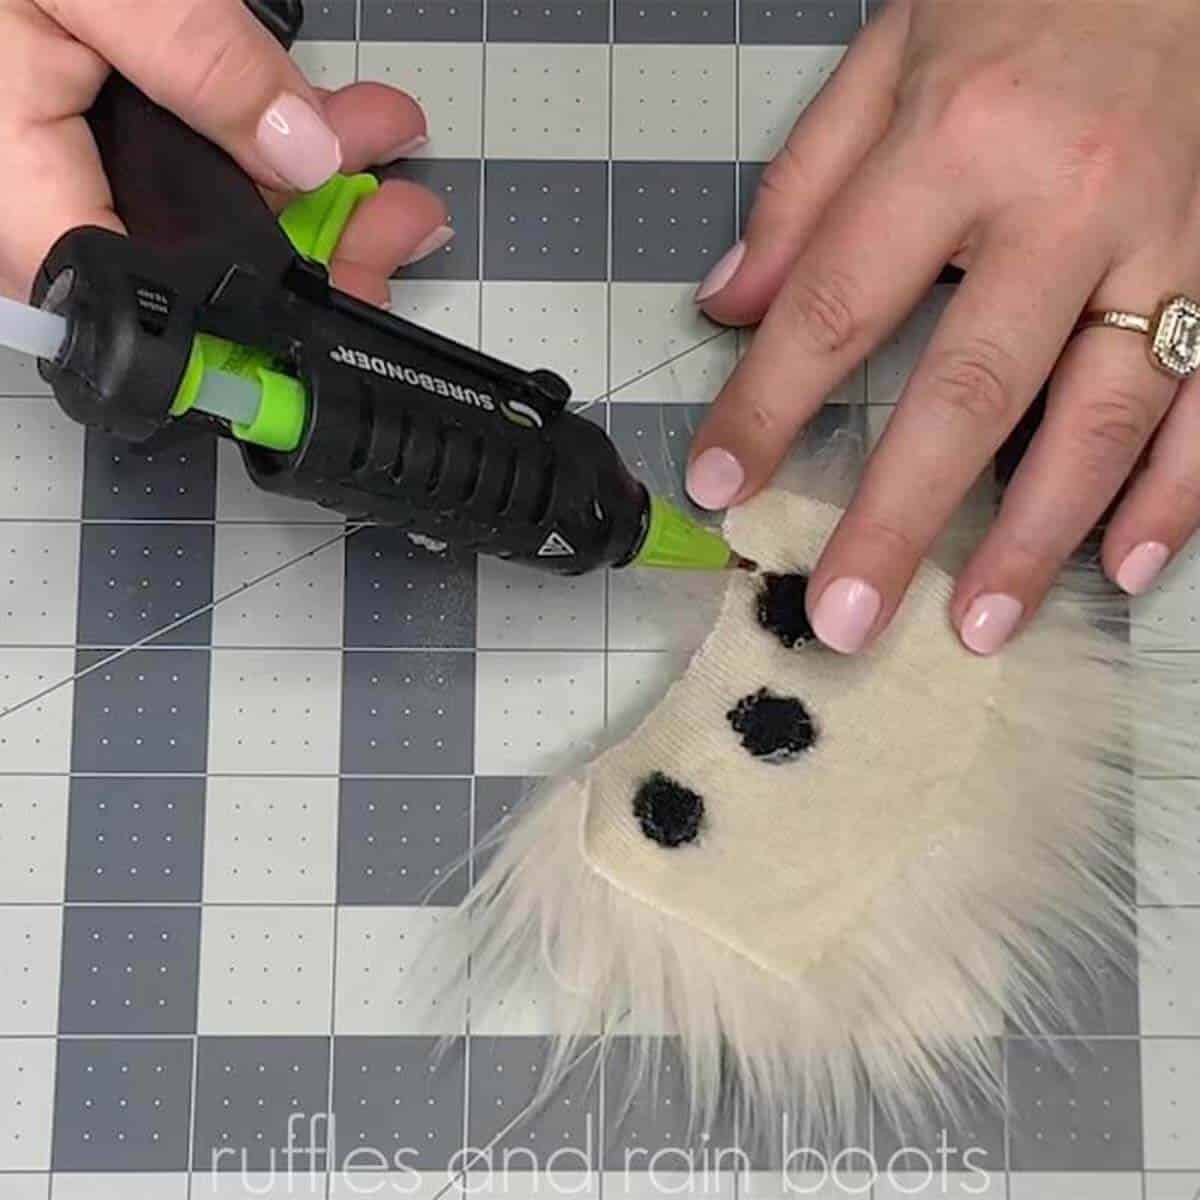
- Brush all fur away from the opening (on the front side of the fur). From the front (the fur side), place the fur insert through the opening just so that it is pushed through to the back. Glue the edges down, adhering fur backing to fur backing.
- Brush the fur out to reveal the pattern or shape.


Notes
- Create a template if you are doing a lot of fur at once.
- Keep all shapes and patterns at least 1/2 inch away from any edge.
- Do not get glue in the fur.
- Keep in mind shape warp; design a pattern to fit the finished product to be placed on without warping or stretching.
You Might Also Be Interested In
- How to Make Gnome Beards – In this article, I show you various methods and materials to make fun gnome beards for any size or style.
- How to Make Gnome Hats – Learn seven (or more) techniques and styles for DIY gnome hats using patterns or without any at all.
- The Best Gnome Making Supplies to Keep on Hand – If you are new to making gnomes or want to expand your styles, here is a bit of inspiration.
Please Save or Share
Your shares are how this site grows and I am sincerely grateful. Please save this to a DIY pin board or share it to a crafting group on Facebook.
Meet the Creator
Hi there, I’m Sarah Nenni-Daher. I’m a crafty gal and always have at least 14 projects going at once. I am a crafter, designer, DIYer, and pattern maker. I share my creations here and in the Ruffles and Rain Boots® Shop.
Here at Ruffles and Rain Boots®, you’ll find DIY gnomes, crafts, gifts, cupcakes, laser crafts, and so much more. I love sharing video tutorials over on YouTube and chatting with other crafters in my Facebook groups. We’d love to have you!