
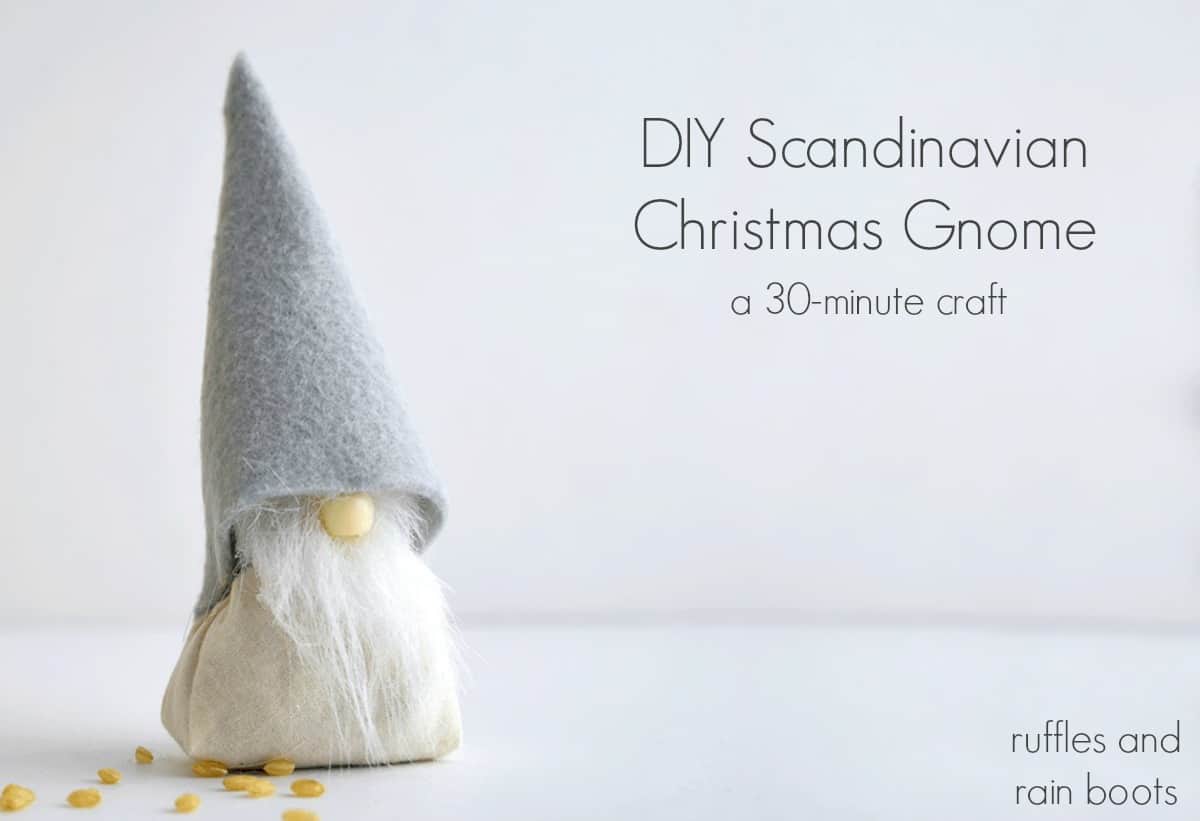
DIY Scandinavian Christmas Gnome with Rice
This holiday season, bring this adorable DIY Scandinavian Christmas Gnome with rice body into your home. It’s a quick, 30-minute craft and is loved by all!
You will need some felt, fabric, a bit of faux fur (can use scraps), and a bead for the little gnome nose. And if you want, turn this cute holiday gnome craft into an ornament!
RELATED READING: DIY Christmas Gnomes (All Styles)
What You'll Find On This Page
How to Make a Tomte (Swedish Tomte)
I’ve created so many DIY Christmas decorations over the years but Christmas gnomes are my absolute favorite to make. After having to travel to buy them, I decided to start making my own.
From gnome ornaments to painted gnome rocks, I love to make Swedish gnome projects. You might see me refer to them as gnomes, nisse, or even tomte, but they are they are one in the same for our creative purposes.
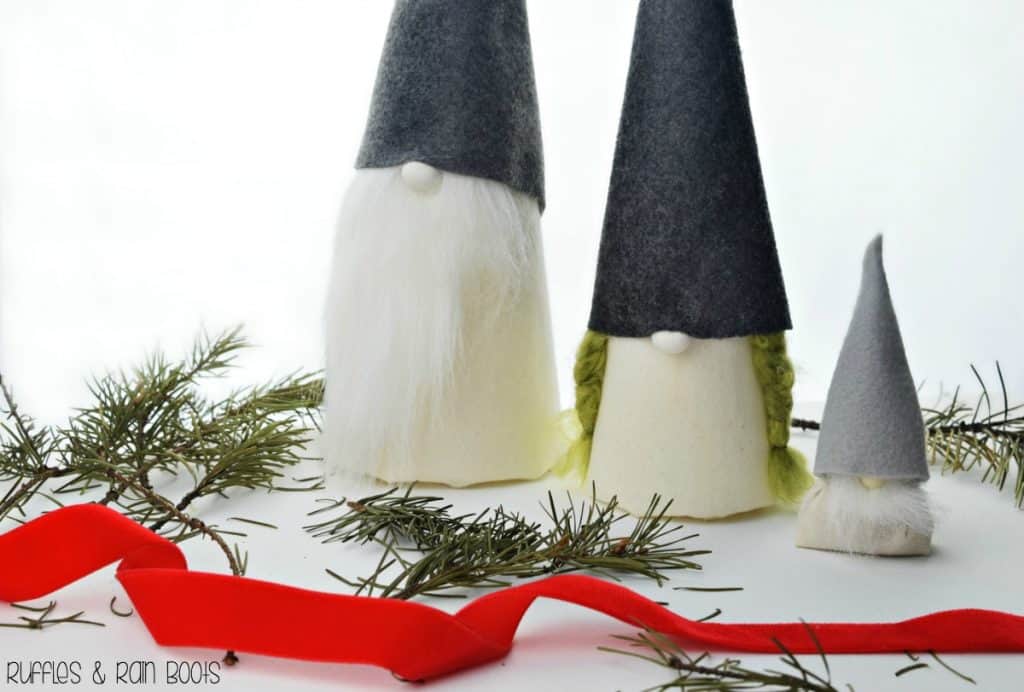
The instructions on how to make a tomte in a sachet style is below, however, you can also use a 4 inch miniature cone (paper maché or Styrofoam®) and wrap the fabric around it for another quick craft.
RELATED READING: Easy Cone Gnome for Christmas (Boy and Girl Gnomes)
The History of Gnomes (Scandinavian Folklore)
If you’re new to making or decorating with gnomes, here is a brief summary of the cuties. Also known as tomte (or tomten), knome, gonks, or nisse (nisser), these characters are known in Sweden to be protectors of the home. The jule nisse, however is very similar to Santa Claus St. Nicholas – he carries a big bag of toys, handing them out to good children.
I love making them because they add a little whimsy and fun to anywhere in the house. If you have a tiered tray, they are a perfect addition tucked in behind an accent piece. Small gnomes like this one are perfect for adding height variations in displays on mantles, too. So let’s get started making this adorable little gnome.
RELATED READING: Easy and Elegant Gnome Tree Topper
DIY Christmas Gnome Tutorials
If you’re looking for the best DIY Christmas gnome tutorials, you have come to the right place. Check out all of my favorite Christmas gnome tutorials for the holidays!
I have cone gnome tutorials, sock gnomes, gnome patterns, gnome ornaments, and so much more to get you started. There is even a gnome maker’s journal to keep track of your creations or to keep track of your gnome orders.
If you’re a visual learner, you can learn how to make Swedish gnomes in so many styles by following along with my gnome video tutorials. Subscribe to the YouTube channel here!
Supplies for DIY Scandinavian Christmas Gnome with Rice
We make gnomes so much here on Ruffles and Rain Boots that we’ve created our own Amazon supplies list for making Swedish gnomes. For these mini gnomes, I used:
- craft felt for the hat
- fabric or felt for the body
- faux fur (I used Mongolian fur for the long, white beards)
- gnome nose – we use clay, wooden beads, plastics beads, pompoms, or buttons
- bowls in one or two sizes (the body bowl I used was 6-inches in diameter)
- dry, uncooked rice (note: I now use these pellets, especially when selling)
- hot glue gun, scissors, small elastics or rubber bands or twine to tie
That said, be sure to check your craft stash or even your children’s / grandchildren’s stashes. You can make these tomte nisser from most anything!

More Adorable DIY Gnome Crafts
Now that I’ve made this little rice tomte (gnome), I’ve been on a kick to make so many different styles and variations. Here are a few of my reader’s favorites:
- Christmas Gnome Ornaments – This simple gnome tutorial went VIRAL on Pinterest and it’s easy to see why.
- Standing Sock Gnomes – Another viral sensation were these ridiculously easy standing sock gnomes. Psst: there’s a trick…
- Scandinavian Gnome Pattern – The best-selling gnome pattern on the Internet, this one can be made HUNDREDS of ways.
Please Save or Share This Scandinavian Tomte Gnome
Your shares are how this site grows and I am sincerely grateful. Please use the sharing buttons to save this to a DIY Christmas crafts pin board or share it with a crafty group on Facebook.
How to Make a DIY Holiday Gnome (Felt Nordic Nisse)
This is a very, very, very easy craft, friends. Keep this page open and follow along with the instructions. If you have questions, use the comments section.
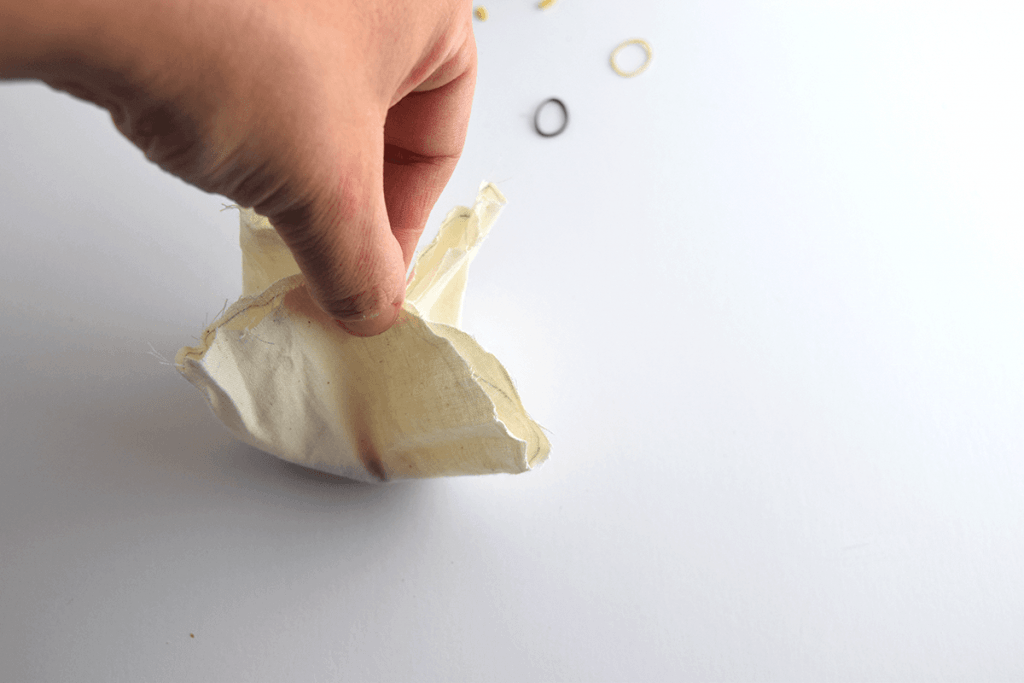
First, make the Body. Use the larger bowl and trace a circle onto your fabric. Cut it out roughly (no one will see the edges).
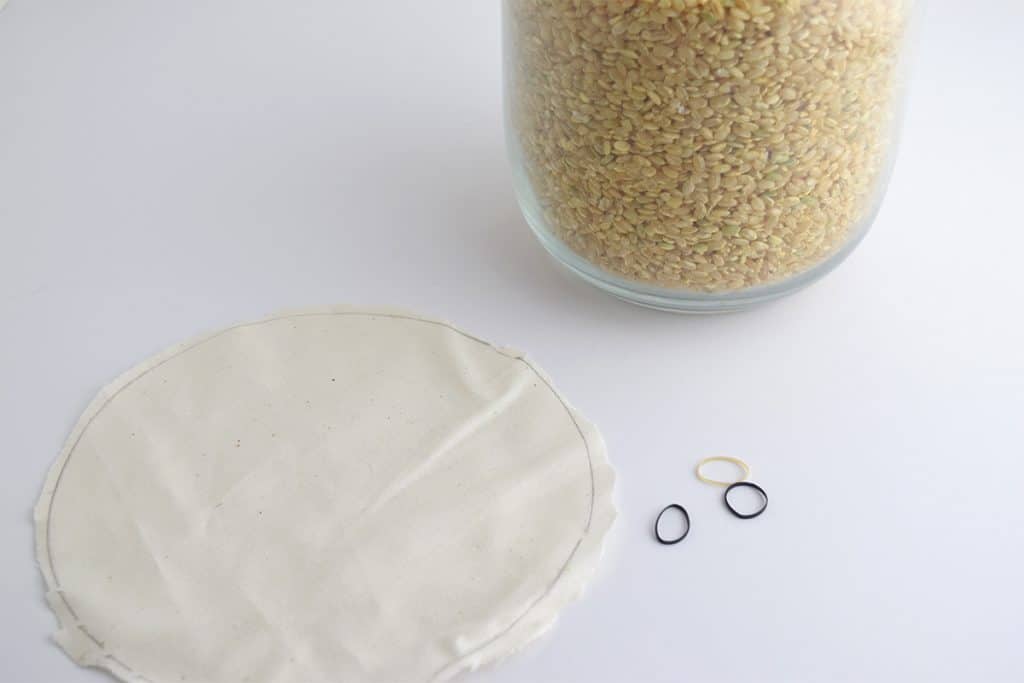
Fill up the center of the circle with rice and tie it off with an elastic band. Just make sure all corners are in the elastic. I make a spot in the middle, fold it in like you’re making crab rangoon, and then gather each ‘point’ to the center. Set aside.
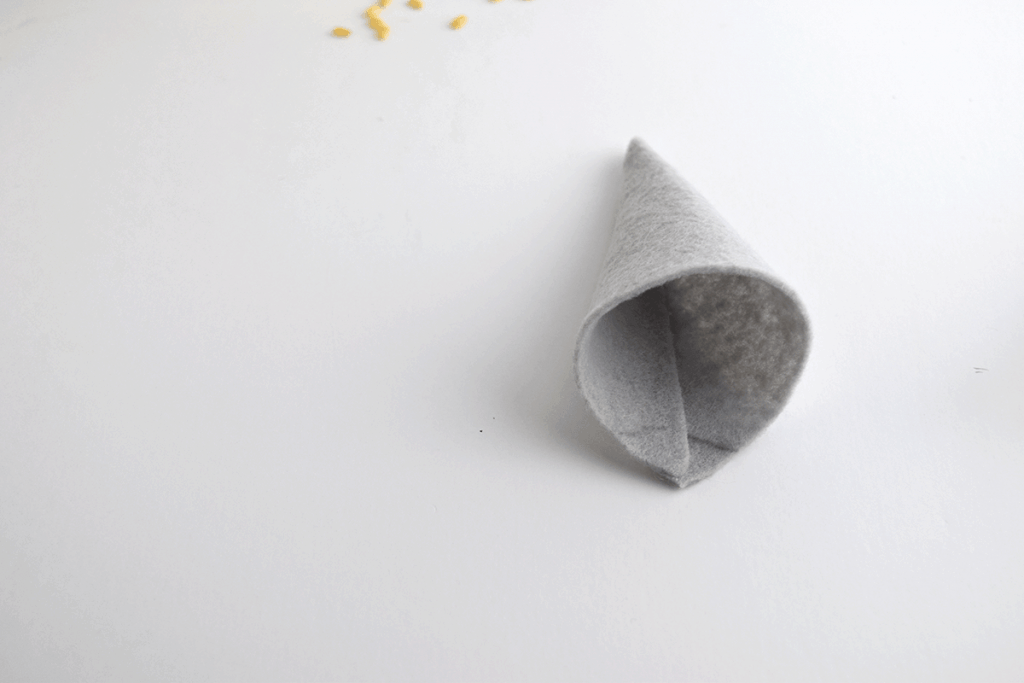
Make the Hat. Use the rounded edge of the bowl to help shape the hat. Determine the height you want and use the bowl as a guide for a rounded bottom. Cut the rounded piece and the straight edges for the sides.

Grab the hot glue gun, roll the hat into a cone, and glue the hat piece together along the back.
Cut the beard. Turn the faux fur over to the back and use a razor blade to cut a triangle shape for the gnome’s beard.
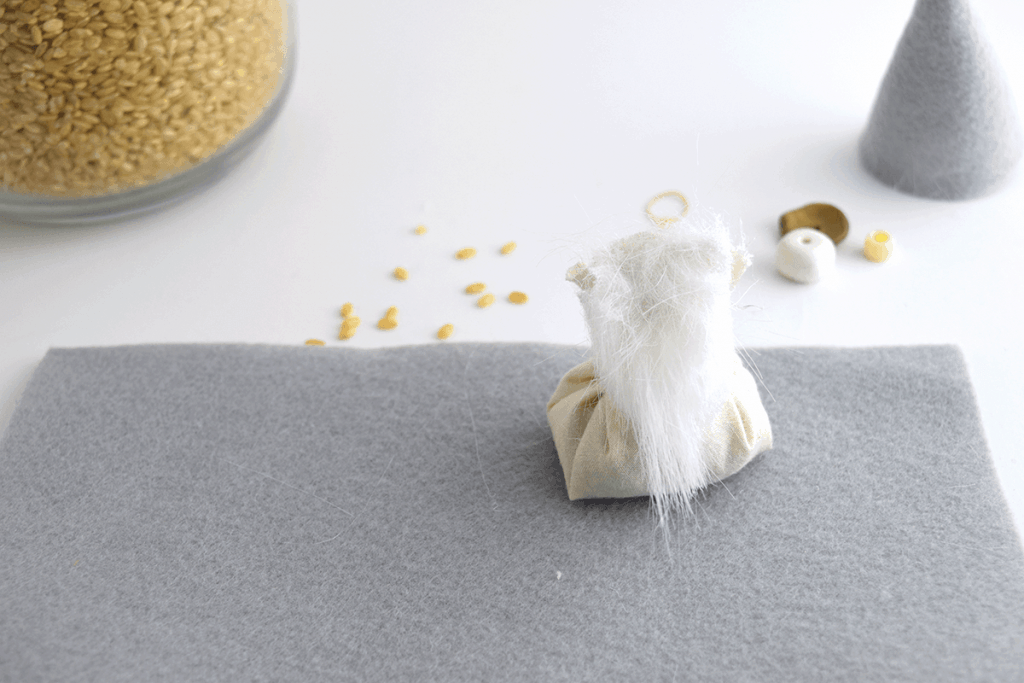
Assemble your Scandinavian Christmas gnome with rice. Glue the faux fur to the top of the rice-filled body. Glue on the nose at the top of the beard and position your hat before gluing it to secure.

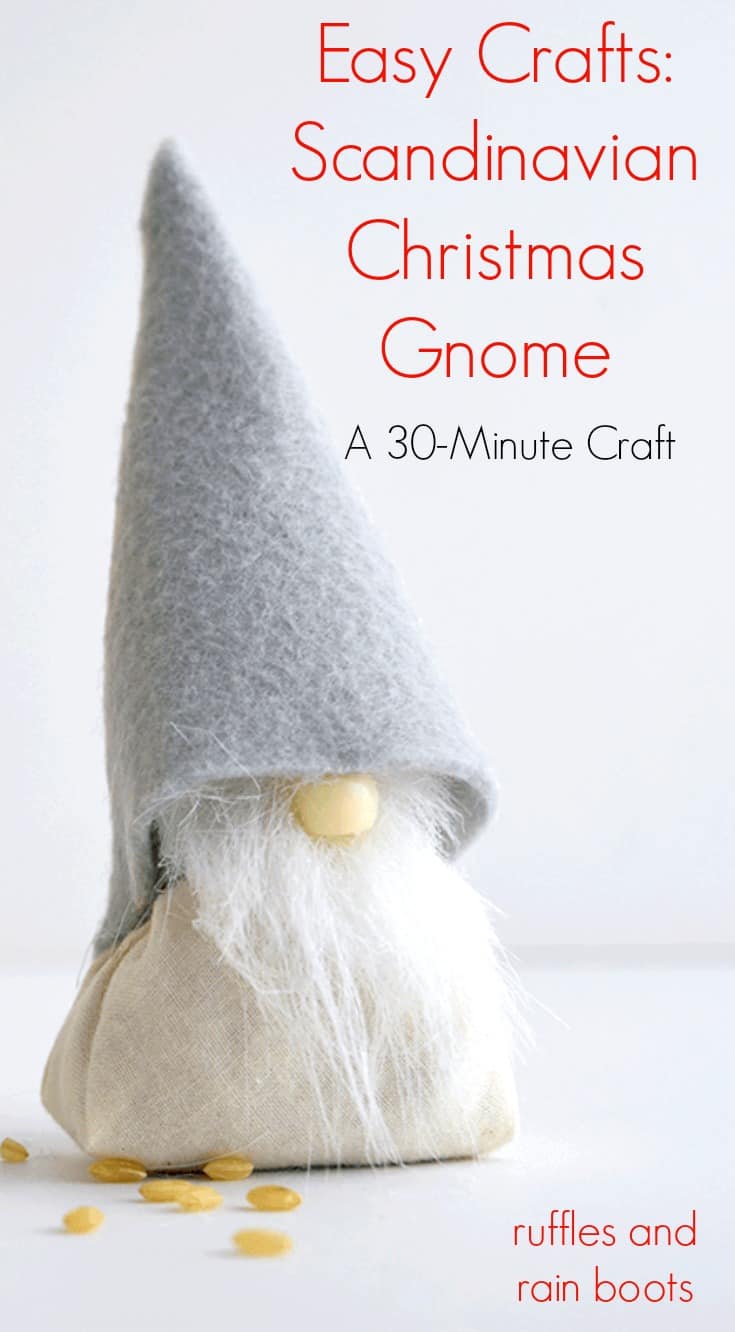
DIY Scandinavian Christmas Gnome with Rice (Tomte or Nisse)

This holiday season, bring this adorable DIY Scandinavian Christmas Gnome with rice body into your home. It's a quick, 30-minute craft and is loved by all!
Materials
- craft felt for the hat and another fabric or felt for the body
- faux craft fur
- gnome nose – we use clay, wooden, and plastics beads, pompoms or buttons – anything
- bowl in one or two sizes (I used 6-inch diameter Pyrex)
- dry, uncooked rice
Tools
- glue gun
- small elastics or rubber bands or twine to tie
- scissors
Instructions
- Make the Body. Use the larger bowl and trace a circle onto your fabric. Cut it out roughly (no one will see the edges).
- Fill up the center of the circle with rice and tie it off with an elastic band. Just make sure all corners are in the elastic. I make a spot in the middle, fold it in like you’re making crab rangoon, and then gather each ‘point’ to the center. Set aside.
- Make the Hat. Use the rounded edge of the bowl to help shape the hat. Determine the height you want and use the bowl as a guide for a rounded bottom. Cut the rounded piece and the straight edges for the sides.
- Grab the hot glue gun, roll the hat into a cone, and glue the hat piece together along the back.
- Cut the beard. Turn the faux fur over to the back and use a razor blade to cut a triangle shape for the gnome’s beard.
- Assemble your Scandinavian Christmas gnome with rice. Glue the faux fur to the top of the rice-filled body. Glue on the nose at the top of the beard and position your hat before gluing it to secure.
Notes
For a ridiculous amount of gnome crafts, visit Ruffles and Rain Boots.com

Hi Sarah! I love your little gnome! You said you used a 6 inch diameter Pyrex bowl for the body, what size bowl did you use for the hat?
And thank you for your tutorials! 😊
That hat was just cut to the width of the body – I added a little bit of an allowance for the hot glue.
Where did you buy the items for this project? I can’t seem to find any that match what you used. These are really cute and adorable by the way! :-)
Muslin is available at any craft store in the fabric section (it’s sold on a bolt). Faux fur is also at the craft store (on bolts of fabric or in the small crafts section).
Love the little guy. What size bowls did you use?
Debi,
Sorry for the delay, I missed your comment. I used a 6-inch diameter bowl for them, but I’ve also used a 10-inch for a larger one.
Does the rice make him too heavy to hang on a tree? I want to make a dozen of them!!!!
Nope, he’s tiny. I am going to make a few different designs this year with foam pellets and other items in them so I can test them as ornaments. #greatmindsthinkalike :)
OMG, he’s adorable! My kids are still young and Mickey seems to be taking over all our Holiday themes, but I can totally see doing these Gnomes in the future when they get older!
LOL Mickey is great at the holidays and any time of year! :)
I love this as it looks easy enough to make, but also perfectly themed for the upcoming Christmas holidays here. I am going to give this one a try for sure soon now. Thanks!!! :)
Love this. Such a simple little craft!