
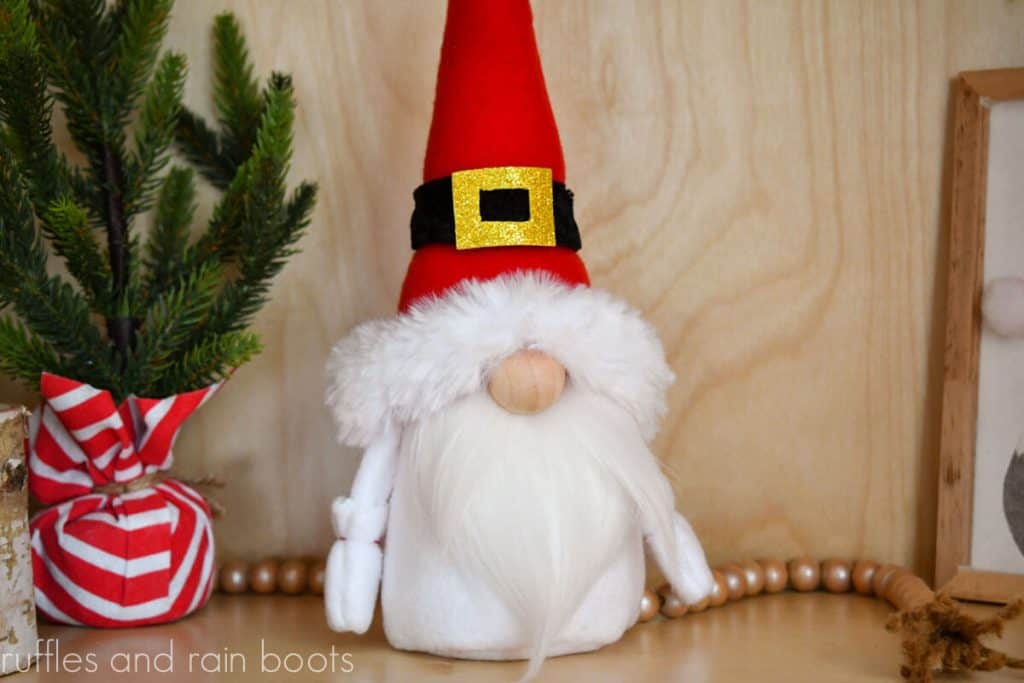
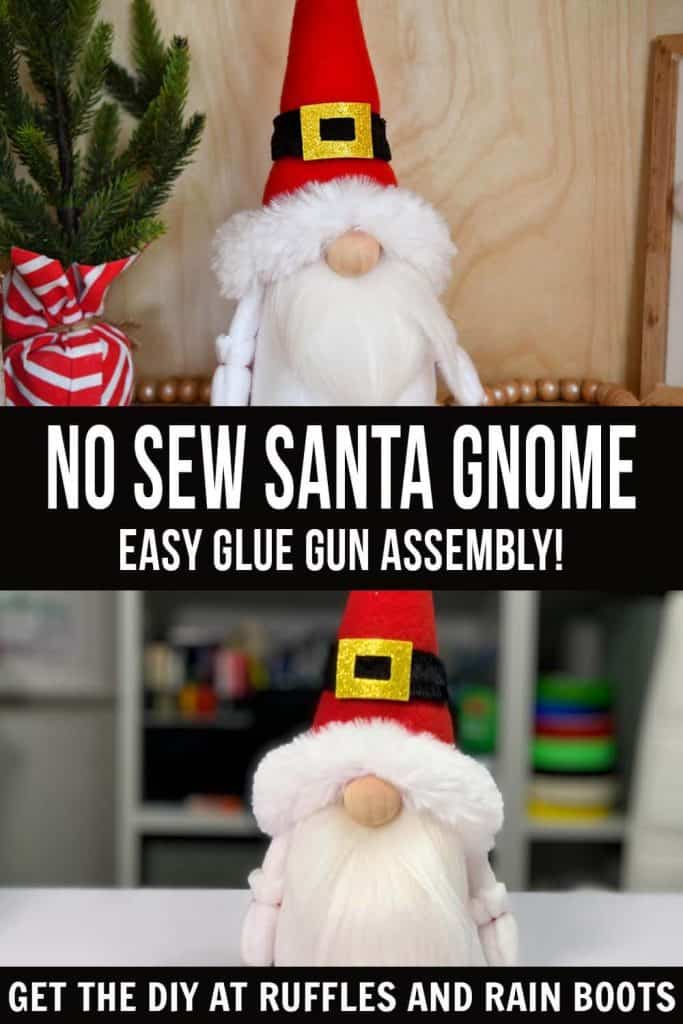
No Sew Santa Gnome for Christmas
This no-sew Santa gnome is perfect for a Christmas decor addition on a tray, in a bookcase, or on a mantle. Learn how to make this cutie with just a hot glue gun, some fleece, and a few basic crafting supplies.
RELATED READING: SOCK GNOME SANTA TUTORIAL
What You'll Find On This Page
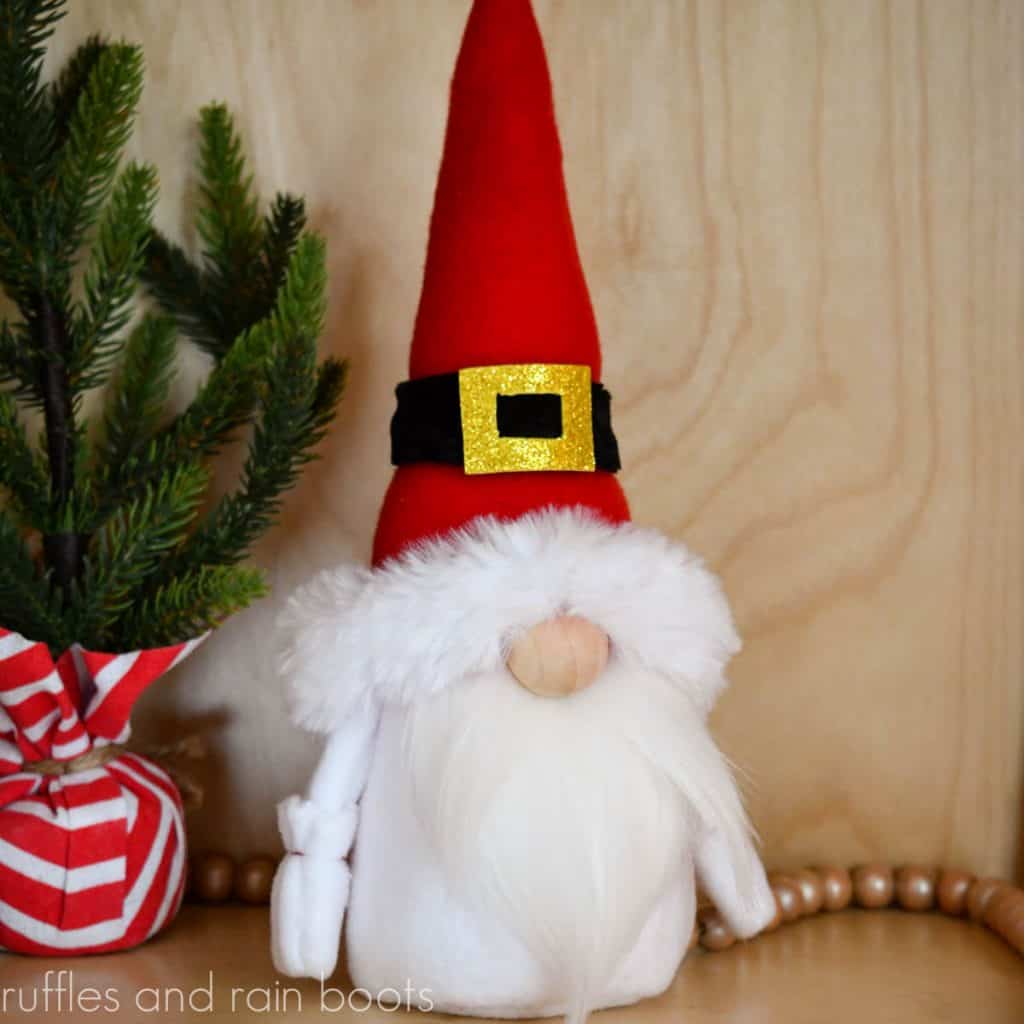
Easy Santa Gnome for the Holidays
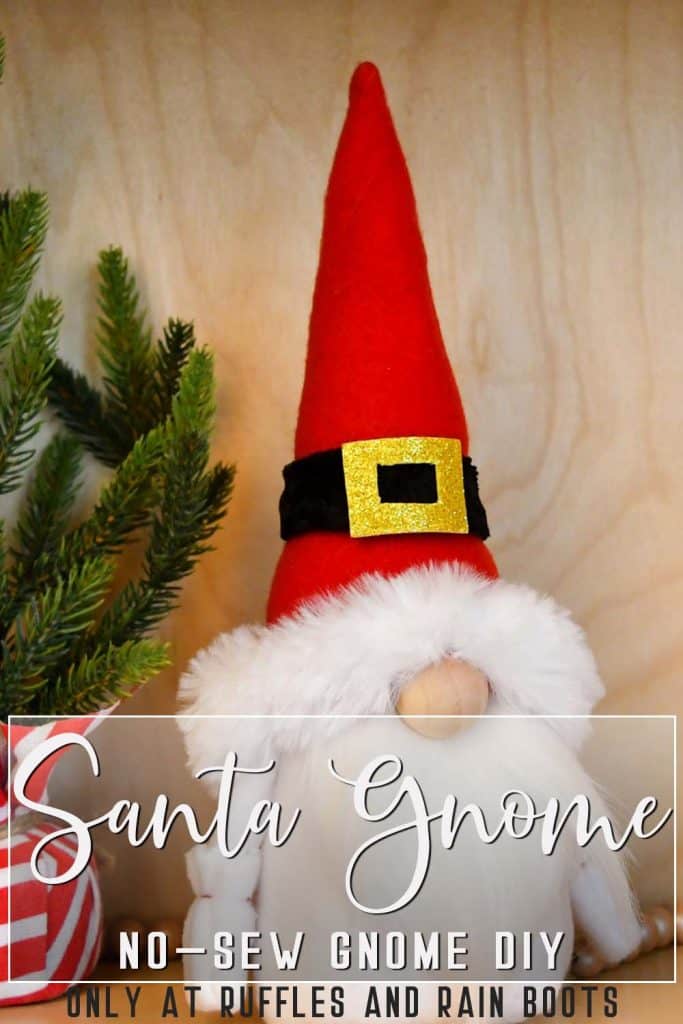
Here at Ruffles and Rain Boots, I adore crafting for the holidays. Today, I made a reader-suggestion for an “easy as sin Santa hat gnome.” After I was done chuckling at that description, I knew we could come up with something.
This holiday gnome only takes about 35-40 minutes to make and uses a hot glue gun – you can’t get much easier than that! If you’d like to make this fun Christmas gnome, keep reading.
Please Save or Share This
If you have to gather materials, please save this to a crafting pin board or share it to your favorite Facebook group so you’ll know where to find it.
As an Amazon Associate, I could earn from qualifying purchases. There could be affiliate links in this article.
Tips for Making These No Sew Christmas Gnome with Arms
- Get the Scandinavian Sweeties pattern here. NOTE: it is a sewing pattern, but because I have now tested it fully as a no-sew gnome pattern, this is the one you want.
- Use fleece for the body and hat if you are new to making gnomes. It is a very, very forgiving fabric and is thick enough to cover any bumps from the weight or fill.
- If you have it (or can find it), I recommend a black velvet ribbon for the Santa belt. I used a crushed velvet only because I had it on hand.
- Faux fur can elevate the look of your Christmas gnomes and you can learn to cut faux fur the right way by watching this quick tutorial.
How Do I Make This No-Sew Santa Gnome?
Below is the written tutorial for this cute little holiday gnome. If you are a visual learner, you can see the full, step-by-step No Sew Santa gnome tutorial here on the YouTube channel.
Easy Santa Gnome for Christmas

This easy Santa gnome is going to make the most adorable Christmas decor. You do not need a sewing machine - just grab a glue gun and let's get crafting this cute no-sew gnome pattern.
Materials
- Scandinavian Sweeties Pattern
- 1/8 yard Fleece, color 1 (red)
- 1/8 yard Fleece, color 2 (white)
- 1 inch Wood Round
- Black Material or Ribbon for belt
- Gold Foam (or buckle) for belt
- Poly Pellets
- Poly Fill
- Faux Fur (I am using Mongolian in white)
Tools
- Hot Glue Gun and Glue Sticks
- Scissors and Exacto Knife with cutting mat
- Pins
- Blush and Brush (optional)
- Red embroidery thread and needle
Instructions
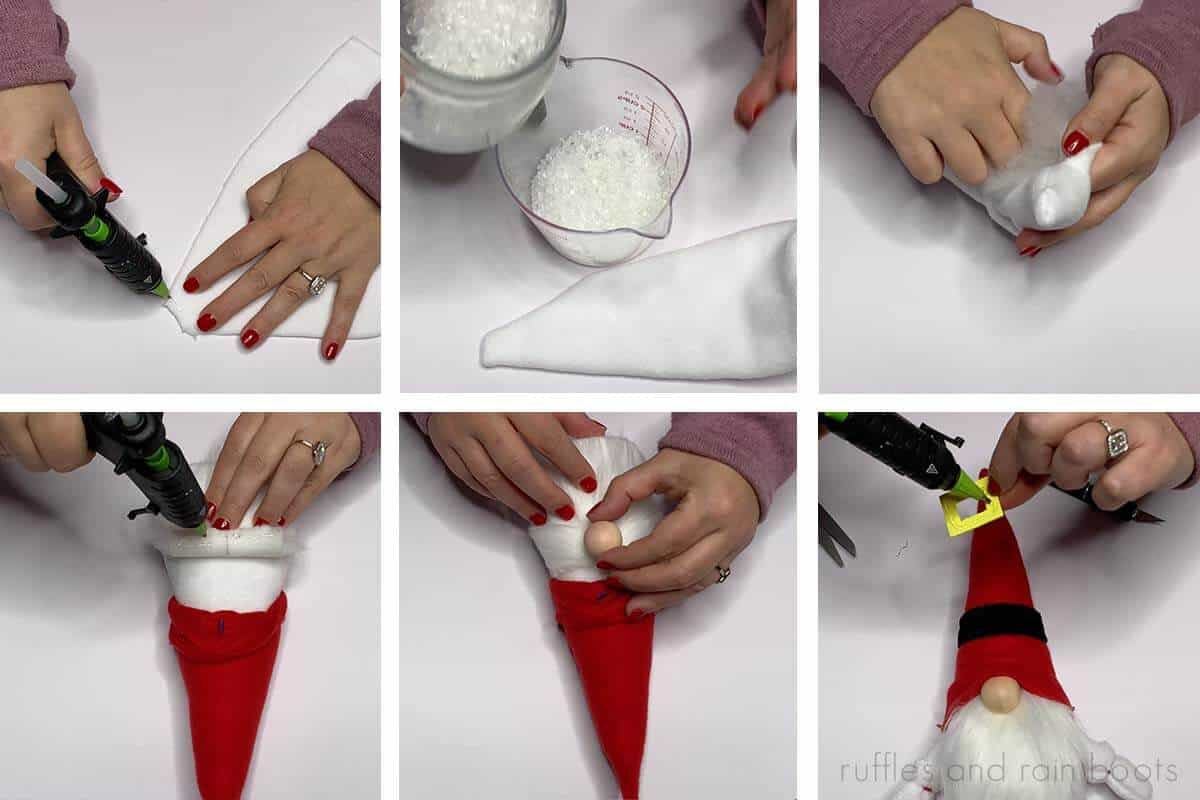
- Prep: Use the Scandinavian Sweeties pattern to cut out the body, base, hat, arms, and tie top mittens (the longer ones) from fleece.
- Put right sides the of the body, hat, and mittens and glue. Glue the wrong sides of the arms. Add the base round after the body has been assembled. Turn everything right-sides out.
- Add the weight and fill to the body and glue up the opening. Slip on the hat.

- Cut the beard from faux fur and position. Split the fur to the fabric backing and add the nose with hot glue. Optional: you can add blush to the nose.
- Place the arms fully into the mittens, ensuring the seam is in the middle and at the back. Secure to the body and then secure the hat all the way around.
- Add the belt material on the hat about halfway up and then glue on the buckle. Display your adorable Santa Gnome!
Notes
The Scandinavian Sweeties is the best-selling pattern from Ruffles and Rain Boots. If you would like to see all of the inspiration gnomes I've made with it, just search, "Scandinavian Sweeties" here on the Ruffles and Rain Boots.com.
Recommended Products
As an Amazon Associate and member of other affiliate programs, I earn from qualifying purchases.


More Christmas Gnomes with Arms You Might Like
- Standing Santa Gnome – If you want to WOW everyone, make this no sew Santa gnome (using a Styrofoam cone).
- No-Sew Holiday Gnomes – Oh, these little guys are the cutest Scandinavian gnomes, aren’t they?!
- Christmas Gnome with Posable Arms – This guy is big, can hold anything you’d like, and is such a showstopper.
Please Share or Save This Free Tutorial
Your shares are how this site grows and I am sincerely grateful. Please share this to your favorite crafting group on Facebook or save it to a Christmas pin board.
Meet the Creator
Hi there, I’m Sarah Nenni-Daher. I’m a crafty gal and always have at least 14 projects going at once. I am a crafter, designer, DIYer, and pattern maker. I share my creations here and in the Ruffles and Rain Boots® Shop.
Here at Ruffles and Rain Boots®, you’ll find DIY gnomes, crafts, gifts, cupcakes, laser crafts, and so much more. I love sharing video tutorials over on YouTube and chatting with other crafters in my Facebook groups. We’d love to have you!