
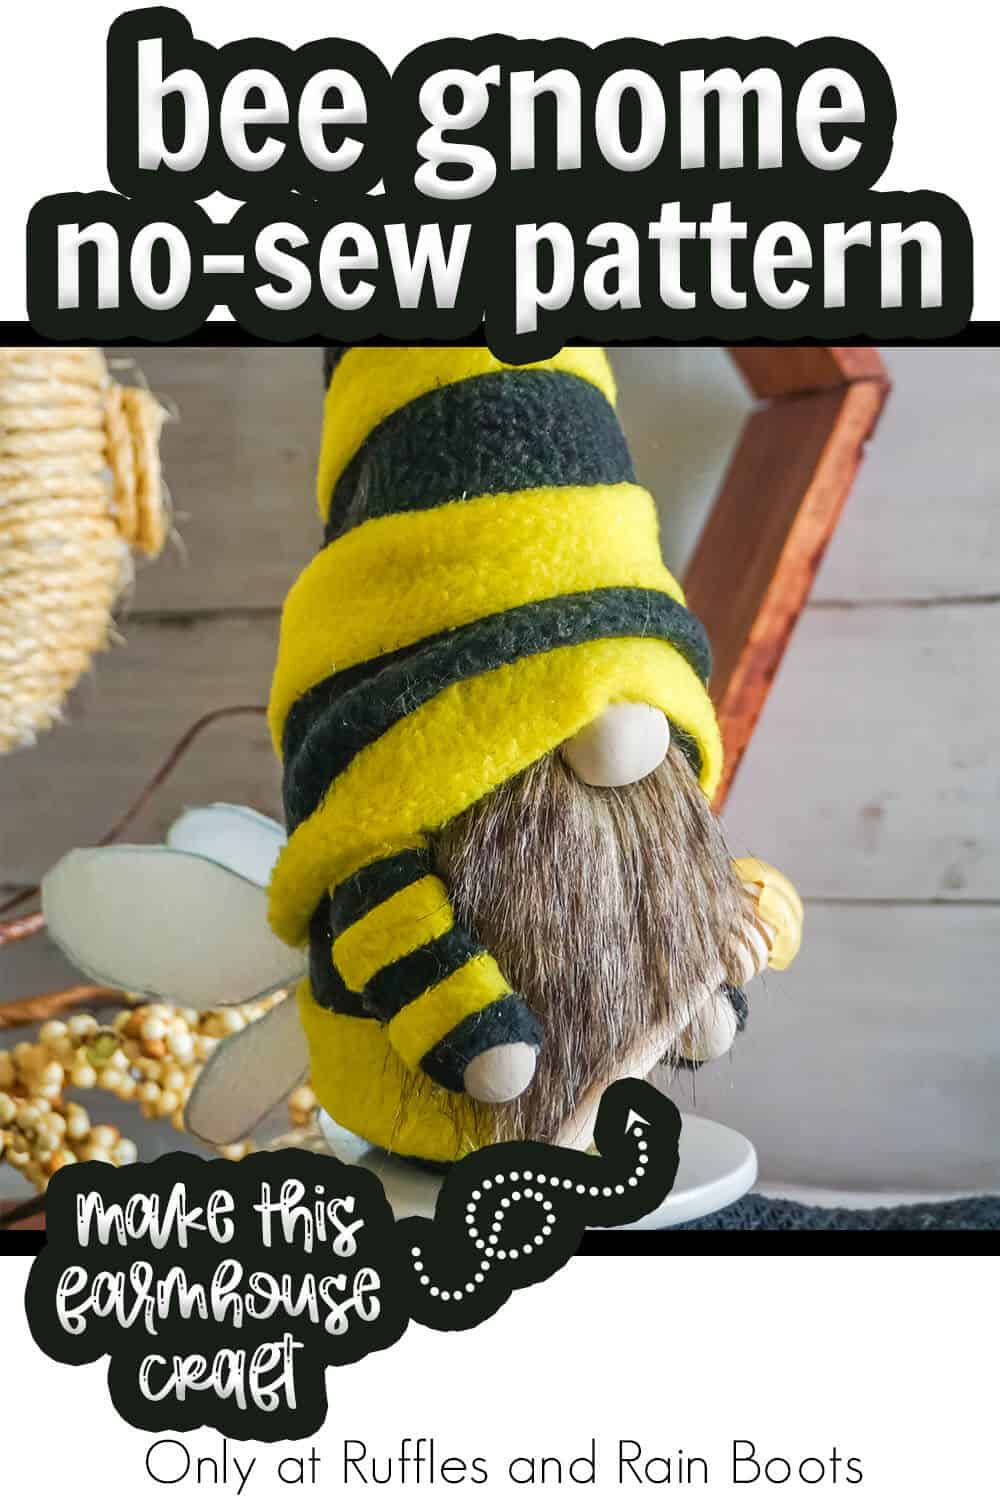
This Adorable Bee No-Sew Gnome Pattern is So Fun and Has DIY Wings!
Fun and definitely an adorable gnome, this bee no-sew gnome pattern is a great way to bring a buzz of spring to your farmhouse decor!

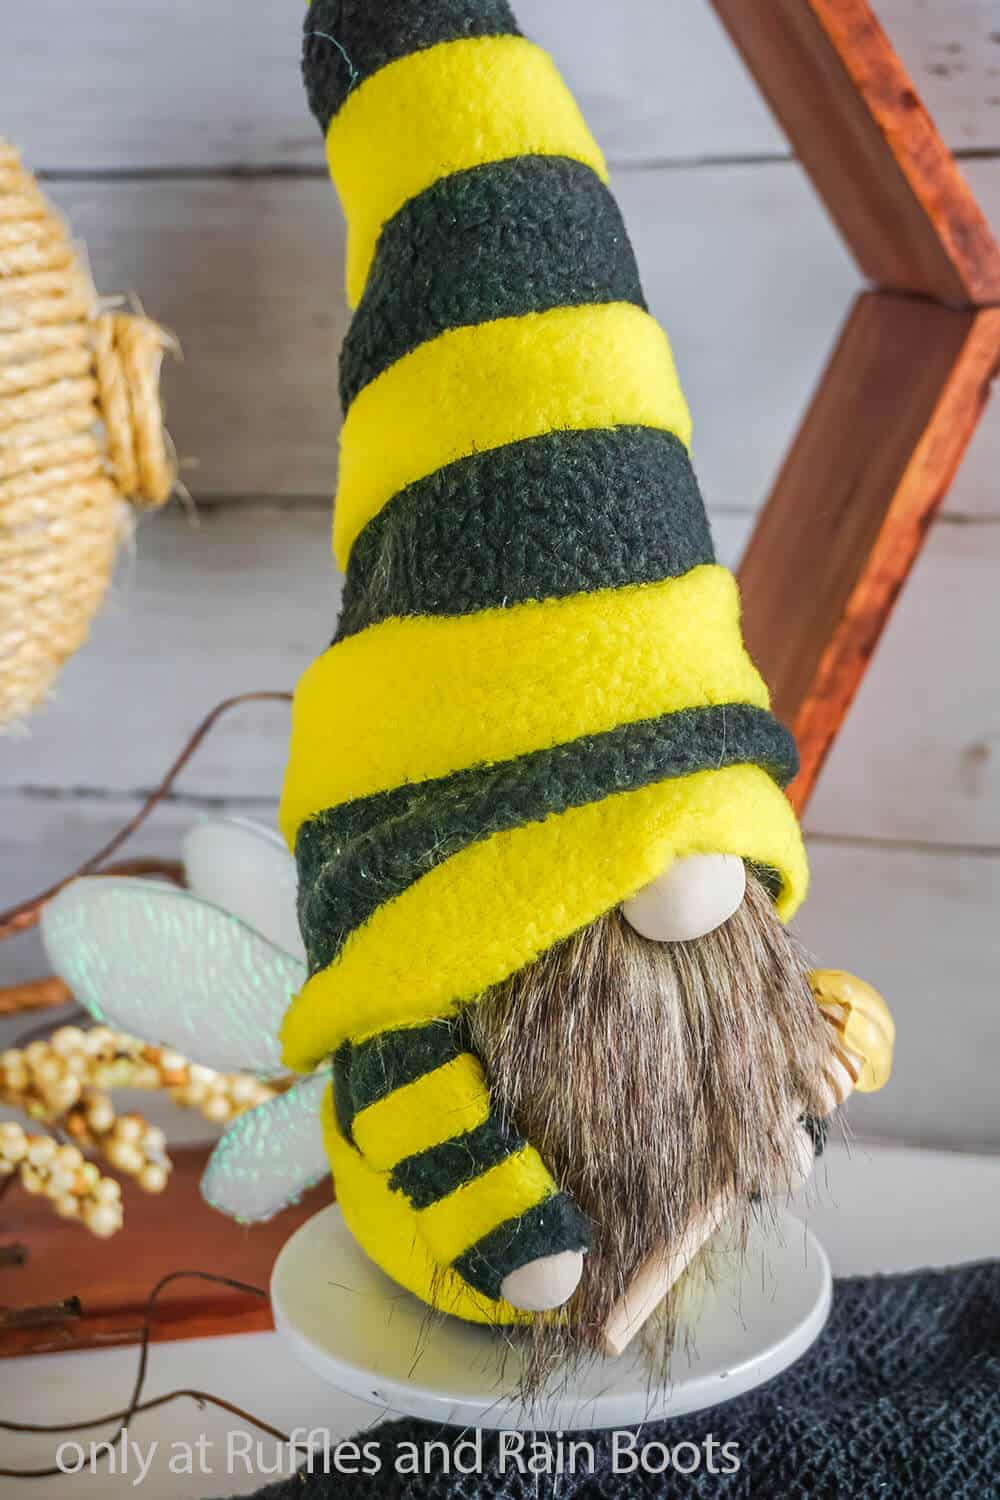
Bee No-Sew Gnome Pattern
Here at Ruffles and Rain Boots, we have be abuzz with spring this year. I’ve just had this bee up my bonnet about, well, bees. I just can’t get enough. The wings, the bright yellows on black. It’s just stunning. Plus honey is so sweet, I can’t stand it. So, of course, I wanted to make a bee no-sew gnome pattern to bring it all together!
RELATED READING: MINI MAGNETIC KISSING BEE GNOME PATTERN
I used a simple basic gnome pattern that relies on easy concepts, then just added a little bee magic to make it all so buzzy-tastic! If you’re ready to make your own farmhouse bee gnome, let’s get started.
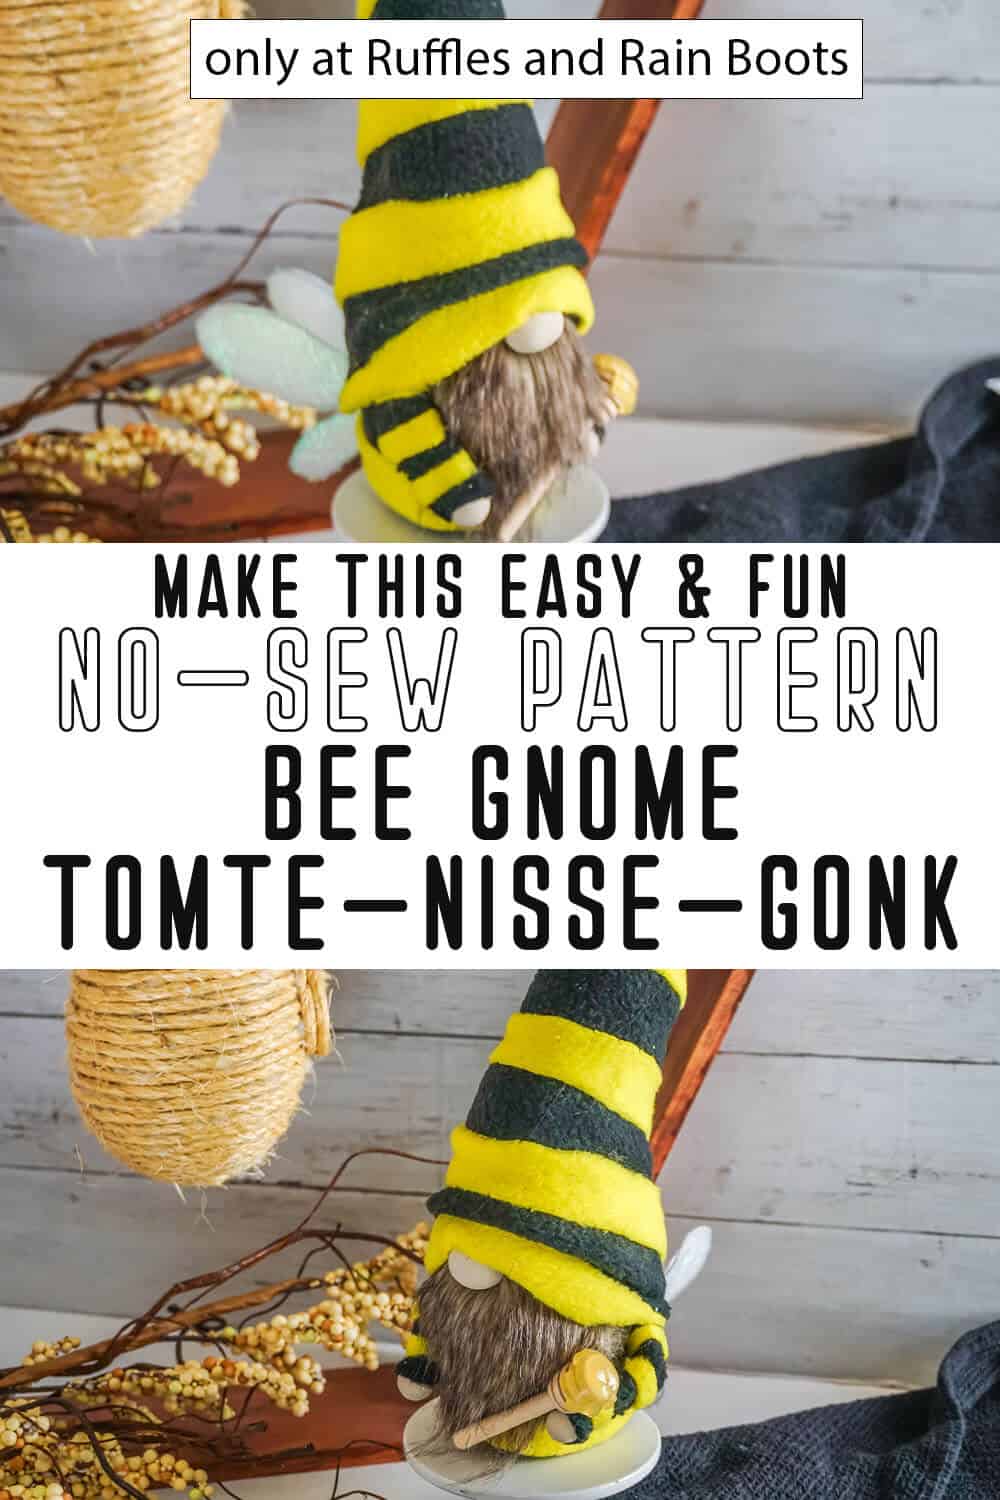
No Time to Make This Now? Pin it for Later
You’re busy, I get it. Pin this to your favorite spring crafts board on Pinterest and it’ll be here when you’re ready.
As an Amazon Associate, I can earn from qualifying purchases.
Tips to Make This Bee Gnome Pattern
- Start by snagging this easy no-sew gnome pattern here for the easy no-sew Tucked Gnome (my most popular gnome pattern) that I used to make this bee gnome. It’s perfect for beginners, quick, and reduces the number of cuts necessary to make a gnome. Plus, if you want to really reduce cuts, or even if you want to undertake multiple bee gnomes at a time, you can get the pattern AND cut files for Cricut or Silhouette here!
- One of my favorite things about gnomes is the noses. I have a tendency to make my gnome noses using whatever round, beige thing that works for that specific gnome. Whether that’s a wooden ball or a clay bead, then so be it. My favorite is wood beads like these, though, because they’re very consistent in both shape and color, plus they can be painted or stained if you need a different shade.
- If you hesitate to make gnomes because of the fancy beard, don’t let yourself be intimidated. Even if this is your first gnome, you can absolutely get a beautiful, lush beard in just a few minutes. All you have to do is flip the fur face-down on your table, then cut the fabric backing only with a straight-razor or craft knife, taking care not to cut the fur bit – just the fabric. Then you just gently pull the cut beard piece away. That easy.
Get the Gnome Pattern
Click below to add this fun pattern to your cart. So many gnomes can be made with this!

How Do I Make this Bee No-Sew Gnome Pattern?
I’m so glad you asked. Below is our written tutorial.
Bee No-Sew Gnome Pattern

Such a fun way to bring a little spring sunshine to your farmhouse decor, this bee no-sew gnome pattern is absolutely adorable. Plus, it's really easy, so I feel like maybe a whole hive is in order!
Materials
- 1/4 yard Black Fleece Fabric
- 1/4 yard Yellow Fleece Fabric
- 1/8 yard Mongolian Faux Fur
- 2 Small Clay Balls or Wood Beads for Noses
- 4 Extra Small Clay Balls or Wood Beads for Hands
- Poly-Beads
- Small Amount of Poly-Fill
- 3 12-inch lengths Floral Wire
- 1/8 yard Shimmer Transparent Fabric
Optional:
Tools
- Hot Glue Gun and Glue
- Razor Blade or Craft Knife
- Scissors
- Wire Cutters
- Parchment Paper
Instructions
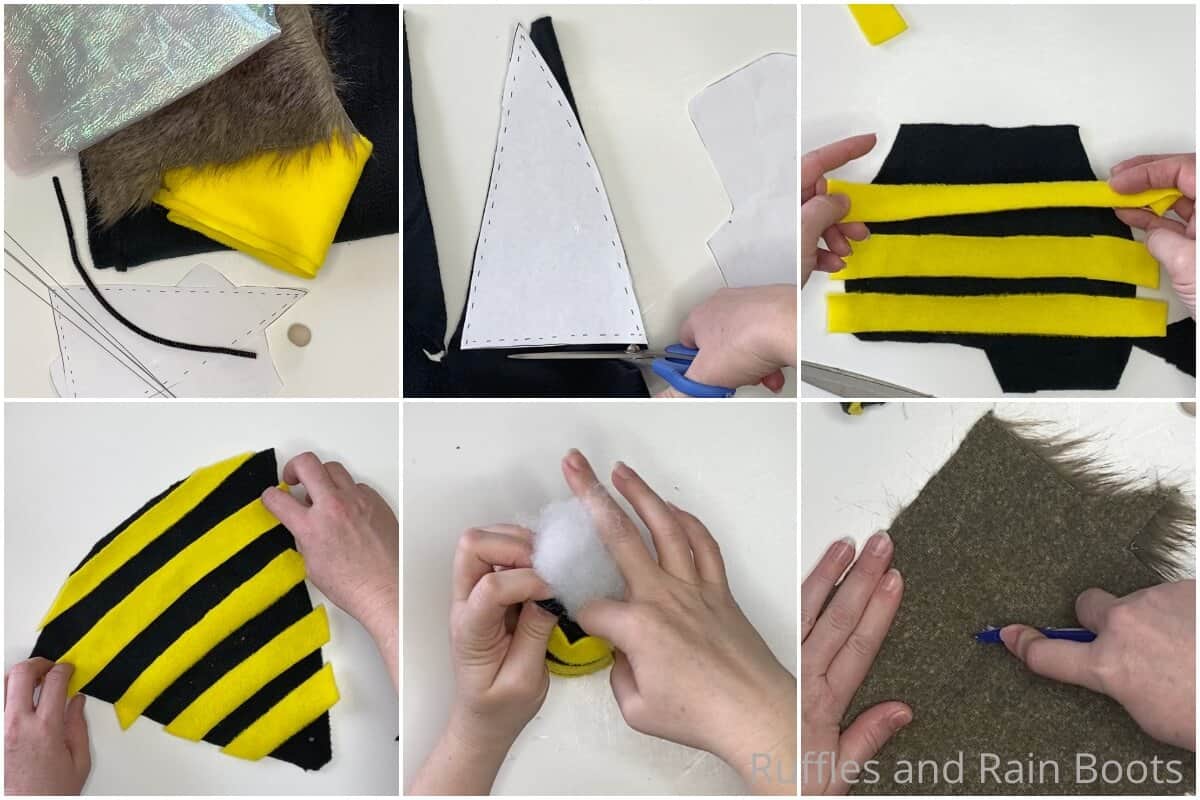
- Trace and cut out one large gnome body shape from the black fleece fabric. Additionally, fold the fleece fabric over to cut one hat shape from the black fleece fabric (just to simplify the hat for this bee variation).
- Cut 9 to 10 1 1/2-inch wide strips of yellow fleece, long enough to go from one end of the body shape and/or hat shape to the other. Hot glue 3 of the yellow strips on top of the body shape, equally spaced apart, leaving the ends loose so you have some flexibility to make sure the ends meet-up when the body is assembled. Hot glue the remaining yellow strips on top of the hat shape, equally spaced apart, leaving the ends loose so you have some flexibility to make sure the ends meet-up when the hat is assembled.
- Fold the gnome body shape in half and run a hem along the open side with your hot glue. Take care to match-up the yellow strips, adjusting as necessary and hot gluing them in place to secure. Fold the flap of the gnome body shape over and close the bottom of the gnome with hot glue or a seam. Allow the glue to dry fully.
- Fill the gnome body with 1-2 cups of Poly-Beads. Tuck a small portion of Poly-Fill into the top of the gnome body to hold the Poly-Beads inside.
- With your hot glue gun, run a hem along open side of the hat piece. Take care to match-up the yellow strips, adjusting as necessary and hot gluing them in place to secure. Allow glue to dry completely. Fill the hat a little with a small amount of Poly-Fill if you want a pointy hat; if you want a floppy hat, just put a tiny amount of Poly-Fill in the hat. To make the hat bendy and shapeable, hot glue a floral wire into the hat by bending one end over to make a small loop (so the wire won't poke through the fleece) then hot gluing the wire into the hat along the seam. Trim the wire to end just inside the bottom of the hat and bend this end of the wire over to make a small loop, then hot glue this in place as well,
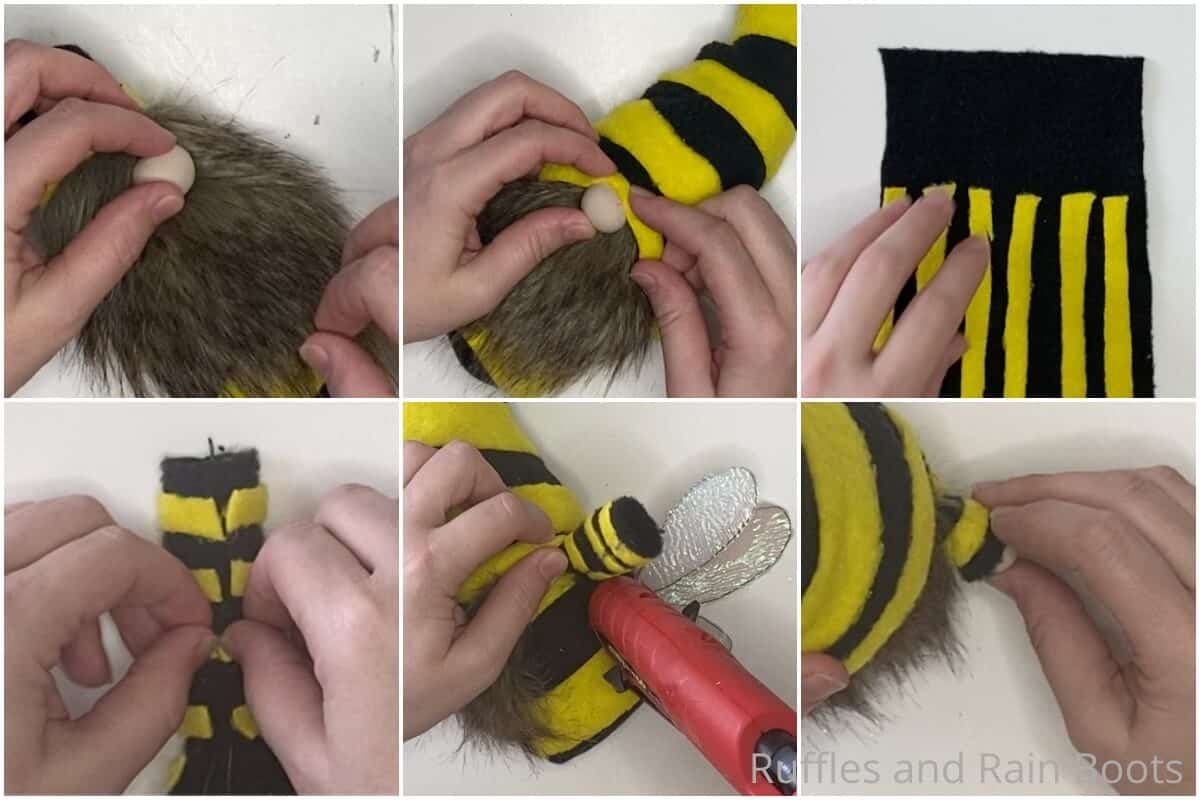
- Cut out the beard shape from the Mongolian fur by turning the fur over and cutting only the fabric with the razor blade or craft knife.

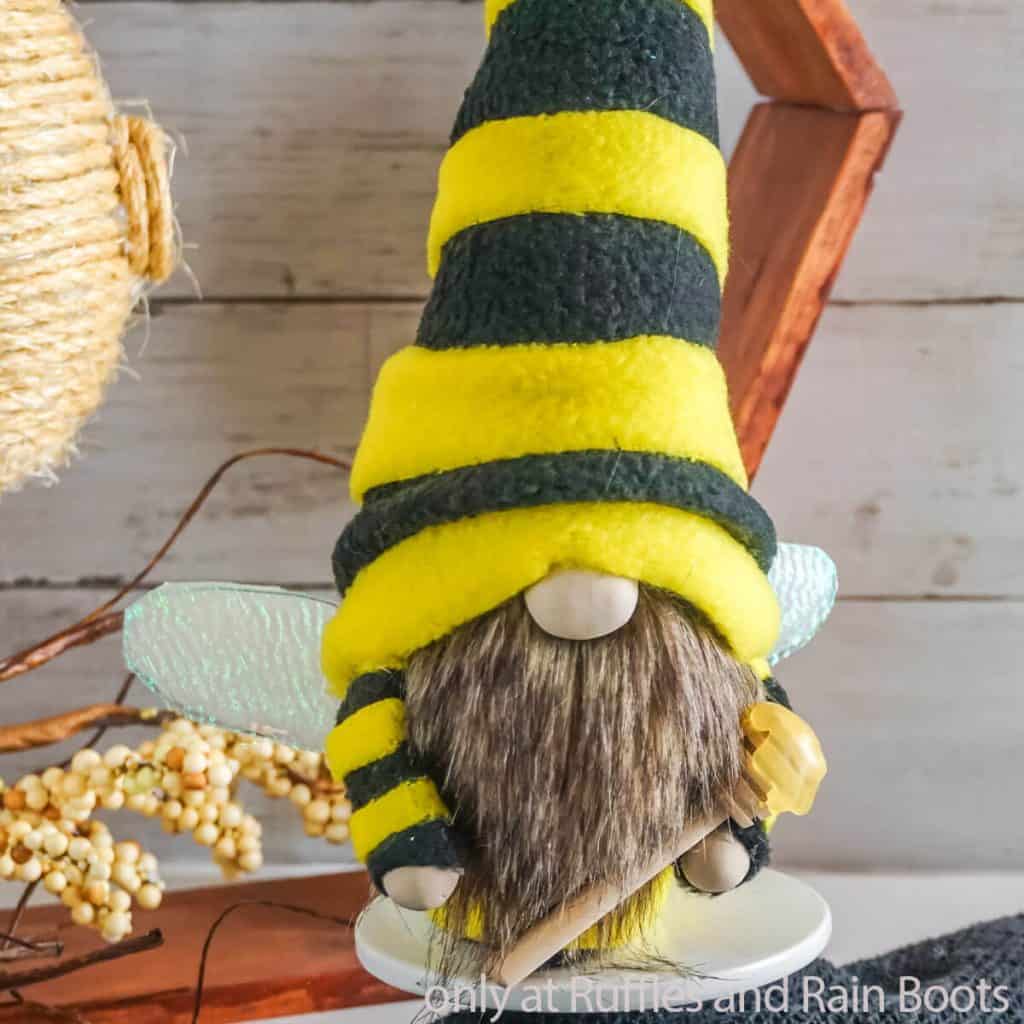
- Affix the beard to the gnome by hot gluing the beard to the body, about 2 inches below the edge of the gnome body. Hot glue the nose in place about 1-inch below the top of the beard. Place the hat on top of the gnome's head, tucking it down over the top of the nose.
- Hot glue the hat in place in the back and sides in just a couple of places--not the whole way around, then one little dot on the nose to make a wrinkle (this is the best part).
- Cut out two arm shapes from the black fleece. Cut 6 to 8 strips of yellow fleece, about 1 inch wide and long enough to cover the arm shapes from one end to the other on the short side. Hot glue 3 to 4 of the yellow strips on top of each of the arm shapes, equally spaced apart, leaving the ends loose so you have some flexibility to make sure the ends meet-up when the arm is assembled. Place a line of hot glue down one long side of the arms and hem it, taking care to match up the yellow strips and hot gluing them in place. Fill each arm with a tiny amount of Poly-Fill, followed by a small length of floral wire, to make the arm bendy.
- Slip the arm up into the hat on the side and hot glue it in place. Hot glue the hands in place on the ends of the arms.
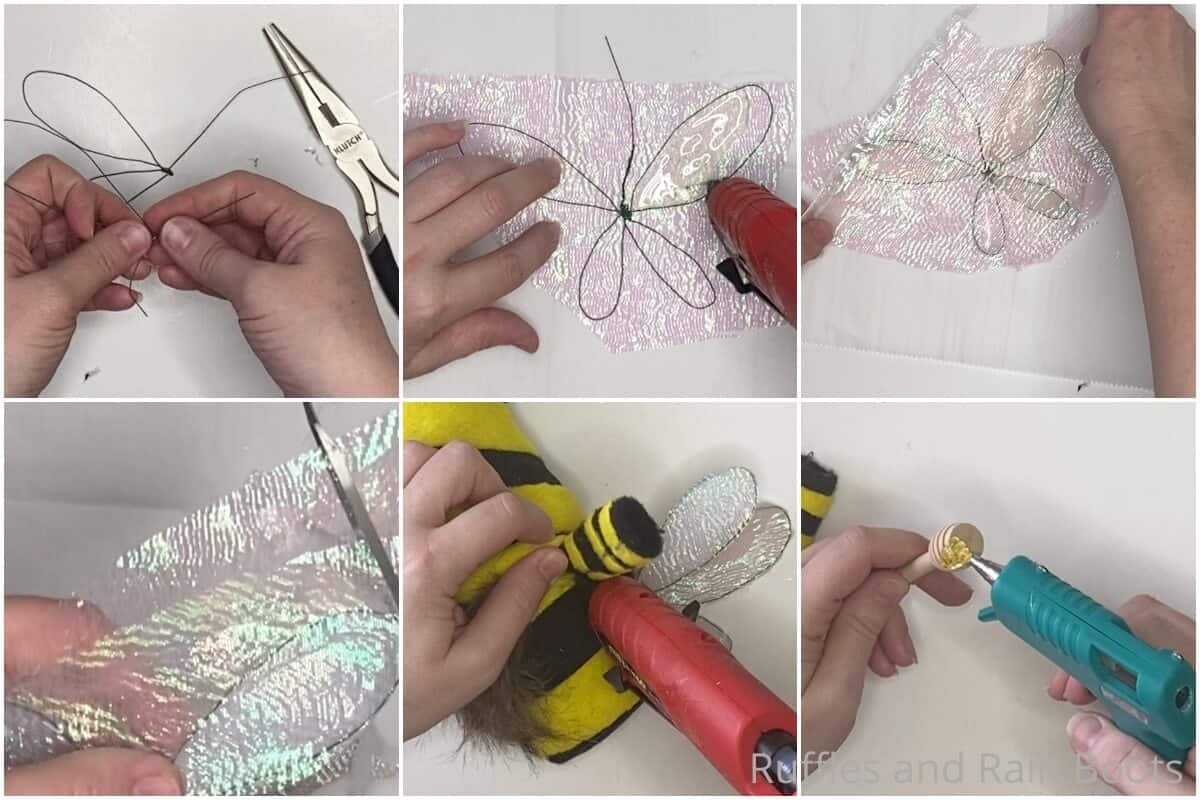
- To make the bee wings, fold a floral wire into a 3-inch long oval, twisting the wire onto itself to make the large wing on one side, then fold the excess wire into a 2-inch long oval, twisting the remaining wire over 3-4 times. Trim excess wire off if necessary. Repeat to make a second wing set, but rather than trimming the excess wire, wrap this around the wrapped portion of wire on the first set of wings, aligning the two larger wings together and the two smaller wings together.
- On top of parchment paper, press the joined wire wing forms flat on top of a piece of the shimmer transparent fabric that is wide enough and long enough to cover the whole wing span. With the hot glue, fill in the wire wing form with hot glue, pressing the wire into the glue. Place a second piece of shimmer transparent fabric on top of the wings, lightly pressing it into the hot glue. Allow the glue to cool completely.
- Peel the parchment paper away from the wings, leaving the transparent shimmery fabric attached to the wire wing form with the hot glue. Trim away any excess fabric or hot glue outside the wire wing form.
- Bend the wings to form the shape desired, then hot glue the center of the wings, where the wires are wound together, to the back of the gnome just below where the hat is attached along the back seam.
- Make the honey dipper by applying a generous amount of yellow hot glue to the end of a wooden honey dipper and allowing the yellow hot glue to cool completely. Note: I used a second hot glue gun to apply the yellow glue because I didn't want yellow hot glue in my primary glue gun (it's my favorite). Stand your gnomes up and enjoy!
Notes
This gnome stands 10-inches (ish, depending on how twisty you make your hat, of course).
For more fun no-sew patterns for gnomes, visit Ruffles and Rain Boots (we have lots...).
Recommended Products
As an Amazon Associate and member of other affiliate programs, I earn from qualifying purchases.


More Spring Gnome Patterns You Might Like
- Adorable Mushroom Cap Gnome – I love how fun it is to make a little mushroom gnome with this quick and fun tutorial!
- Bunny Gnome Sewing Pattern – Making a bunny gnome for spring decor has never been easier – plus this super cute gnome pattern can make so many more fun gnomes, you’ll be amazed!
- Spring Cone Gnome with Rain Boots – A little gnome with rain boots and a cup of coffee, this is one for the entryway, for sure!
Please Save This to Pinterest
Your shares are how this site grows and I am sincerely grateful. Know a friend who’d like this? Please share it on Facebook or save it to your favorite DIY gnome patterns board on Pinterest.

Used this as my initial template for a recent project. It worked out wonderfully! Thank you!