
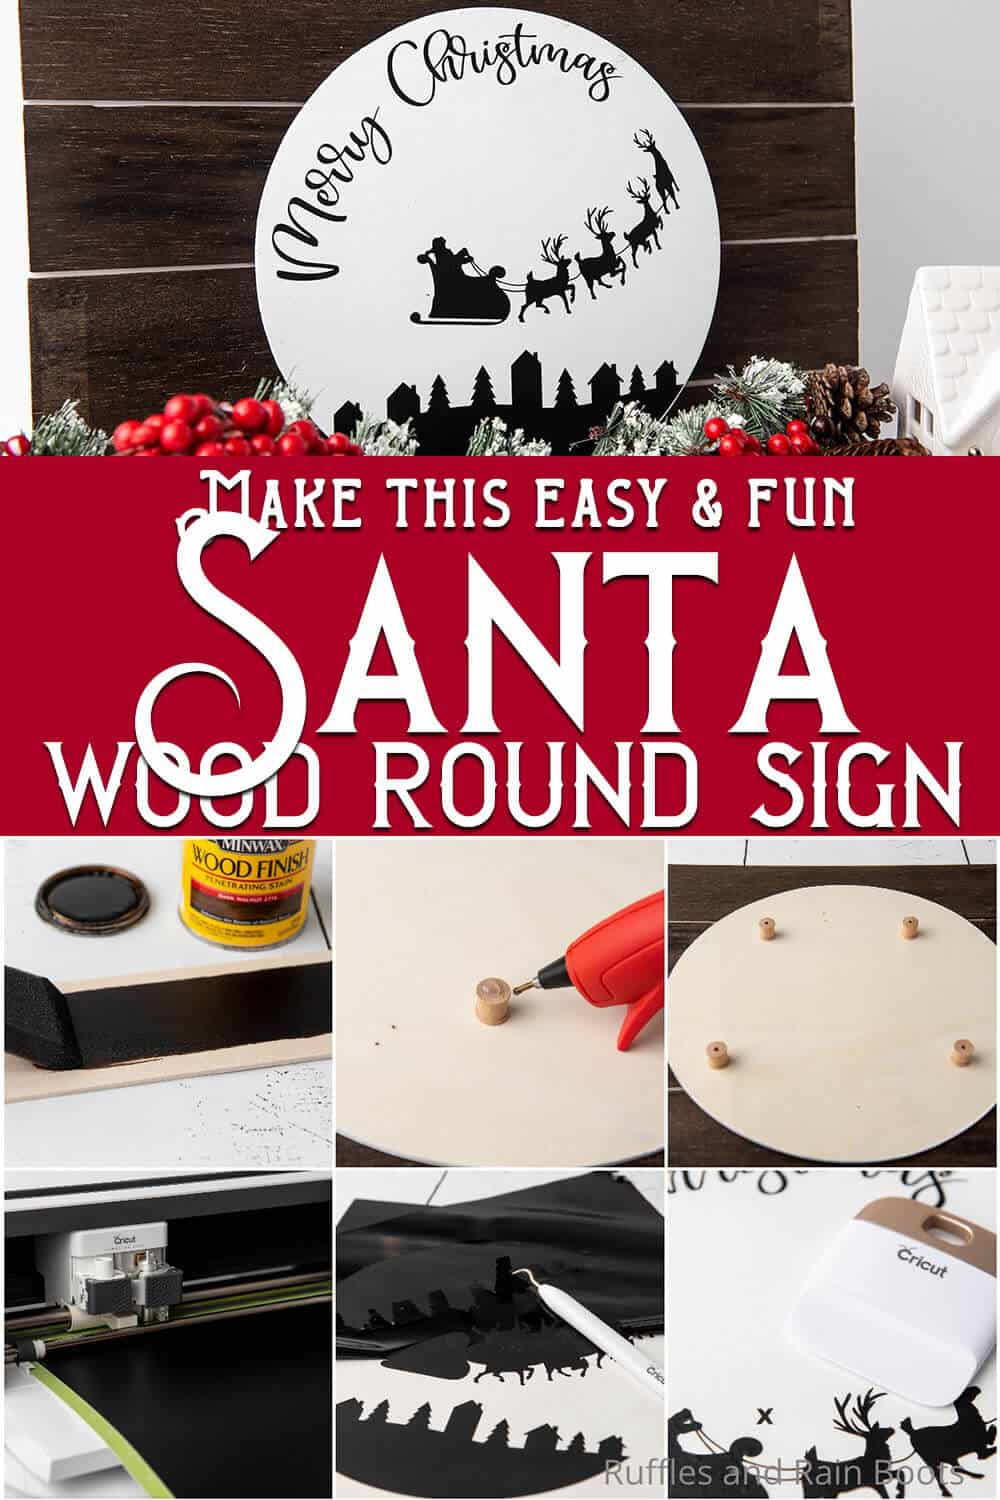
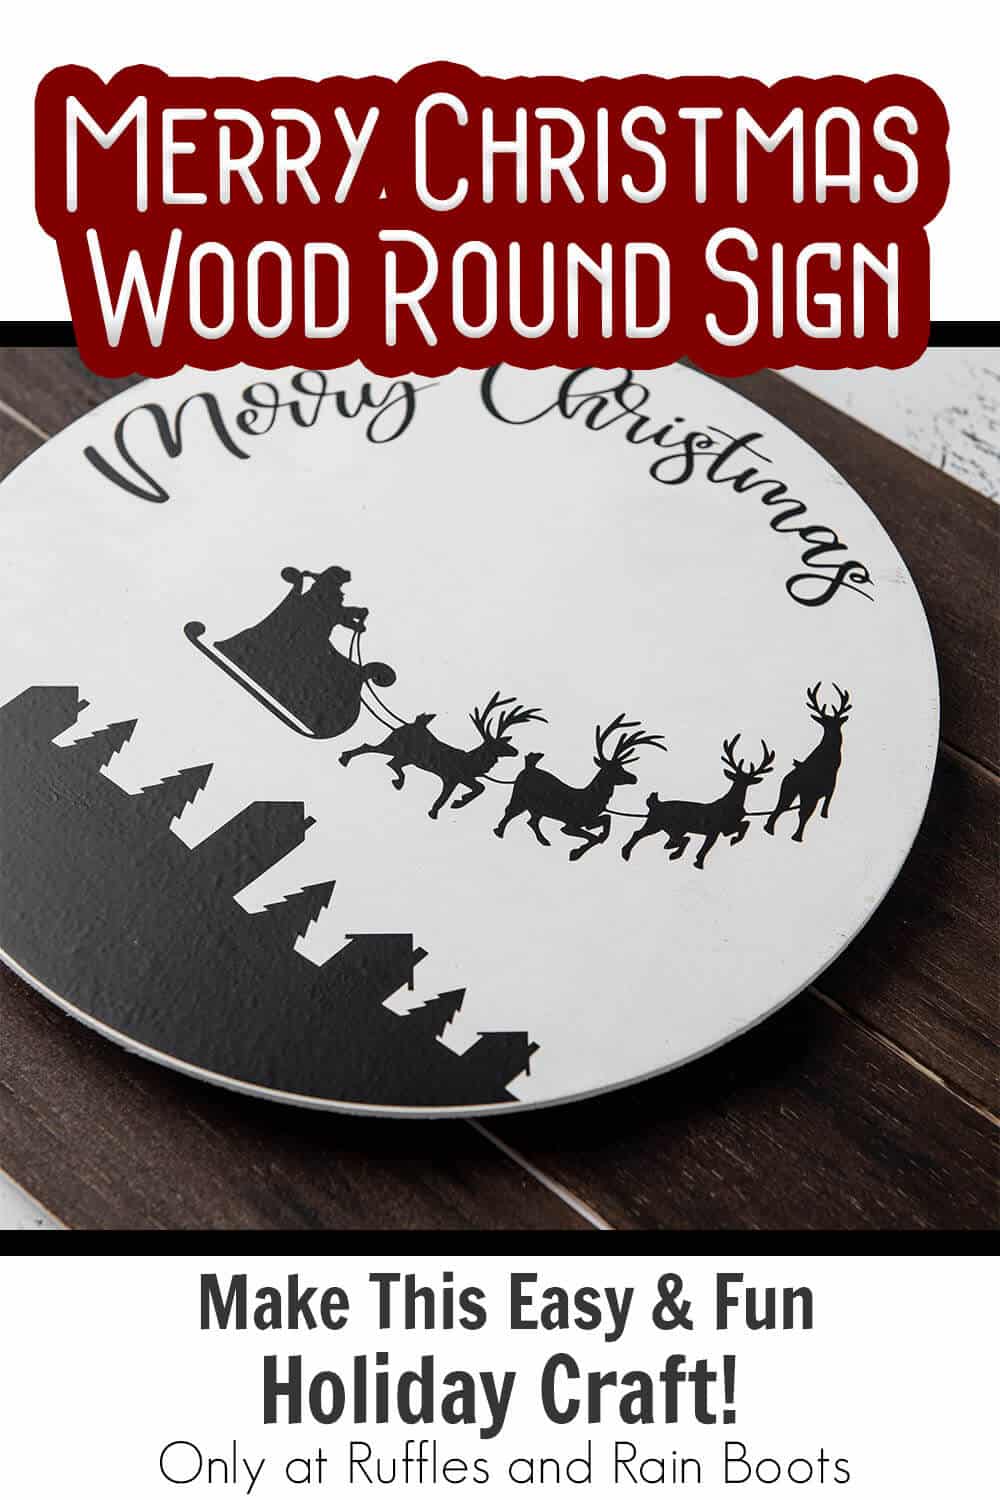
This Merry Christmas Wood Round Sign is a Quick Holiday Craft!
Such a simple holiday craft idea, you can make this fun and beautiful Merry Christmas wood round sign in just a few minutes with supplies you probably have!
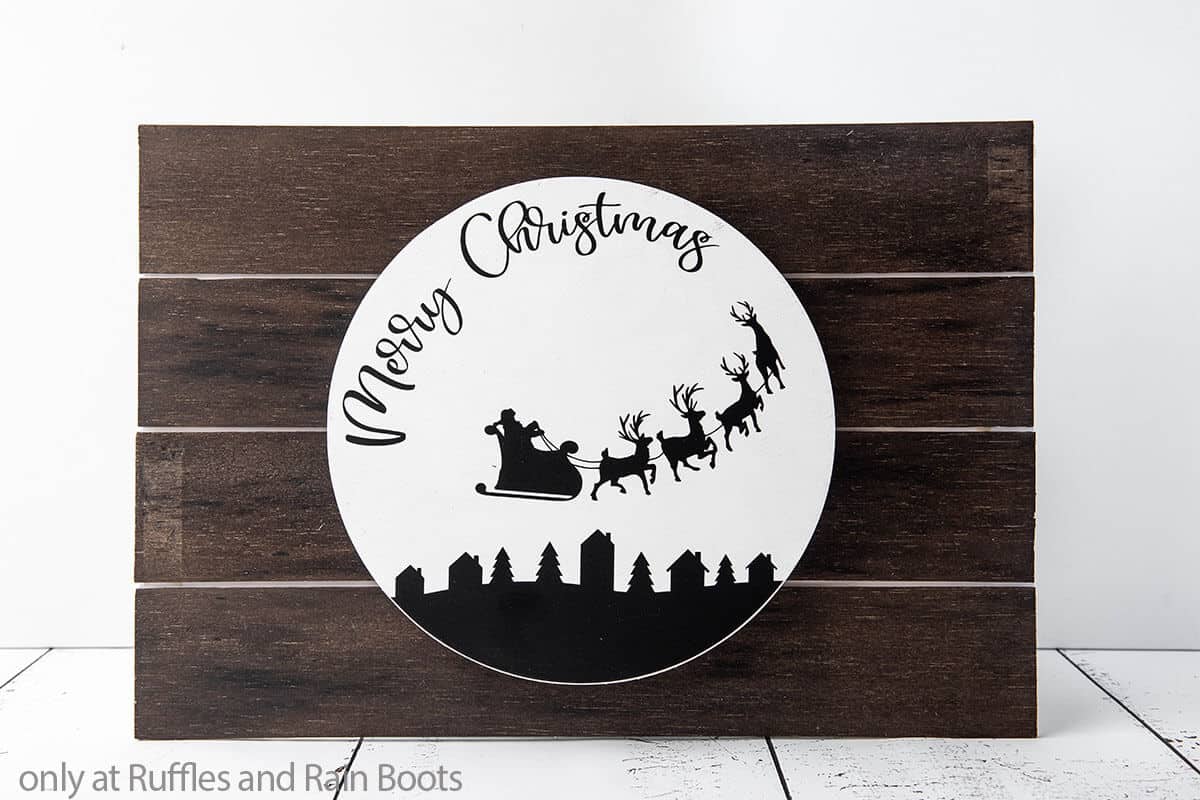
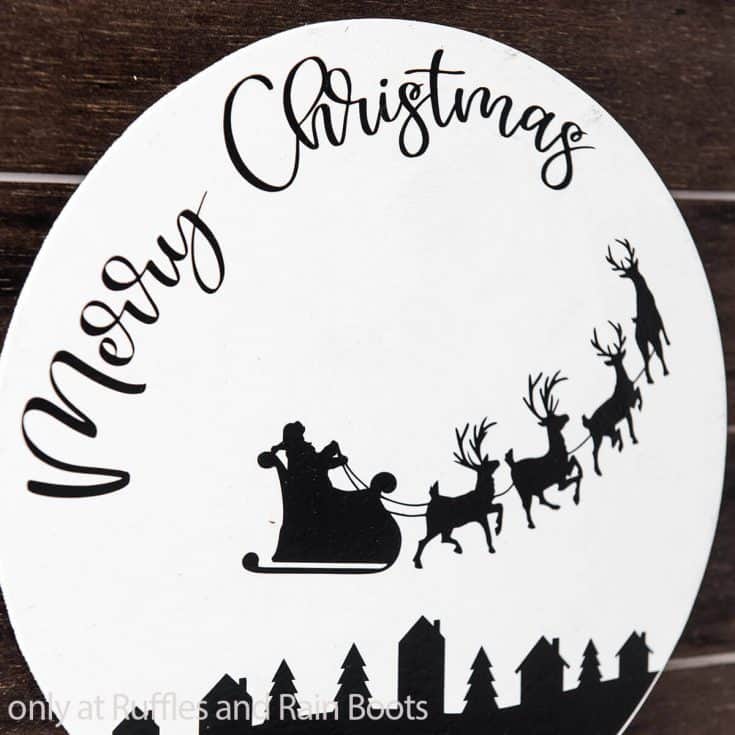
Merry Christmas Wood Round Sign
Here at Ruffles and Rain Boots, we are all about the simple additions to our farmhouse decor this year. I mean, I’m home, I’ve got time on my hands, and I love crafting. So, it just makes sense. Plus, handmade crafts make great gift ideas. So, I took it upon myself to design and make this fun and surprisingly easy Merry Christmas wood round sign.
RELATED READING: HOME FOR THE HOLIDAYS WOOD SIGN FOR CHRISTMAS
Full of farmhouse charm, but really capturing the spirit of Christmas, this fun Christmas sign is everything I needed for a centerpiece on my entry table. If you’re ready to make a great Cricut craft for Christmas, let’s get started.
No Time to Make This Now? Pin it for Later
You’re busy, I get it. Pin this to your favorite holiday crafts board on Pinterest and it’ll be here when you’re ready.
As an Amazon Associate, I can earn from qualifying purchases.
Tips to Make this Christmas Sign
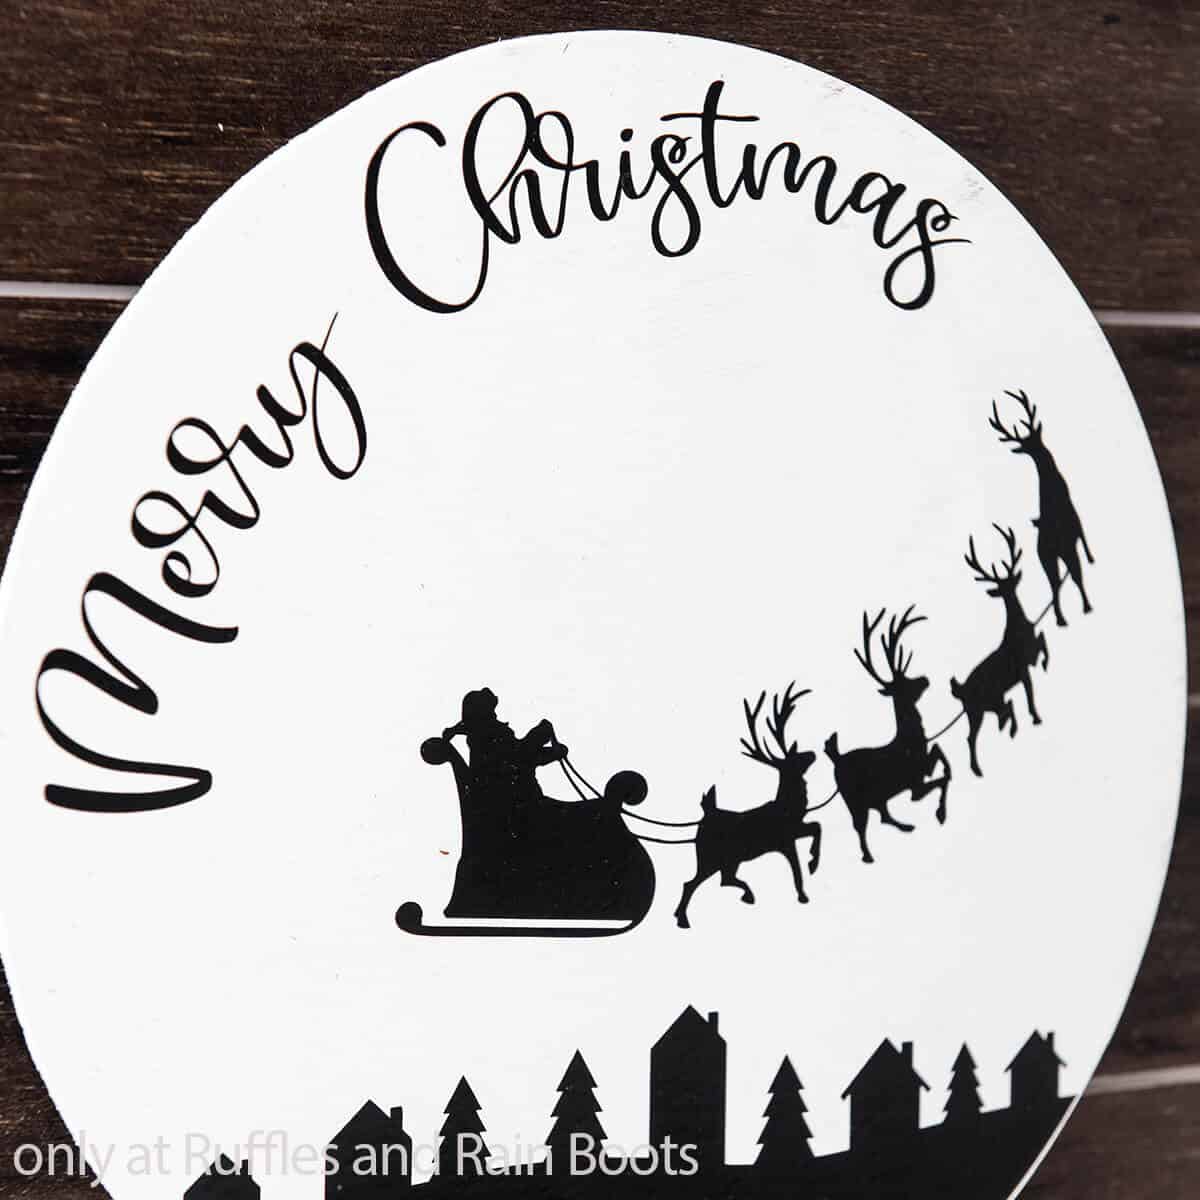
- First, grab the Merry Christmas cut file set here. All the holiday charm comes from that one element. But you don’t have to pick that one if you don’t want. I have several available that would work really well for this same craft, so just poke around in the shop – you’re sure to find something you’ll love!
- Make sure to grab a large wood round like this one. I have been toying with the idea of using a live edge like the one I used for the farmhouse gnome fall display. But I didn’t have one on hand. So I went with the smooth for the time being.
- Don’t forget, even if you don’t have a Cricut or Silhouette to do the cutting for you, that doesn’t mean this project is out for you. You can cut vinyl with scissors. So just print out the JPG included in the cut file download set, then cut it out and use it as a template for your vinyl! See?! You can totally do this without all that expensive equipment!
How Do I Make this Merry Christmas Wood Round Sign?
I’m so glad you asked. Below is our written tutorial.
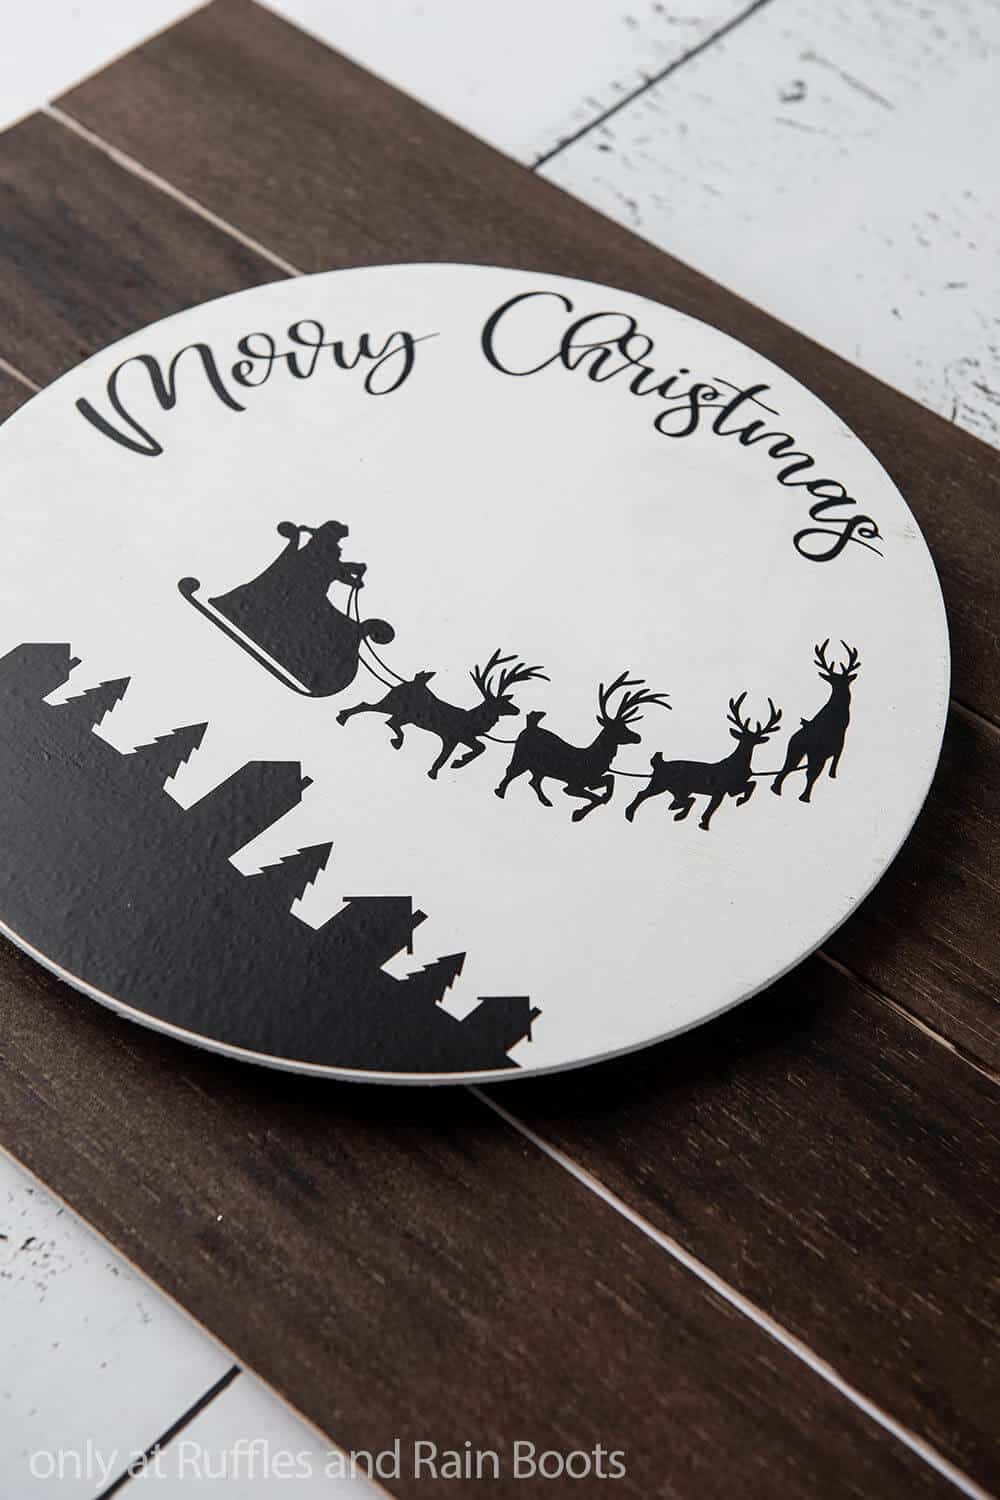
Merry Christmas Wood Round Sign
This Merry Christmas wood round sign is a beautiful but crazy-easy craft that takes almost no time at all. I have thought about making another for a gift for a friend!
Materials
- Merry Christmas Santa Cut File
- Black Permanent Vinyl
- Picture Hangers
- Dark Brown Wood Stain
- White Acrylic Paint
Wood
- 4 - 3 x 24-inch (Back)
- 1 - 10-inch Wood Round (Face)
- Bag of 1/2-inch wood spools
Backing
- 1 - 12 1/4 x 18-inch White Craft Foam
Tools
- Craft Knife
- Sponge Paint Brush
- Paint Brush
- Hot Glue Gun & Glue
- Cricut Explore Air 2 or Cricut Maker
- Blue (Light) or Green (Standard) Grip Mat
- Weeding Tool
- Scraper Tool
- Transfer Tape
Instructions
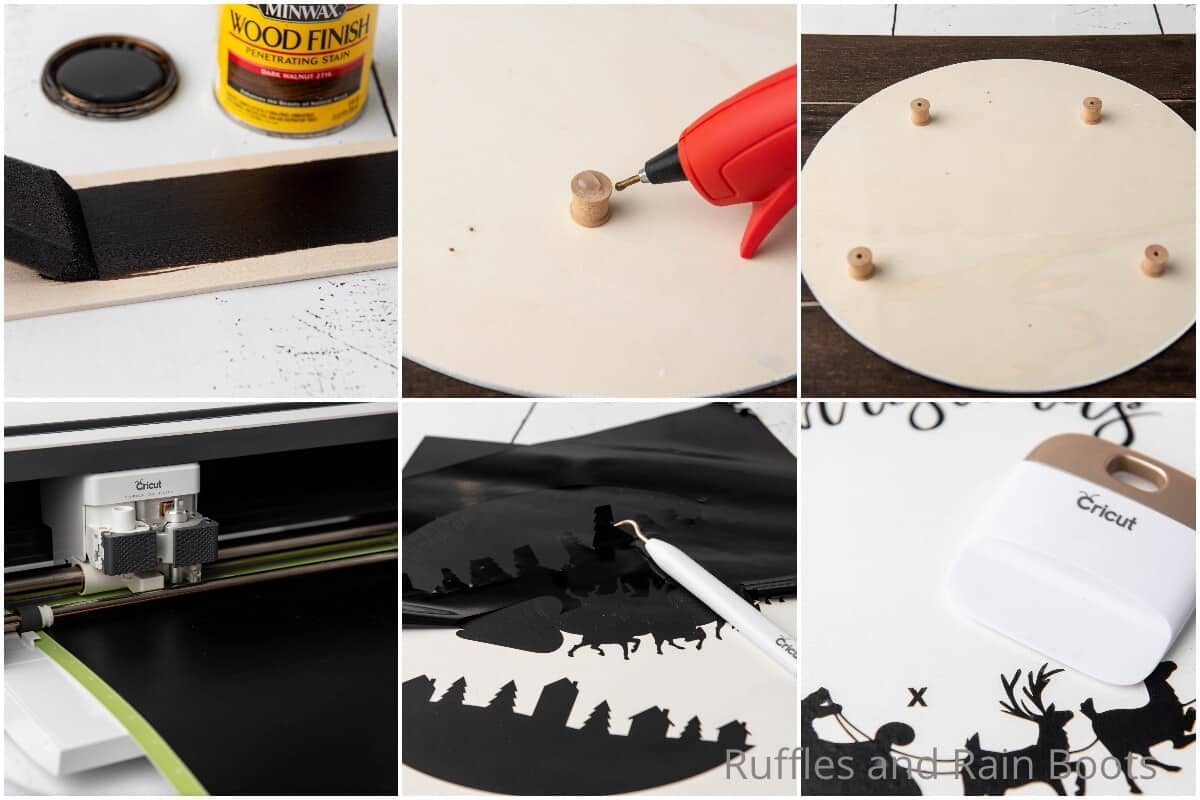
- Stain the wood back pieces with the dark wood stain and paint the face piece with the white acrylic paint. Allow these pieces to dry completely.
- Place the stained wood back pieces onto the white backing piece of craft foam. Lay the wood back pieces side-by-side, hot gluing them in place with small gaps of less than 1/4 inch to give a farmhouse look.
- Glue four wood spools to the back of the wood round face piece, spaced equally at the top, bottom and on both sides.
- Glue the spools on the wood round piece to the stained wood back pieces, centering the wood round neatly.
- Download the cut file set and upload it to Cricut Design Space, then follow the prompts to make the cuts. Load the vinyl onto the mat and the mat into the machine, then cut the vinyl.
- After the cut is finished, pull the negative vinyl off, peeling it away from the lettering with your weeding tool.
- Cut off a piece of transfer paper slightly larger than the size of your cut vinyl design and apply to the vinyl. Use your scraper tool to affix the transfer paper flatly to the vinyl design elements. Then turn the entire design face down and begin gently pulling the plastic backing of the vinyl off and away from the transfer paper. The best way I've found to do this is to start at one corner and roll the plastic backing away slowly while applying pressure.
- Lay the design lightly on top of the sign. Do not pull it tight when laying it down or you risk distorting the vinyl. Use the markers I left in the file to help position the design in the center of your wood round. You can remove those after the design is applied (just remember not to press those markers down into the wood).
- When you're got the design exactly where you want it, apply pressure smoothly over the design with the scraper tool.
- Slowly remove the transfer tape, starting at a corner and very carefully rolling it away. The vinyl should remain on the sign.
- Flip the sign over and glue the picture hangers onto the back, spaced out evenly to help with hanging, if desired. Then hang and enjoy!

Notes
For more fun holiday crafts, visit Ruffles and Rain Boots!
Recommended Products
As an Amazon Associate and member of other affiliate programs, I earn from qualifying purchases.


More Christmas Signs You Might Like
- Baby It’s Cold Outside Winter Farmhouse Wood Sign – I love this simple and fun way to brighten a little door with a farmhouse wood sign for the holidays!
- Rustic Farm Truck Holiday Sign – Little red trucks always get my vote. I added this to my craft plan this holiday season and it’s PERFECT!
- Believe in the Magic of Christmas Wood Tag Sign – One of my kiddo’s favorite Christmas signs, it’s now hanging on her door for the duration of the winter.
Please Save This to Pinterest
Your shares are how this site grows and I am sincerely grateful. Know a friend who’d like this? Please share it on Facebook or save it to your favorite Christmas crafts board on Pinterest.
Meet the Creator
Hi there, I’m Sarah Nenni-Daher. I’m a crafty gal and always have at least 14 projects going at once. I am a crafter, designer, DIYer, and pattern maker. I share my creations here and in the Ruffles and Rain Boots® Shop.
Here at Ruffles and Rain Boots®, you’ll find DIY gnomes, crafts, gifts, cupcakes, laser crafts, and so much more. I love sharing video tutorials over on YouTube and chatting with other crafters in my Facebook groups. We’d love to have you!