Check Out This Home for the Holidays Sign Christmas Cricut Project
Because we’re doing Christmas at home this year, I made this easy home for the holidays sign as a Christmas Cricut project.
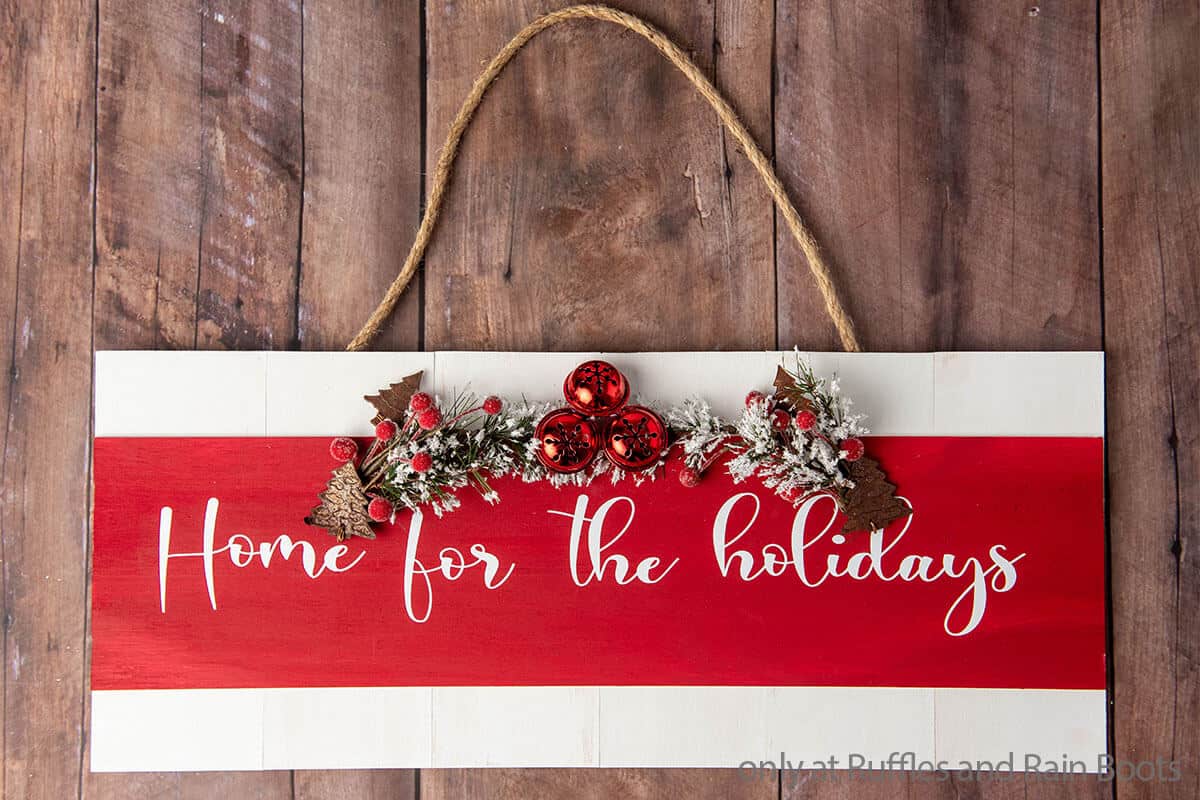
Home for the Holidays Sign
Here at Ruffles and Rain Boots, we are planning on not hitting the road this holiday season. Instead, we’re going to be home, going the way of a super-small family celebration with just us. Which seems so small, but it’s what we’re doing, so we’re going to enjoy it. One way I’m making the most of it is by having a ‘home for the holidays’ theme. This beautiful home for the holidays sign is perfect to show that theme!
RELATED READING: RUSTIC WOODLAND GNOME TUTORIAL
It’s bright and fun, plus, it’s perfect for the setting of cuddles on the couch, movie nights and all the fun we can have in our small family celebration. If you’re ready to make a beautiful holiday sign, let’s get started.
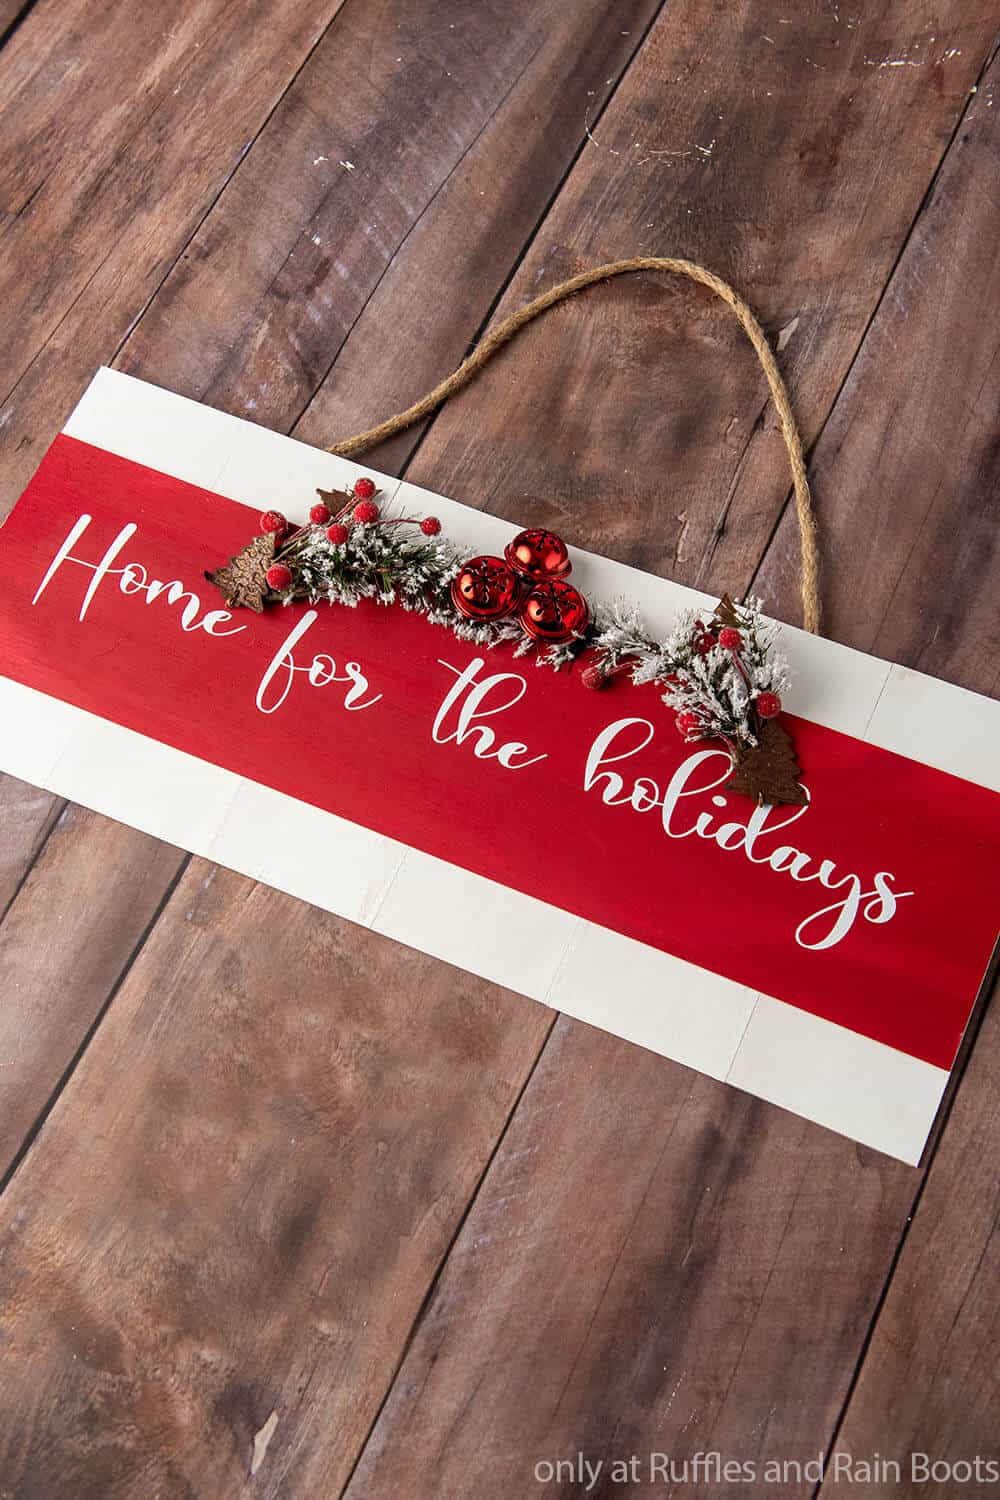
No Time to Make This Now? Pin it for Later
You’re busy, I get it. Pin this to your favorite Christmas Cricut crafts board on Pinterest and it’ll be here when you’re ready.

As an Amazon Associate, I can earn from qualifying purchases.
Tips to Make this Christmas Cricut Project
- First, grab the Home for the Holidays cut file set here. You can swap out the lettering for anything you’d prefer with this tutorial, but I really wanted something sweet that would remind me that we’ll have fun being home this year.
- I have seen a lot of people having trouble with their permanent vinyl NOT sticking down. And I will be honest, I have had trouble with that in the past, too. So, if you are worried about that or you have had trouble in the past, you CAN use heat transfer vinyl. It’s going to stick. But, you have to be careful, because you can mess up your paint. So, be careful going that route.
- Making this project was a lot easier than it could have been because I used hot glue, but I’ve also learned that if I plan to put a glued craft outside using hot glue, it’s possible the hot glue will melt on a warm afternoon. So, if you are planning to put your sign on the door, I recommend adding a bit of E6000 in addition to the hot glue. Adding a bit of both gets you the best of both worlds.
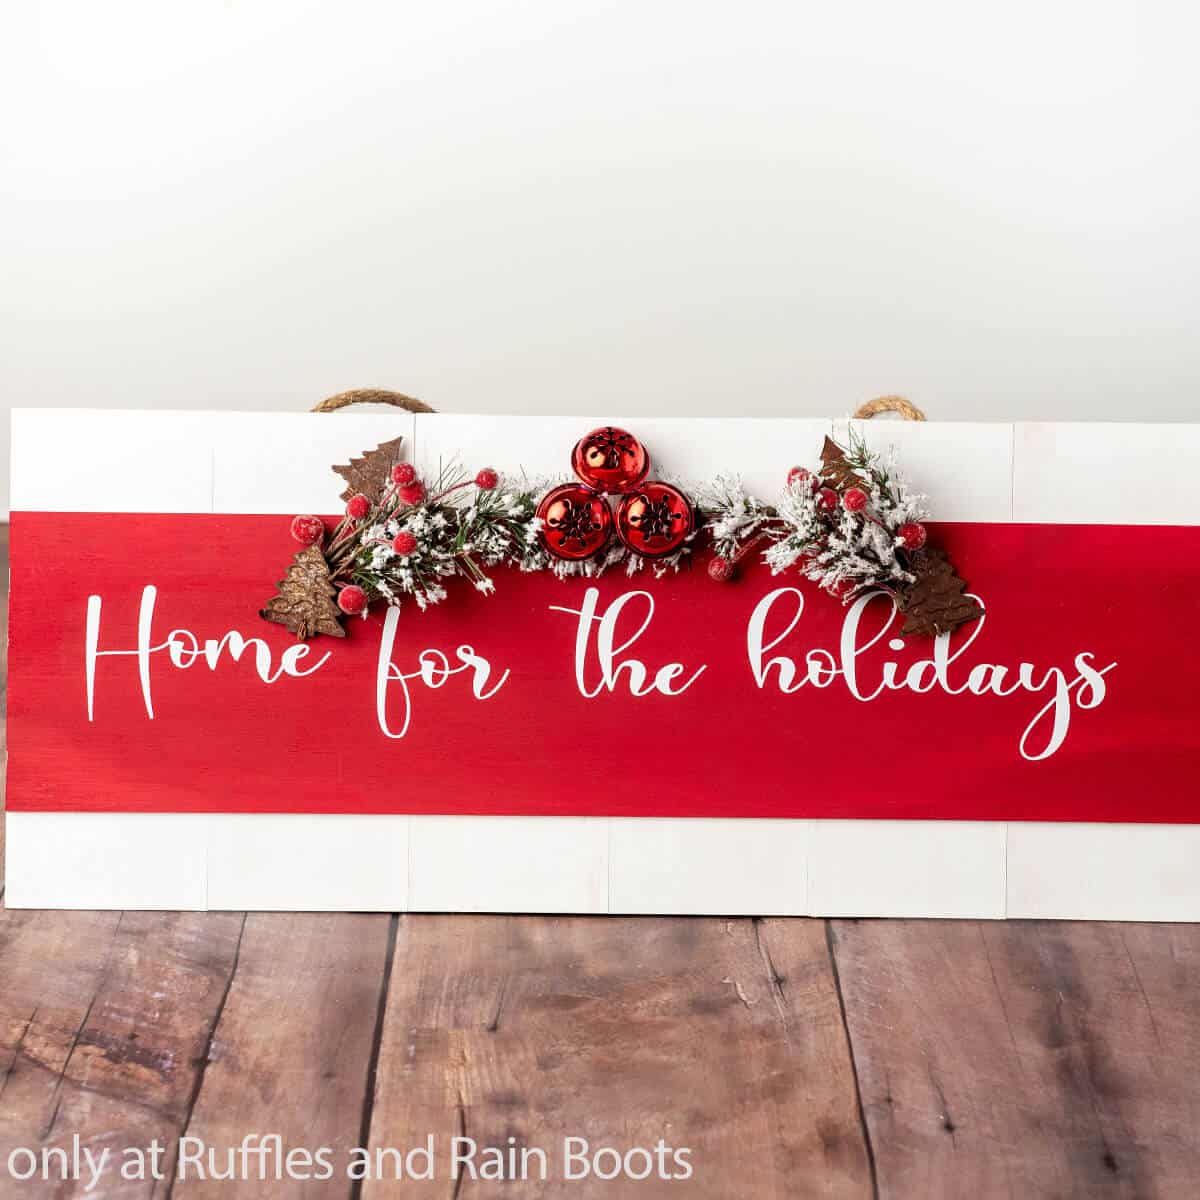
How Do I Make this Home for the Holidays Sign?
I’m so glad you asked. Below is our written tutorial.
Home for the Holidays Sign
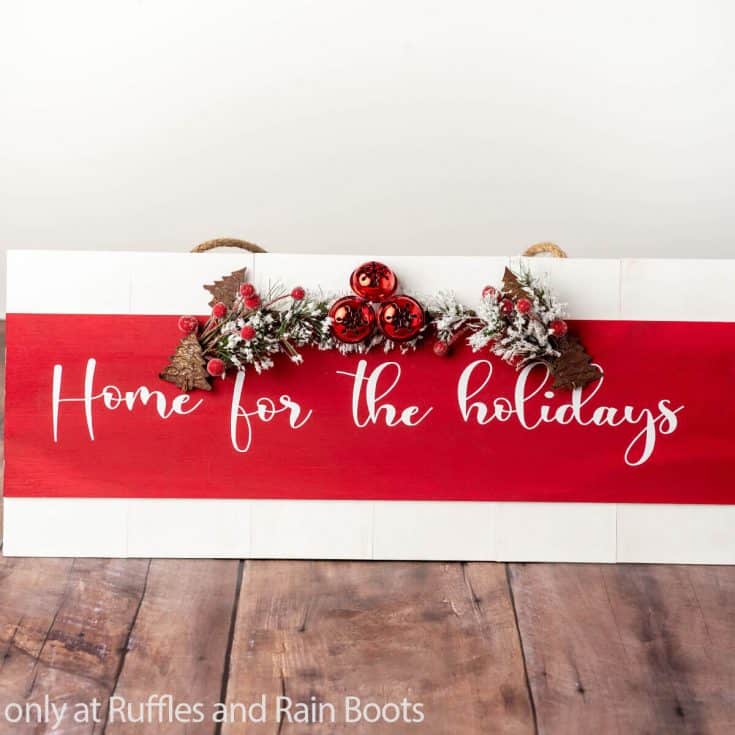
This easy home for the holidays sign is so easy and fun to make. Perfect for setting the scene, I am loving having this reminder of our cozy Christmas plans on the wall.
Materials
Wood
- 6 - ⅜” x 4 x 10” (Back)
- 1 - ⅜” x 6” x 24” (Face)
Tools
- Wood Craft Knife or Utility Knife
- User can also use table saw or hand saw if desired
- Paint brush and sponge brush
- Hot Glue Gun & Glue or E6000
- Transfer Tape
- Cricut Joy, Explore Air 2, Maker or other cutting machine
- Blue or Green Grip Mat
- Weeding Tool
- Scraper Tool
Instructions
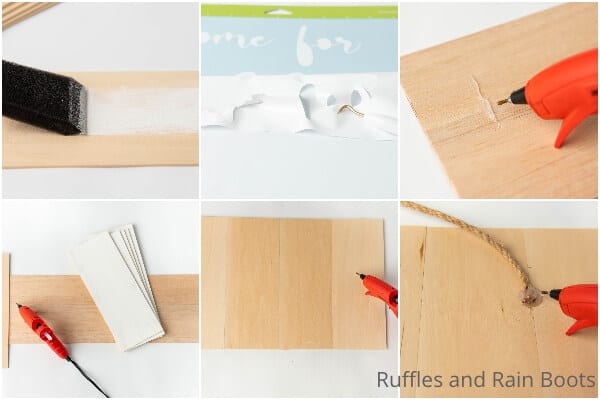
- After the wood is cut to the right size, paint the Back pieces white and the Face piece red. Allow the paint to dry completely.
- Place the Face piece of wood painted-side-down, then glue each of the Back pieces of wood perpendicular to the Face piece, with the Back pieces' painted side glued to the back of the Face piece. Make sure the Back pieces are lined up neatly and the Face piece is centered in the lineup of Back pieces. Allow the glue to set completely.
- Download the SVG file, then upload it into Design Space and follow the prompts to set up the cut.
- Apply the permanent vinyl to your standard grip cutting mat and load the mat into the cutting machine.
- After the cut is finished, pull the negative vinyl off, peeling it away from the lettering with your weeding tool.
- Cut off a piece of transfer paper slightly larger than the size of your cut vinyl design and apply to the vinyl. Use your scraper tool to affix the transfer paper flatly to the vinyl design elements. Then turn the entire design face down and begin gently pulling the plastic backing of the vinyl off and away from the transfer paper. The best way I've found to do this is to start at one corner and roll the plastic backing away slowly while applying pressure.
- Find the center of your sign. For a guide, "Home" should begin at about 1 ¾ inches from the left edge and "Holidays" should end at about 1 ¾ inches from the right edge of the sign.
- Lay the design lightly on top of the sign. Do not pull it tight when laying it down or you risk distorting the vinyl.
- When you're got the design exactly where you want it, apply pressure smoothly over the design with the scraper tool.
- Slowly remove the transfer tape, starting at a corner and very carefully rolling it away. The vinyl should remain on the sign.
- Measure out the length of jute desired and cut it to fit, then glue each end to the back of the sign about 6 inches in from each edge.
- Hot glue your Christmas floral to the center top of the sign and hang!
Notes
For more fun Christmas Cricut project ideas, visit Ruffles and Rain Boots!
Recommended Products
As an Amazon Associate and member of other affiliate programs, I earn from qualifying purchases.
More CHristmas Wood Signs You Might Like
- Baby It’s Cold Outside Farmhouse Winter Sign – This is such a beautiful and easy wood round sign, it’s perfect for beginners, but makes a statement even an expert wood-sign-maker will love!
- Gnome Sweet Gnome Porch Sign – Such a sweet little trio of gnomes holding a sign together and enjoying their time on the porch.
- Magic of Christmas Wood Sign – One of the easiest ways to make a fun wood sign to hang on your door, lean up on the mantle or hang by the tree.
Please Save This to Pinterest
Your shares are how this site grows and I am sincerely grateful. Know a friend who’d like this? Please share it on Facebook or save it to your favorite holiday crafts board on Pinterest.


