
Make This Believe in the Magic of Christmas Wooden Sign
I made this fun believe in the magic of Christmas wooden sign to get ready for an epic Christmas mantle I’m planning this year. So cute, I squee!

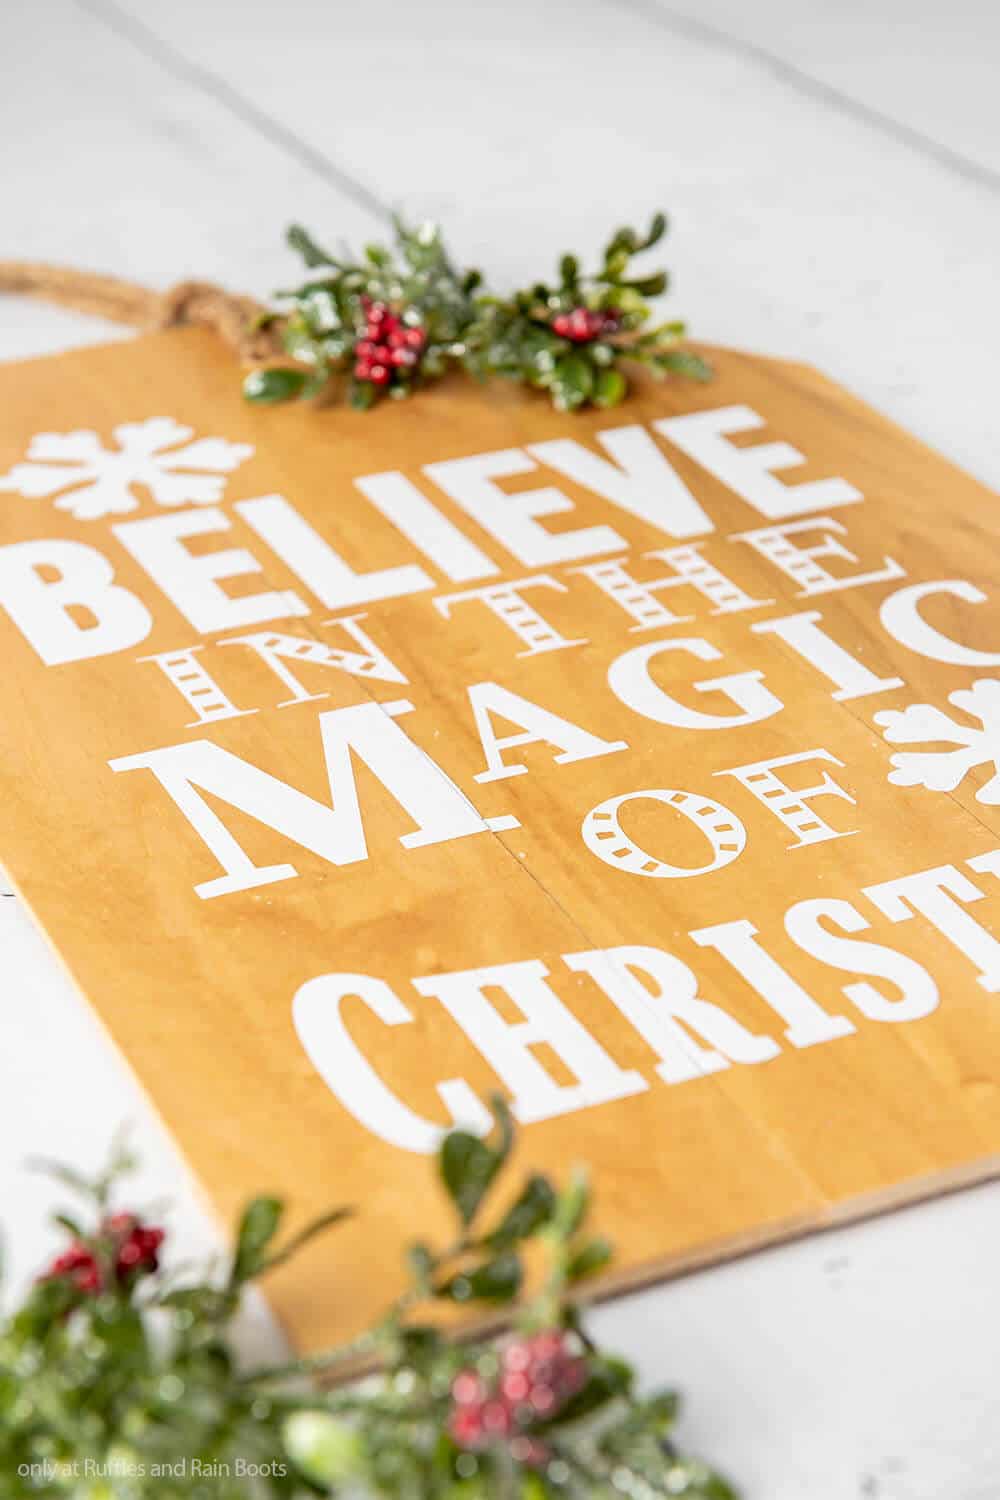
Believe in the Magic of Christmas Wooden Sign
Here at Ruffles and Rain Boots, we are seriously panning one of the most decorated mantles I’ve ever done this holiday season. I want gnomes, Christmas signs, evergreen vines and more. All coming together on my mantle. One of the key pieces I’ve made so far is this beautiful believe in the magic of Christmas wooden sign.
RELATED READING: DIY FARMHOUSE CHRISTMAS CRAFTS
It’s shaped like a tag, but made of wood, so it’s got a definite farmhouse Christmas vibe. But the modern text and clean lines make it more chic than shabby. If you’re ready to make a fun holiday sign, let’s get started.
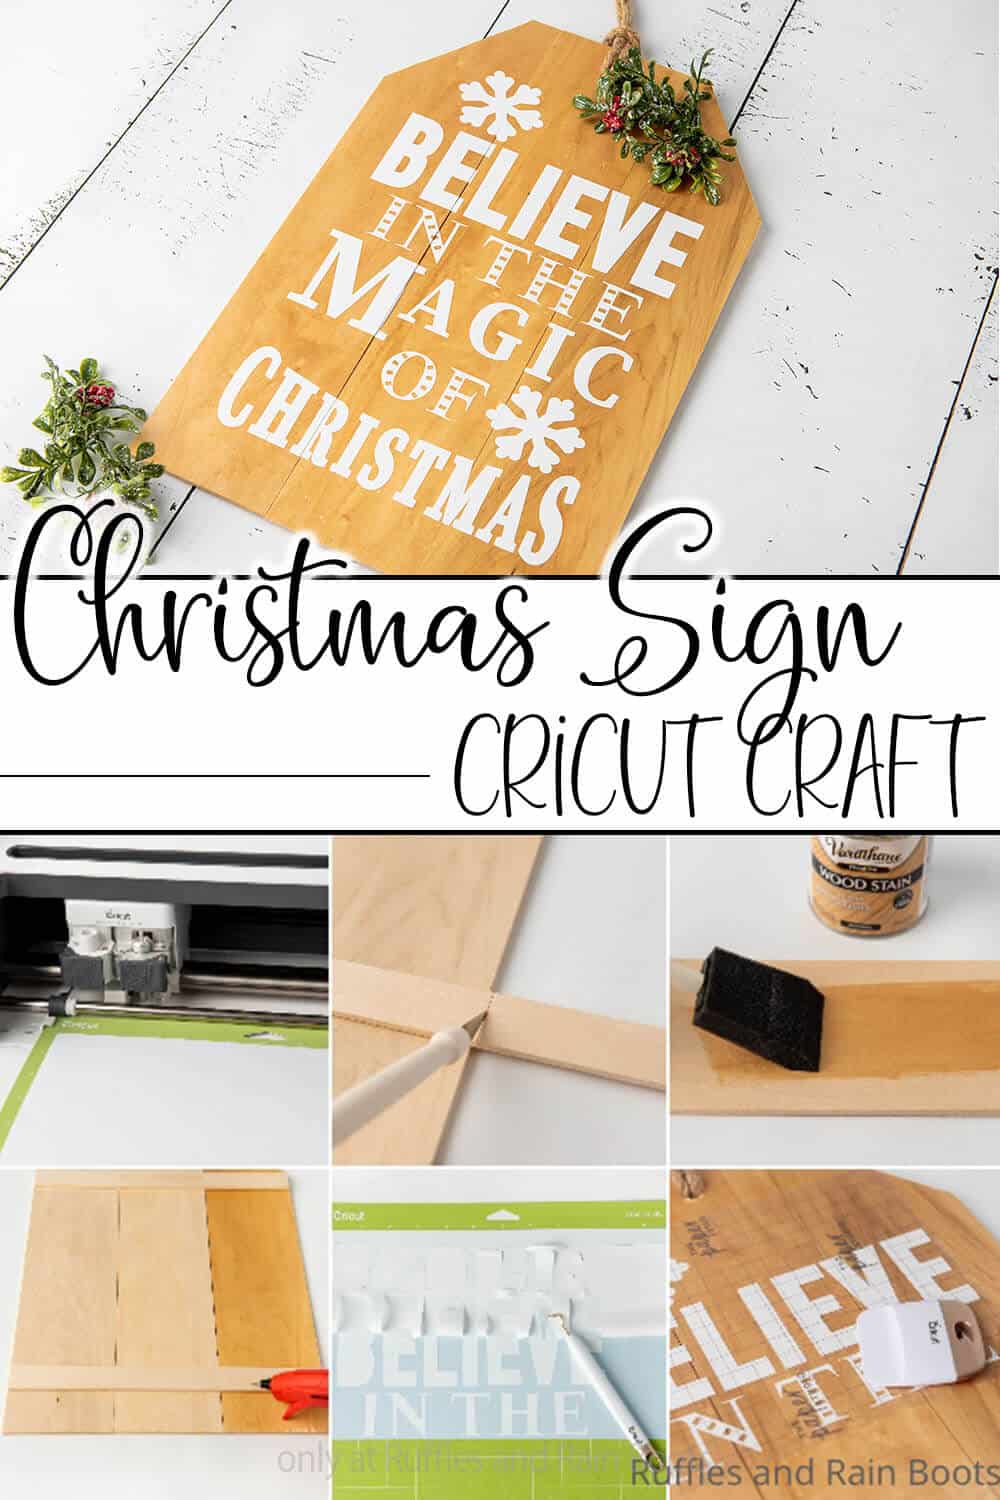
No Time to Make This Now? Pin it for Later
You’re busy, I get it. Pin this to your favorite Cricut crafts board on Pinterest and it’ll be here for when you’re ready.
As an Amazon Associate, I can earn from qualifying purchases.
Tips to Make a Christmas Sign
- Start by grabbing the free Christmas cut file here. I used permanent vinyl this time, as opposed to heat transfer vinyl like I normally do. But if you choose to go with HTV, just remember to mirror the design. I waste so much vinyl forgetting to do that.
- When you’re working on your Christmas tag sign, be sure to make a clear enough space to be able to work on the whole sign as one piece on a flat and level surface. I made the mistake initially of not having enough space and the sign wasn’t even. So I had to work a little harder than I should have. Don’t make my mistake.
- I won’t lie, this project is made easier by using hot glue, but I’ve learned the hard way that if I’m going to put something outside with hot glue holding it together, it’s possible the hot glue will fail in the hot sun of a warm afternoon. So, if you plan to put your Christmas sign outside, I recommend using some E6000 in addition to your hot glue. Putting a dab of that next to a dab of hot glue is the best of both worlds.
How Do I Make this Believe in the Magic of Christmas Wooden Sign?
I’m so glad you asked. Below is our written tutorial.
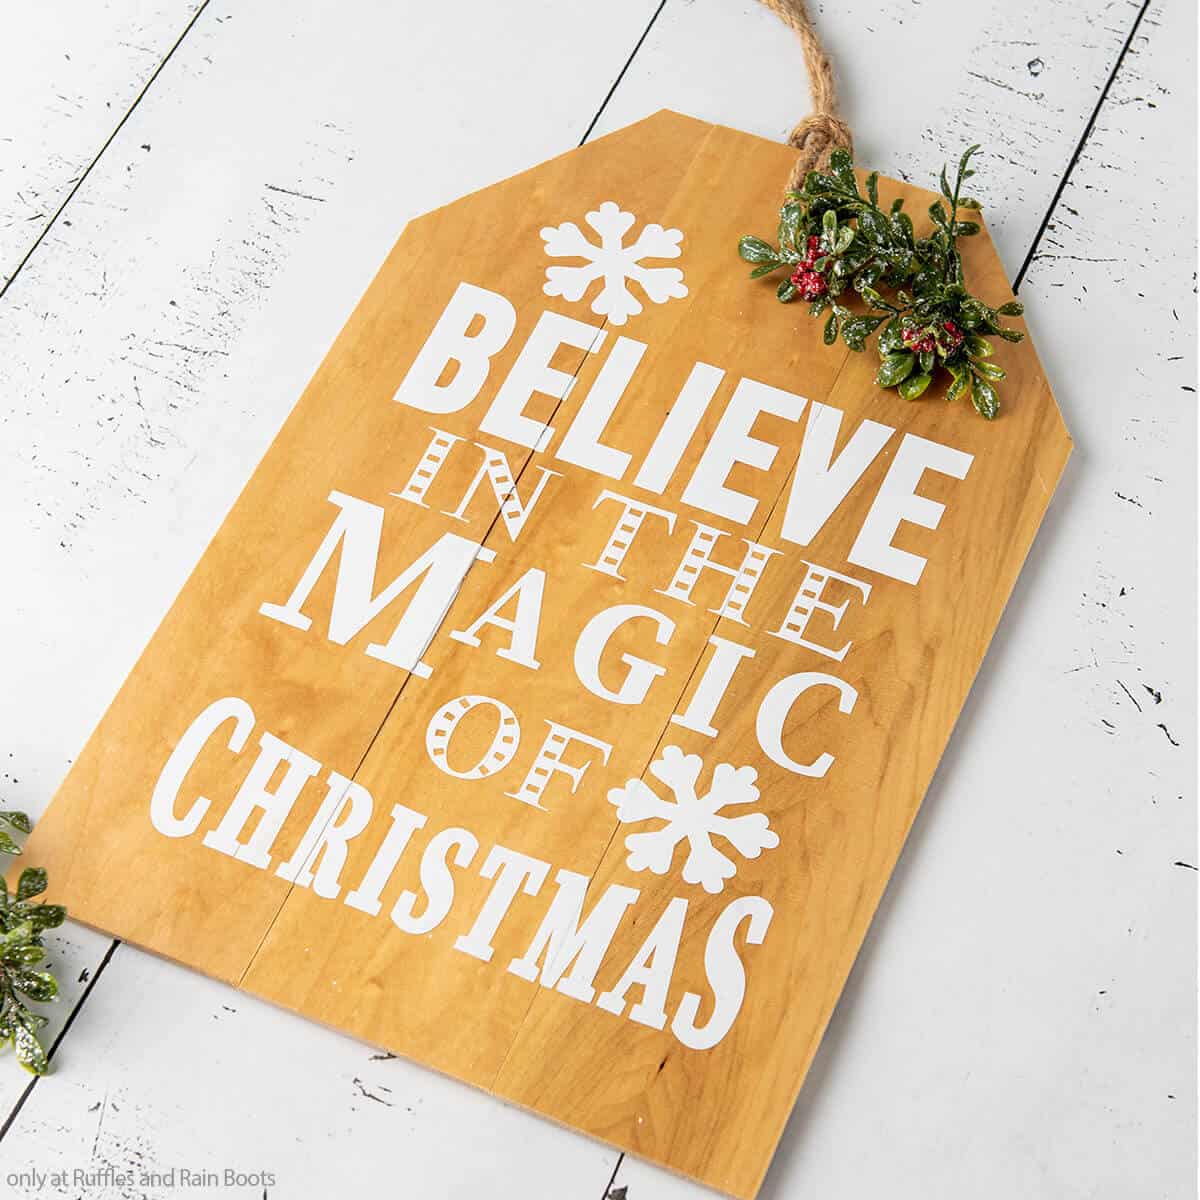
Magic of Christmas Wooden Sign

I can't wait to make a whole mantle of Christmas crafts with this fun magic of Christmas wooden sign as a great addition.
Materials
Wood
- (3) ⅜” x 4 x 24” (Face)
- (1) ⅜” x 1” x 24” (Back Support)
- Varathane Premium Natural wood stain
- Modge Podge
- Thick Jute String
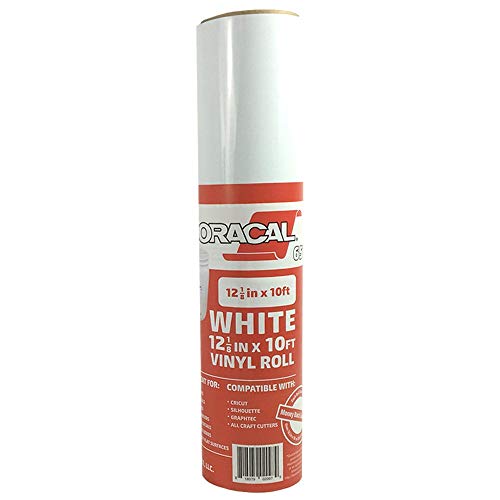
- Oracle 651 Vinyl in White
Tools
- Wood Craft Knife or Utility Knife
- E6000, optional
- Sponge brush or paint brush
- Cricut or other cutting machine
- Blue or Green Grip Mat
- Weeding Tool
- Scraper Tool
- Drill, optional
- Hot Glue Gun and Glue
- Transfer Tape
Instructions
- Start by making your vinyl elements by loading the SVG file into Cricut Design Space. Follow the prompts to cut the design from the vinyl. While that is cutting, prepare the wood element of the sign.
- On the two face boards on either side of the sign, cut outside corners on a diagonal, 1 inch from the inside corner and 14 inches from the bottom of the sign.
- Once your wood is cut, stain each face of the wood with a sponge brush in a well ventilated area. Allow the stain to dry completely (which doesn't take very much time at all).
- When the wood is prepped, place the face pieces of wood on a flat surface, facedown in their ultimate arrangement.
- Glue to the back of the face pieces edge to edge to help hold the face pieces together.
- Add a back support to the top of the sign, about 4 1/2 inches from the top and another about 2 inches from the bottom.
- Once sign is assembled, mark the center of the top of the sign, about 1 inch from the edge, then drill a small hole there about 1/4 inch wide at most.
- Apply a layer of mod podge to each surface of the sign to help the vinyl adhere and have a smooth finish. Allow the modge podge to dry completely.
- Weed the negative vinyl off of the cutting mat and peel this excess away from the letters using your weeding tool.
- Cut off a piece of transfer paper the size of your vinyl and place over the vinyl to help get your vinyl off the plastic backing and onto the wood's surface.
- Because we're working with a large design, to get transfer paper smoothly adhered to the design, start off by peeling the plastic backing off a little bit at a time and using the scraper tool (or an old credit card) down the vinyl.
- Turn the entire design facing down on the table and gently pull the plastic backing away from the transfer paper, starting at one corner and rolling it gently away slowly while applying steady pressure.
- Place the design onto the center of your sign, taking care to place the world "believe" roughly 5 inches from the top of the sign.
- Begin to gently apply pressure and smooth the design onto the wood using the scraper tool.
- Slowly remove the transfer paper by peeling it away at a corner and gently and slowly rolling it off the wood. Use your scraper tool to help holding down any errant letters that stay on the transfer paper.
- If letters span a crease in the wood, use a knife to make a tiny slit on the crease to continue the crease into the lettering.
- Add a layer of mod podge over the top of the vinyl to seal it.
- String jute rope through the hole in the top of the sign and tie the rope end to end to make a loop.
- Add some Christmas floral as desired and enjoy!


Notes
For more fun Christmas crafts, visit Ruffles and Rain Boots!
Recommended Products
As an Amazon Associate and member of other affiliate programs, I earn from qualifying purchases.

More Christmas Crafts You Might Like
- Christmas Mason Jars – One of my very favorite holiday crafts, this easy mason jar Christmas craft is fast and fun – and useful too!
- Holiday Farmhouse Milk Jug – If you’re looking for a fun Christmas centerpiece, this is the perfect easy and fast craft you can make in minutes
- True Story Wood Sign – For a more traditional Christmas sign, this is the best SVG to bring the Christmas spirit to your crafting.
Please Save This to Pinterest
Your shares are how this site grows and I am sincerely grateful. Know a friend who’d like this? Please share it on Facebook or save it to your favorite Christmas crafts board on Pinterest.

Meet the Creator
Hi there, I’m Sarah Nenni-Daher. I’m a crafty gal and always have at least 14 projects going at once. I am a crafter, designer, DIYer, and pattern maker. I share my creations here and in the Ruffles and Rain Boots® Shop.
Here at Ruffles and Rain Boots®, you’ll find DIY gnomes, crafts, gifts, cupcakes, laser crafts, and so much more. I love sharing video tutorials over on YouTube and chatting with other crafters in my Facebook groups. We’d love to have you!