
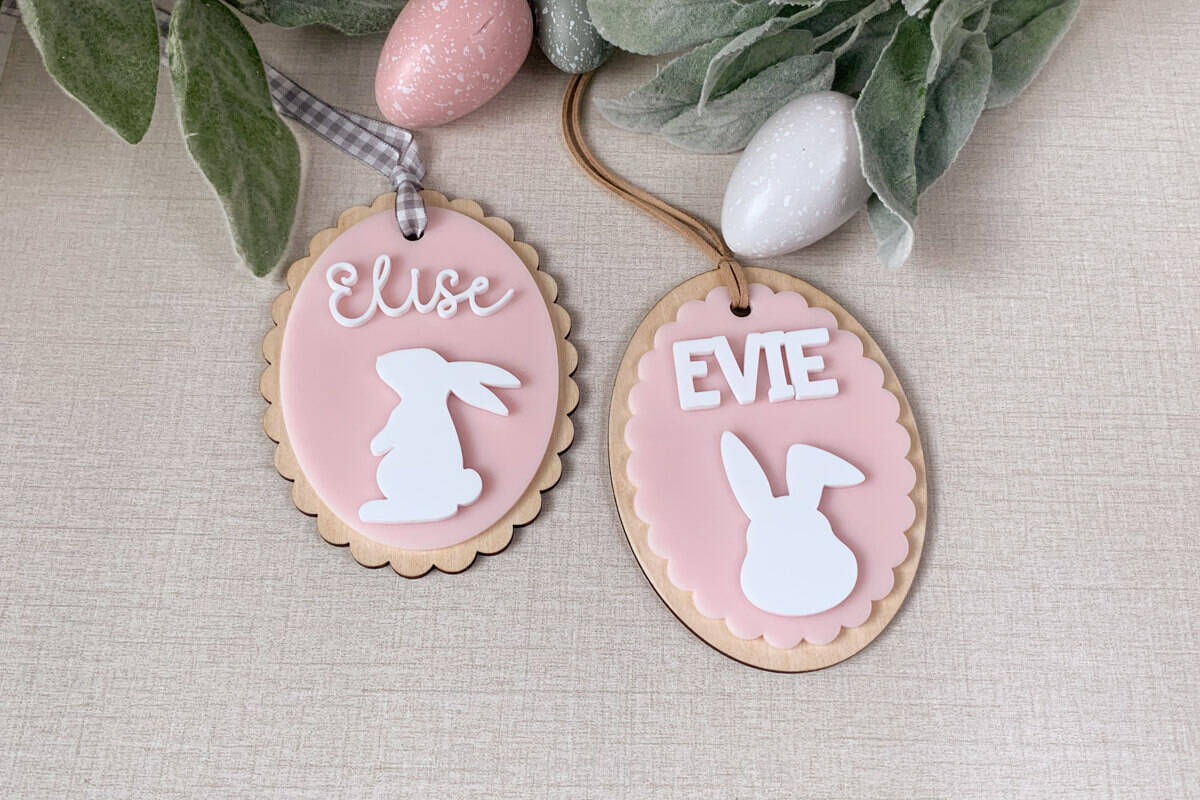
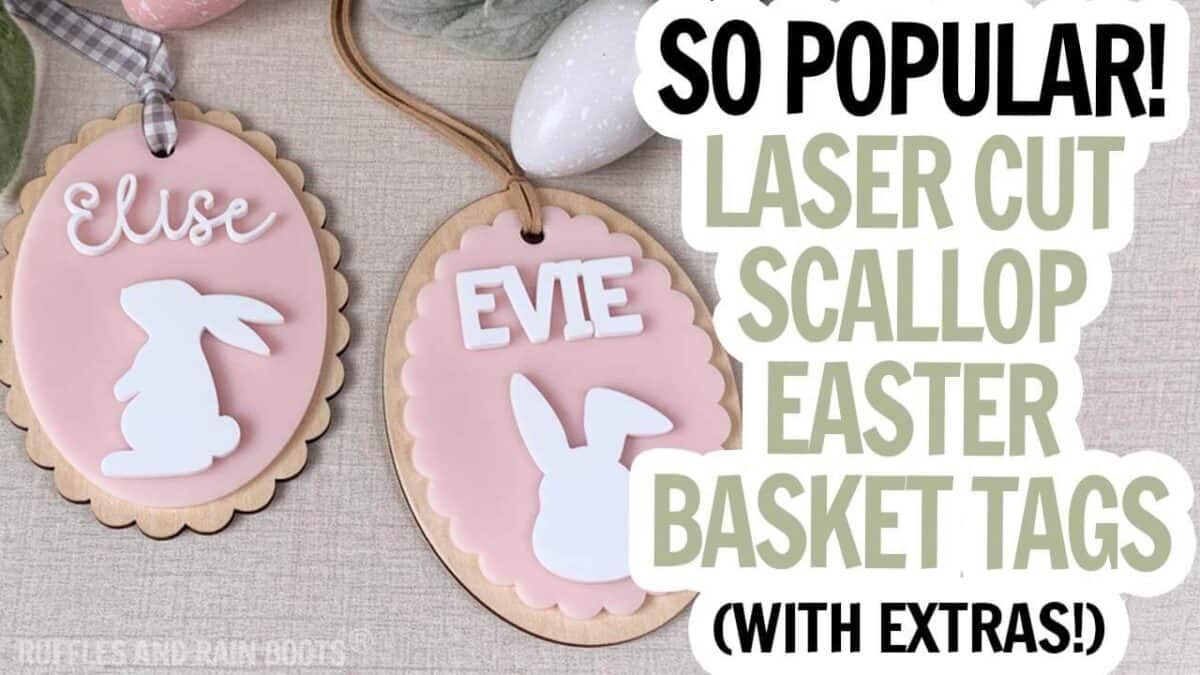
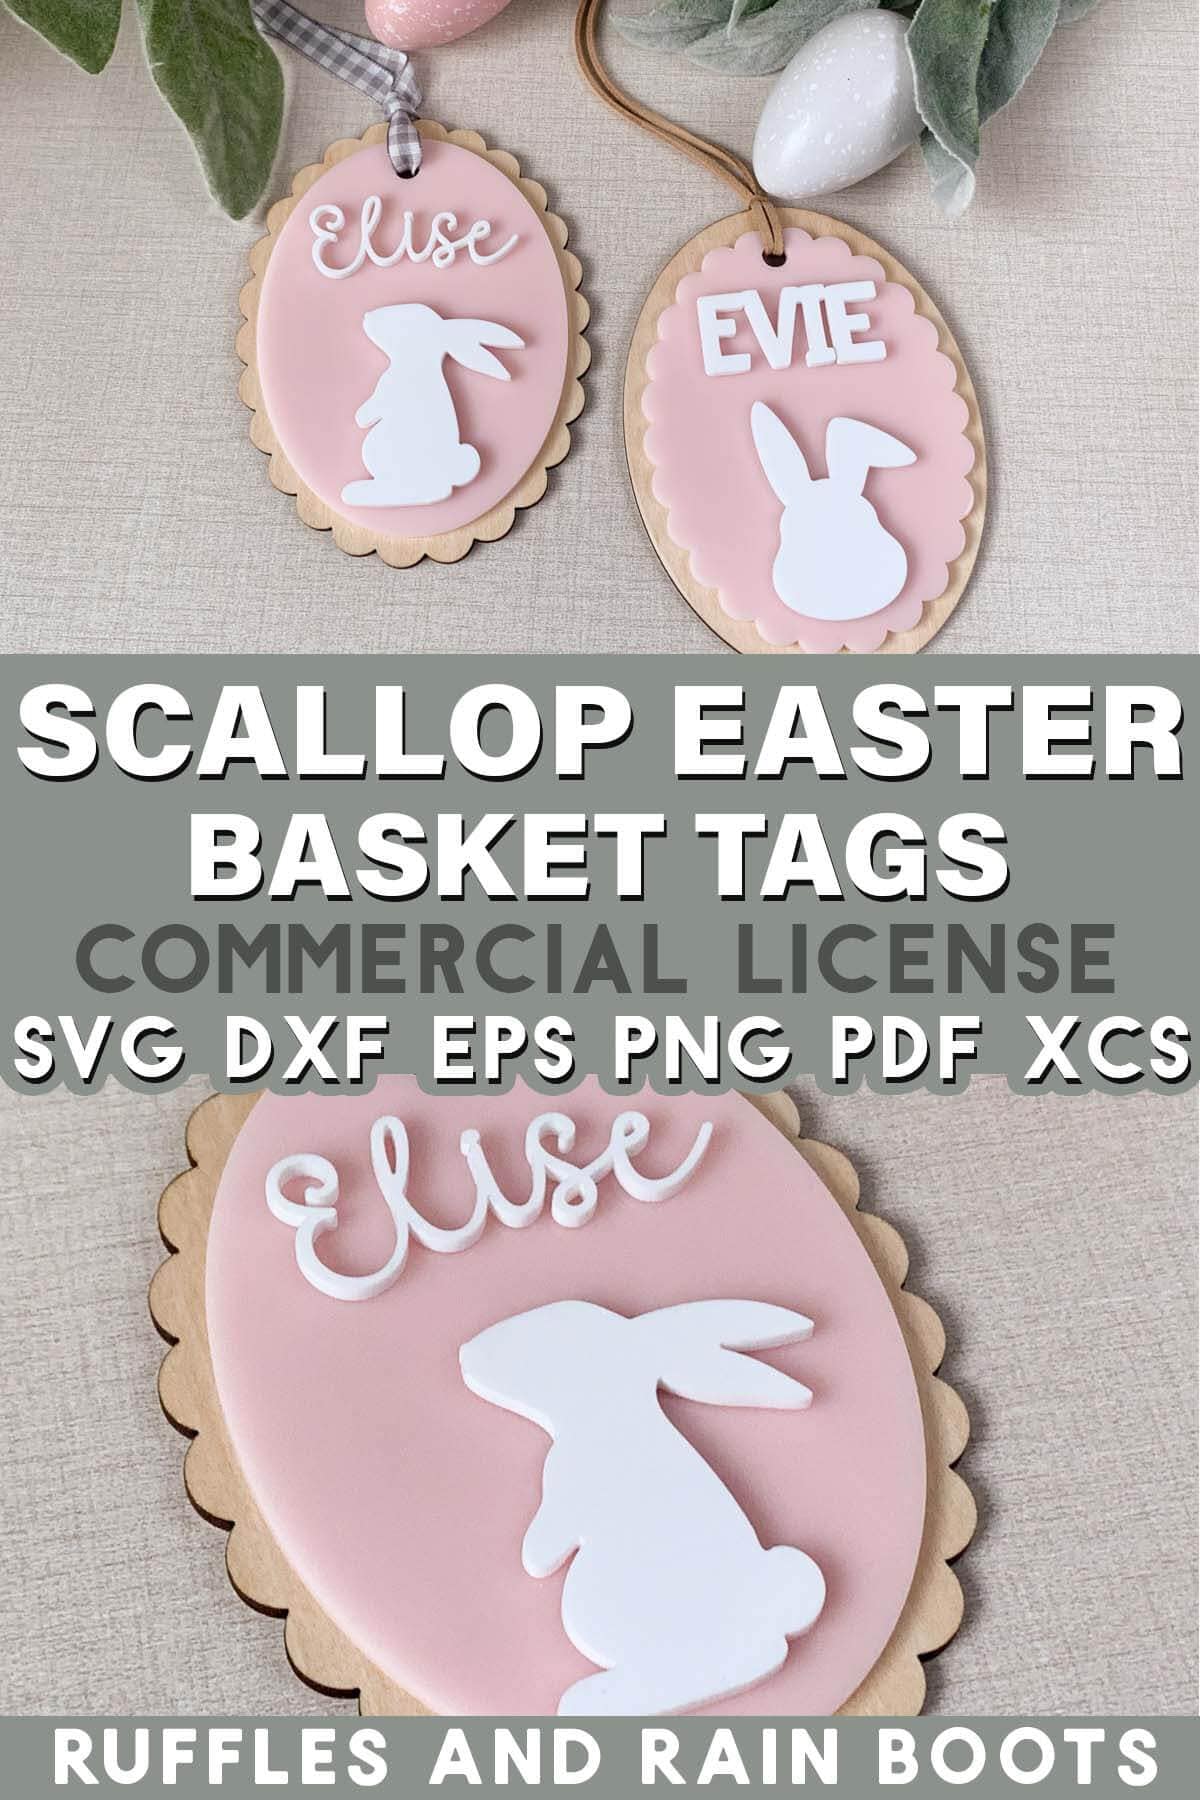
Laser Cut Scallop Easter Basket Tags
Okay, first: how cute are these laser cut scallop Easter basket tags!?! I designed these last year and they have taken off so I thought I’d share how you can make them, too.
RELATED READING: Make Adorable Laser Cut Carrot Basket Tags for Easter
What You'll Find On This Page
Scalloped Edge Easter Basket Tags
Here at Ruffles and Rain Boots, I love crafting for Easter – I decorate my mantle within an ounce of falling down and I just can’t help myself. And let’s face it – you know I have a lot of fun with the Easter baskets, too.
Today, I am sharing how to make these adorable and oh, so trendy, scallop Easter basket tags. You can make them for little boys or girls but remember: no one is stopping you from pampering yourself with your own basket… You have adult money.
As an Amazon Associate, I could earn from qualifying purchases. There are affiliate links within this article.
Watch This Beginner Friendly Laser Project Come Together
If you’re a visual learner, watch the scallop Easter basket tag video tutorial and follow each step. I share some tips on gluing up pieces to save money on the tape and a few other tricks.
RELATED READING: Easer Laser Projects to Make and Sell
Materials You’ll Need For These Laser Cut Ccallop Easter Basket Tags
I used a mix of acrylic and basswood for these because I loved the look. That said you can use painted wood or pre-finished plywood, as well.
- Scallop Easter Basket Tag Set Laser File Bundle
- 3mm (1/8th inch) acrylic in white and pink
- 3mm (1/8th inch) basswood plywood
- 3M 467MP double sided adhesive tape (for the names)
- JB Weld ClearWeld or Starbond Medium
- paper masking, optional
- suede cord or ribbon for hanging
I like to clean up my pieces with Novus acrylic cleaner but if you don’t have that, use a polishing cloth on the acrylic before gifting or packaging.
How to Make These Laser Cut Easter Basket Tags
Prepare the material with masking and/or double sided tape.
Create names sized to the completed basket tags. My fonts used were Uncle Grump and I Heart You.
Set material or enter settings. I used all masked material for this project on the xTool P2 and cut the pink acrylic at 100 power, 22 speed, 1 pass and the white acrylic at 100, 19, 1. The basswood was set at 80, 20, 1.
Load material into the laser, ensuring it is level and measure the material (one by one if you have placed multiple pieces in the bed).
Use the close view camera to ensure the designs are placed well on the material. Turn off the output for all layers NOT being processed and process the cuts. Repeat for all materials.
Sand any plywood, if needed, and seal if desired.
Remove the masking from one side of the inner design (oval or scalloped oval) and affix to the backer. Let dry for a few minutes before clamping to set (careful when clamping to ensure nothing moves).
Remove the masking from one side of the add on design (like the bunny) and glue into place. Let dry for a few minutes before clamping.
Remove the adhesive tape backer and affix the name onto the basket tag.
Clean the piece using acrylic cleaner and add a suede cord or ribbon for hanging.
More Laser Projects You Might Like
- Free Easter Bunny Shelf Sitter Laser File – Use this free laser template to create a cute layered bunny for Easter.
- Two Sided Laser Cut Bunny Shelf Sitter for Easter – This fun Easter laser project idea features a little boy and a little girl with tons of accessories (and a kerf tutorial).
- Free Easter Tokens for Plastic Eggs – This Easter egg filler idea is PERFECT for scraps!
Please Save or Share This Fun Easter Laser Project Idea
Your shares are how this site grows and I am sincerely grateful. Please save this to a DIY laser projects pin board or share this with a laser group on Facebook.
Laser Cut Scallop Easter Basket Tags

Use this set of scalloped Easter basket tags with extras like a bunny head, a cross, and a standing rabbit to create custom tags. You can use a combination of acrylic and basswood like I have or anything you would like.
Materials
- Scalloped Easter Basket Tags File Set
- 3mm (1/8th inch) acrylic in white and pink
- 3mm (1/8th inch) basswood plywood
- 3M 467MP double sided adhesive tape (for the names)
- JB Weld ClearWeld or Starbond Medium
- paper masking, optional
- suede cord or ribbon for hanging
Tools
- CO2 Laser
- Clamps
- Novus Acrylic Cleaner, optional
- Soft Cloth
Instructions
- Prepare the material with masking and/or double sided tape.
- Create names sized to the completed basket tags.
- Set material or enter settings. I used all masked material for this project on the xTool P2 and cut the pink acrylic at 100 power, 22 speed, 1 pass and the white acrylic at 100, 19, 1. The basswood was set at 80, 20, 1.
- Load material into the laser, ensuring it is level and measure the material (one by one if you have placed multiple pieces in the bed).
- Use the close view camera to ensure the designs are placed well on the material. Turn off the output for all layers NOT being processed and process the cuts. Repeat for all materials.
- Sand any plywood, if needed, and seal if desired.
- Remove the masking from one side of the inner design (oval or scalloped oval) and affix to the backer. Let dry for a few minutes before clamping to set (careful when clamping to ensure nothing moves).
- Remove the masking from one side of the add on design (like the bunny) and glue into place. Let dry for a few minutes before clamping.
- Remove the adhesive tape backer and affix the name onto the basket tag.
- Clean the piece using acrylic cleaner and add a suede cord or ribbon for hanging
Notes
If Selling Your Products:
- Option 1: offer engraving on the backer piece for an added fee
- Option 2: use 3M 467MP or another double-sided adhesive tape on all parts to speed up production
- Option 3: sell these along with my free Easter egg tokens (plastic egg fillers) to tie in the basswood (they can be made from scraps)
- Option 4: use all basswood and paint it to reduce costs; if painting wood, use a sealant

Hi Sarah,
I’m a beginner and want to use all wood and my xTool F2. Should I paint these after cutting or before?
Thanks for a very cute design!
Victoria
I would always paint after cutting when using a galvo style like the f2, but that’s because we can get blowback and I might need to clean up the wood. And you’re so welcome – let me know if you want designs on anything. :)