
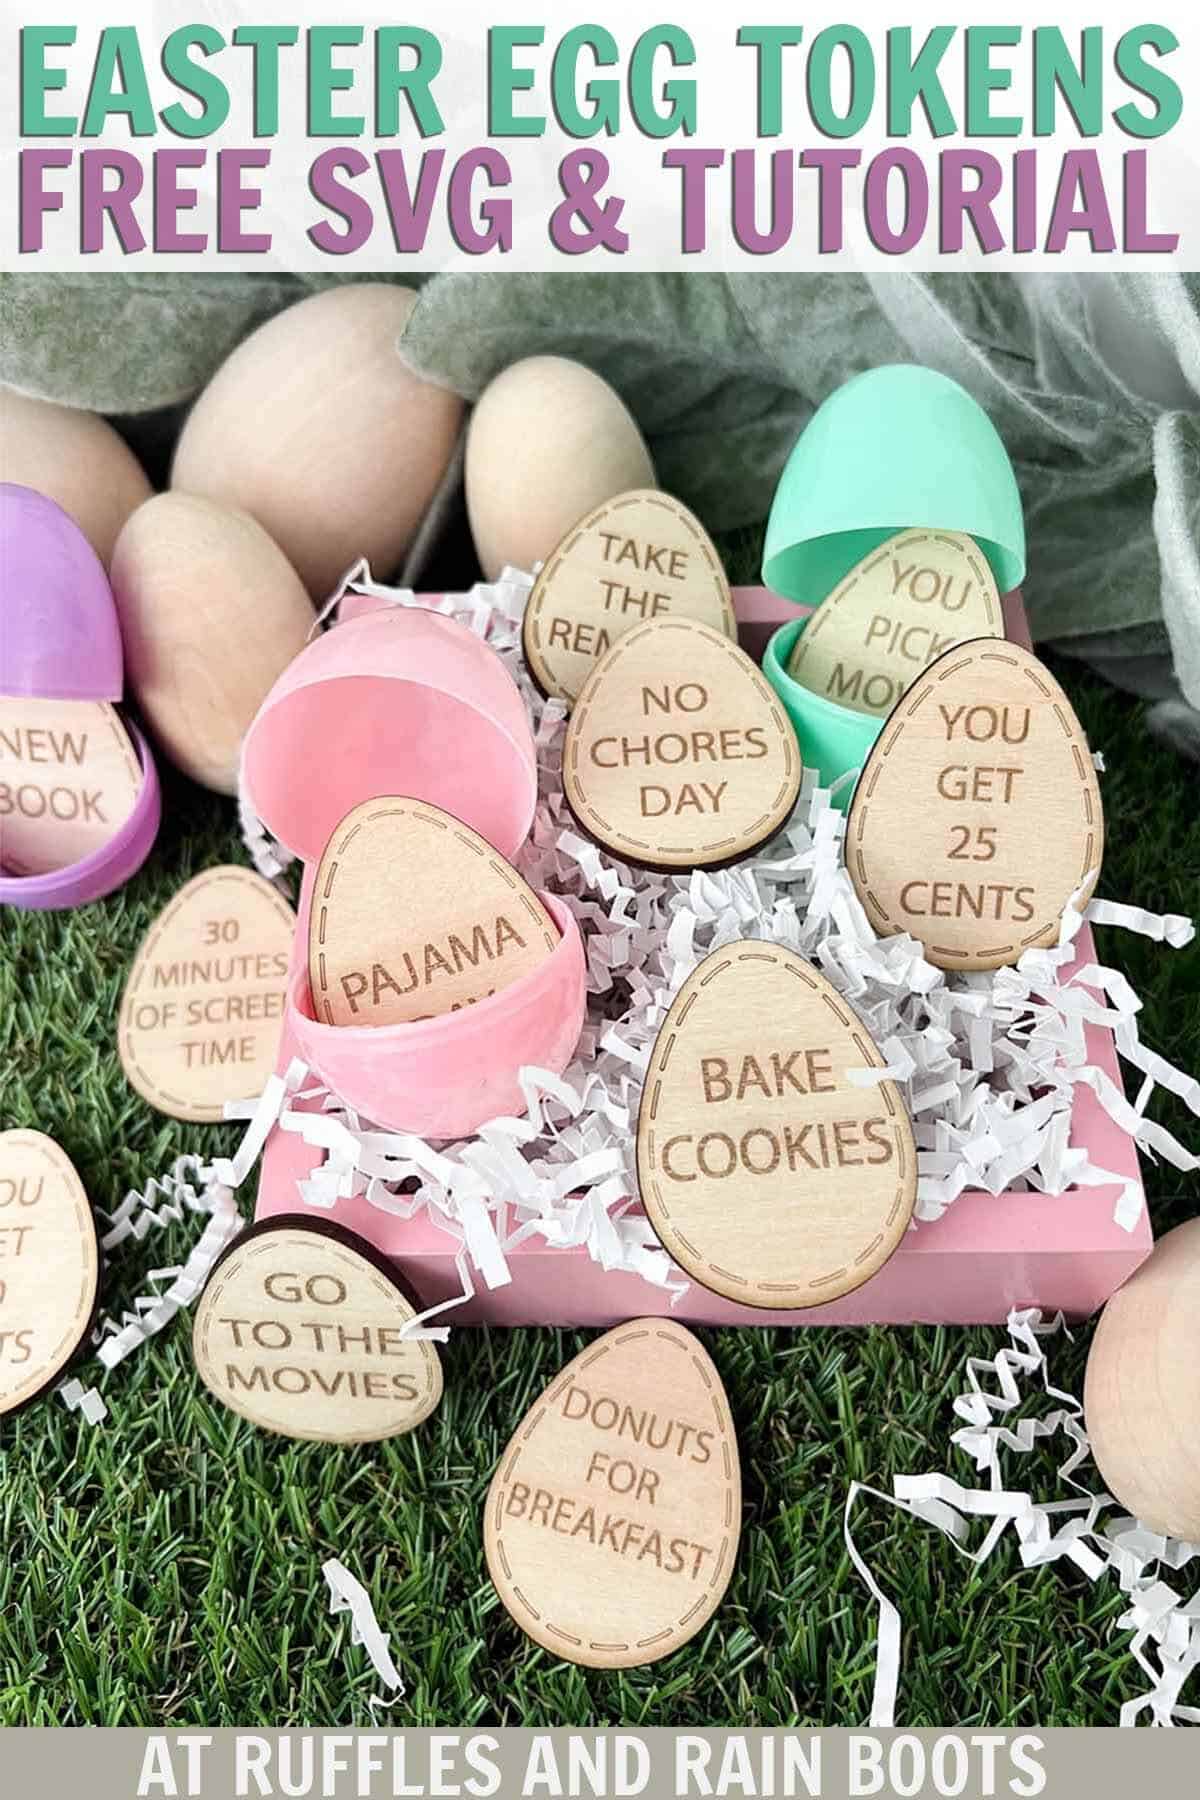
Easter Egg Tokens Laser Craft with Free SVG
These Easter egg tokens are a fun laser project for beginners. If you are looking for a quick and easy laser craft to sell, this is a done for you design you can get ready in only a couple of minutes AND It comes with a free commercial use license.
Download the free Easter egg tokens SVG below and follow along with the written, printable tutorial. Also included is a step by step egg tokens video tutorial on the laser.

RELATED READING: My xTool P2 Review – See What It Can Do
As an Amazon Associate, I could earn from qualifying purchases. There could be affiliate links within this article.
What You'll Find On This Page
Beginner Laser Easter DIY
Here at Ruffles and Rain Boots, we’re crafting for Easter and using the craft room’s new addition, the xTool P2 CO2 laser. It’s been a game-changer because it’s so much more powerful than my other lasers.
Today, I created this free Easter egg tokens SVG set and wanted to share how easily and quickly this project can be. If you’re a laser crafting beginner, this project is already set with a score, engrave, and cut function for you to practice all three.
If you want to work on this project but can’t get started right now, save this to a laser craft ideas pin board or share it to Facebook. Either way will make it easy to find when you’re ready to begin.

RELATED READING: Make a Laser Cut Layered Shelf Sitter Design (So Cool!)
Materials and Tools Needed
Below are the items I used for this easy laser craft. This Easter laser cutting DIY can be made with a diode or CO2 laser.
I used wood to see how quickly I could make this, but acrylic will work, as well. Make sure to run a test on the colors to ensure score and engrave show up well or use paint to fill in the engraving.
- xTool P2 CO2 Laser (or other)
- Air Assist, Inline Fan and Honeycomb (optional)
- Respirator (optional, but safe)
- 1/8th Basswood Plywood (or acrylic)
- Digital Caliper
- Microfiber or Other Cleaning Cloth
- Easter Tokens SVG Free (No Sign Up Required; EPS and SVG Files)
Note: if you’re looking for an Easter laser product to sell, this set DOES come with a free commercial use license.
Easter Egg Tokens Video Tutorial
If you are a visual learner or are putting together a laser crafts playlist, watch the laser cut Easter egg tokens video tutorial. I go through each step thoroughly.
And if you’re learning the xTool software or need more free laser cut files, be sure to subscribe to the channel while you’re there!

RELATED READING: Easter Cupcake Topper Laser Tutorial (15 Minute Project)
How to Make Easter Egg Filler Tokens
For a printable version of this tutorial, please scroll down.
Open XCS design software (or other software) and insert the free egg tokens SVG from above. You can change the size of the tokens up to 1.5 inches and they will fit standard sized plastic eggs.
Measure the basswood or other material with calipers. This step will guarantee the quick measure or detail measure are accurate. If using the honeycomb, add 1.5mm.
Load a piece of basswood ply onto the slats or honeycomb, ensuring it is level and pinned down.
Purple = score, Blue = engrave, Red = cut.
The layers should import to XCS without issue, just highlight the layer color and adjust the settings. Note: they should be grouped, but you can ungroup, remove or change tokens, etc. Combine each layer (unite).

How to Set Up the Print
Refresh the image (if needed) and measure the material thickness, making sure it matches up with your caliper settings or adjust.
Set the mode (slats flat) and the material, if using. I entered mine manually, so I left the Material blank.
XCS 2.0 has the ability to choose settings based on an image of processed materials from xTool when you click on the EasySet Panel. Note these aren’t exact for all lasers, but they can be a good set of parameters for testing. If you need to learn how to create a material test in XCS 2.0, watch the video tutorial.

Process the Print and Finish the Easter Tokens
Open blast gates, turn on the inline fan, and select process on the XCS software. Press the start button in the software and then the start button on the machine.
Once the material has been processed, remove from the laser bed and wipe any soot, if necessary. Mine were so clean! Just add them into plastic eggs, hide, and let the hunt begin.

More Laser Tutorials and Project Ideas
- DIY Highland Cow Laser Cut Sign – Use the free highland cow SVG and some faux fur to create this adorable sign.
- Laser Cut Easter Basket Tags – Whether you have a diode or a CO2 laser, you can create these wood and acrylic basket tags with these free SVG designs.
- Easter Laser Crafts to Make and Sell – Browse all of the inspiration in this article (with gorgeous pictures to get you crafting with your laser)!
Please Save or Share This Easter Laser Craft Idea
Your shares are how this site grows and I am sincerely grateful. Please save this to a DIY laser crafts pin board or share it with a crafty group on Facebook.
Laser Cut Easter Egg Tokens

Use this free SVG to create your own set of Easter egg tokens for your family or to make and sell in your small business. This is a very quick project to create with inexpensive wood or acrylic that engraves and scores well. This Easter laser craft for beginners will take less than 30 minutes from start to finish when using XCS 2.0, the xTool creative space software.
Materials
- 1/8th Basswood Plywood (or acrylic)
- Microfiber or Other Cleaning Cloth
- Plastic Easter Eggs
- Easter Tokens SVG Free (No Sign Up Required)
Tools
- xTool P2 CO2 Laser (or other)
- Respirator (optional, but safe)
- Digital Calipers
Instructions
How to Design in XCS
- Open XCS design software (or other software) and insert the free egg tokens SVG. Note: Purple = score, Blue = engrave, Red = cut.
- The layers should import to XCS without issue, just highlight the layer color and adjust the settings. Note: they should be grouped, but you can ungroup, remove or change tokens, etc. Combine each layer (unite).
- Measure the basswood with calipers.If using the honeycomb, add 1.5mm.
- Load a piece of basswood ply onto the slats or honeycomb, ensuring it is level and pinned down.
How to Set Up the Print
- Measure the material thickness, making sure it matches up with your caliper settings or adjust.
- Set the mode (slats flat) and the material, if using. I entered my measurements manually, so I left the Material blank.
NOTE: XCS 2.0 has the ability to choose settings based on an image of processed materials from xTool when you click on the Easyset Panel. Note these aren’t exact for all lasers, but they can be a good set of parameters for testing. To use, select a material from the drop down and then choose from the image.
Process the Print and Finish the Easter Tokens
- Open blast gates, turn on an inline fan (if using), and select process on the XCS software. Press the start button in the software and then the start button on the machine. Always stay near your machine; never walk away.
- Once the material has been processed, remove from the laser bed and wipe the soot. Mine were so clean so I tucked them into plastic eggs from the dollar store and had them ready for our Easter hunt.
Notes
Always test your materials. My settings are below, however, each laser burns differently.
- Cut: 85 power / 20 speed
- Score: 39 power / 160 speed / 1 pass
- Engrave: 15 power / 200 speed / 100 LPC / 1 pass
Meet the Creator
Hi there, I’m Sarah Nenni-Daher. I’m a crafty gal and always have at least 14 projects going at once. I am a crafter, designer, DIYer, and pattern maker. I share my creations here and in the Ruffles and Rain Boots® Shop.
Here at Ruffles and Rain Boots®, you’ll find DIY gnomes, crafts, gifts, cupcakes, laser crafts, and so much more. I love sharing video tutorials over on YouTube and chatting with other crafters in my Facebook groups. We’d love to have you!