
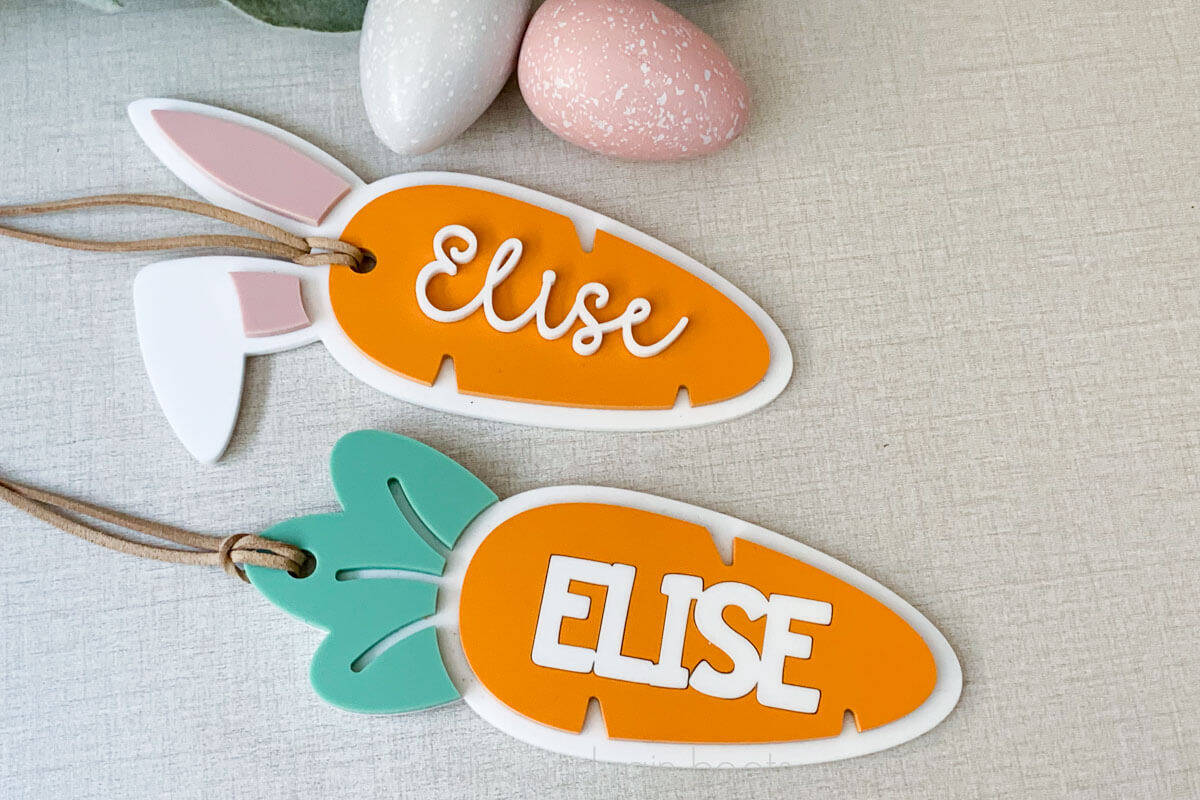
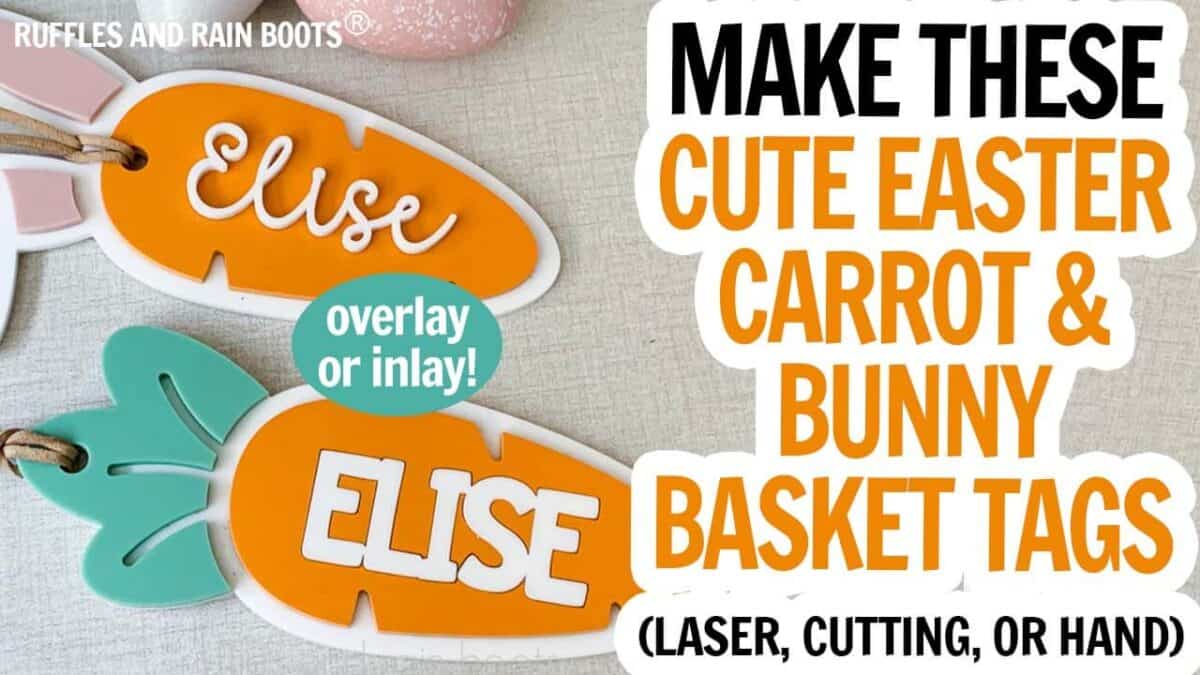
Laser Cut Carrot Easter Basket Tags
Whether you’re making them for yours or others’, kids LOVE these fun carrot Easter basket tags. They’re a quick project that can be made using diode or CO2 lasers and you can choose from acrylic or plywood.
RELATED READING: Easter Laser Projects to Make and Sell
What You'll Find On This Page
Cute Easter Basket Tags
Here at Ruffles and Rain Boots, I’ve been working on this year’s Easter projects. It’s only February and trust me when I say that I’m as shocked as you are (if you know me, I’m a “proven to perform in the last minute” kind of girl… a procrastinator at heart).
Today, I whipped up both of these designs using scrap acrylic that I had on hand. If you’re short on time, use 3M 467 adhesive tape on these like I did. The assembly time was less than 5 minutes for both of them.
As an Amazon Associate, I could earn from qualifying purchases. There could be affiliate links within this article.
Video Tutorial
If you want to see these come together, watch this quick carrot laser cut Easter basket tags video tutorial. You’ll see what I mean when I say they’re easy – these actually make a great beginner laser project for acrylic, too.
Materials You’ll Need
I used acrylic for these, but a plywood sampler pack would be great for a more natural, neutral look. For DIODE LASER USERS, you can create these from acrylic, too! Craft plastic or even diode friendly acrylics are both options for you.
- 3mm matte pastel orange acrylic
- 3mm matte sage green acrylic
- 3mm white acrylic (glossy)
- 3mm blush pink acrylic (matte)
- 3M 467MP adhesive tape
- suede cord (I love this stuff)
Adhesive Tape Versus Solvent Cements for Acrylics
Before we get started, I want to share how to use adhesive tape. A question I’m asked often is, “What is adhesive tape for acrylic to acrylic bonding?”
Adhesive tapes, unlike solvents, are placed on the back of material (used with more than just acrylics) PRIOR TO CUTTING. This means that the tape is cut at the same time by the laser, ensuring it is exactly matched to the shape.
When cutting is complete, the backing of the adhesive tape is removed and acts more like a sticker. The adhered pieces require pressure (heavy books or clamps) and the bond is permanent.
I use adhesive tapes (brand names 3M and Dual-Tite) as an alternative to using solvent cements (brand names Weld-On or Weldbond). Liquid solvents can spread and cause hazing and they also take me longer to use than the tapes. Both tapes and solvents can be used for this project.
RELATED READING: Free Easter Egg Tokens SVG Set – A Quick Laser Project
How to Make These Adorable Easter Basket Tags
Because I’m using it, I will apply 3M adhesive tape to the back of the acrylic. To figure out how much, I size the project and then only apply about 15% more to the back of my acrylic so that I’m not limited on how I can use my acrylic scraps.
Watch the video to see where I place my adhesive tape. It’s easily identified if you keep the masking on the front and use a marker to indicate where the tape stops and plain acrylic begins.
Place the scraps into the laser and secure. I’m using the honeycomb for this because I’ll have small pieces.
Refresh the camera and distribute the design pieces over the corresponding acrylic, taking note of the 3M adhesive backing.
While I load all colors in the laser, I’m going to Auto-Measure and use the close view camera for EACH piece. All pieces are processed separately so the measurement can be accurate.
Enter all cut settings. My settings were 88 power, 15 speed, 1 pass. Remove all of the pieces from the laser.
NOTE: the insides of the name cut out of the carrot should be kept. If they fell into your laser bed, go fishing if you want a seamless look.
Remove the front masking from the backer pieces and build each basket tag. You are able to reposition the 3M backed pieces as long as you don’t press them down.
For the laser cut text inlay, position the name first inside the carrot. Then, place the inset pieces which were cut out from the carrot.
Remove masking, add protection, and clamp the pieces connected with the 3M adhesive tape per the instructions.
Cut 20 inches of suede cord for each basket tag. Fold in half and loop through the holes, tucking the ends of the cord through the loop to create a hanger. Clean the acrylic (I use Novus cleaner) and your gift or product will be ready to package.
Project Notes for Sellers
- These are sturdy but anything with a hang-off design should have a backer during shipping (thick, heavy card stock will work).
- These can be made from wood, acrylic (3mm), craft plastic sheets, MDF, and plywood.
- Ribbons are also good hangers for these, however, I would not ship these with the wire cord bag tag holders (they don’t have to be as functional, so save money)!
More Laser Easter Project Ideas You Will Like
- Free Laser Cut Easter Basket Tags Templates – Make one or all of these free laser templates for cute tags.
- Free Laser Template for a Bunny Shelf Sitter Template and Tutorial – This sweet little bunny can be made in any size!
- Laser Cut Bunny Napkin Holder Free Patterns – The files and a kerf tutorial are included to help you make this laser cut fit project even if you’re a beginner.
Please Save and Share This Easter Laser Product Idea
Your shares are how this site grows and I am sincerely grateful. Please save this to a DIY Easter project pin board or share with a laser focused Facebook group.

Laser Cut Carrot Easter Basket Tags

These adorable carrot Easter basket tags can be made with a name overlay or a name inlay and I'm sharing how to do both!
Materials
- 3mm acrylic
- 3M 467MP Adhesive Tape
- Suede Cord
Tools
- xTool P Series Laser
- Inline Fan (IF2)
- Plastic Razor
- Scissors
Instructions
- Place the scraps into the laser and secure. I’m using the honeycomb for this because I’ll have small pieces.
- Refresh the camera and distribute the design pieces over the corresponding acrylic, taking note of the 3M adhesive backing.
- While I load all colors in the laser, I’m going to Auto-Measure and use the close view camera for EACH piece. All pieces are processed separately so the measurement can be accurate.
- Enter all cut settings. My settings were 88 power, 15 speed, 1 pass. Remove all of the pieces from the laser.
- NOTE: the insides of the name cut out of the carrot should be kept. If they fell into your laser bed, go fishing if you want a seamless look.
- Remove the front masking from the backer pieces and build each basket tag. You are able to reposition the 3M backed pieces as long as you don’t press them down.
- For the laser cut text inlay, position the name first inside the carrot. Then, place the inset pieces which were cut out from the carrot.
- Remove masking, add protection, and clamp the pieces connected with the 3M adhesive tape per the instructions.
- Cut 20 inches of suede cord for each basket tag. Fold in half and loop through the holes, tucking the ends of the cord through the loop to create a hanger. Clean the acrylic (I use Novus cleaner) and your gift or product will be ready to package.
Notes
Notes for Sellers:
- These are sturdy but anything with a hang-off design should have a backer during shipping (thick, heavy card stock will work).
- These can be made from wood, acrylic (3mm), craft plastic sheets, MDF, and plywood.
- Ribbons are also good hangers for these, however, I would not ship these with the wire cord bag tag holders (they don’t have to be as functional, so save money)!
Meet the Creator
Hi there, I’m Sarah Nenni-Daher. I’m a crafty gal and always have at least 14 projects going at once. I am a crafter, designer, DIYer, and pattern maker. I share my creations here and in the Ruffles and Rain Boots® Shop.
Here at Ruffles and Rain Boots®, you’ll find DIY gnomes, crafts, gifts, cupcakes, laser crafts, and so much more. I love sharing video tutorials over on YouTube and chatting with other crafters in my Facebook groups. We’d love to have you!