Laser Cut Christmas Stir Sticks – Free SVG
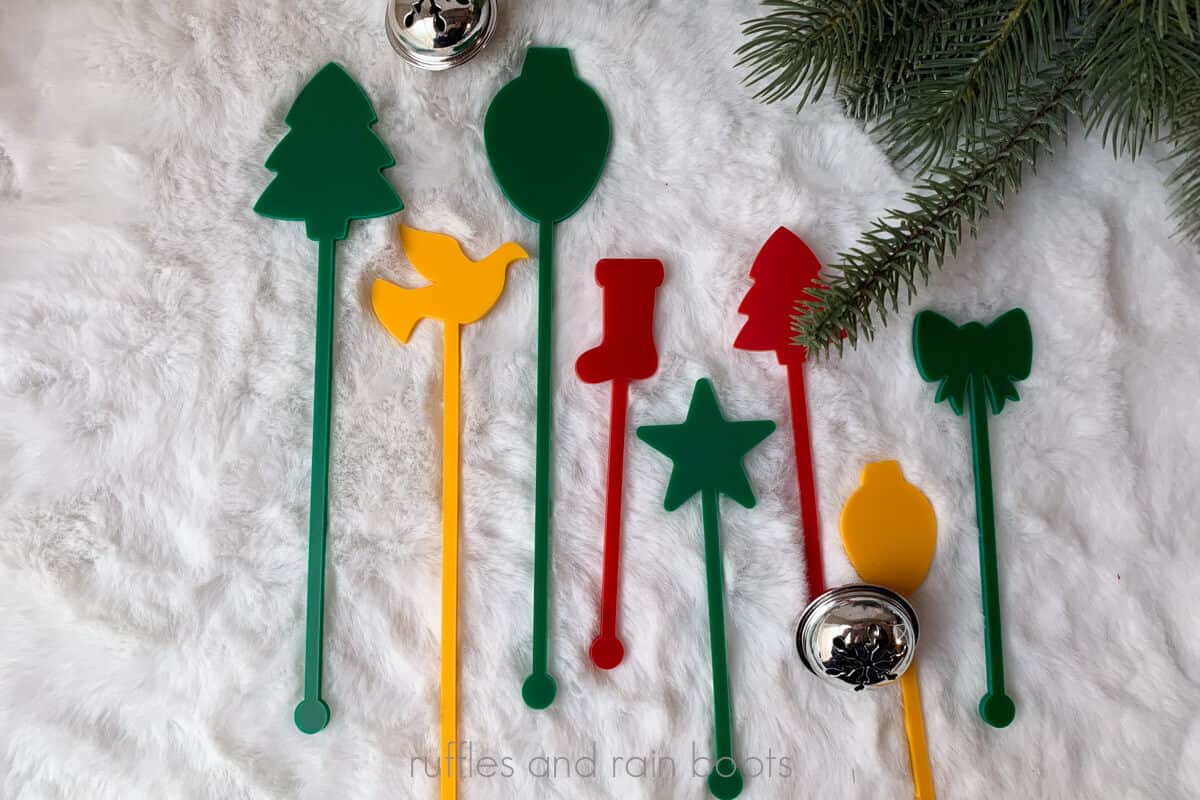
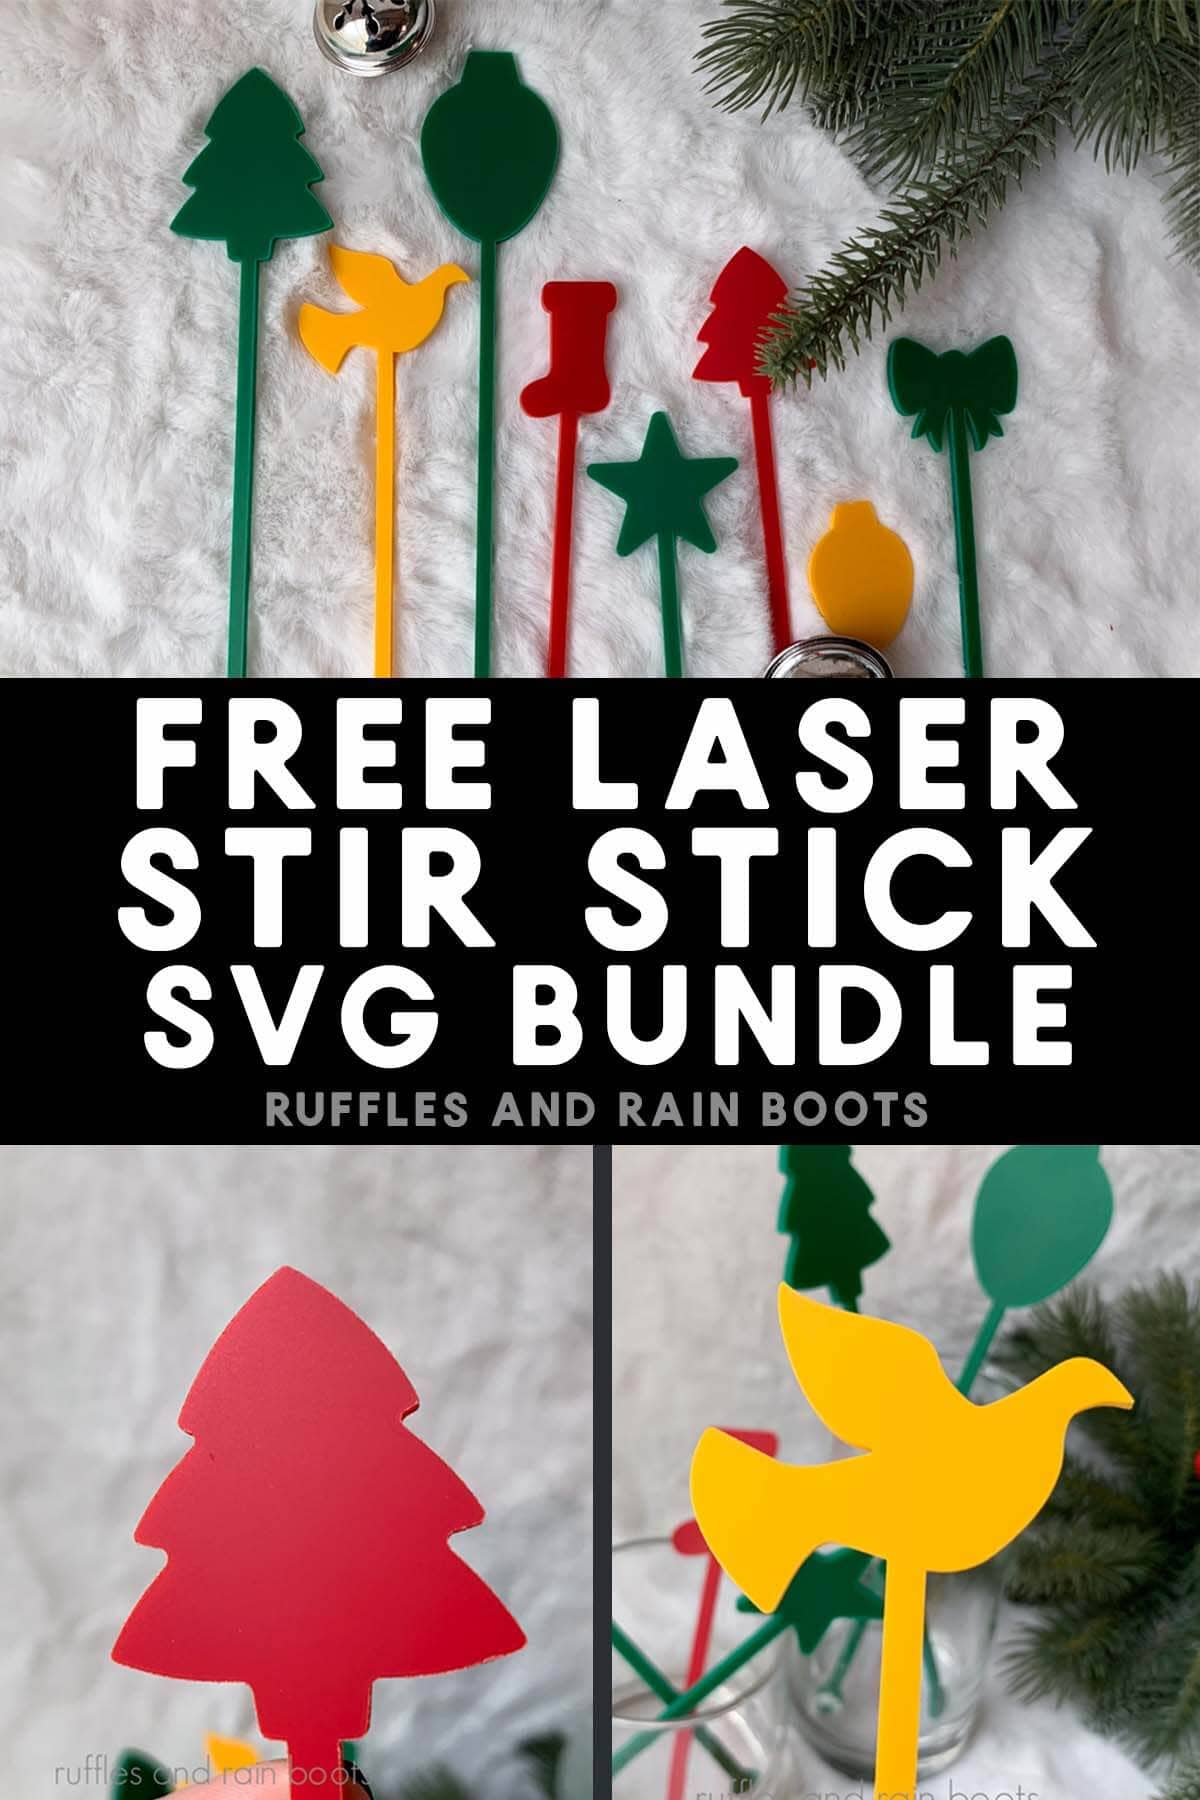
Use this set of hand drawn designs to make laser cut Christmas stir sticks for holiday parties, decor, and even as gifts. You can use either a diode or a CO2 laser to make these fun holiday drink stirrers.
RELATED READING: xTool Studio How to Use Batch Processing
As an Amazon Associate, I could earn from qualifying purchases. There are affiliate links within this article.
What You'll Find On This Page
Christmas Stir Sticks Laser Project
Here at Ruffles and Rain Boots, we’re gearing up for the holiday season. Today, I designed and cut a set of larger design drink stir sticks and they’re SO cute.
Below, you’ll find the materials, tips, tutorial, and even the settings I used to make these fun holiday designs. If you have any questions, please let me know in the comments.
How to Laser Cut Acrylic Stir Sticks Video Tutorial
In addition to the free Christmas drink sticks file, I have created a step by step tutorial to not only set these up in xTool Studio, but also how to make your own! Watch the xTool M2 Acrylic Christmas Stir Sticks video tutorial.
RELATED READING: How to Engraved a Chalkboard with the xTool M2
Materials I Used for This Christmas Laser Project
You can use either a CO2 or a diode laser for this project. I’ve been asked for more xTool M2 tutorials, so I used that machine. Of note, my M2 is a 10 watt diode.
All three of these are 12×19 inch sheets from Houston Acrylics. They’re one of my favorite acrylic vendors and I hope you give them a try and I’ll share the cut settings below for each.
- xTool M2 Color Craft Laser or get the xTool M2 on Amazon
- xTool AP2 air purifier (acrylic is SMELLY)
- free Christmas stir stick template bundle or get them on the Atomm platform (XS file only)
Acrylic Cut Settings for Diode Laser
- sunflower 3mm (matte and glossy)
- cut 100/2/1
- constant power
- 100% air assist
- apple red 3mm (matte)
- cut 90/3/2
- constant power
- 100% air assist
- hunter green 3mm (matte)
- cut 85/4/4
- constant power
- 100% air assist
How to Make Christmas Stir Sticks from Cast Acrylic
Open the file in xTool Studio. The designs are already sized for both low and high ball glasses, so there is no need to resize.
In the working canvas, select which designs (or all) you want to make and separate by color (right click). This will help when you’re cutting multiples from different colors of acrylic.
All stir sticks should be changed to PROCESSING TYPE: cut.
You can select the material (the color of acrylic) in the Materials Library, however, I will share mine below (name of the color, source of the acrylic, and settings). Be sure to TEST before you process.
NOTE: Neither plywood or extruded acrylics (including mirror acrylic) should touch food. This is a tutorial for cast acrylic only unless you’re using these stir sticks as small bouquet or table display charms.
See the video for tips on using larger pieces of acrylic (12×19) in smaller beds like the xTool M2.
Place the acrylic on magnetic stand offs – your goal is for the acyrlic to have the most air flow under it with the least amount of metal touching it to reduce the chance of nicks on the backside. I don’t recommend using the Clean Cut Panels in the xTool M2 for this project.
Select the designs you want to process and ensure they are set to have the output ON. Turn the output OFF for all other colors / pieces.
Enter the parameters for the acrylic you have loaded.
TIP: If you are placing items very close together, add a tab to prevent the stir sticks from dropping and potentially getting laser cut when processing nearby items. Tabs are in the cut menu and I have a video on how to use tabs in xTool Studio here.
RELATED READING: xTool M2 Review – Is it the Best Laser for Crafters?
Take a picture and measure the distance before moving the designs into place for processing. Remember to stay away from the magnetic stand offs and to use the close view and stitch view camera options to get ideal placement on your material.
Process the cuts on the first color of acrylic. Remove and load another, repeating the steps above.
NOTE: You must take another image of the bed AND remeasure the distance. You will likely have to change the processing parameters for every colors, so be sure to test each before processing.
Clean the acrylic holiday stir sticks. Use them in your holiday party or package them up for a gift.
More Laser Projects You Might Like
- How to Print on Leather (xTool M2) – Oh, it’s possible AND it can be heat pressed, too!
- xTool M2 Print and Cut Plant Stakes – This perfect beginner project will be ideal if you want a quick crafting win and you’re new to the color craft laser.
- How to Engrave recessed Items – Did you know you could engrave buttons EVEN IF they have a recessed portion in the middle? Yep, here’s how.
Please Save or Share This Easy Beginner Laser Idea
Your shares are how this site grows and I am sincerely grateful for each one. Please save this to a DIY laser projects pin board or share it in a laser group on social media.
Meet the Creator
Hi there, I’m Sarah Nenni-Daher. I’m a crafty gal and always have at least 14 projects going at once. I am a crafter, designer, DIYer, and pattern maker. I share my creations here and in the Ruffles and Rain Boots® Shop.
Here at Ruffles and Rain Boots®, you’ll find DIY gnomes, crafts, gifts, cupcakes, laser crafts, and so much more. I love sharing video tutorials over on YouTube and chatting with other crafters in my Facebook groups. We’d love to have you!