A Cozy Tea Gift Set
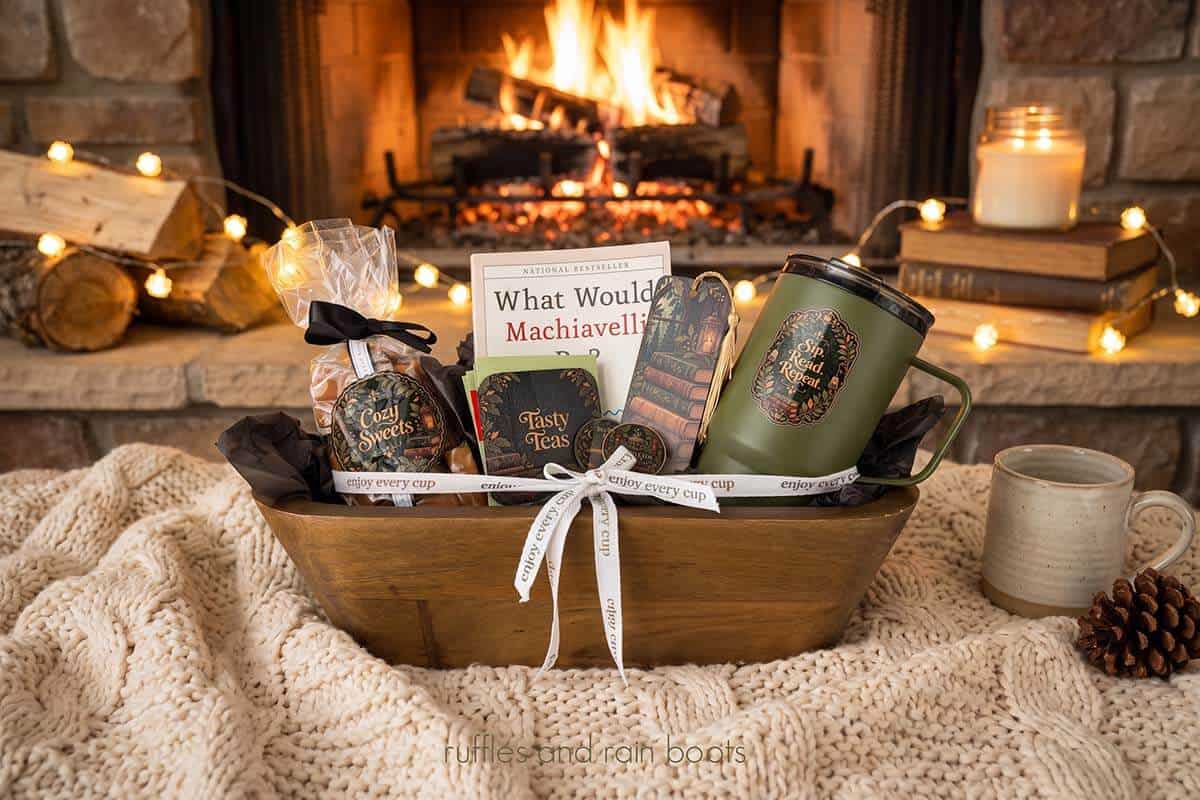
This tea gift set is a DIY’ers dream for the cooler days of fall, a friend under the weather, or just to offer as a gift set for sale at a market or online. Combining off the shelf items with custom UV printed and laser cut items, you will have a blast putting this together!
RELATED READING: How to Print on Acrylic and Bend It (xTool O1 + WonderPress)
As an Amazon Associate, I could earn from qualifying purchases. There could be affiliate links within this article.
What You'll Find On This Page
Putting Together a Good Gift Set
Here at Ruffles and Rain Boots, handmade gifts are a favorite of mine. You get to showcase your creativity and skill while getting using the fun craft tech you might be sitting on!
And if you don’t know, custom gift sets are a great way to pay off a new machine. They command a higher price because they’re a ‘done for you’ solution but they still allow you to cater it to the gift recipient, holiday, or occasion.
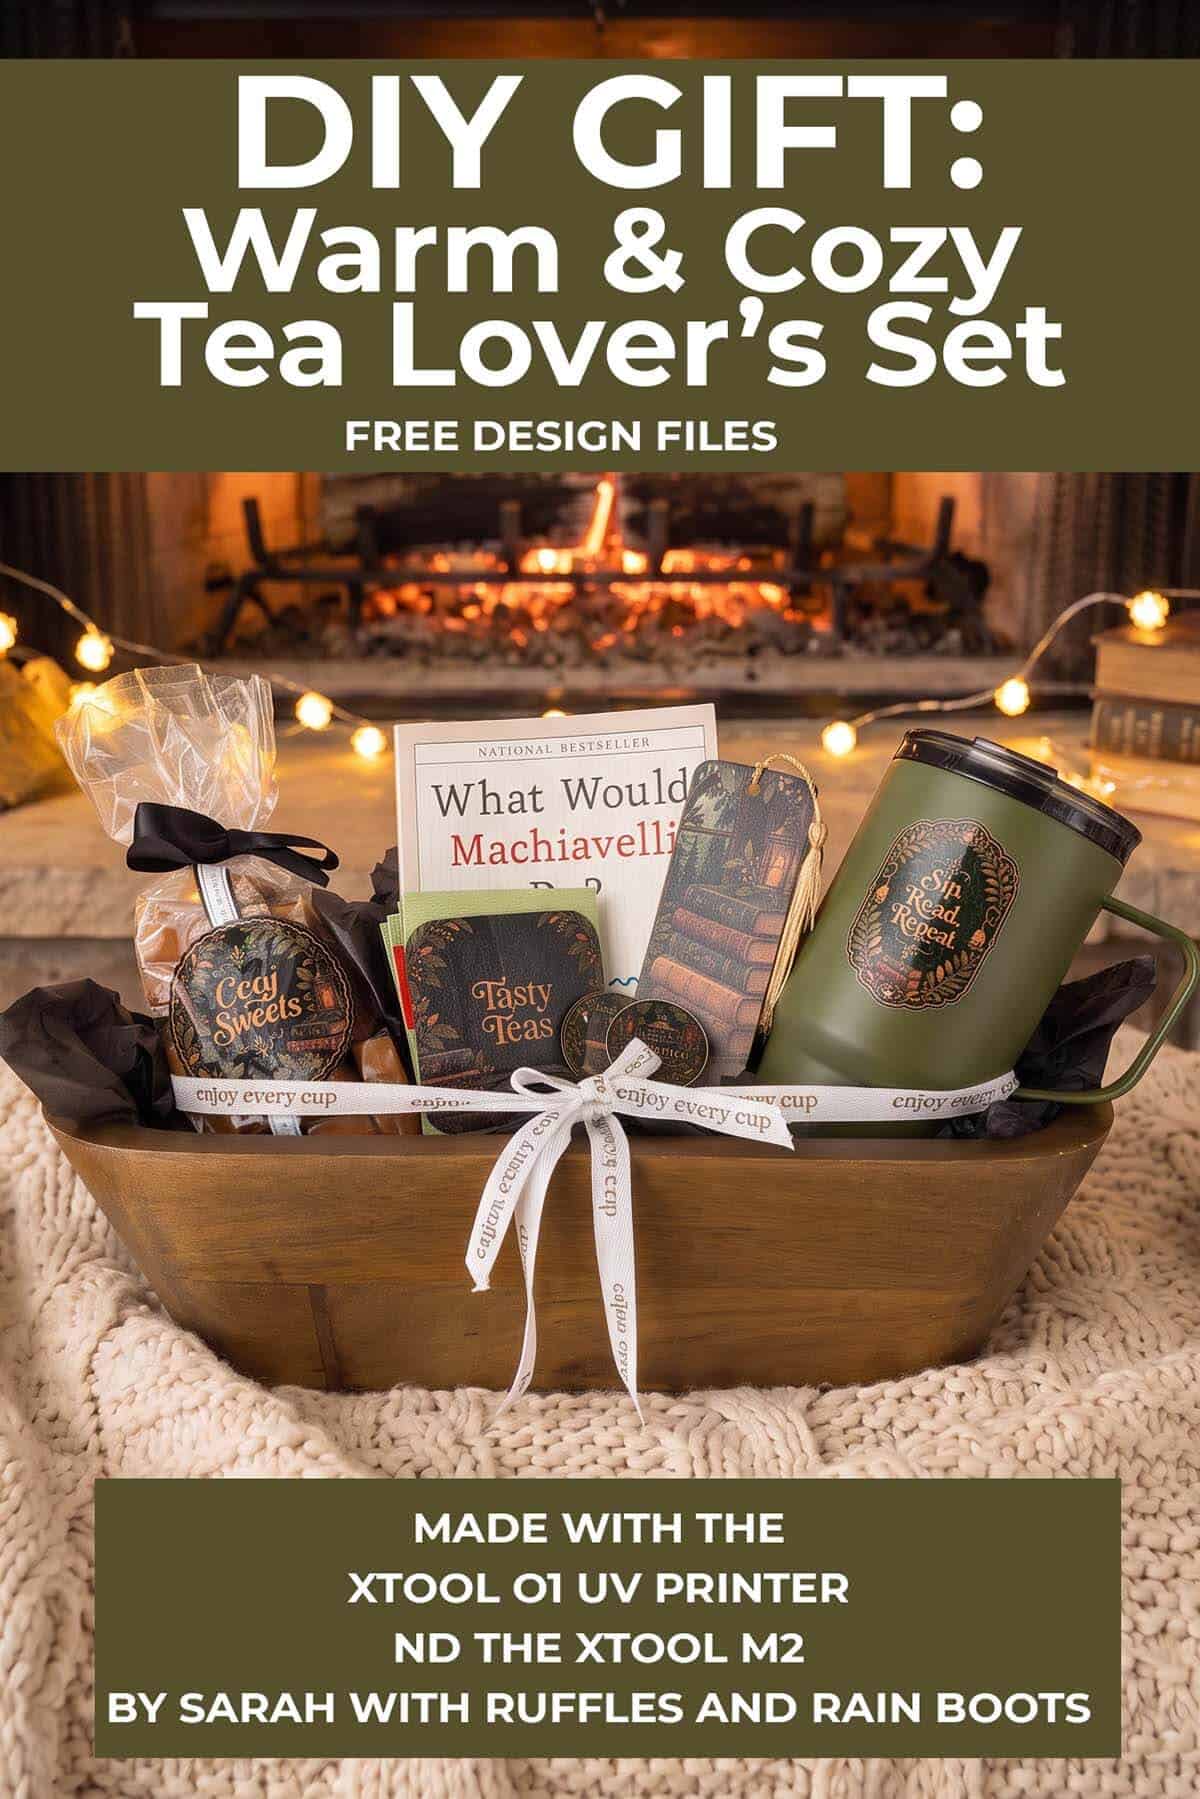
Cutting machines, printers, lasers, oh my! Today, I’m going to be sharing how I put together a custom tea gift set for a friend. This set features a tumbler, a bookmark, custom candy label, printed ribbon, and a few more surprises.
Machines I Used In This Set
I used the xTool M2 diode laser and my xTool O1 UV printer to cut and print wood, make stickers, and even print on ribbon. Oh and the entire set was made using the FREE xTool Studio software – you need nothing else.
- xTool M2 Color Craft Laser (or an xTool M2 bundle on Amazon) – I have the 10 watt diode laser in my unit, as well as the very popular print module. And while I could have printed this with that printer, I chose to combine it with my newest machine…
- xTool O1 UV Printer (Dual UV Model) – This thing is amazing! I can print on pretty much anything I can stick in the machine as well as produce very professional-looking stickers.
Materials and Items I Used
With the xTool O1, I created the UV-DTF stickers for the tumbler, the candies, and the loose sticker set. I also printed the ribbon. My M2 diode laser made quick work of creating a bookmark and the tea gift tag. Materials I used:
- 1/32″ wood in ‘dark basswood’ (from Michael’s)
- A + B film (for stickers)
- 1/2″ cotton woven ribbon (white)
- tassel for the bookmark
- candy and individually-wrapped tea bags
- download the free xTool Studio file here
How to Make A Gift Set Like This
I measured all of the items I needed like the label to cover for the candy and the approximate size of the tumbler sticker I wanted to make.
Cut then Print
Using the 1/32nd dark basswood sheets, I cut the tag and the bookmark vectors on the xTool M2. I then popped them into the O1 and printed the designs with 2 white and 1 color.
Remember, you can also print on the xTool O1 and cut on the M2 seamlessly, but my O1 was finishing up a different project and, well, I’m impatient so I cut first.
Printed Ribbon
This was my most-anticipated experiment today. I laid some ribbon into the machine and adjusted the vector of words in specific colors to fit.
I made sure to print going up one side and down the other so that when I tied the bow, the user could read it. Is it perfect? No, I definitely need work laying things out on the bed. I kind of which the xTool mats had a grid for those of us who are challenged in this area.
UV-DTF Stickers
Even though I have done these before, I was really nervous about the stickers. Y’all that film is STICK. EEEEE.
I laid a small A film sheet down on the small bed and removed the cover. I heated up the xTool L1 laminator while the sticker sheet was printing and scanned the bed in the xTool Studio software.
I noticed that this setting has white coming from UV 1 vs UV2; I didn’t change that, so just make a note. If you have the dual head like I do, you can change this based on the ink you want to use.
It was easy to align the designs onto the sheet based on the scan. I used the standard A film sticker settings for these and set it to print. Once the print was done, I loaded it into the laminator and it finished the job for me.
I cut off the stickers needed and set aside the others to include in the gift basket.
Placing the UV-DTF sticker onto the tumbler was a little… anxiety-laden. I wiped down the tumbler with IPA and used an old tumbler holder from my Cricut days (if you don’t have one, just put it on a towel.
But, the anxiety was all in my head and literally popped on, perfectly in place on the tumbler.
Gift Set Assembly
The most frustrating thing you’ll ever do is attempt to tie two bows the exact same without the use of tools. So instead, I shoved it all into a wooden dough bowl and just tried my best with the bows. Don’t judge me.
What do you think of this gift set? I love the dark and moody combination of colors, the warmth of the dark wood, and love that I found a wooden dough bowl so inexpensively to bring it all together.
You Might Also Like
- xTool O1 Dual Review – Thinking about a UV printer? Here’s my take on the xTool O1 and more importantly: who should get it and who should skip it.
- xTool M2 Review and Projects – The M2 is a versatile piece of craft tech that can work with so many materials.
- Popular Laser Cut Bow Bag Tags – The sky is the limit with bag tags and you can make them with wood or acrylic!
Please Save or Share This Fun xTool Ecosystem Project
After you download the free tea gift set file above, please save this to a DIY projects pin board or share it with a crafty laser or UV printing group on Facebook.
Your shares are how this site grows and I am sincerely grateful. If you’d like to see more, follow along on YouTube or sign up for my free newsletter.
Meet the Creator
Hi there, I’m Sarah Nenni-Daher. I’m a crafty gal and always have at least 14 projects going at once. I am a crafter, designer, DIYer, and pattern maker. I share my creations here and in the Ruffles and Rain Boots® Shop.
Here at Ruffles and Rain Boots®, you’ll find DIY gnomes, crafts, gifts, cupcakes, laser crafts, and so much more. I love sharing video tutorials over on YouTube and chatting with other crafters in my Facebook groups. We’d love to have you!