
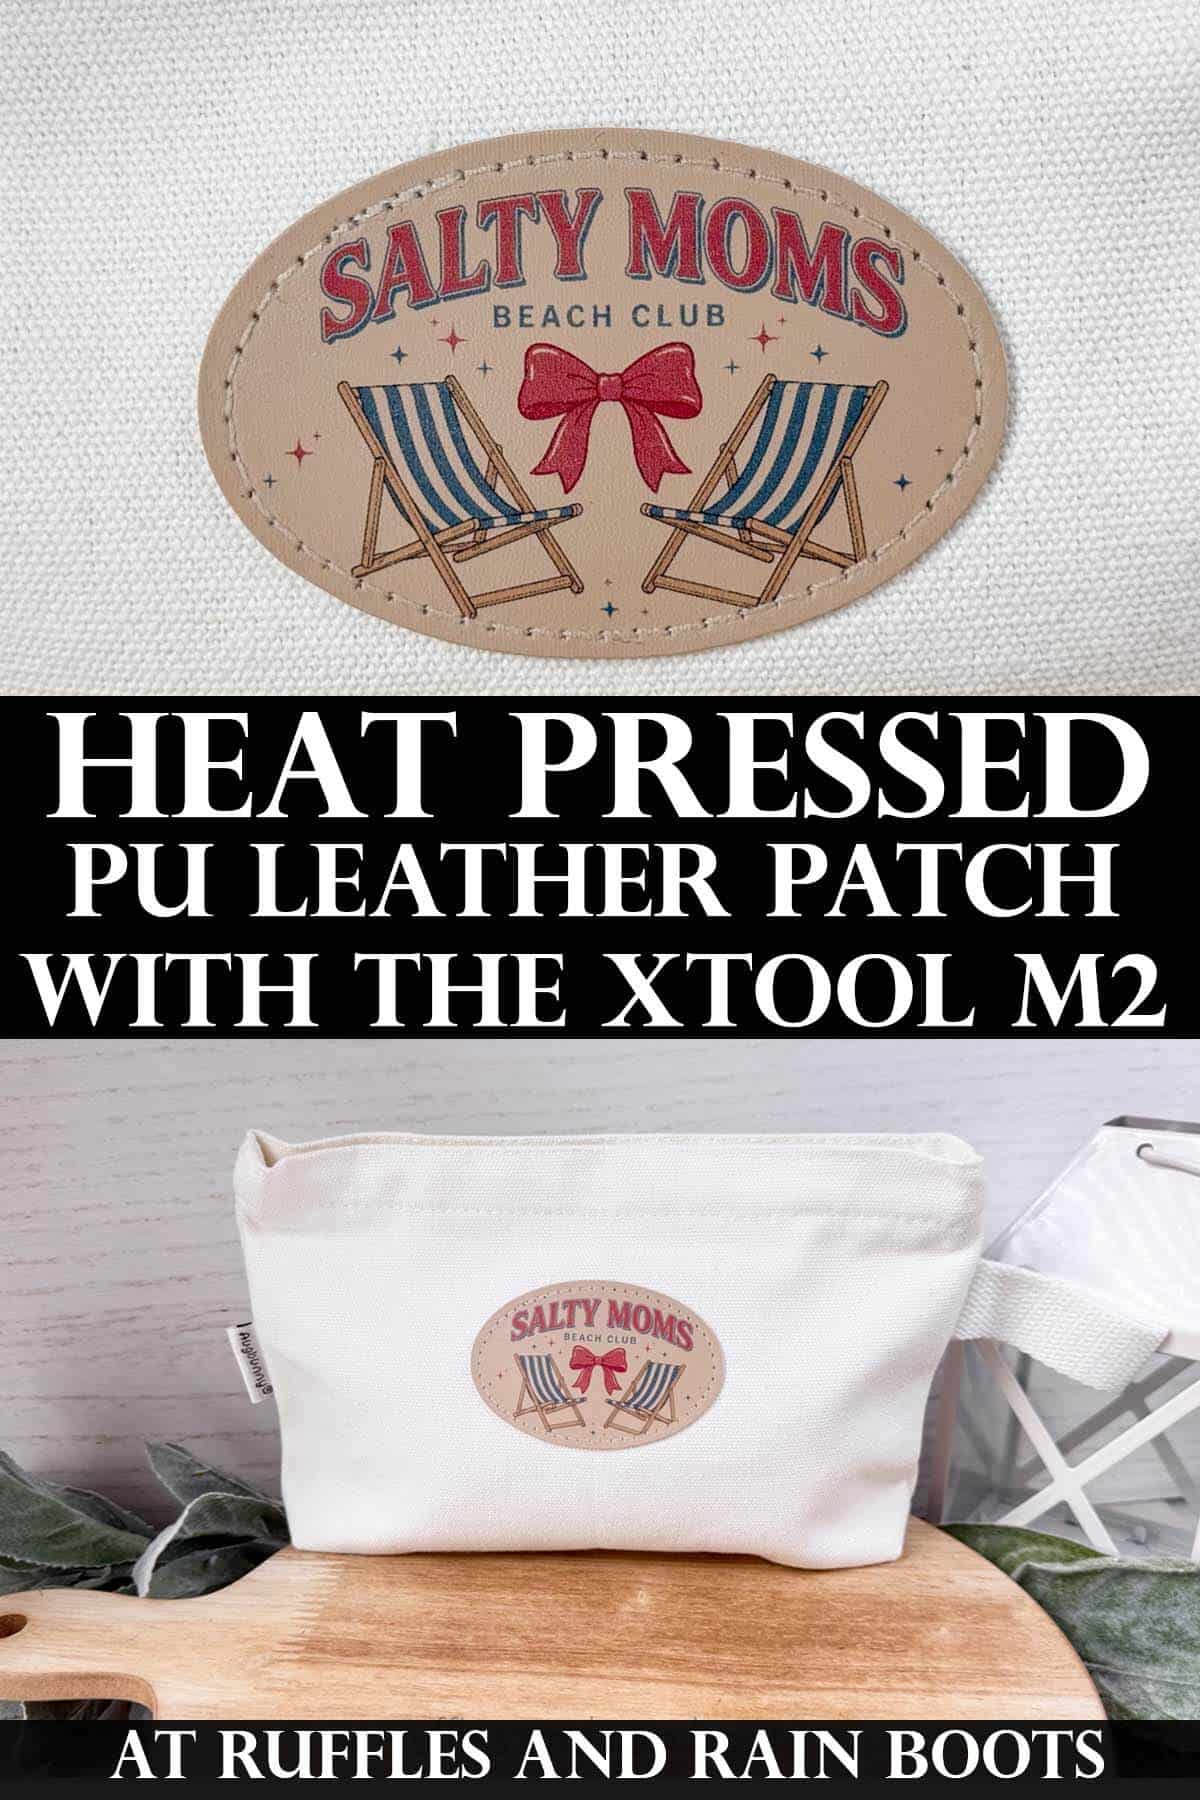
xTool M2 Print on Leather Patch
Use this quick tutorial to learn how to use the xTool M2 to print on a leather patch. I’m sharing tips and tricks for this fun way to get creative or add a product to your business.
RELATED READING: Make One or All of These 4th of July Laser Projects
As an Amazon Associate, I could earn from qualifying purchases. There could be affiliate links within this article.
What You'll Find On This Page
How to Print on Leather Using the xTool M2
Here at Ruffles and Rain Boots, I have a fully stocked craft room. When xTool sent me the M2, laser and printer Color Craft, I started looking for a ton of items on which to test the inkjet printer cartridge.
And I found a lot of things I hoped would work, but the only real way was to try them. With a little study and a little testing, I found out that I could create a beautiful print on faux leather patches AND heat press them without losing any color.
My Materials for This Laser Craft
For this project, I used the following. Note that you can use any inkjet primer and any sealant as long as it doesn’t contain epoxy resin (some sealants do).
- xTool M2 + Inkjet Module
- InkAid Inkjet Primer (Clear Gloss formula)
- PU leather patch (or laser safe faux leather in a light color with DurraBull adhesive)
- Gold Standard Sealant (or any resin-free sealant good for PU leather)
- heat press (I’m using the mini xTool press)
- Teflon sheet
- scrap of parchment paper
- bag, t-shirt, backpack or other item for pressing (I used this canvas bag)
- Salty Moms Design
My set up is also using the xTool AP2, the robust air purifier that automatically turns on and off with each job. If you want to see if it’s right for you, check out the xTool AP2 here.
Video Tutorial for xTool M2 Leather Patch Print
If you’re a visual learner like I am, I have a quick video that walks through each of these steps, the items I’m using, and a few tips along with the way. Watch the xTool M2 Print on a Leather Patch video (be sure to subscribe).
Good To Know Before We Get Started
- The color of your patch will determine the ink concentration. Lighter patches require less concentration.
- An inkjet primer is going to produce better results on nearly everything the M2 prints, so choose one. I prefer InkAid over ModPodge, but xTool has a primer spray, too.
- Secure your item before printing. I like to use magnets to block the item in place or use tape and magnets.
- I am assuming you have done the xTool M2 ink module calibration tutorial and have attached the lid tool into the bed. If not, go into the device settings and run that so you can be sure your results will be the best they can be.
How to Print on Leather Using the xTool M2
Each of these steps is highlighted in the video tutorial below, but if you like this format keep this page open and follow along.
Step 1: Use a Primer
Use a foam brush to apply the InkAid (or other inkjet primer). I also like using the small foam swabs (not cotton, as it can deposit lint).
Tips:
- Apply a primer in a thin, even coat ending with as few lines or puddles as possible.
- Let the coated patch dry with minimal handling.
Step 2: Material
Place material into the bed of the laser. The only goals are to make sure the surface is flat or even and does not move.
Tips:
- I found that I liked elevating items just a little and I want to secure them well, so I am placing a wood block from the dollar store into the machine so that I can adhere the patch and create a barrier that will clear the print head. I add flat magnets around the block for a “ready for the end of the world” level of preparedness. Overkill? Maybe.
- Add reposition-able tape or semi-permanent tape or something else that won’t affect the adhesive on the back of the patch. I use a reposition-able tape I picked up from Amazon but flat double sided, non permanent tape will work.
Step 3: Prepare for Printing
Add the ink module into the housing and close the lid. Turn on the laser and open the free Studio software.
Change the processing mode to Inkjet Printing.
Measure the distance. Before positioning anything, take a measurement. Your goal is get it measured before sizing anything.
Drag in the image and size it to your piece. Use the close view camera (or stitch process) to ensure the most accurate placement.
Note: Create a mask (if needed) as I show int the video using a basic shape and mask the image. I show in the video that I create a mask and even manipulate it easily in the “edit” vector mode.
Step 4: Parameters and Processing
Set the ink concentration to 70%. Because we’re using a primer, you shouldn’t need a lot of ink when working with the lighter color leather.
Framing isn’t necessary with this because all placement was done on the cameras, but you can use either the new video framing option or the traditional light.
Open the lid, if desired, and process the print. You will be shown the estimated print time on the processing screen. Once you’ve sent the image to the laser, press the start button to begin printing.
Let the print dry (either in the laser or carefully remove it without touching it).
Step 5: Seal and Heat Press
I sealed mine with a couple of light coats of a PU leather, resin-free sealant and let it dry between each coat.
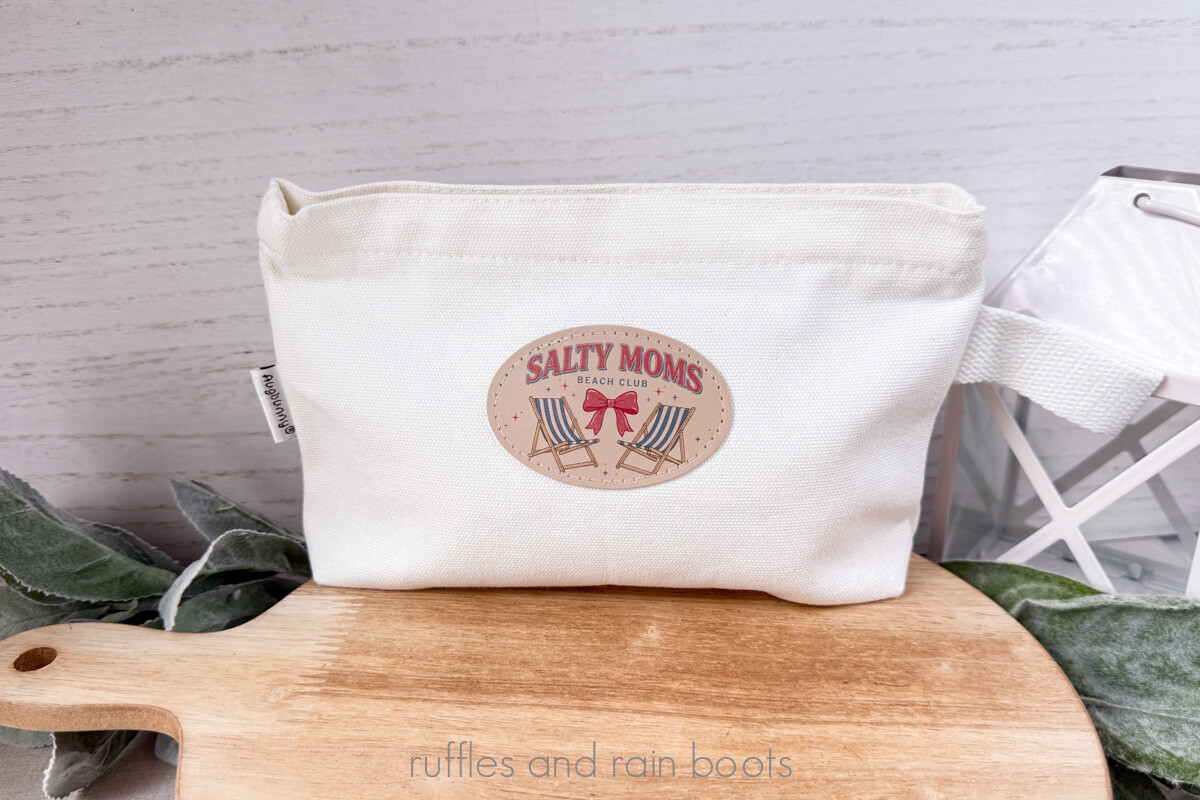
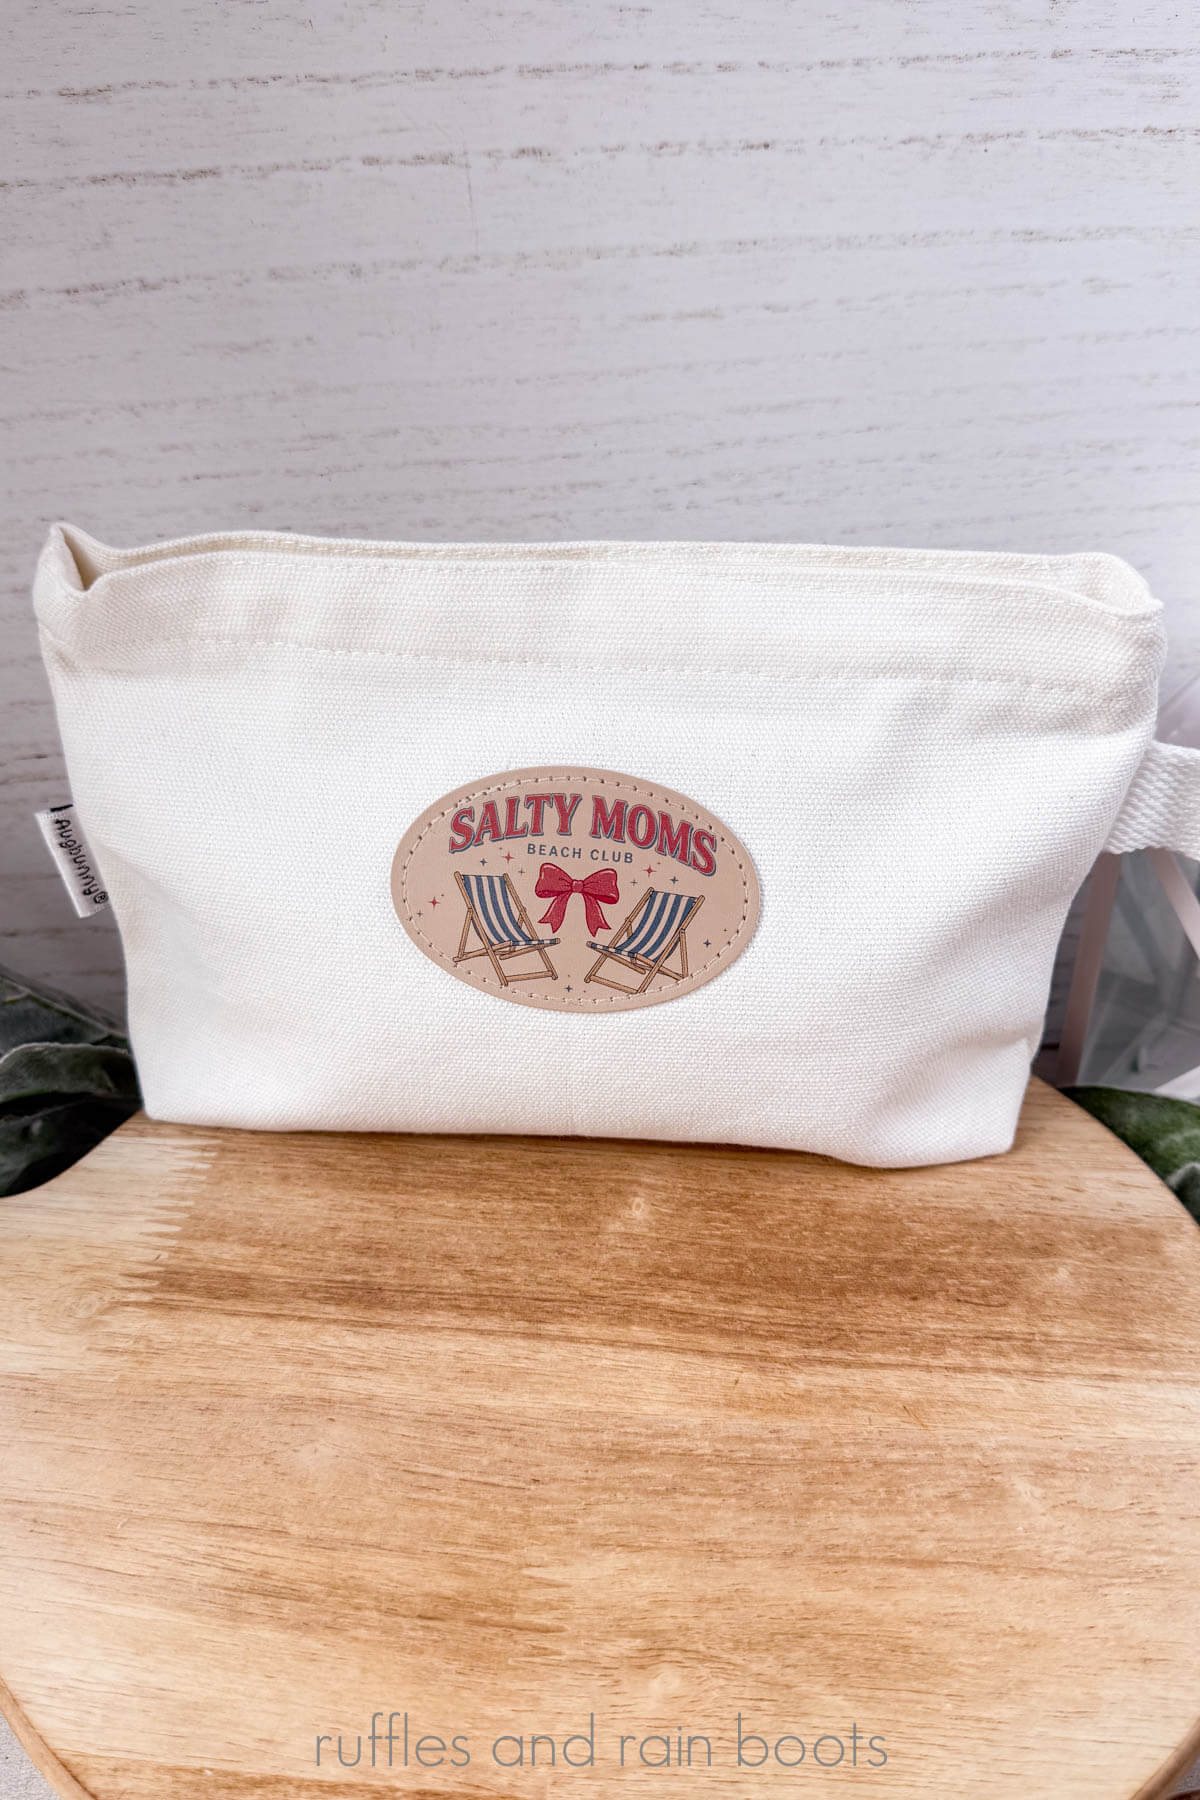
Once dry, I used the press to adhere it to a canvas make up bag.
Tips:
- If heat pressing, be sure to press your item to remove moisture. Use a protective sheet (I use a PTFE Teflon sheet but you can use parchment paper) and press per the patch or PU leather’s instructions.
- I like to cover the print with a small square of parchment to make sure no ink transfers to my Teflon sheet.
- Once the patch is adhered to the front, I lip the item over and press the back if I can (a mini press is great for most things) just to get that adhesive from both sides.
Once cooled, the project is complete. You can absolutely offer these as “ready to press” designs, as well.
More You Might Like
- xTool M2 Review – Is this the right laser and printer machine for you?
- Learn All About Laser Masking – Should you mask wood? Acrylic? Take a look at this before working on your next laser project.
- Free Laser Cut Heart Earrings – This is a perfect beginner project that allows you to open, burn, and paint or color. It’s a great item to make from wood scraps, too!
Please Save Or Share This Print Project Idea for the xTool M2
Your shares are how this site grows and I am sincerely grateful. Please save this to a print projects pin board or share it on social.
Meet the Creator
Hi there, I’m Sarah Nenni-Daher. I’m a crafty gal and always have at least 14 projects going at once. I am a crafter, designer, DIYer, and pattern maker. I share my creations here and in the Ruffles and Rain Boots® Shop.
Here at Ruffles and Rain Boots®, you’ll find DIY gnomes, crafts, gifts, cupcakes, laser crafts, and so much more. I love sharing video tutorials over on YouTube and chatting with other crafters in my Facebook groups. We’d love to have you!