xTool M2 Funny Plant Stakes
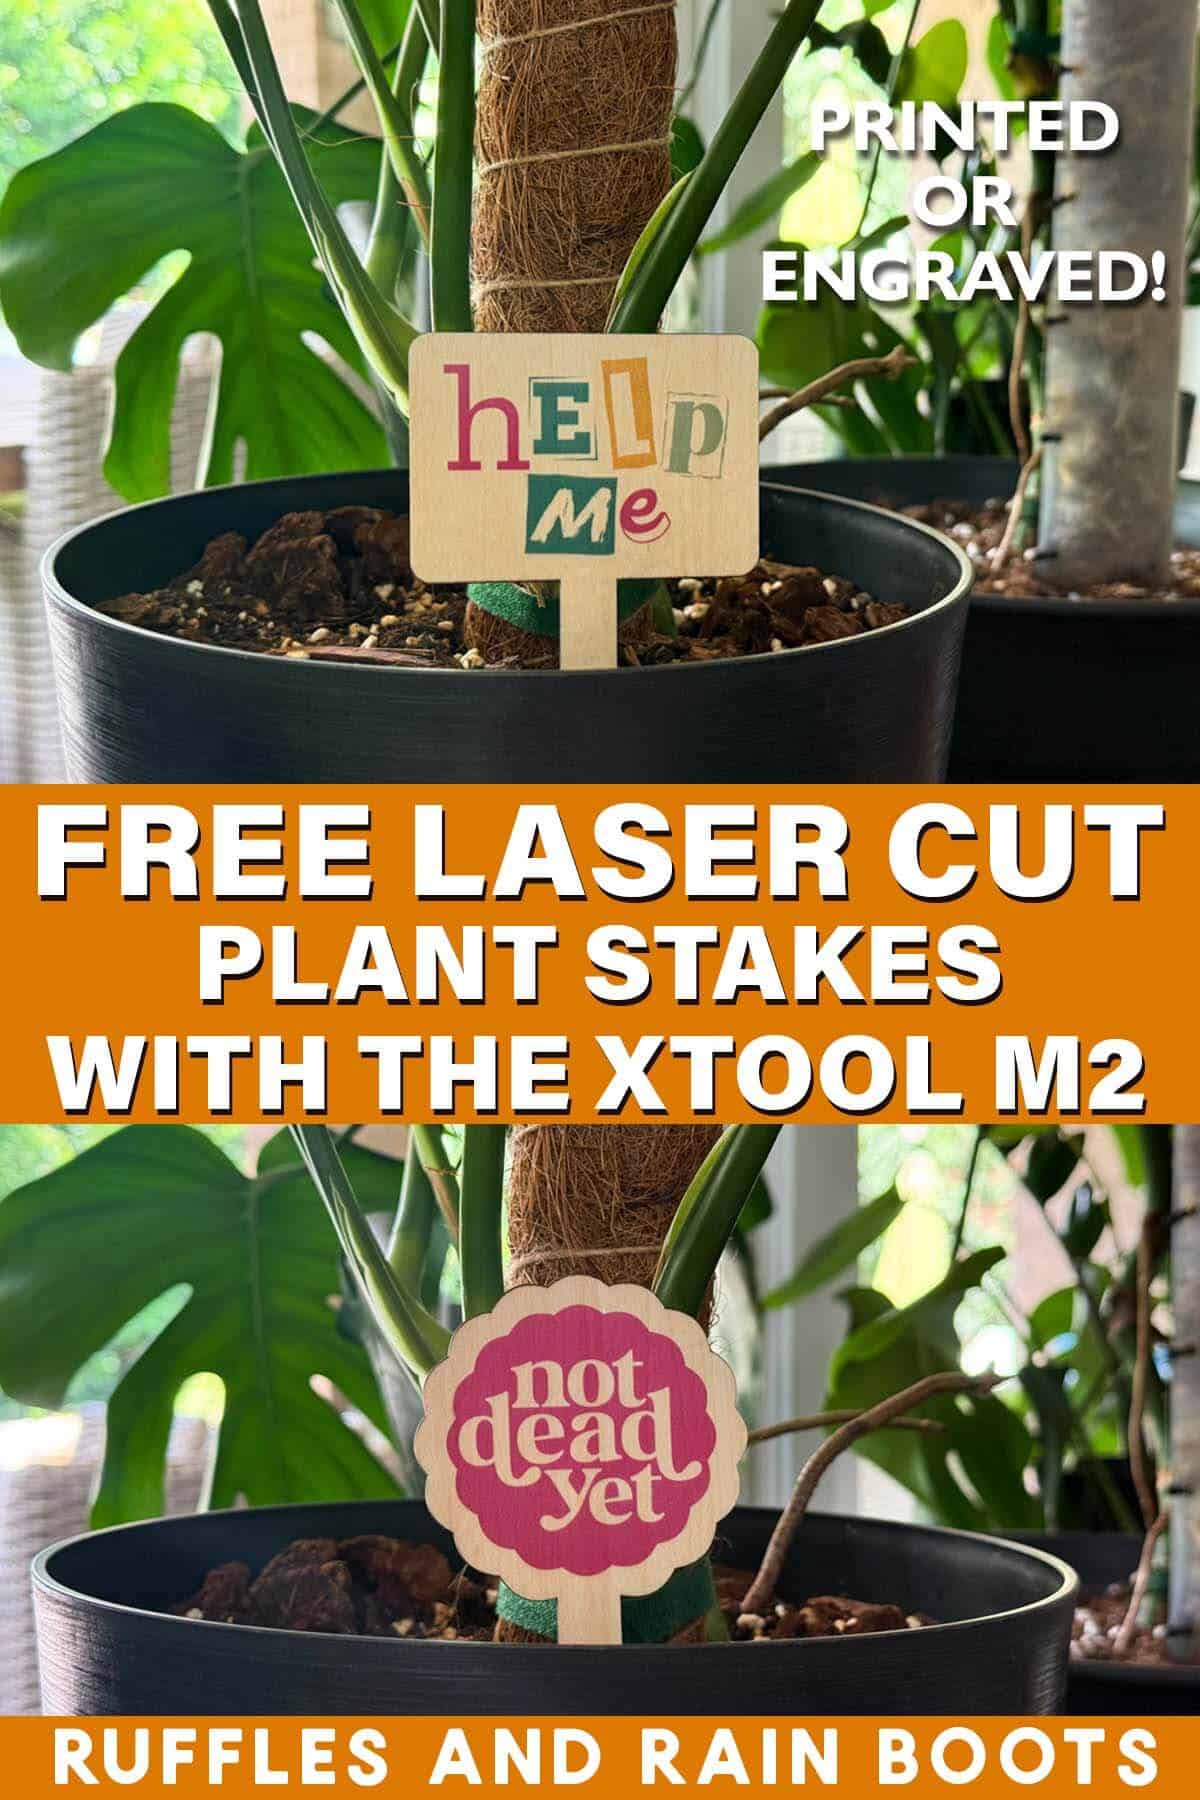
Use this free laser template to create print and cut or engraved funny plant stakes with the xTool M2. If you’re new to this amazing machine, this tutorial will walk you through the process, step by step.

RELATED READING: Batch Processing with the xTool M2
As an Amazon Associate, I could earn from qualifying purchases. There could be affiliate links within this article.
What You'll Find On This Page
xTool M2 Plant Stakes Print or Engrave
Here at Ruffles and Rain Boots, I’ve been working with the M2 color craft laser now for a couple of months. It’s been the most-used laser in my space because it’s so versatile.
Today, I was asked to create plant stakes. I decided to not only create a tutorial, but also give you a free set of plant stake laser templates to customize your own!
Printable Plant Stakes Video Tutorial
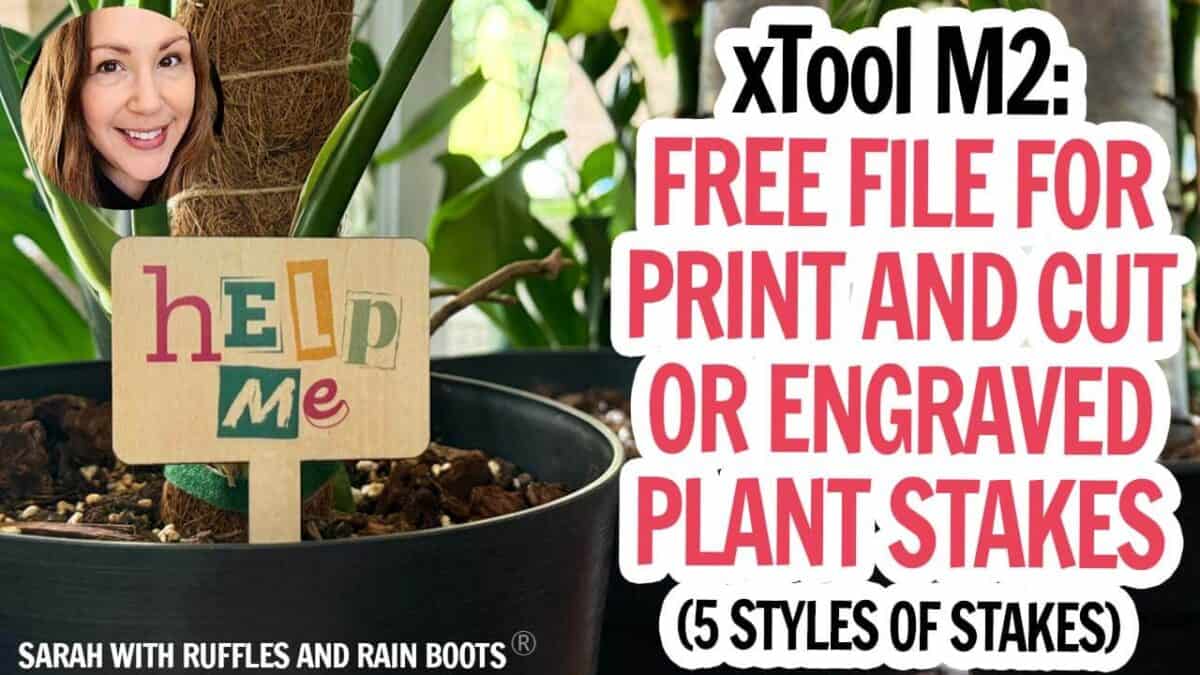
If you’re a visual learner, watch the short xTool M2 plant stakes video tutorial. While you’re there, be sure to subscribe – we have a lot of fun on the channel.
Materials You Will Need for This Beginner Laser Project
For this project, you can actually use any laser if you want to engrave the free file. Below are the materials for the printable version.
- xTool M2 Color Craft Laser (10 or 20 watt) or get the M2 on Amazon
- the Printer Module for the M2
- Free Plant Stakes Laser Template
- 1/8th inch or 3mm basswood plywood
- InkAID clear and a foam brush (or the xTool spray primer)
- spray sealant

Step By Step Tutorial
Below, I’ll list out the steps for the entire process. If you’re new, the video will help immensely to see where each of the commands are located within xTool Studio.
Load the print module into the machine (perform the calibration if you have not done so).
Load a piece of plywood into the M2 using the magnetic stand offs, making sure that it is placed outside of the print area. More on that in step 5.
Open the XS file.
Select Print then Cut from the processing mode.
Let the system take an image and perform the distance measurement to the wood. If the system shows a grayed out area over your material, move the material or make a note to move the designs out of that area.
Select basswood plywood from the materials.
Choose which shapes of plant stakes you like. Turn the output off for those you do not like.
Use the text or create your own using the xTool Studio’s text designs. You can change fonts, add colors, gradients, or even patterns. Place them onto the canvas how you would like them printed and cut out from the wood.
Set all of the print pieces to an 80-90% ink capacity. Note: if you are using light colors or gradients which include light colors or pastels, 90% works well. You can also run two passes at 45%. If you have primarily dark or rich hued colors, 80% will get a great saturation.
Set all of the cuts to your tested basswood settings. Note: my machine cuts basswood plywood from xTool at 100, 6, and 1. You might need to use the recommended settings of 100, 4, and 1.
If needed, wipe any edges. Use isopropyl alcohol to clean up any resin / blow back on the back of the stakes or sand them lightly.
Seal the plant stakes and pop them into your pots or package for sale or gifting.
Notes and Considerations
- Your colors and material will determine the ink capacity you select. All items have to be printed at the same capacity in a single run. You can set some to print higher or lower, but they will have to be run separately.
- If you are not sure about the amazing text design features inside xTool Studio, watch my video on this.
- It is imperative that you test settings to achieve no blow back of soot.
- When designing, take into account whether or not your settings will have blow back on the top edge of the material. We can use alcohol to clean it up, however, if we touch (or even get near) the printed portion, the ink can bleed as the wood absorbs the moisture.
More Laser Project Ideas You Might Like
- Dollar Tree Chalkboard Laser Engraving – Use the xTool M2 to create a beautiful finished piece for only $1.25 (settings included with the free design).
- How to Print a Faux Leather Patch – Another xTool M2 project that walks you through how to use the print module to create a colored, heat-pressed patch.
- Join the Facebook Laser Crafting group for support, project ideas, and more.
Please Save or Share This Laser Craft
Your shares are how this site grows and I am sincerely grateful. Please save this to a DIY laser projects pin board or share it with a laser group on Facebook.
Laser Plant Stakes

Create your own set of printable or engraved plant stakes using this free file. I'll show you how to make these using the xTool M2 color craft laser, however you can use any diode or CO2 laser for this project.
Materials
- free laser template for the plant stakes
- 1/8th inch (3mm) basswood plywood
- InkAID clear and a foam brush
- Spray Sealant
Tools
- xTool M2 Laser and Printer Module
- cloth for cleaning
Instructions
- Load the print module into the machine (perform the calibration if you have not done so).
- Load a piece of plywood into the M2 using the magnetic stand offs, making sure that it is placed outside of the print area. More on that in step 5.
- Open the XS file.
- Select Print then Cut from the processing mode.
- Let the system take an image and perform the distance measurement to the wood. If the system shows a grayed out area over your material, move the material or make a note to move the designs out of that area.
- Select basswood plywood from the materials.
- Choose which shapes of plant stakes you like. Turn the output off for those you do not like.
- Use the text or create your own using the xTool Studio’s text designs. You can change fonts, add colors, gradients, or even patterns. Place them onto the canvas how you would like them printed and cut out from the wood.
- Set all of the print pieces to an 80-90% ink capacity. Note: if you are using light colors or gradients which include light colors or pastels, 90% works well. You can also run two passes at 45%. If you have primarily dark or rich hued colors, 80% will get a great saturation.
- Set all of the cuts to your tested basswood settings. Note: my machine cuts basswood plywood from xTool at 100, 6, and 1. You might need to use the recommended settings of 100, 4, and 1.
- If needed, wipe any edges. Use isopropyl alcohol to clean up any resin / blow back on the back of the stakes or sand them lightly.
- Seal the plant stakes and pop them into your pots or package for sale or gifting.
Notes
- Your colors and material will determine the ink capacity you select. All items have to be printed at the same capacity in a single run. You can set some to print higher or lower, but they will have to be run separately.
- If you are not sure about the amazing text design features inside xTool Studio, watch my video on this.
- It is imperative that you test settings to achieve no blow back of soot.
- When designing, take into account whether or not your settings will have blow back on the top edge of the material. We can use alcohol to clean it up, however, if we touch (or even get near) the printed portion, the ink can bleed as the wood absorbs the moisture.
Meet the Creator
Hi there, I’m Sarah Nenni-Daher. I’m a crafty gal and always have at least 14 projects going at once. I am a crafter, designer, DIYer, and pattern maker. I share my creations here and in the Ruffles and Rain Boots® Shop.
Here at Ruffles and Rain Boots®, you’ll find DIY gnomes, crafts, gifts, cupcakes, laser crafts, and so much more. I love sharing video tutorials over on YouTube and chatting with other crafters in my Facebook groups. We’d love to have you!