
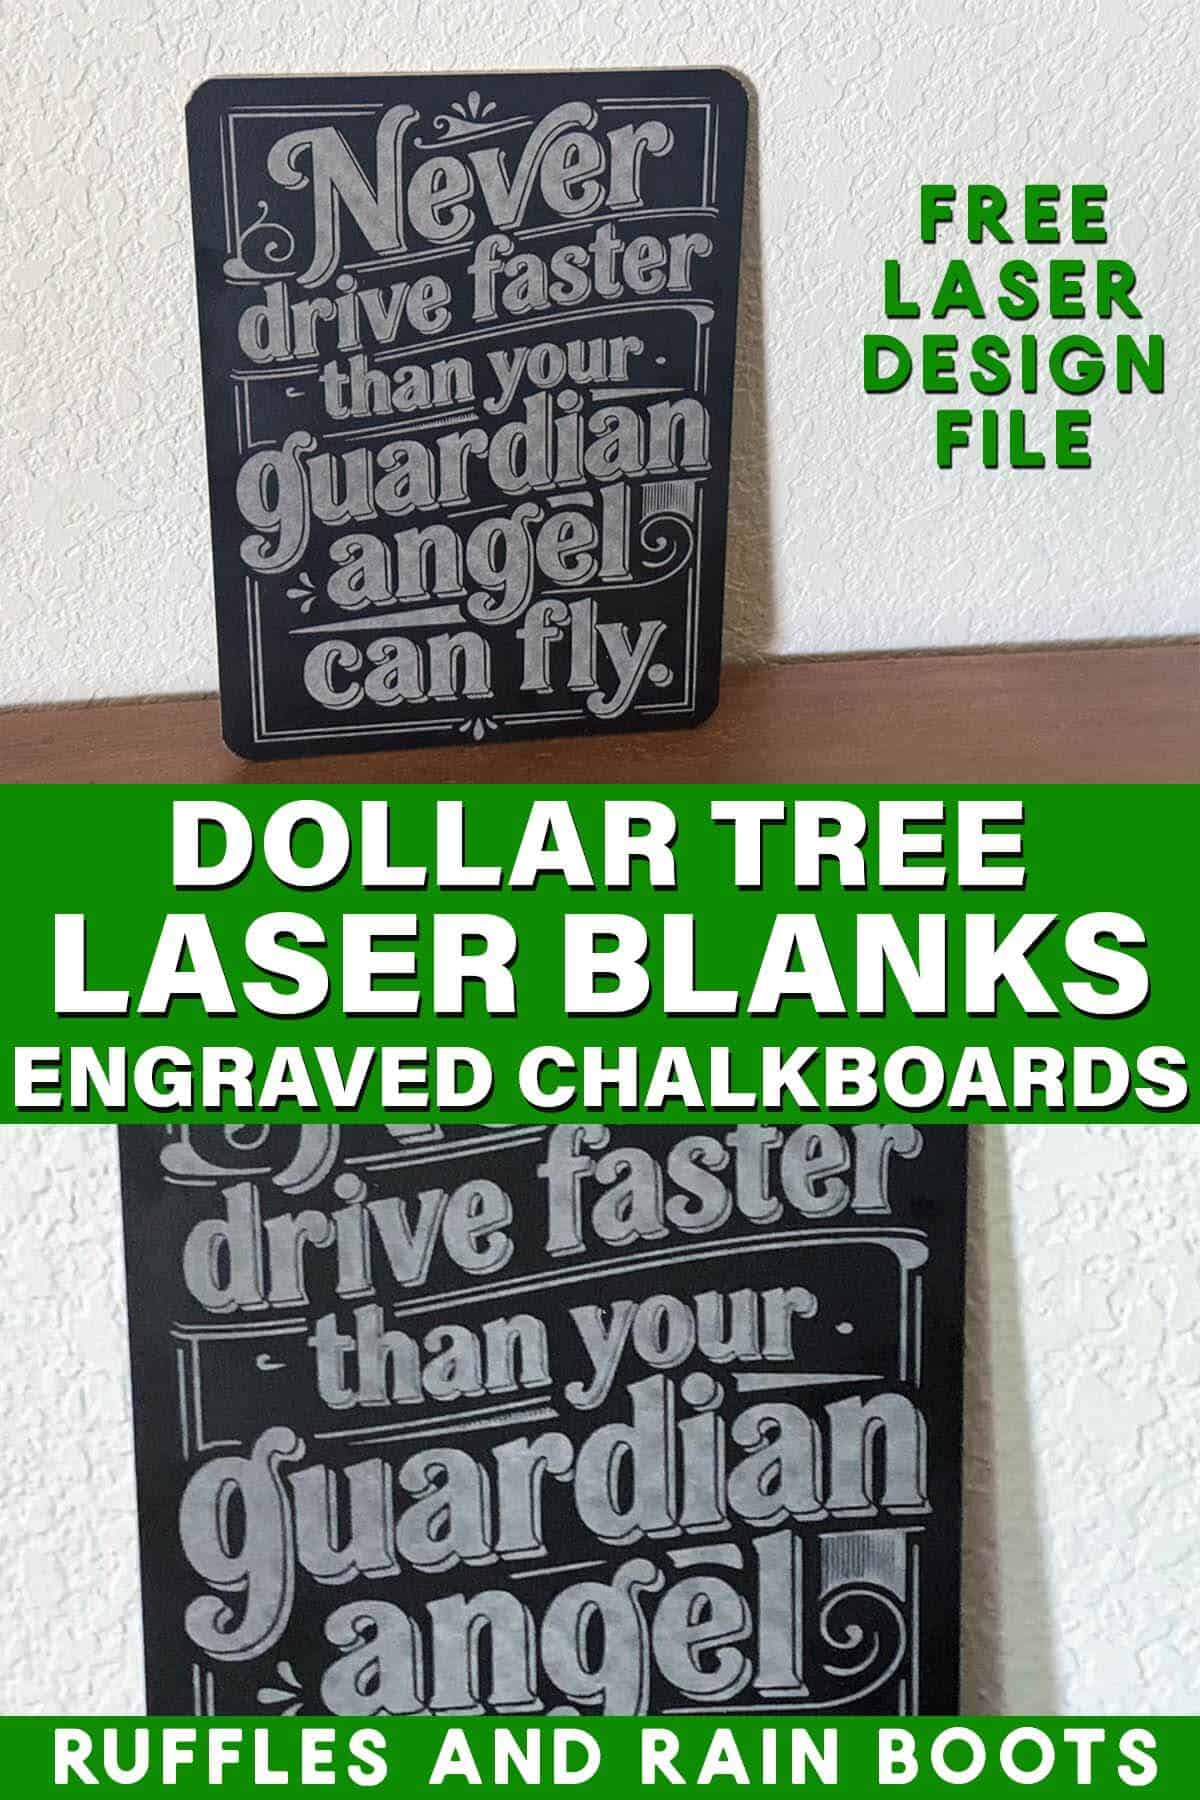
Dollar Tree Chalkboard Laser Engraving
Use this free file to create a funny, guardian angel chalkboard engraving using a diode or CO2 laser. This is perfect to place near keys in the entryway or turn into a key holder for the family.
RELATED READING:
As an Amazon Associate, I could earn from qualifying purchases. There could be affiliate links within this article.
What You'll Find On This Page
Funny Laser Engraving Idea
Here at Ruffles and Rain Boots, I’ve been driving around with this saying on a metal visor clip ever since my parents gave it to me 30 years ago. It’s a nice reminder to lift up on that heavy foot of mine…
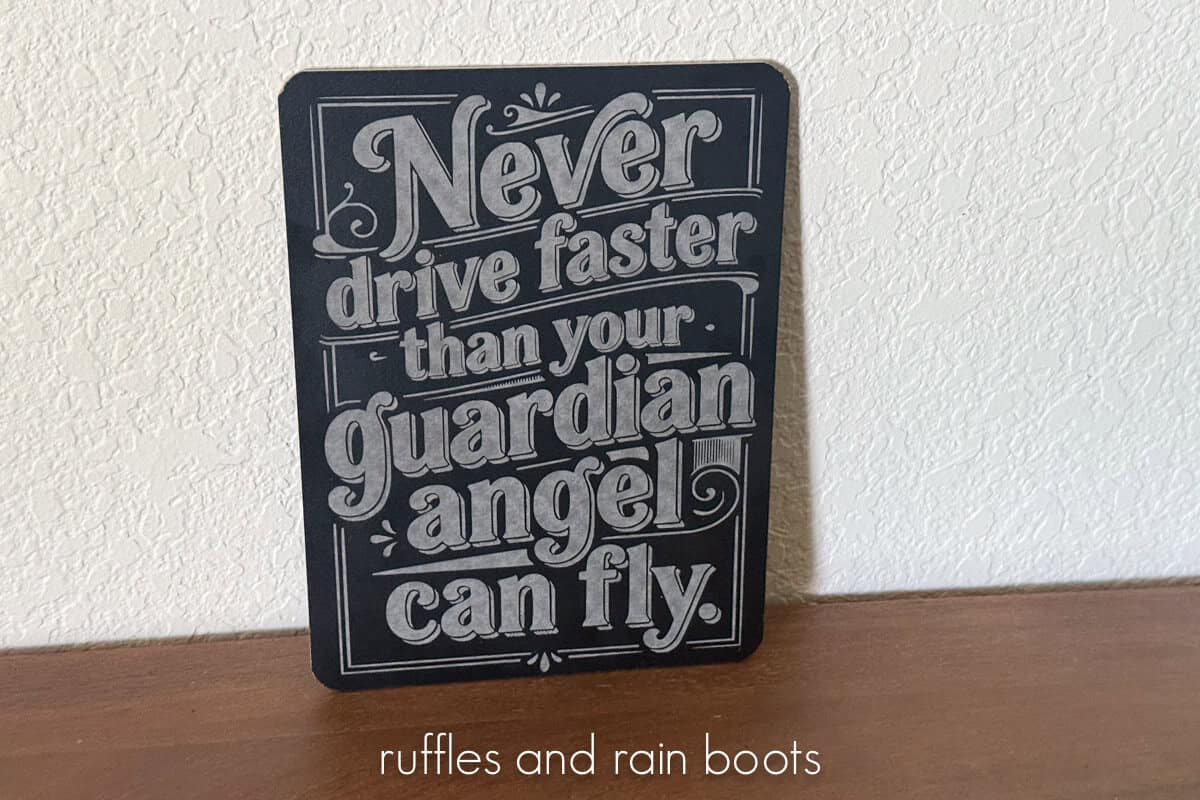
Today, I used the xTool M2 and a free software to create the saying, “Never drive faster than your guardian angel can fly.” so that I can engrave it onto a Dollar Tree chalkboard. I have a teenager and figured the reminder in the entry way couldn’t hurt.
Guardian Angel Laser Engraving Video Tutorial
If you’re a visual learner like I am, watch the quick xTool M2 Dollar Tree engraved chalkboard tutorial. In it, I include a material test for both a vintage and a clean laser engraving and the free design. Be sure to subscribe to the channel – we have a lot of fun working with lasers.
Materials You Will Need
For this project, I only used a couple of items and only did a little hands-on work. Those projects are pretty nice to fit between more complex laser builds.
- xTool M2 or on Amazon – I’m using this diode laser, however, you can use any laser type.
- Dollar Tree chipboard chalkboard
- Free Guardian Angel Design (SVG and xTool Studio file are included)
- cleaning cloth
- water
In my set up, I’m also using the xTool AP2. It’s a fully automatic air purifier that clears the air, removes kerf, and is hands-off so I can focus on the laser work.
Scroll down for the writtens instructions for this project. Let me know if you have any questions and I’d love to see what you make. Join the free laser Facebook group and join in on the fun, helpful, and kind community we’re building over there.
More Projects You Might Like
- Print on Leather with xTool M2 – Full color? You bet!
- Laser Cut Scallop Bag Tags – Make these for any holiday, name, or design.
- xTool M2 Laser Review – A real crafter, not an influencer, puts this to the test.
Please Save or Share This Dollar Tree Laser Project Idea
Your shares are how this site grows and I am sincerely grateful. Please share this with a laser group on Facebook or Reddit or save it to a pin board.
Engraved Dollar Tree Chalkboard
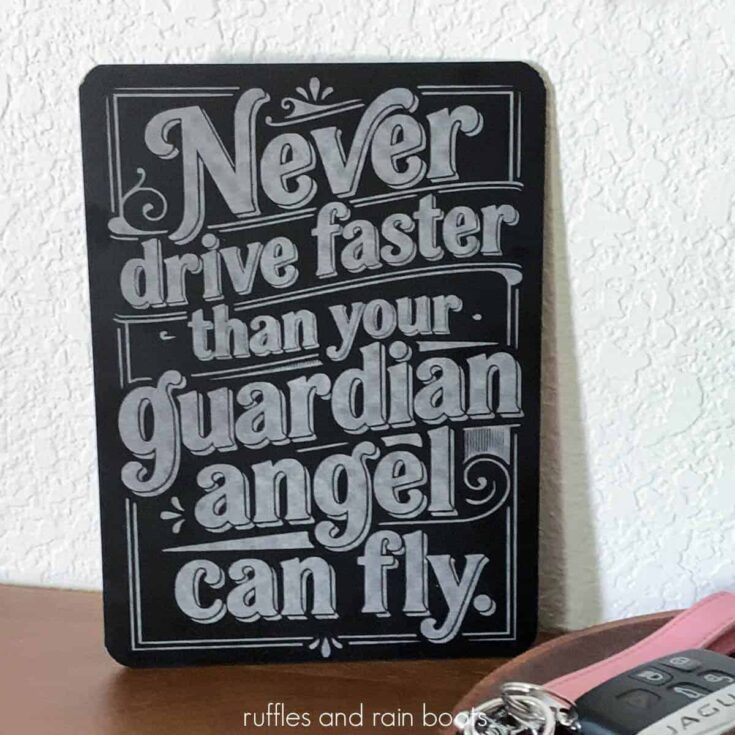
This funny guardian angel product is a free design to use on any laser blank. I chose to engrave this "Never fly faster than your guardian angel can fly" quote onto a dollar store chalkboard.
Materials
- Dollar Tree Chalkboard
Tools
- xTool M2
- Water and a Cleaning Cloth
Instructions
Place the chalkboard (back side up) into the laser and secure. You can see in the video how I chose to secure my board in the M2.
Create or process a material test. Included in the file is a material test so you can choose your optimal settings, but mine are preloaded for the design at 57, 300, 1 and 100 LPC.
Note: chalkboard needs to be cleaned (with water) and dried before you see the final resutls, so please keep that in mind when testing.
Flip over the board and secure to the baseplate.
Take a global photo again when you close the lid and measure the distance.
Enter parameters for the design. I found 57, 300, 1, at 100 LPC would be good for a vintage vibe without having to sand anything. If you want a more uniform engraving, increase the LPC.
Note: increasing the LPC will increase the engraving time.
Use the stitch feature to get a close up view of the entire chalkboard to position the design in place.
Set the output on for the engraving (be sure all testing is set to off).
Process the engraving.
Clean the engraving in place with water and a soft cloth. Let it dry thoroughly before deciding whether to remove or process again.
I'd love to see your creations! Share them below in the comments on YouTube or the Atomm platform.
Meet the Creator
Hi there, I’m Sarah Nenni-Daher. I’m a crafty gal and always have at least 14 projects going at once. I am a crafter, designer, DIYer, and pattern maker. I share my creations here and in the Ruffles and Rain Boots® Shop.
Here at Ruffles and Rain Boots®, you’ll find DIY gnomes, crafts, gifts, cupcakes, laser crafts, and so much more. I love sharing video tutorials over on YouTube and chatting with other crafters in my Facebook groups. We’d love to have you!