
Batch Processing with xTool M2
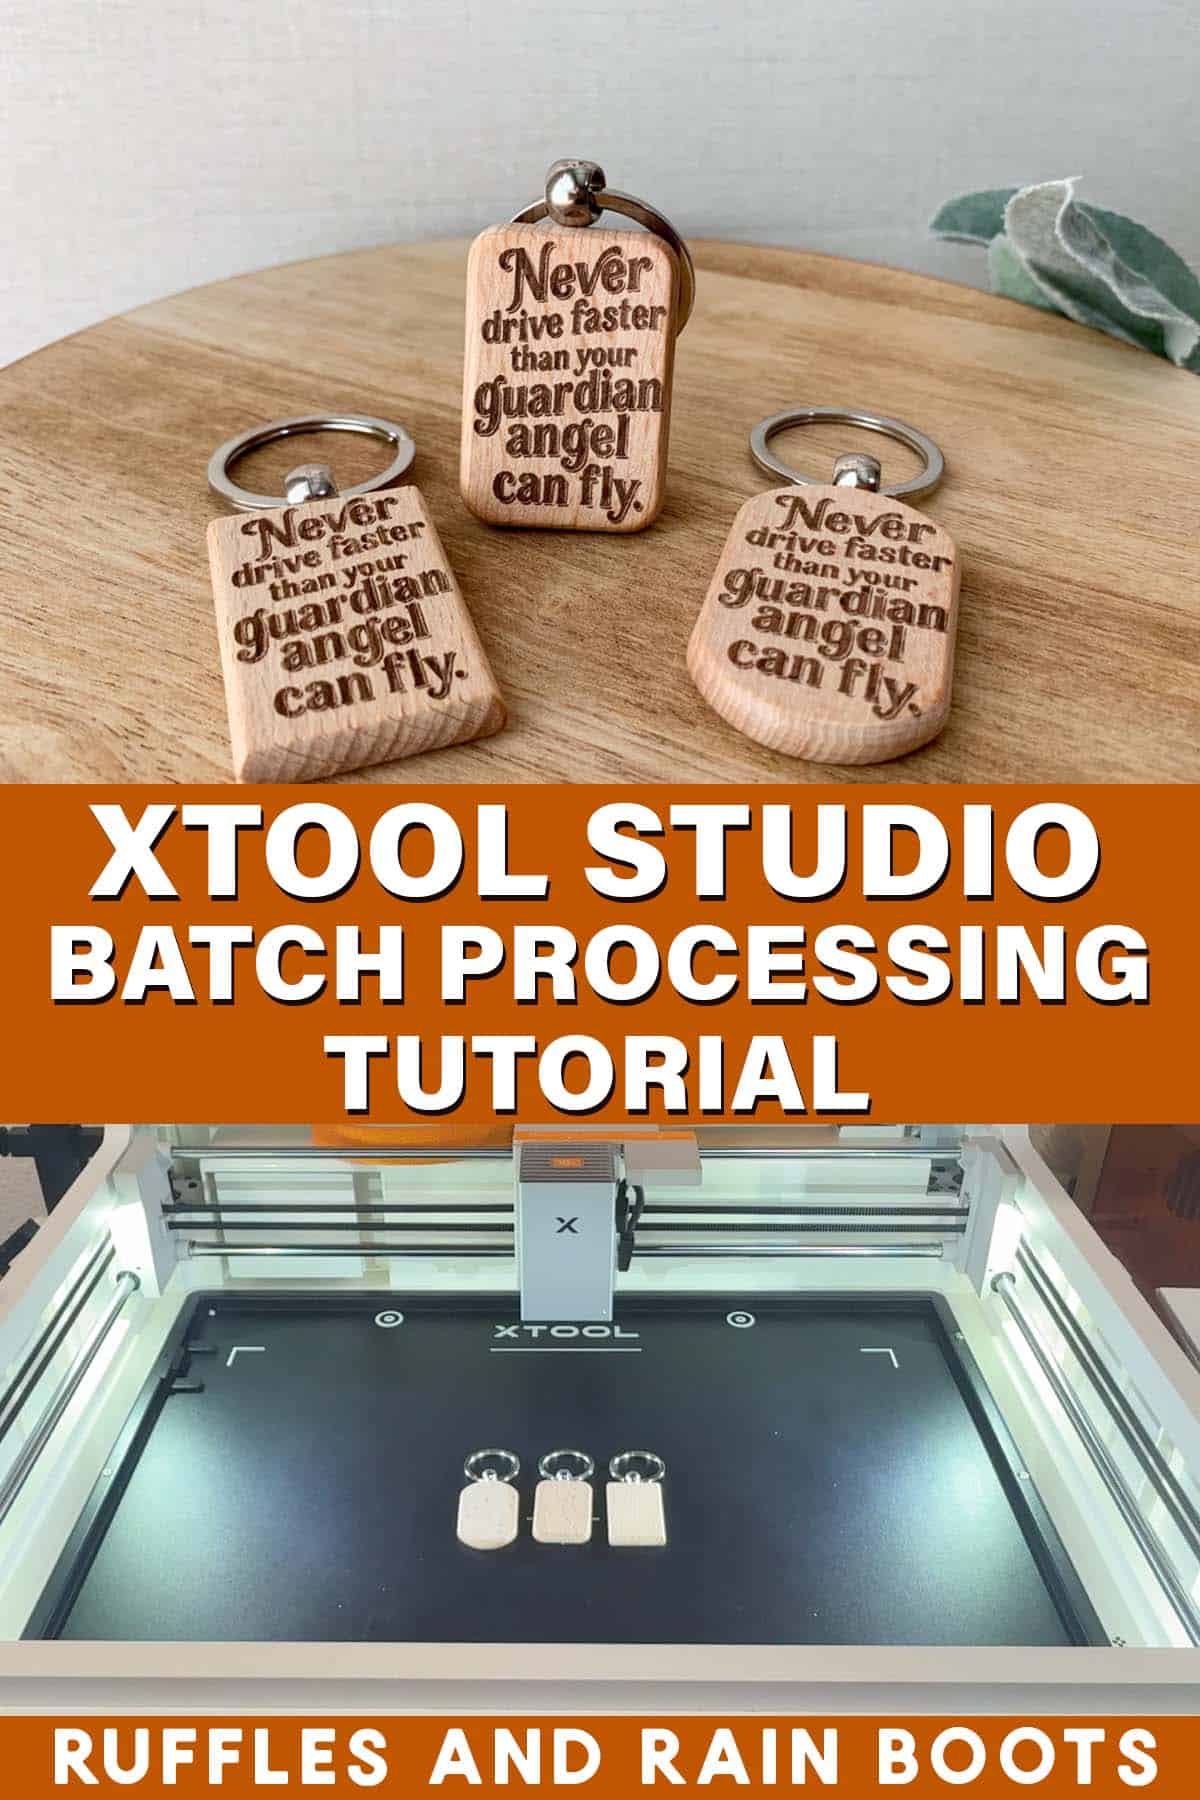
This beginner tutorial will walk you through batch processing with the xTool M2. The xTool Studio software makes it easy whether you’re online or offline at a market.

RELATED READING: xTool M2 Review – Is this the right machine for you?
As an Amazon Associate, I could earn from qualifying purchases. There could be affiliate links within this article.
What You'll Find On This Page
xTool M2 Batch Process Materials
Here at Ruffles and Rain Boots, I have been asked a couple of times how to quickly make a lot of something quickly. And whether you have the same shape blank or not, the batch processing feature makes this oh, so easy using the xTool M2.
Today I’m using keychains, but you can use anything: ornaments, leather patches, dog tags… Once you learn one or both of the processes for batch work, you’ll be unstoppable (and a lot more efficient).
Watch How to Use Batch Processing Video Tutorial
If you’re a visual learner, watch this quick video tutorial for batch processing with the xTool M2. It will walk you through both wizards and show you just how easy it is to use this algorithm to work efficiently.

What You’ll Need
For this project, you’ll need an SVG or an image. I’ll be using this free, funny guardian angel design I made and shared in another video for the xTool M2 – feel free to download it from Atomm. I removed all of the extras and left only the text using the “vector edit” function inside xTool Studio.
You’ll also need some blanks or pre-cut items. I’ll be using this inexpensive set of beech wood keychains – I like it because you have a lot of options to offer (and they’re a great price).
Note: Items should be similar in thickness for this project. If you have different thicknesses, you will received mixed results if following the process. Make note of the different material distances and set those to no output to be processed in a separate run.
How to Use Batch Processing in xTool Studio Software
This process is the same for both the Fill and the Frame Material options in the wizard. Remember to look at the top center of the screen for any messages when the tutorial is running.
Frame Out Material: this allows you to size per the material blank.
Fill: this multiplies the design as is.
- Place material into the laser and take a global photo.
- Create or import a design or image and position onto one of the pieces.
- Choose material, if applicable. My keychains are beech wood so that is what I chose, however, I did adjust the settings.
- Measure distance to one of the items.
- Select the design or image.
- Go to Applications > Efficiency Tools > Batch Fill.
- Select Fill as the option for the wizard.
- Take a close shot image of the item and design and the wizard will do the rest.
- Note that the batch filled designs might be on a different layer or appear with different settings. Set one and copy / paste the settings or manually type them in.
Settings I used to engrave these beech keychains: 40 power, 140 speed, 1 pass, and 100 LPC. If the beech grain is wide, you might need a second pass on some.
Notes:
- If you’re offline, choose that option at the start of the wizard.
- You need to have clicked on a design to have the wizard fire.
- Some close up adjustments are needed, so use the close view camera to validate individual designs over material.
- Copy / paste settings (right click) because it will put the batched duplicates on a different set of settings.
More Laser Crafts Ideas You Will Like
- Laser Engrave Dollar Tree Chalkboard – This turns out SO good and there’s a free design file for you!
- How to Print on Leather Using xTool M2 – Another M2 tutorial that shows the versatility of the print cartridge.
- What is Laser Masking? – If you are a beginner, this will really help a lot.
Please Save or Share This xTool M2 Tutorial
Your shares are how this site grows and I am sincerely grateful. Please save this to a DIY laser projects pin board or share it with a laser crafting Facebook group or Reddit thread.
Batch Process with xTool M2

There is an algorithm built into the xTool Studio software that makes quick work of batch processing using the xTool M2. This quick tutorial and video will have you working more efficiently in your studio OR on site.
Materials
Instructions
- Place material into the laser and take a global photo.
- Create or import a design and position onto one of the pieces.
- Choose material, if applicable.
- Measure distance.
- Go to Applications > Efficiency Tools > Batch Fill.
- Select Fill as the option for the wizard.
- Take a close shot image of the item and design and the wizard will do the rest to place designs on the canvas.
- Note that the batch filled designs might be on a different layer or appear with different settings. Set one and copy / paste the settings (right click on the settings panel to both copy and paste).
- Set material settings: 40 power, 140 speed, 1 pass, and 100 LPC.
- Process the pieces.
- You can flip over the designs and customize each or leave them blank for on-site / per order customization.
Notes
- If you’re offline, choose that option at the start of the wizard.
- You need to have clicked on a design to have the wizard fire.
- Some close up adjustments are needed, so use the close view camera to validate individual designs over material.
- Copy / paste settings because it will put the batched duplicates on a different set of settings.
Meet the Creator
Hi there, I’m Sarah Nenni-Daher. I’m a crafty gal and always have at least 14 projects going at once. I am a crafter, designer, DIYer, and pattern maker. I share my creations here and in the Ruffles and Rain Boots® Shop.
Here at Ruffles and Rain Boots®, you’ll find DIY gnomes, crafts, gifts, cupcakes, laser crafts, and so much more. I love sharing video tutorials over on YouTube and chatting with other crafters in my Facebook groups. We’d love to have you!