
How to Engrave Wooden Buttons
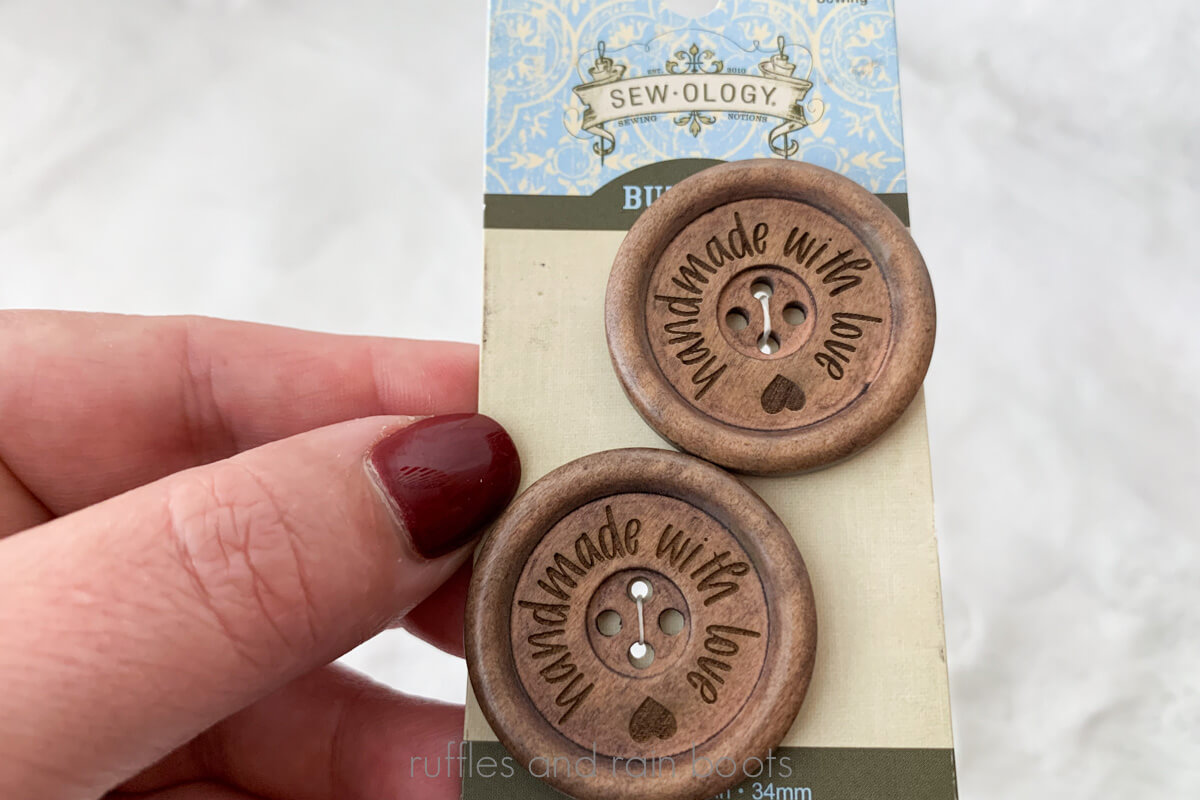
If you are new to laser engraving, you might not know there are ways to engrave wooden buttons, even if they are recessed. Today, I’m using the xTool M2 to show you how to do that for the upcoming holiday season.
RELATED READING: How to Laser Engrave Chalkboard with a Diode Laser
As an Amazon Associate, I could earn from qualifying purchases. There could be affiliate links within this article.
What You'll Find On This Page
How to Engrave Wooden Buttons
Here at Ruffles and Rain Boots, I’ve been working with diode lasers for years. I have to tell you that I believe there is no better burn on wood items that you can get from a diode.
Blue light lasers keep the warmth of wood as they engrave it and these pre-made wooden craft store buttons are no exception. This entire project only took a couple of minutes and is easy to set up.
Materials
- xTool M2
- wooden buttons
- cloth to wipe soot (if you have any)
- free laser file with this design and settings (xTool)
How to Make Recessed Engraved Wooden Buttons
I want to engrave the inner portion of the buttons and bypass the outer rim. If you’re new to lasers, you may ask, is that even possible?
Yes, it is!
Create Text and Compound the Path
I created some text, curved it using the curve text tool built into xTool Studio, and added a heart. Now, you can actually engrave right here but I don’t recommend it.
I converted the text to a path and exploded the heart (it was a builder version). We want to lock that into a vector so that all items are vectors.
Why? Vectors are easier to engrave and we have much more control over them than we do images or bitmaps.
I took everything (text and heart), right-clicked, and made it a compound path so that that laser processes it as one item. Depending on your project, this can significantly reduce the engraving time.
Measure Distance / Focus the Laser
Next, we need to measure the height / distance to our object. I made sure to measure the height on the INSIDE of the button where it is flat so that I could get the laser beam tightly focused.
I then used the close up cameras to position the text and adjust it by reducing the height of the ‘h’ and the ‘d.’ This is easily done in the vector edit portion of xTool Studio and only takes about 30 seconds.
Settings for Engraving Dark Wood Buttons
I chose the black walnut plywood settings and ran it at these engraving settings:
- Power 60
- Speed 120
- Pass 2
- Air 15
- LPC 100
- Bi directional
- Min Output 3
- my xTool M2 10 watt at these settings took 4 minutes per button
Look at these – now I have a set of buttons to use or sell as customized!
You Might Also Like
- xTool M2 Review and Project Ideas – If you’re debating whether to add a diode to your craft tech stack, here I talk about the PROs and CONs.
- Batch Processing with xTool M2 – This is a beginner’s look at one of the best ways to reduce your hands-on time setting up projects.
- Engraved Chalkboard Settings for the xTool M2 – One of the hardest parts beginners have with lasers is settings; this takes away all guesswork.
Please Save or Share This Fun Beginner’s xTool M2 Project Idea
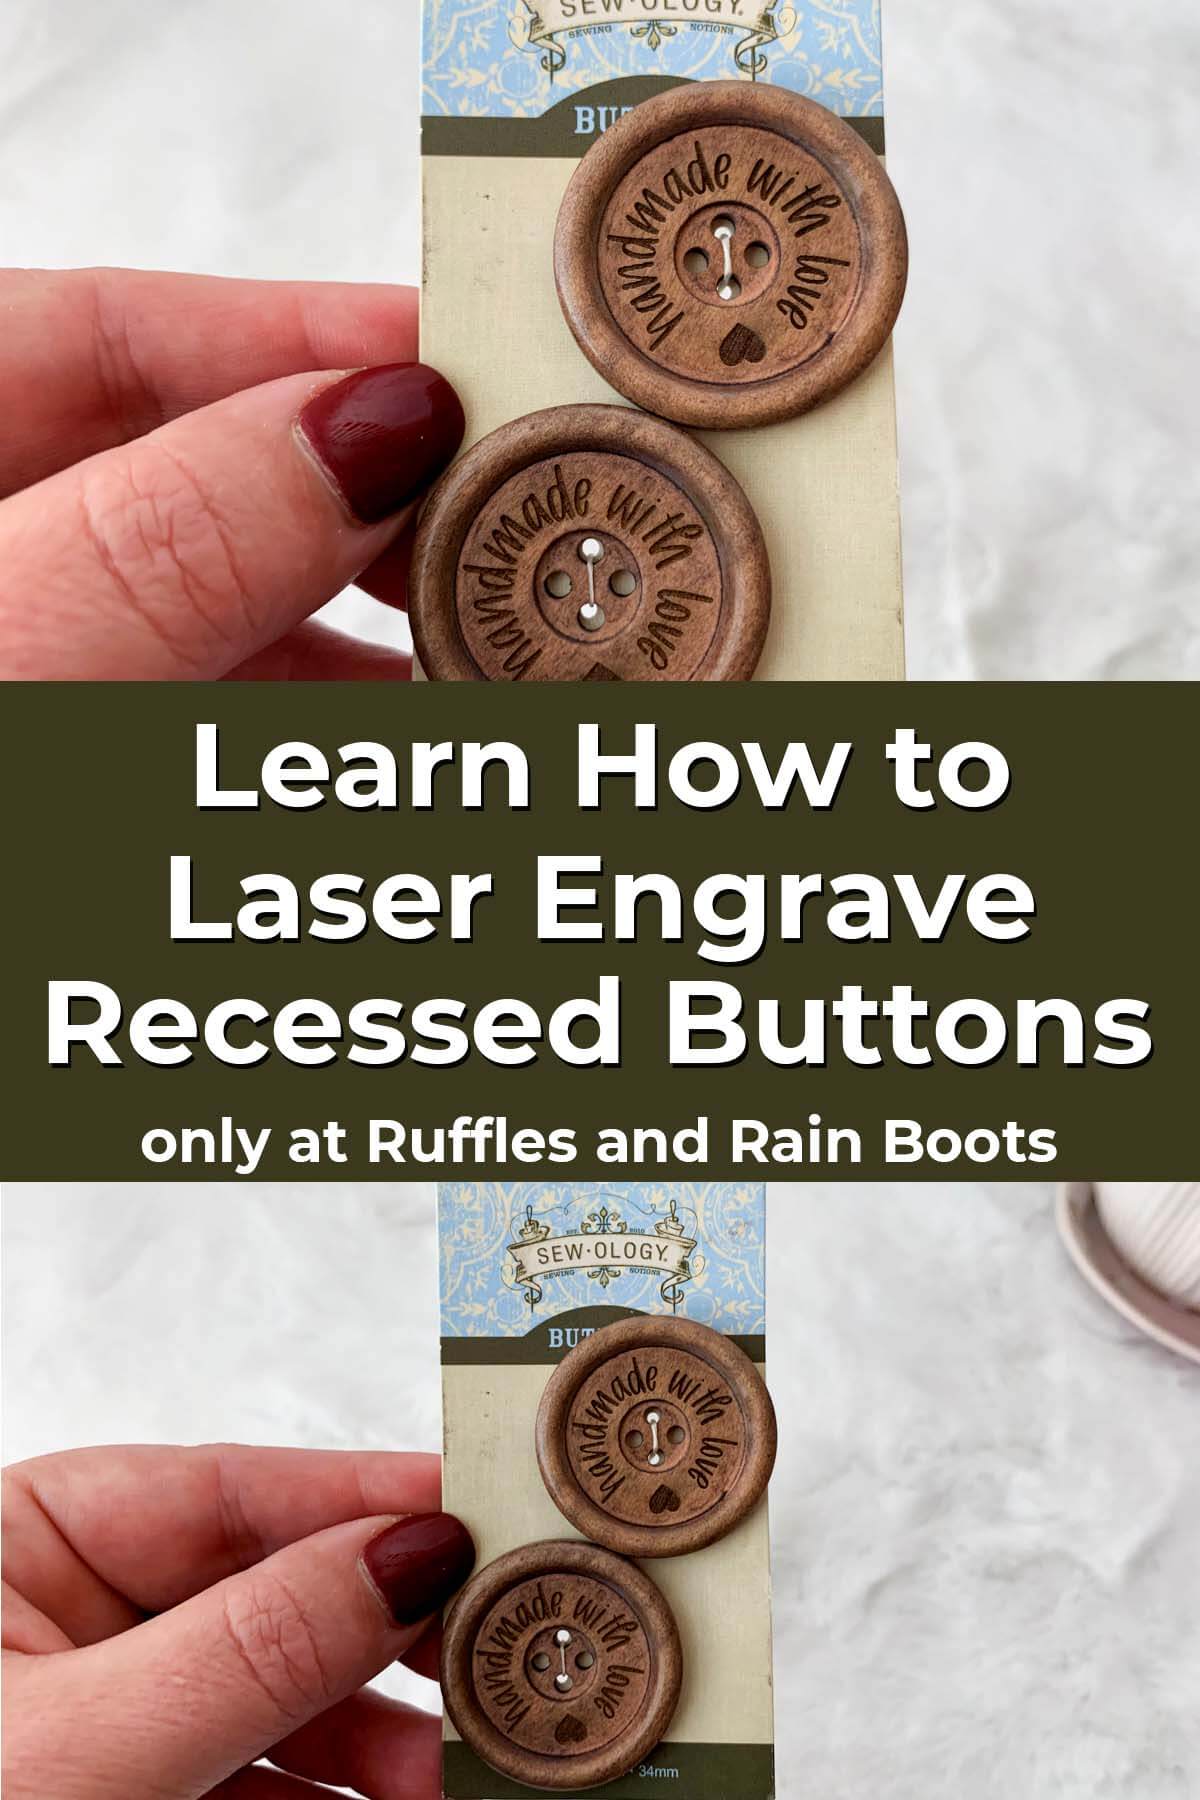
Your shares are how this site grows and I am sincerely grateful. If this helped you, please save it to a DIY laser crafts pin board or share it with a laser group on social media.
Meet the Creator
Hi there, I’m Sarah Nenni-Daher. I’m a crafty gal and always have at least 14 projects going at once. I am a crafter, designer, DIYer, and pattern maker. I share my creations here and in the Ruffles and Rain Boots® Shop.
Here at Ruffles and Rain Boots®, you’ll find DIY gnomes, crafts, gifts, cupcakes, laser crafts, and so much more. I love sharing video tutorials over on YouTube and chatting with other crafters in my Facebook groups. We’d love to have you!