Make This July 4th Gnome in Minutes with this Patriotic Gnome Pattern!
Its so fast and easy to work-up this patriotic gnome pattern to make a gorgeous July 4th gnome you’ll love!

Patriotic Gnome Pattern
Here at Ruffles and Rain Boots, we have a special place in the heart, craft room, entry table, tiered tray, oh, and on the bookshelf – for gnomes. All of these special places need a little glow-up sometimes for holidays or events (or for fun), so, of course for the upcoming patriotic holidays, I made this fun and easy patriotic gnome pattern.
RELATED READING: ELEGANT BEE GNOME PATTERN FOR SUMMER
Based on one of my favorite gnome patterns, this July 4th gnome is so squishy and his hat so wrinkly, I feel like I need to just boop his nose repeatedly. maybe squish his thumb. We’ll see how far it goes. If you’re ready to make a fun gnome for 4th of July, let’s get started.
Get Secret Gnomes, Tips, & Freebies Delivered!
What is the best pattern to use when you don’t want to sew? Do you know the secrets to a properly-proportioned gnome? Do you know where to get the best-priced fur?
Get all of this (and exclusive content just for you) delivered right to your inbox with the gnome-making series, free of charge. Sign up to get the once-weekly newsletter (and a jaw-dropping special offer)!


No Time to Make This Now? Pin it for Later
You’re busy, I get it. Pin this to your favorite patriotic crafts board on Pinterest and it’ll be here when you’re ready.

As an Amazon Associate, I can earn from qualifying purchases.
Tips to Make This July 4th Gnome
- I love the easy pattern for the gnome sewing pattern here that I based this 4th of July gnome on. It’s a super squishy, versatile pattern that you can use to whip-up a cute gnome for any holiday, event or gift. Plus, it’s got that squish I can’t quit!
- For those of you like me that are addicted to your cutting machines, you can grab the pattern with cut files for Cricut or Silhouette here. This will make for a great time saver by batching out all of the cutting if you plan to make several gnomes at once!
- Note that I did deviate from my favorite material (fleece) for the body of this particular July 4th gnome. While I love fleece still (we’re not on a break or anything), I just thought this gnome would look really fun with jegging material like this.

Get the Gnome Pattern Here
Click below to add this fun and versatile gnome pattern to your cart. Have fun!

How Do I Make this Patriotic Gnome Pattern?
I’m so glad you asked. Below is our written tutorial. If you’re making a gnome patterns playlist on YouTube, here is our patriotic gnome video tutorial.
Patriotic Gnome Pattern
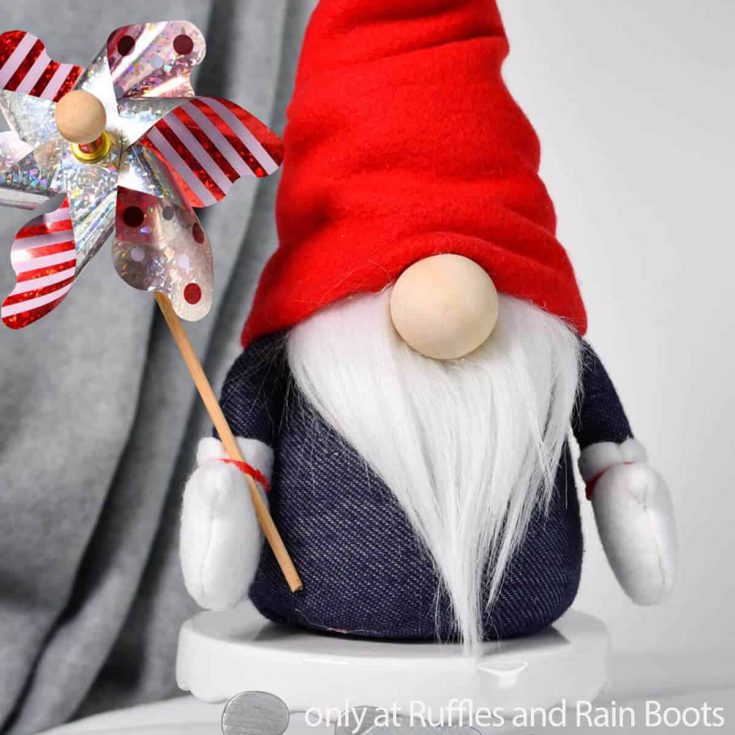
Too cute and easy not to make, this easy patriotic gnome pattern is perfect for mid-summer patriotic holidays, or anytime a nice combination of red, white, and blue is in order.
Materials
- 1/4 yard Blue Fabric, Color 1 (I actually used jegging material)
- 1/8 yard Red Fleece Fabric, Color 2
- 1/8 yard White Fleece
- Mongolian Faux Fur (or other beard material)
- Poly-Fill
- 1 cup Poly-Beads (per gnome)
- 1 or 1 1/2-inch Wood Round (or other nose)
- Embroidery Thread
- 1 13-gage Floral Wire
Tools
- Hot Glue Gun & Glue
- Scissors
- Razor Blade or Craft Knife
- Sewing Machine or Needle & Thread
- Funnel
- Ruler
- Large Darning Needle
- Pins, optional
Instructions
- Cut the body shape, two arm shapes, and a base shape from the blue fabric. Note the fold lines. Cut four mitten shapes from the white fleece. Take care to flip two of the mitten shapes to ensure they match up correctly.
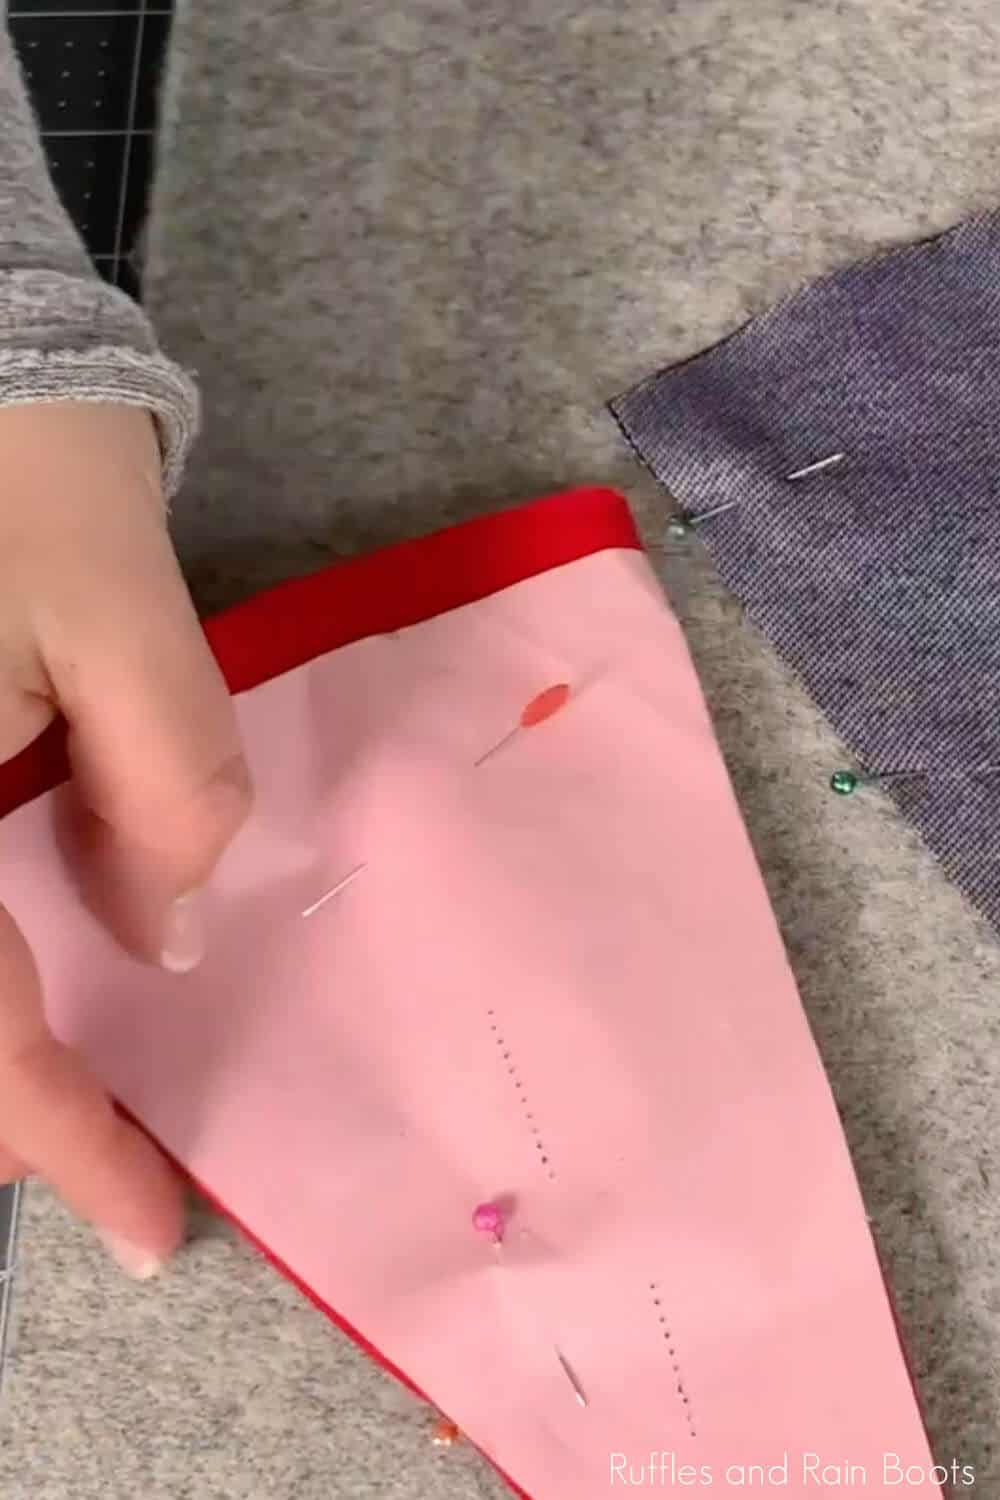
- Cut one hat shape from the red fleece fabric. For this particular gnome, I deviated from the pattern and added 1/2 inch to the base of the hat because I wanted extra wrinkles. If you do this, take care to round the corners, as I did, so you get the same shape as I did. Cut one small heart shape to make the pocket. I just used scraps to do this.
- Pin the heart pocket shape to the body shape, about 2-inches from the long seam, about 1 3/4-inches above the base seam. Top stitch the heart shaped pocket on the bottom side, leaving the top open.
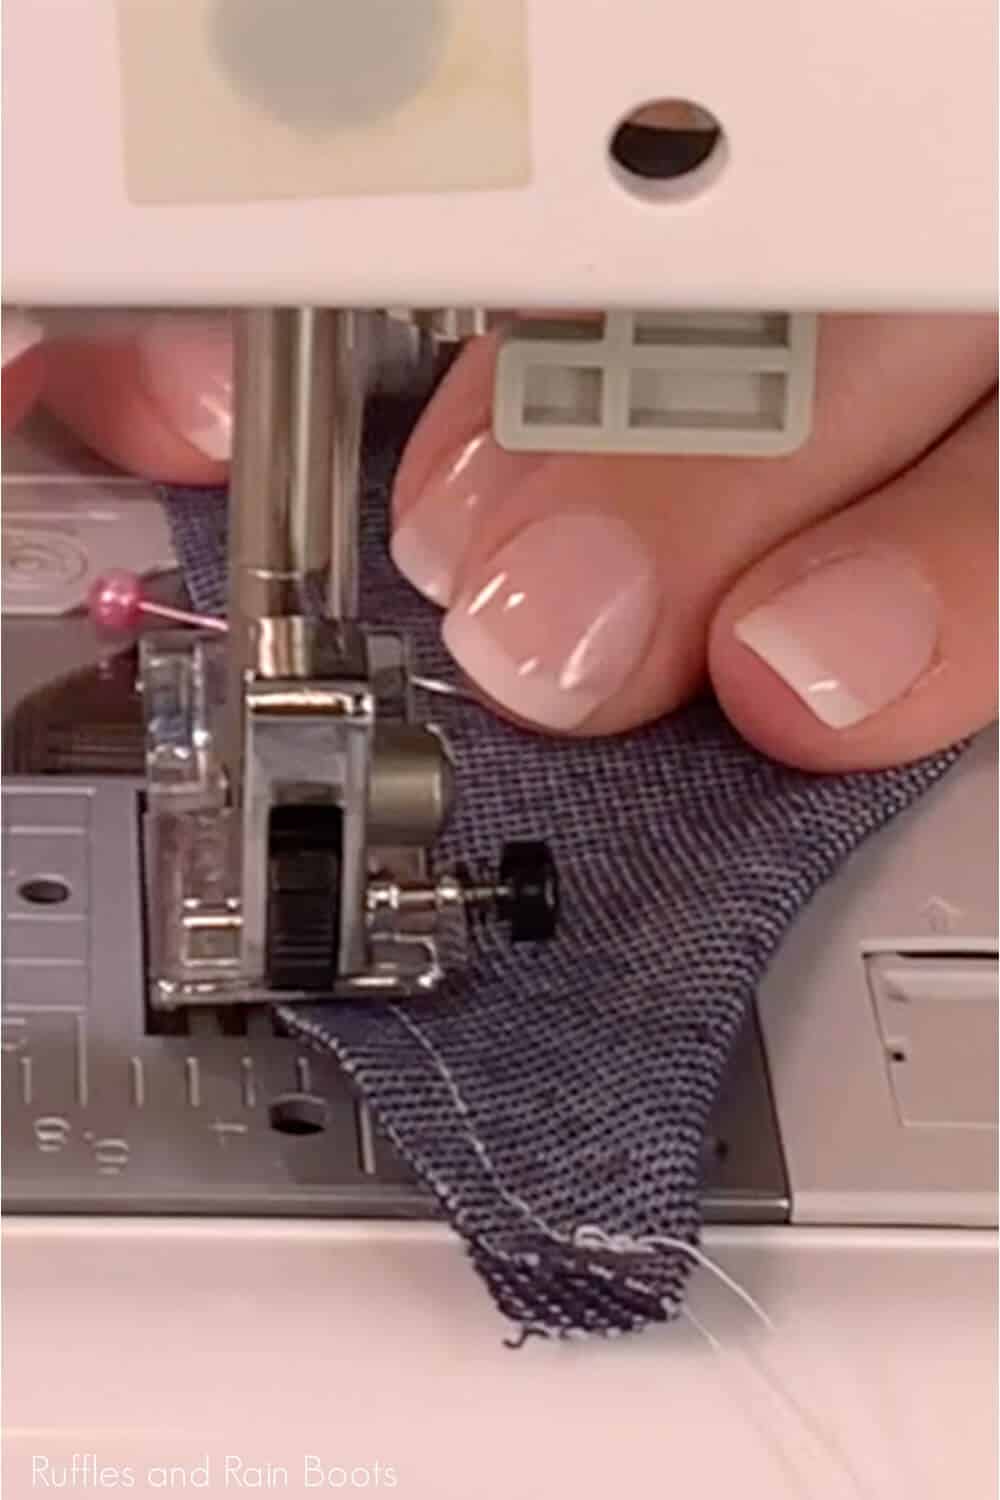
- Pin the body together right-side to right-side and sew it closed, taking care to note where it should be left open on the pattern.
- Pin the base onto the body, with the right side of the base facing inside (the right side) of the body. Sew the base onto the bottom of the body. Set the body aside.
- Pin the hat and sew along the long side, leaving the brim un-hemmed. Set aside. Fold the arms in half and sew along the long side. Set aside. Pin two mittens right-sides together and sew along the “U” shape, leaving the wrist open. Repeat.
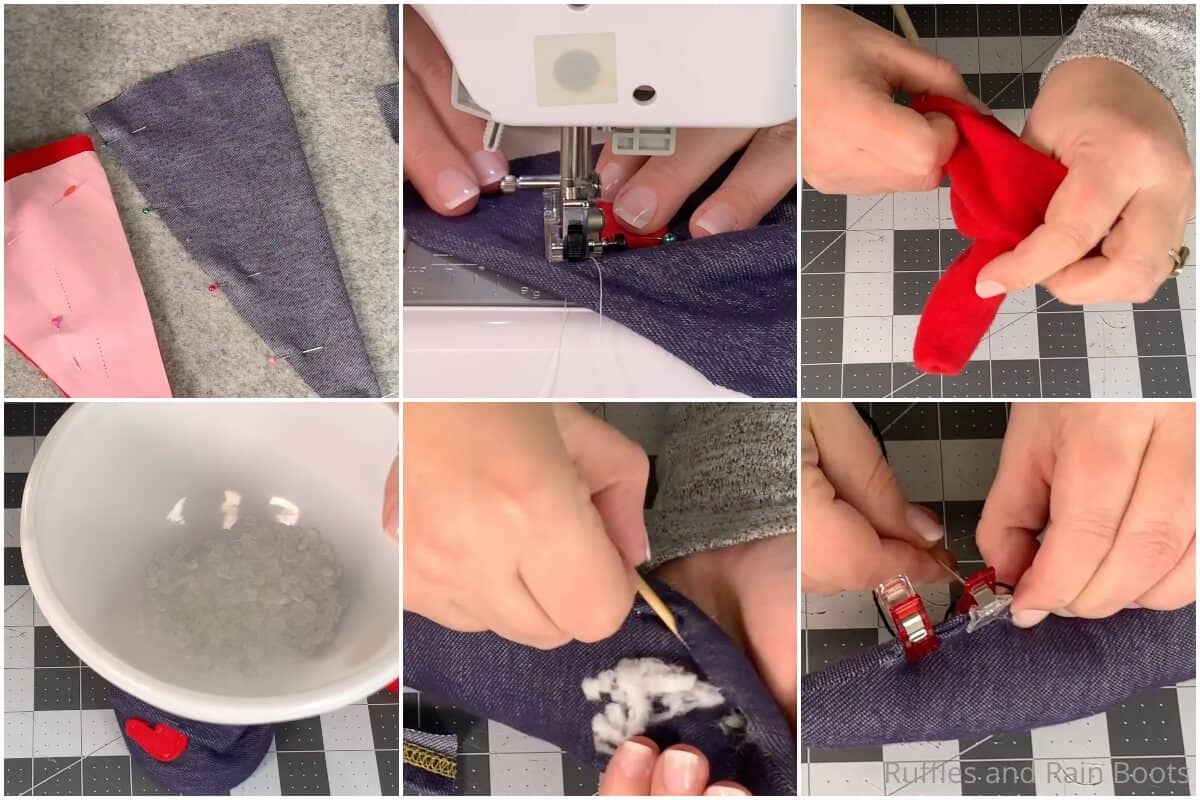
- Turn the body shape, hat and other pieces right-side-out.
- Secure the mittens onto the ends of the arms and stuff, as desired.
- Add Poly-Beads to the body, followed by inserting the floral wire into the body, taking care to curve the two ends over on itself to keep it from breaking through the fabric. Finish stuffing with Poly-Fill and sew the body closed.
- Cut your beard and mark the location of where you want the nose and two arms. Hot glue the arms onto the sides, then glue on the beard, just above where you want the nose to sit.
- Part the beard fur to the fabric and hot glue the nose in place to the body, then pull the hat down in place and tack it in place in the back, nose, and sides. Then it's time to display your gnome!
Notes
For more fun gnome patterns, visit Ruffles and Rain Boots!
Recommended Products
As an Amazon Associate and member of other affiliate programs, I earn from qualifying purchases.
More Easy Gnome Patterns You Might Like
- Easy Farmhouse Gnome Pattern – One gnome pattern that is so versatile – and has a cute curved-body shape that is just so whimsical.
- Fast Work-up Sew or No-Sew Gnome Pattern – Make this gnome in no-sew or sewn versions with a leg and arm add-on that makes for a truly unique gnome pattern!
- Butterfly Gnome Pattern – In truth, this pattern is so much more than a single butterfly gnome pattern – there are 7 total patterns included in the same set – 7 gnomes, all unique, all fun!
Please Save This to Pinterest
Your shares are how this site grows and I am sincerely grateful. Know a friend who’d like this? Please share it on Facebook or save it to your favorite gnome patterns board on Pinterest.


