
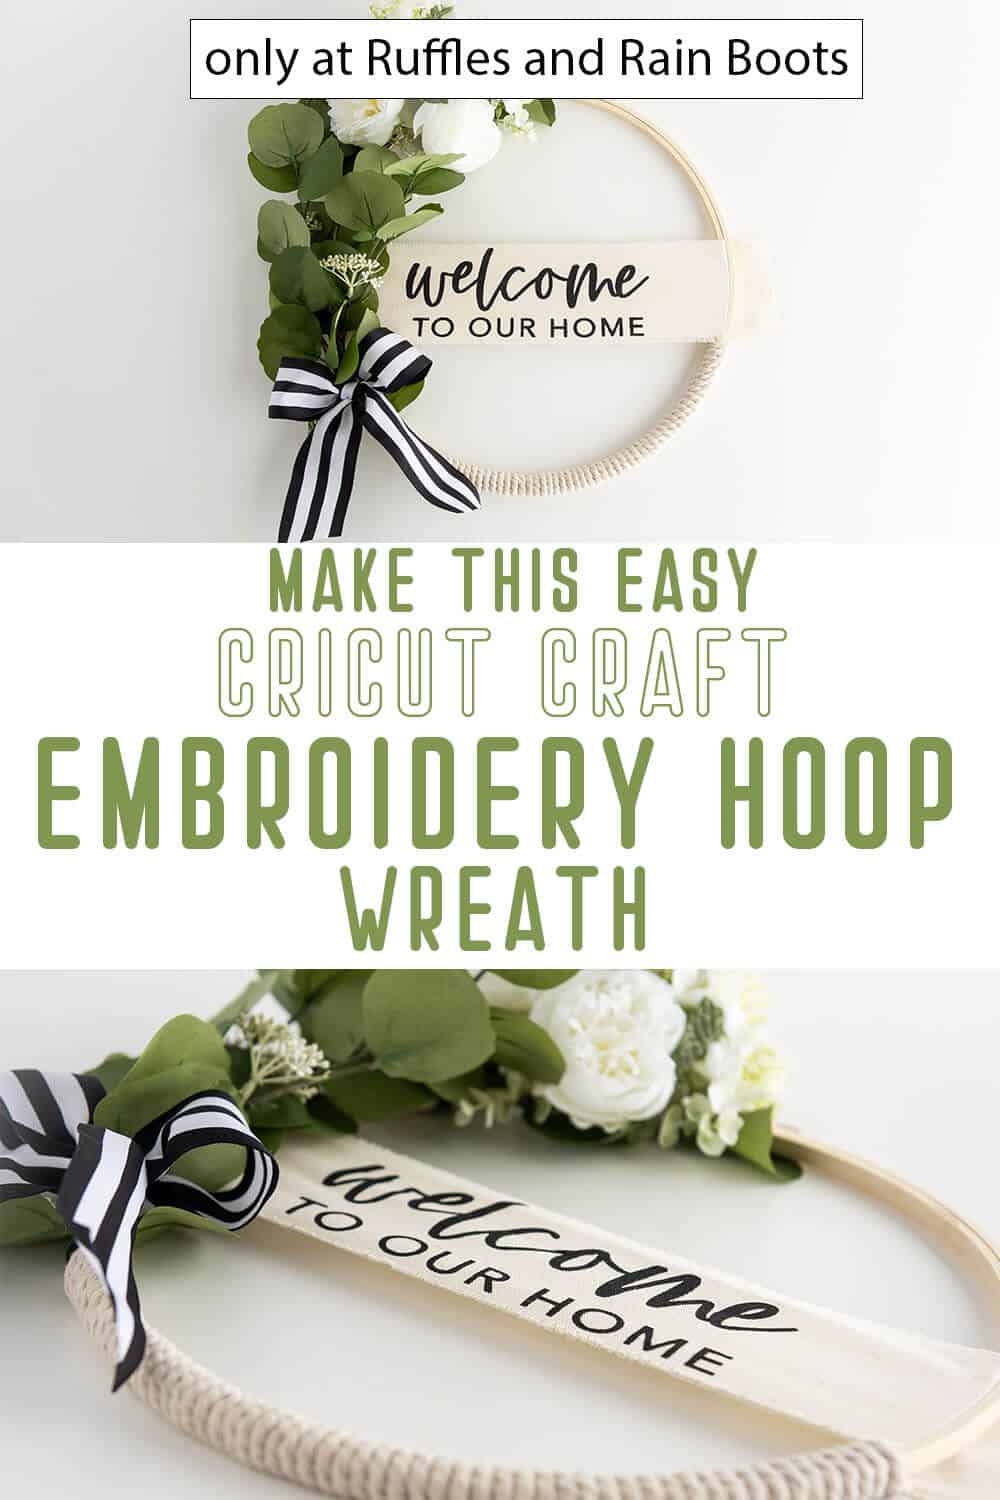
I Love This Easy Embroidery Hoop Wreath Cricut Craft!
You’re going to love this Embroidery Hoop Wreath! It’s a fun way to welcome guests into your home with a simple DIY project that you can be proud to show off!

I’m always looking for a fun way to change up the look of my entryway and this simple hoop wreath fits the bill. And since I can use my Cricut, it’s that much easier, too. Another fun Cricut craft that I highly recommend is this DIY Teacher Appreciation Mug!
What You'll Find On This Page
Embroidery Hoop Wreath
Here are Ruffles and Rain Boots, our Cricut is pretty much our third hand. When we can use our Cricut and any of our SVG files to create something awesome and unique, we’re 100% down to make that happen.
RELATED READING: BEE SVGS
Once you get the hang of creating with your Cricut, there’s going to be no stopping you for future craft ideas! If you’re ready to make this easy embroidery hoop wreath, let’s get started.

No Time to Make This Now? Pin it for Later
If you’re busy right now, no worries. All I’m asking is for you to pin this to your craft board on Pinterest and it’ll be there waiting when you’re ready to sit down and make it.
As an Amazon Associate, I can earn from qualifying purchases.
Tips For Making This Cricut Welcome Wreath
- Have fun with this wreath! It’s one of the first things that people are going to see when they arrive at your home. If your favorite color is teal, use teal ribbon. If you just love way bees look, add a bee button to the side. It’s yours – get custom. LOL!
- If you want to change up the saying on the wreath – go for it! Your Cricut can literally cut out anything that you want it to say. My only warning is, thinner text is harder to paint with the stencil. So, use a thicker font, if you can.
- Don’t want to make this with a Cricut? That’s ok. You can make this by printing your text out on a piece of paper, then cutting out your stencil with a craft knife or razor blade. I recommend using freezer paper, because it will keep the paint from going through, but you can also use vinyl like I did – just cut it with the craft knife. How fun is that?!
RELATED READING: FARMHOUSE GNOME PATTERN
I think that this is a great addition to any Cricut crafters bucket list. It’s really quite easy to do and looks stunning!
Easy Embroidery Hoop Wreath Cricut Craft
This simple embroidery hoop wreath is a great way to welcome guests into your house. Plus, it's made with Cricut, so you know it's a fast and fun project!
Materials
- Permanent vinyl
- Drop Cloth fabric (less than 1/4 yard)
- Black outdoor paint
- Embroidery hoop (14”)
- Floral wire
- Ribbon
- Cotton rope
- Eucalyptus stems
- Floral picks
Tools
- Cricut machine
- Weeding tool
- Scrapper tool
- Standard green grip mat
- Transfer tape
- Sponge brush
- Scissors
- Hot glue gun
Instructions
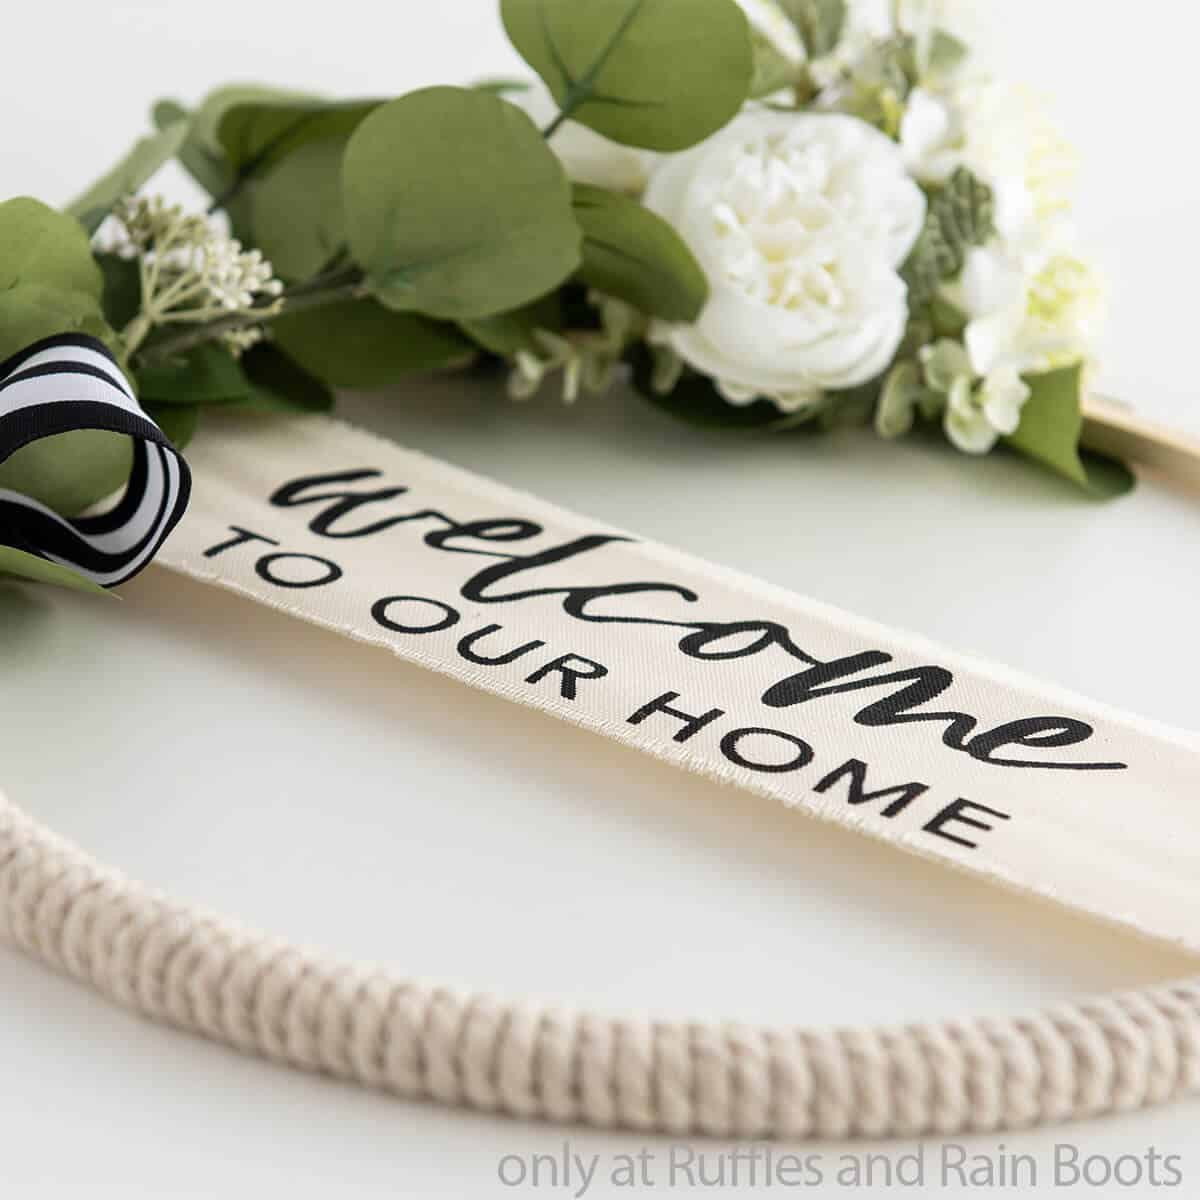
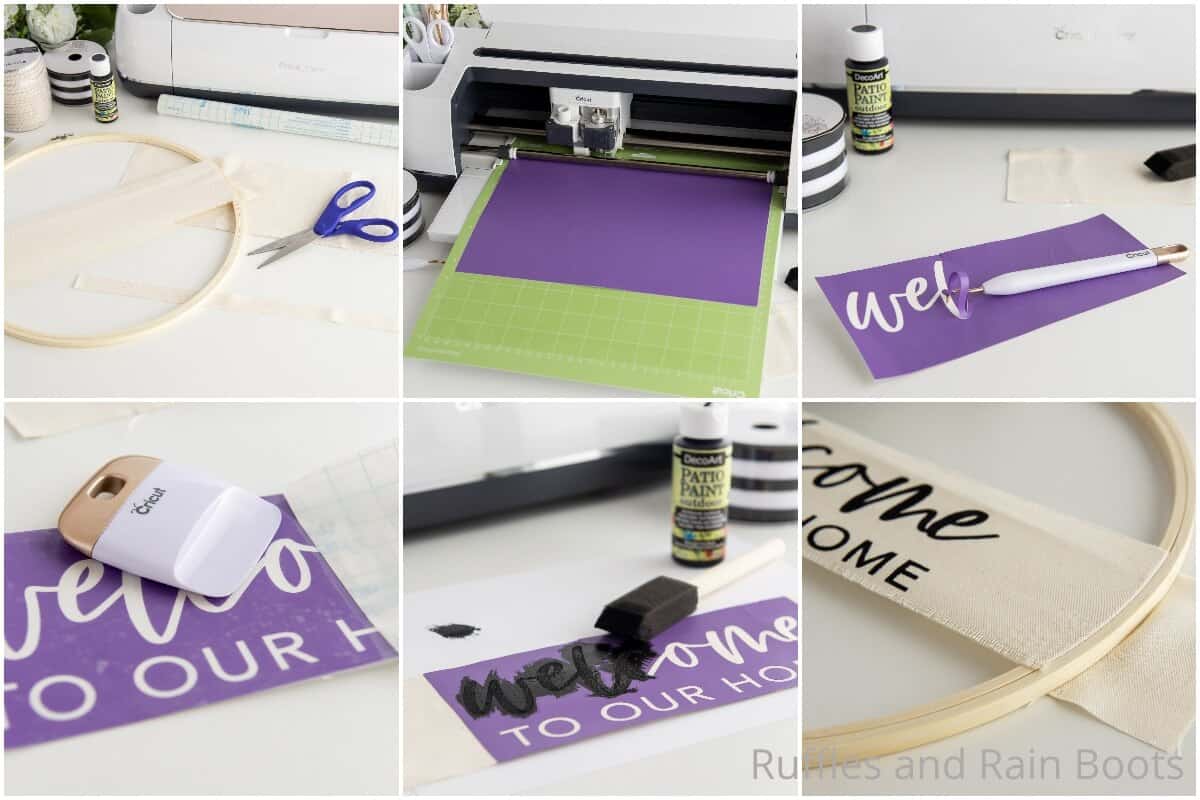
- Cut the drop cloth fabric to whatever size you'd like and based on the size of the hoop. Make certain to leave several inches on each end so that you can stretch it as you go.
- Unclamp the screw on the hoop and put the fabric through, making certain to pull it tight. Mark off on the fabric with a pen to mark off where the fabric will need to be threaded and stenciled in the later steps.
- Open Design Space and type out your chosen text. I chose to use a script font for "welcome" for a little fun. Adjust the size to fit inside the hoop and within the fabric's height.
- Change the Cricut setting to vinyl. Load the vinyl into the machine on the light grip mat and press "go".
- Once it's cut, weed the vinyl with your weeding tool. Weed the void of the letters but take care to leave any small pieces inside the letters (like the inside of the "e" for example) that are enclosed at this time. Since we're just making a stencil, you don't want to weed that out.
- Once weeded, use the transfer tape and put it on the vinyl using the scrapper tool to rub the transfer tape onto the vinyl.
- Put the transfer tape up off the carrier sheet, gently pulling the vinyl away from the carrier sheet, leaving it on the transfer tape.
- Put the vinyl and transfer tape in the middle of the fabric, opposite of the pen markings that you made earlier. Once you're happy with the location, apply pressure and smooth with the scrapper tool.
- Slowly remove the transfer tape and add any necessary pressure on the vinyl with the scraping tool as you're taking the tape off the fabric. The stencil will stay.
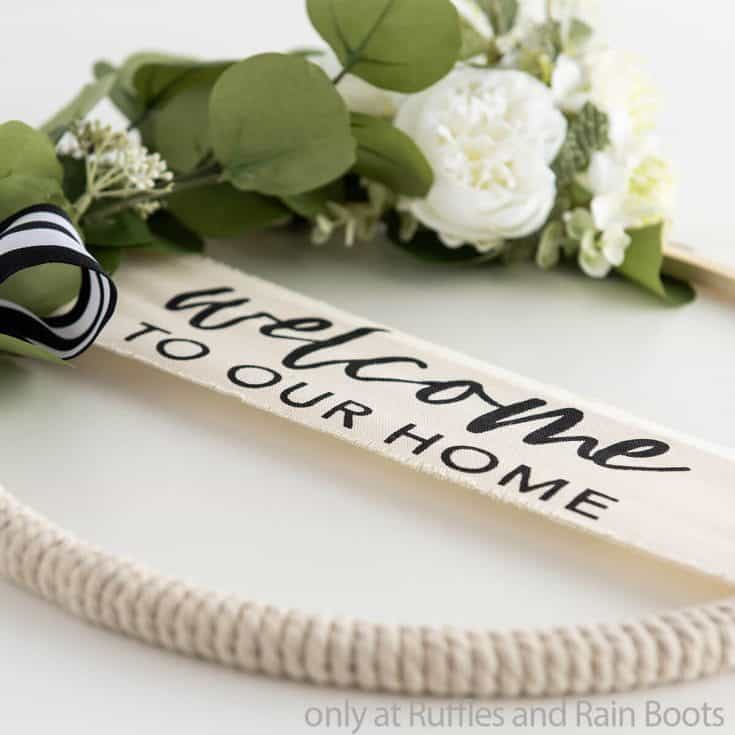
- Take the black paint and stipple it on the fabric in the voids of the stencil. This means that you're going to tap on the paint. Put a piece of paper under the fabric so it doesn't bleed through while painting. Allow the paint to dry completely.
- Unclamp the screw on the hoop and pull the fabric through, making certain to pull it tight.

- Add the stems and florals to the side of the hoop using the floral wire.
- Wrap the bottom of the embroidery hoop with cotton rope, using the hot glue to attach it periodically as you wrap it.
- Add a ribbon bow to bring it all together and you're ready to display your wreath!


Notes
For more fun farmhouse crafts, visit Ruffles and Rain Boots!
Recommended Products
As an Amazon Associate and member of other affiliate programs, I earn from qualifying purchases.


More Cricut Crafts
- Beautiful Mother’s Day Bouquet with a Cricut Bouquet Pick – Mom is certain to love this beautiful Cricut flower bouquet!
- DIY Seed Pops and Garden Markers are the Best Spring Cricut Craft – Now is the perfect time to get your garden summer and fall ready!
- These Fun Easter Cricut Projects Make Fantastic Crafts for Easter Gifts – Using your Cricut for gift ideas is always a fun and easy idea!
Please Save This to Pinterest
I’d love it if you’d save and share! If you can please share on Pinterest, it helps my site grow! Please share to Facebook or pin to your favorite craft board on Pinterest. So very thankful for you!


Why couldn’t you use iron on vinyl? You wouldn’t have to do the stencil and then paint then. Any thoughts?
You could do exactly that – I just wanted to try it this way. :)