
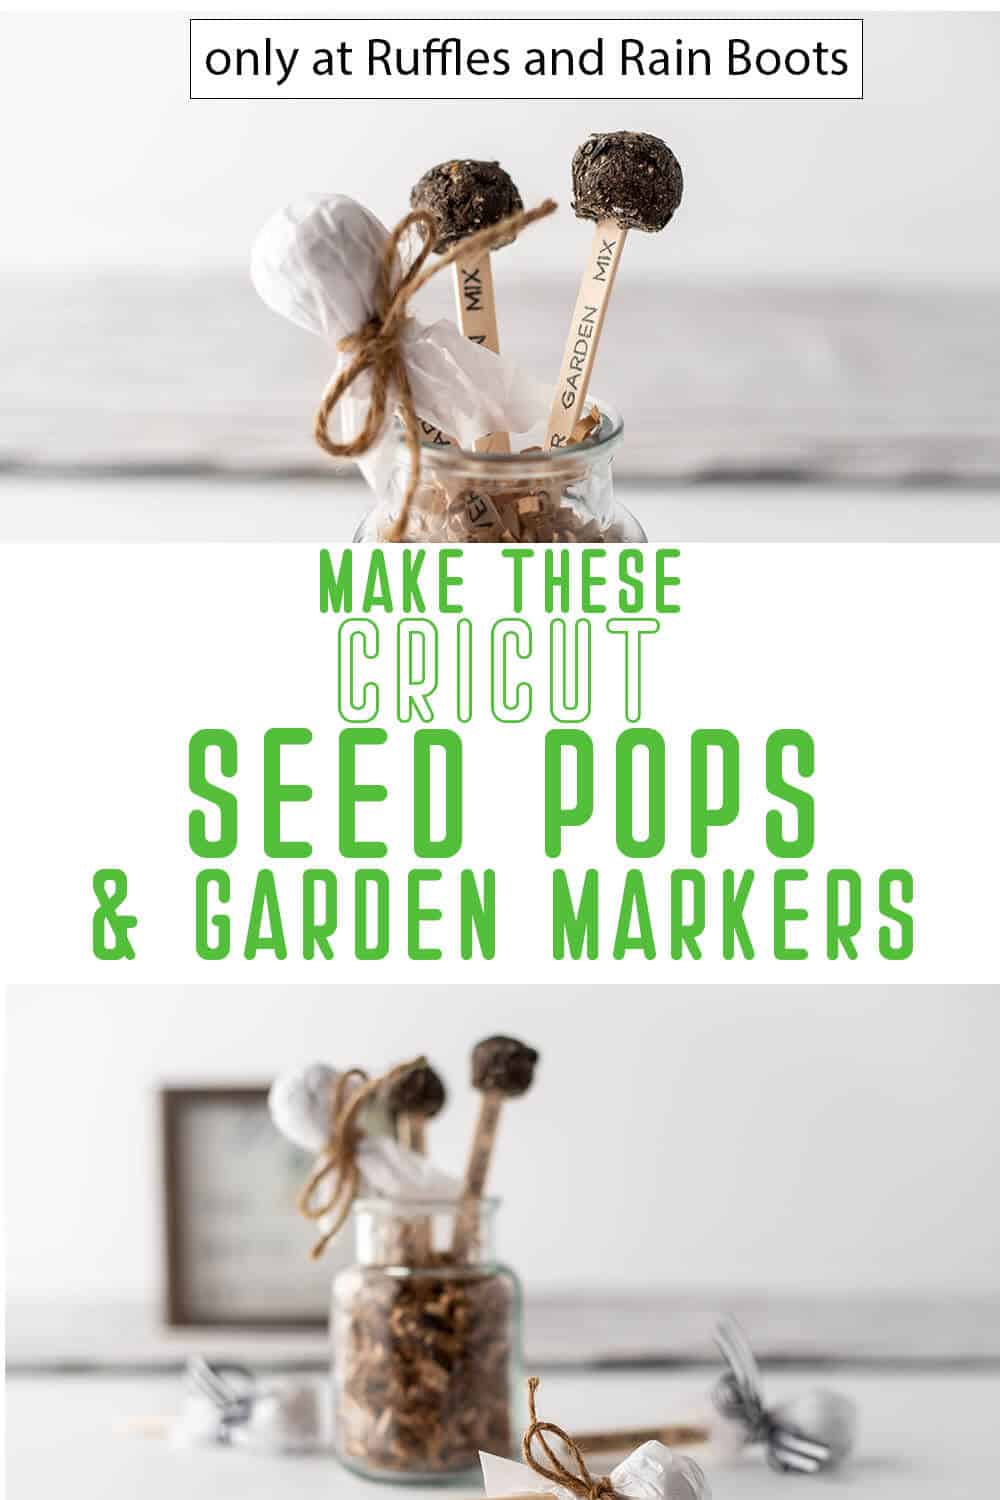
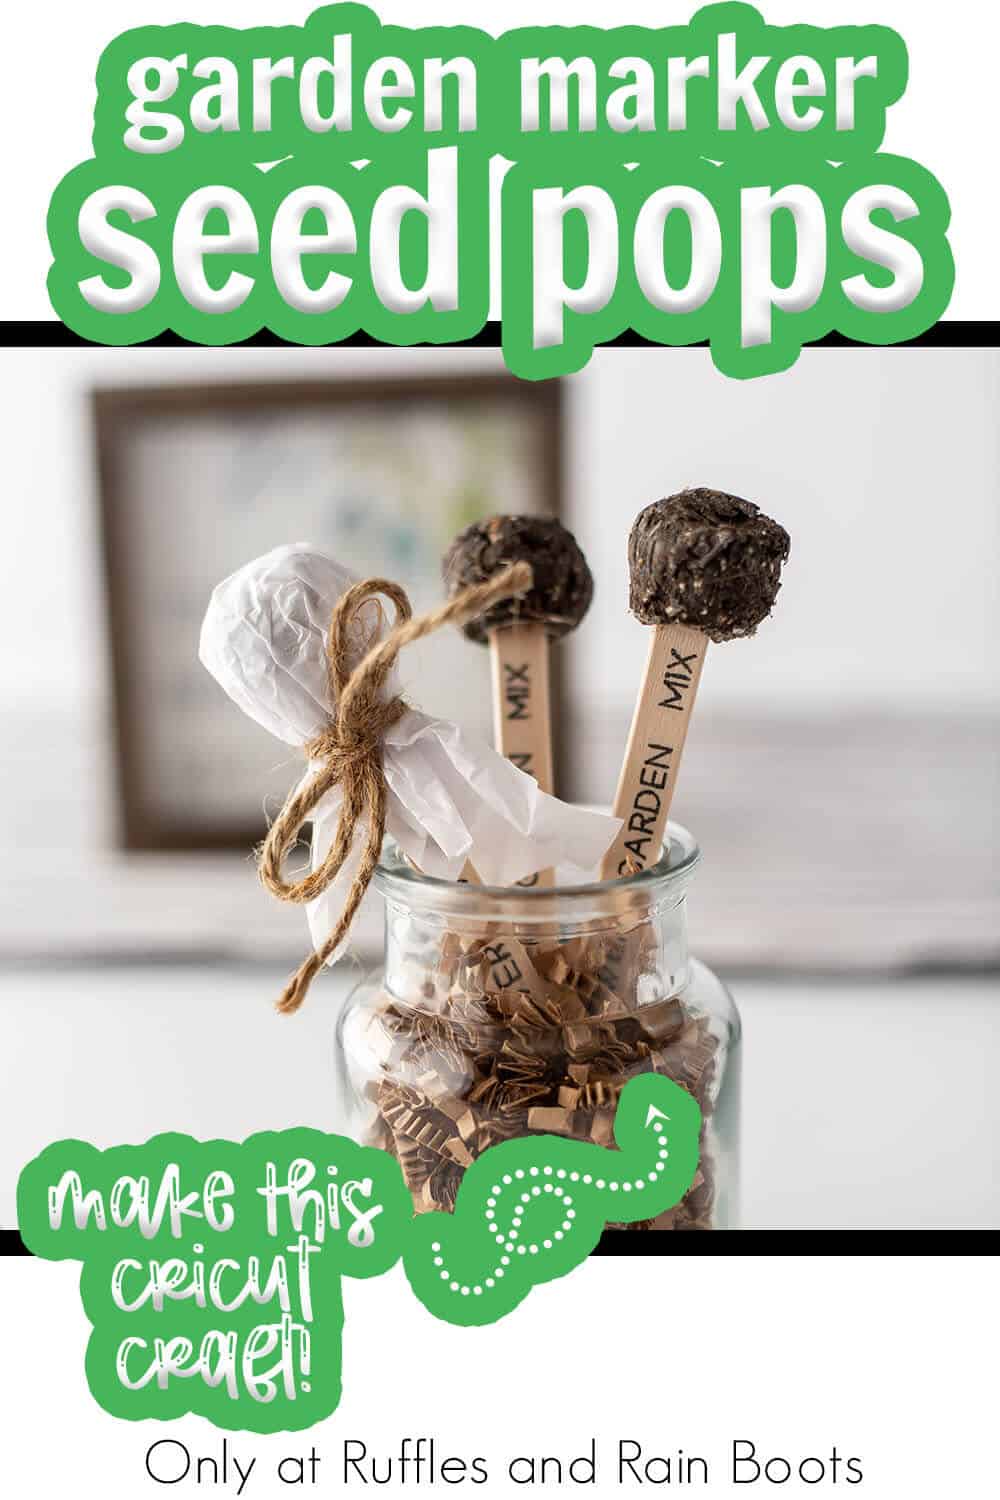
These DIY Seed Pops and Garden Markers are the Best Spring Cricut Craft!
I can’t tell you how cool these little DIY seed pops and garden markers are. Such an easy craft and made even more fun with Cricut, too!
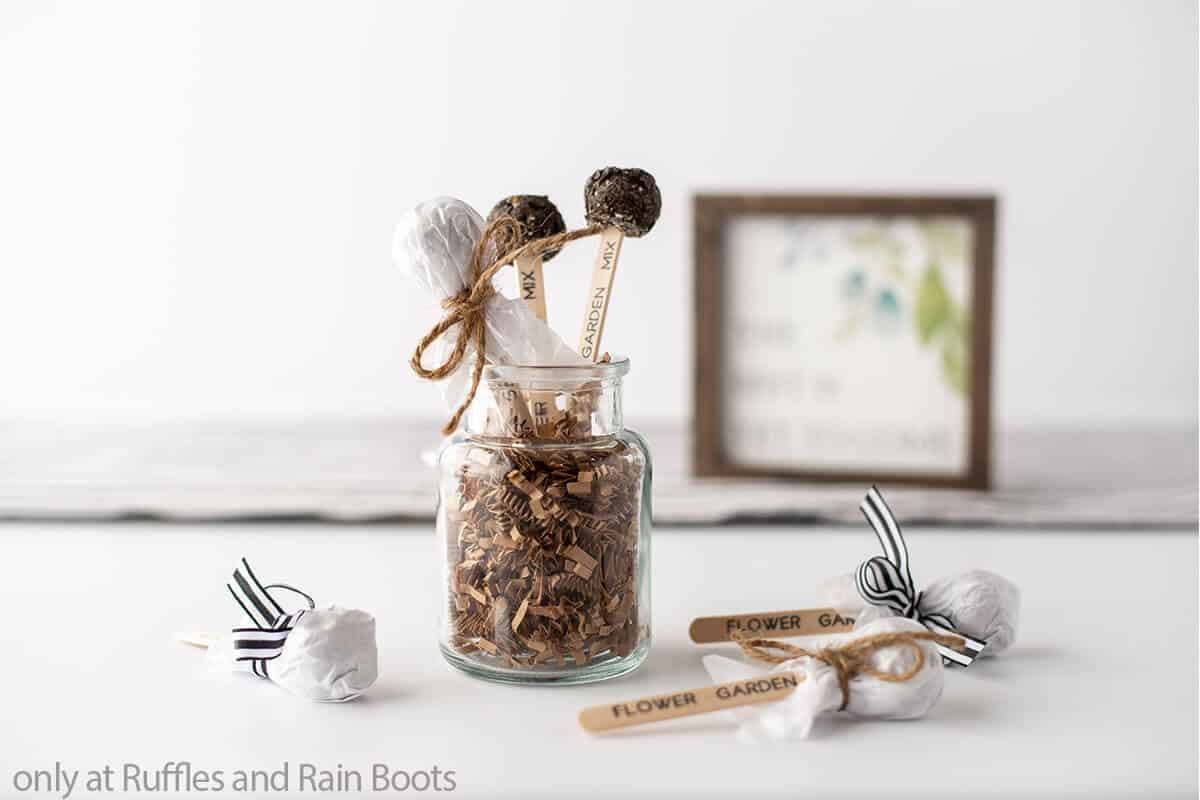
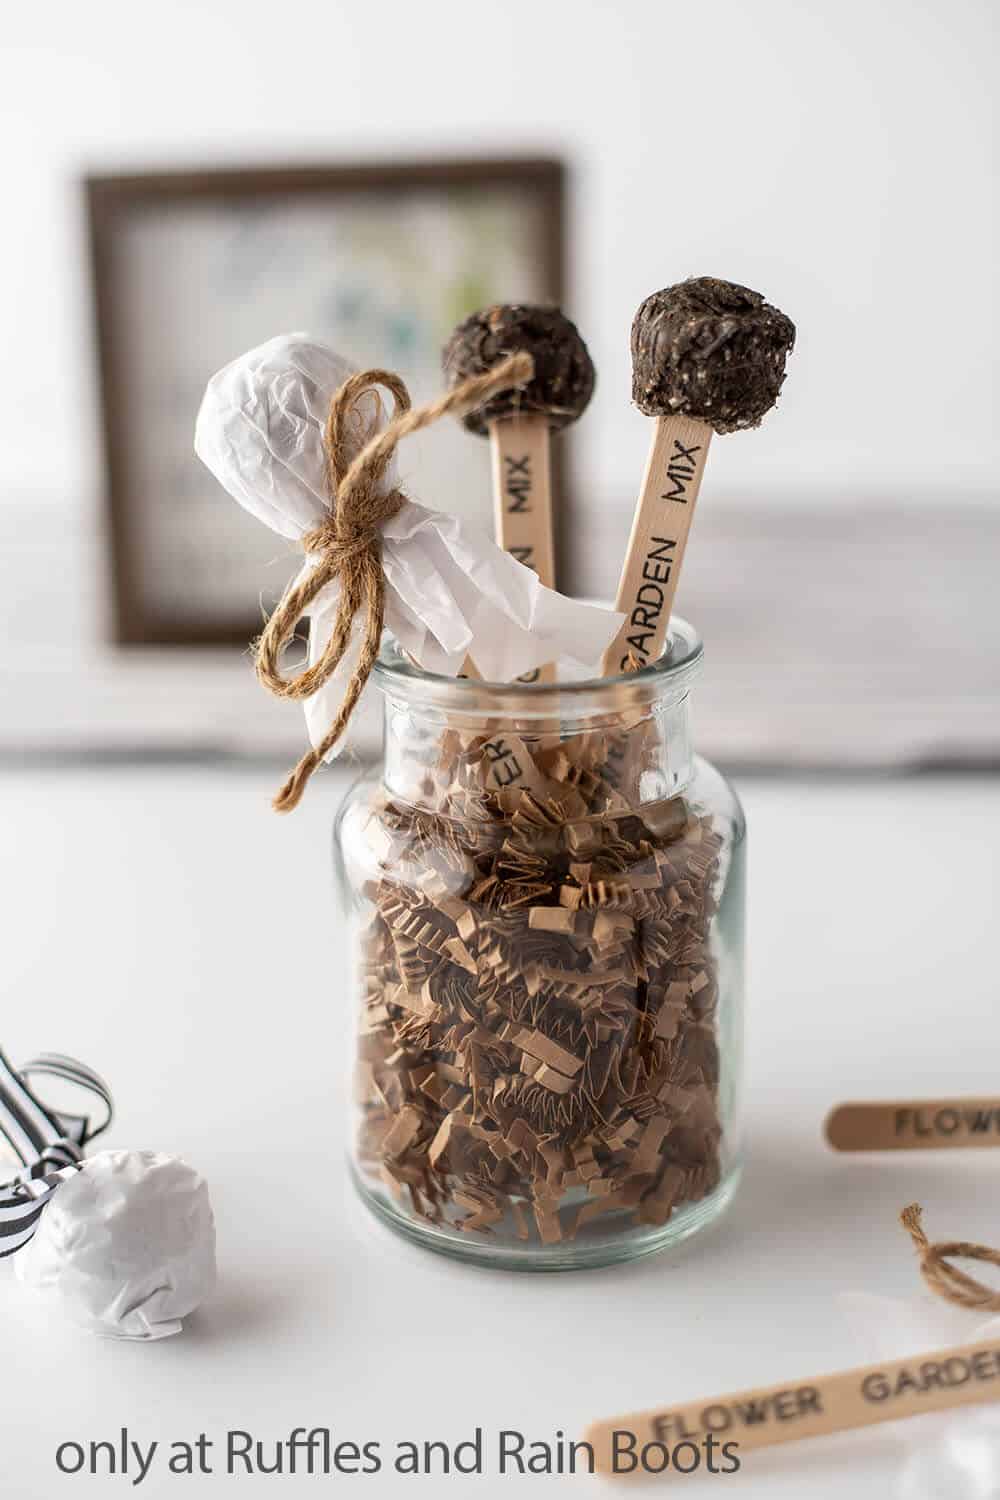
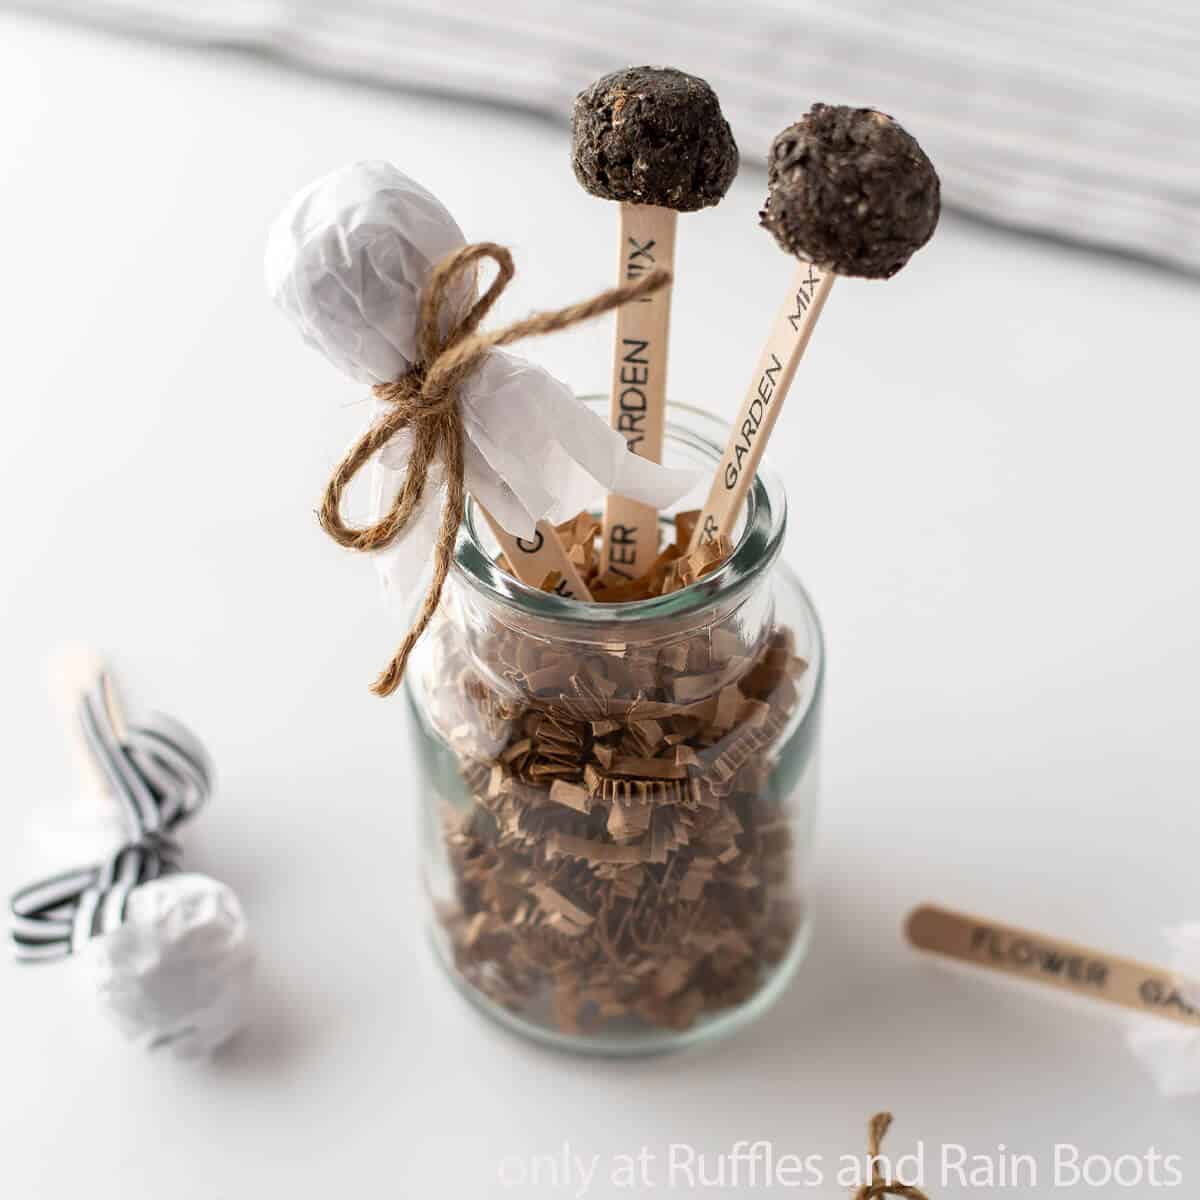
Seed Pops and Garden Markers
Here at Ruffles and Rain Boots, we are having so much fun this spring with all the best crafts. And a lot of the craft ideas I’ve had are for the garden. I just have to wait until the weather warms up a liiiiitle bit more and I’m going to be up to my elbows in dirt, earthworms and little bits of growing things. I can’t wait, so I went ahead and made these insanely fun DIY seed pops and garden markers, to get started.
RELATED READING: SPRING BEE GNOME PATTERN (WITH WINGS!)
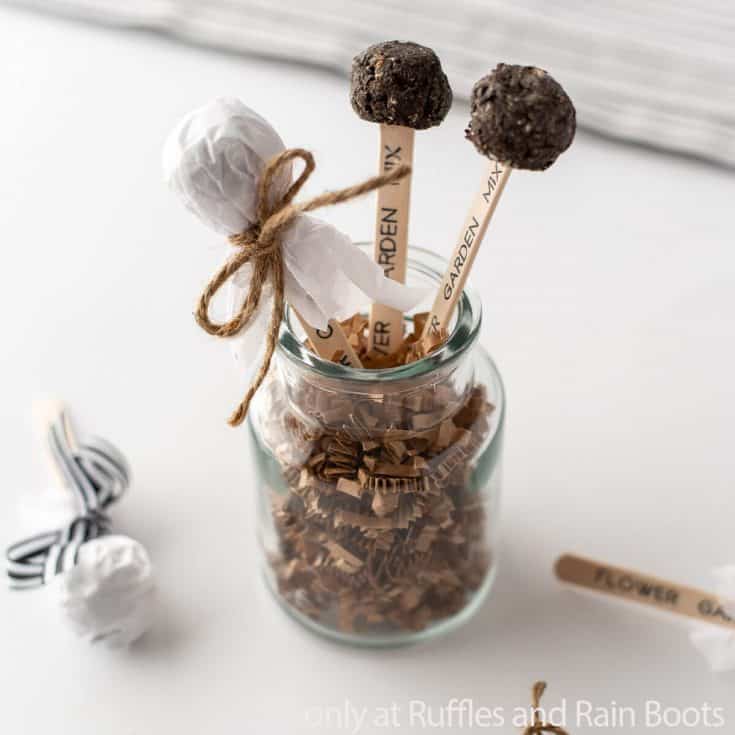
They’re a dual-purpose craft, getting you a little seed-starter and some garden stakes to let you know what you’ve planted. Also perfect for the kiddo to plant – so I know where she planted it! So, if you’re ready to start digging in the dirt, too, let’s get started.
No Time to Make This Now? Pin it for Later
You’re busy, I get it. Pin this to your favorite Cricut crafts board on Pinterest and it’ll be here when you’re ready.
As an Amazon Associate, I can earn from qualifying purchases.
Tips to Make this Spring Cricut Craft
- If you don’t want to use your Cricut or Silhouette, don’t fret! I just liked figuring out this neat function of writing on the popsicle sticks. But if that’s not your speed, just write your labels. No one is judging (right?!).
- When you’re de-molding your seed pops, be reeeeally gentle. The pops aren’t supposed to get hard – and that’s on purpose. You want the seeds to be able to break apart the dirt and clay mixture when the growing starts.
- To make these into adorable little gifts, which is a super-fun idea, if I do say so myself, you can wrap each seed pop in tissue paper and tie a little bow of twine on them. But don’t use colored tissue paper – or ribbon, unless you instruct your gift recipient to remove the colorful stuff before planting. The chemical colorants could introduce chemicals that kill the little plants, depending on what the colorant is.
How Do I Make this Seed Pops and Garden Markers?
I’m so glad you asked. Below is our written tutorial.
DIY Seed Pops and Garden Markers
I love how easy it is to make these DIY seed pops and garden markers with the Cricut. It makes a great spring Cricut craft for the garden!
Materials
- Planting seeds
- Water
- Soil or compost (about 1/2 cup) • Craft sticks
- Bentonite clay (about 1/2 cup) • Water
- Tissue paper
- Ribbon or twine
Tools
- Scissors
- Pen
- Circle or any shape silicon mold
- Tablespoon
- Cricut Maker
- Standard grip map
- Cricut compatible pen
- Painters tape
Instructions
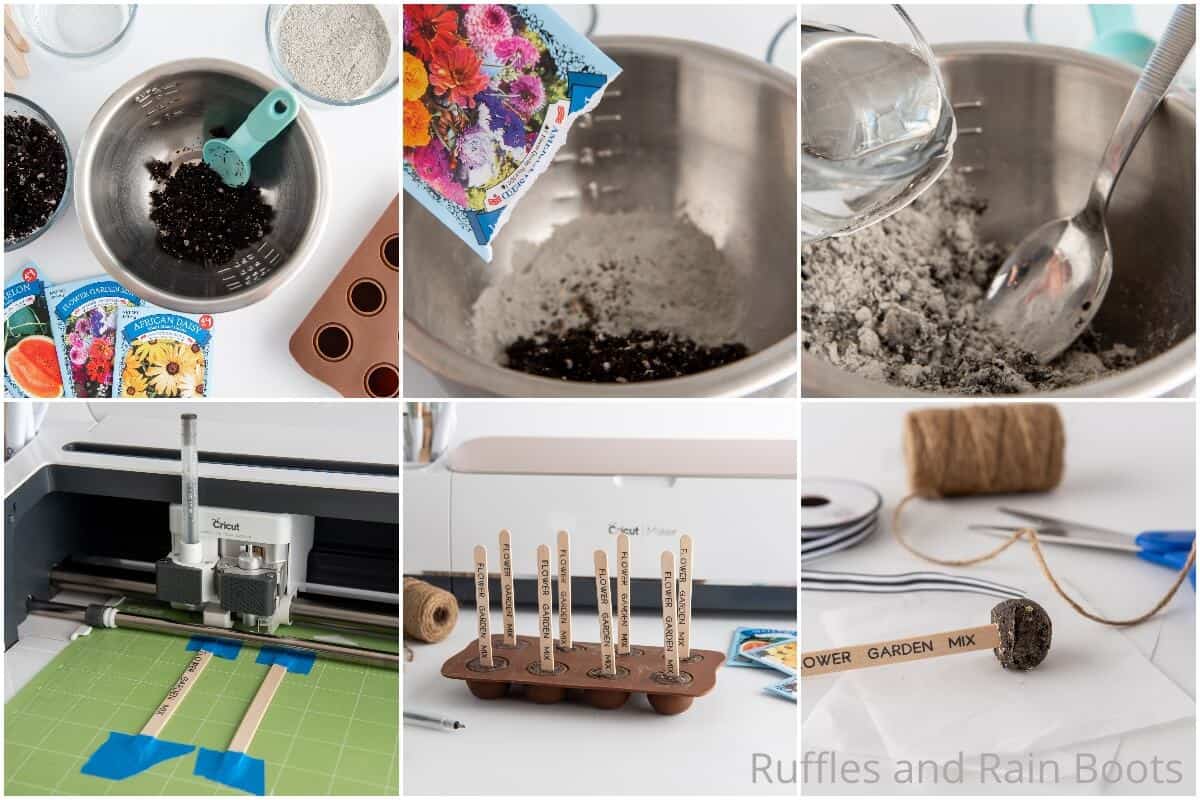
- Add 4 tablespoons of soil and 4 tablespoons of clay, and a small portion of seeds to a large mixing bowl. Be sure to add a reasonable amount of seeds to avoid over-crowding when the seeds begin to sprout.
- Slowly add water about 1 teaspoon at a time and stir until the mixture is the texture of play-dough. Set aside.
- If labeling the garden markers by hand, do so at this time. If you are using your Cricut, line up the craft sticks on the vertical line of the light grip mat for your Cricut, skipping a line between to help with text placement. Tape the craft sticks in place at the top and bottom, then move your Cricut's rollers to the far sides of the machine. Load the compatible pen into the Cricut, then set aside.
- In Cricut Design Space, type-out your text to label the seeds being planted. Measure your craft sticks and adjust the height and width of the text to fit. Select the typography and change the line type in the toolbar at the top of the screen to "draw".
- Select "Make It". When the mat preview screen comes up, select the snap mat feature. Line up the mat and when the screen turns green, it will snap a photo of the mat. Based on the photo, you can align the text on top and centered on the craft sticks.
- Select continue, change the material type to heavy chipboard and select "go".
- Fill the silicone mold cavities with the seed/soil/clay mixture, packing the mixture tightly, then smoothing the tops.
- Once the markers have finished in the Cricut, remove them from the mat and insert them in the mold cavities. Allow the seed pops to dry and harden for 24-48 hours, then gently remove them from the molds.
- To make these fun seed pops into gifts, wrap each pop in tissue paper and tie off with a twine bow.

Notes
For more fun Cricut crafts, visit Ruffles and Rain Boots!
More Spring Cricut Crafts You Might Like
- Spring Gnome Shadowbox – Such a cute way to tuck an adorable gnome into a spring decoration that just screams whimsy!
- Coastal Farmhouse Sign – Cool, fun and a little bit splashy – I love this sign and wouldn’t have it any other way.
- Bee Mini Canvas – Buzzy crafts are my complete obsession this year and I can’t get enough of this cute mini canvas that started it all for me!
Please Save This to Pinterest
Your shares are how this site grows and I am sincerely grateful. Know a friend who’d like this? Please share it on Facebook or save it to your favorite spring crafts board on Pinterest.
Meet the Creator
Hi there, I’m Sarah Nenni-Daher. I’m a crafty gal and always have at least 14 projects going at once. I am a crafter, designer, DIYer, and pattern maker. I share my creations here and in the Ruffles and Rain Boots® Shop.
Here at Ruffles and Rain Boots®, you’ll find DIY gnomes, crafts, gifts, cupcakes, laser crafts, and so much more. I love sharing video tutorials over on YouTube and chatting with other crafters in my Facebook groups. We’d love to have you!