
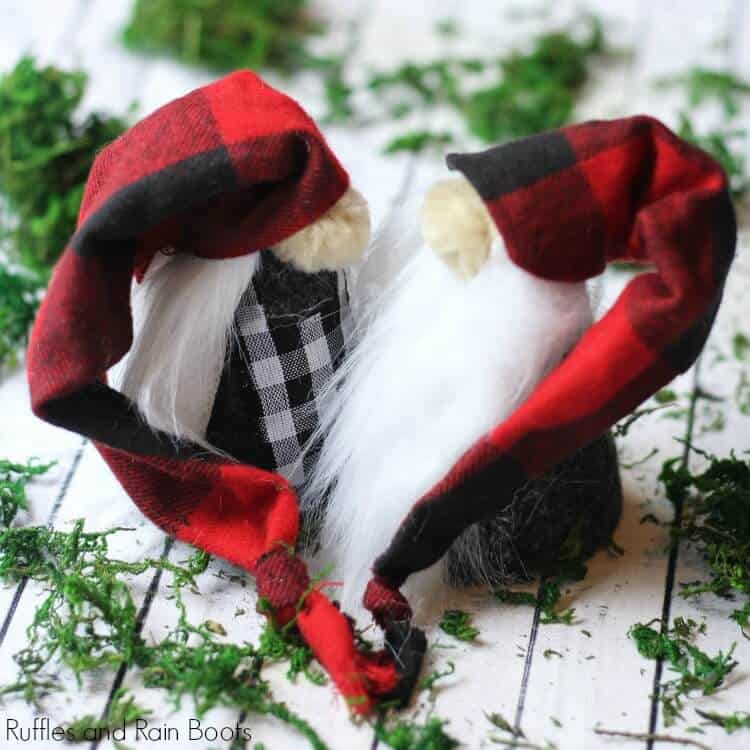
DIY Christmas Gnomes – Adorable Mr. and Mrs. Gnome
These rustic DIY Christmas gnomes are a perfect project to add holiday cheer to your home, gift, or tree. The best thing is that they are easy and quick to make!
There are affiliate links in this article which means we could receive compensation for our recommendations. You can read our full disclosure policy.
What You'll Find On This Page
DIY Christmas Gnomes
I’m kind of bouncing in my seat right now. I love Scandinavian gnomes! Tomte, nisse, Christmas elves – no matter what they are called, I absolutely adore making them.
Here on Ruffles and Rain Boots, we are no stranger to making DIY Christmas gnomes. If you love the holiday elves as much as we do, be sure to check out all of our Christmas gnome crafts. But today, let’s get started on these adorable rustic DIY Christmas gnomes.
DIY Christmas Gnome Tutorials
If you’re looking for the best DIY Christmas gnome tutorials, you have come to the right place. Check out all of my favorite tomte tutorials for the holidays!
RELATED READING: Adorable 30-Minute Scandinavian Gnome (Rice Base)
Supplies
Because we love making these little Christmas cuties, visit this Amazon list for our favorite gnome making supplies!.
- small foam or paper mache cones (I used 4-inch for this set)
- flannel fabric (your choice)
- felt in coordinating colors to the fabric
- white craft fur (we got ours from Amazon)
- 2-inch scrap ribbon or coordinating fabric (for the Mrs.’ apron)
- flesh-colored pompoms (or wooden or clay beads)
- razor blade or another straight-edge blade
- hot glue gun and sticks
How to Make Felt Christmas Gnomes
You’ll be done with your DIY Christmas gnomes in no time, friends. You can make these any size depending on where you want to put them (mantle, on the tree, next to the fireplace, on a covered porch, etc.).
How to Make a Bearded Gnome
If you have a playlist on YouTube to which you’d like to add this project, here is our Christmas gnomes video tutorial.
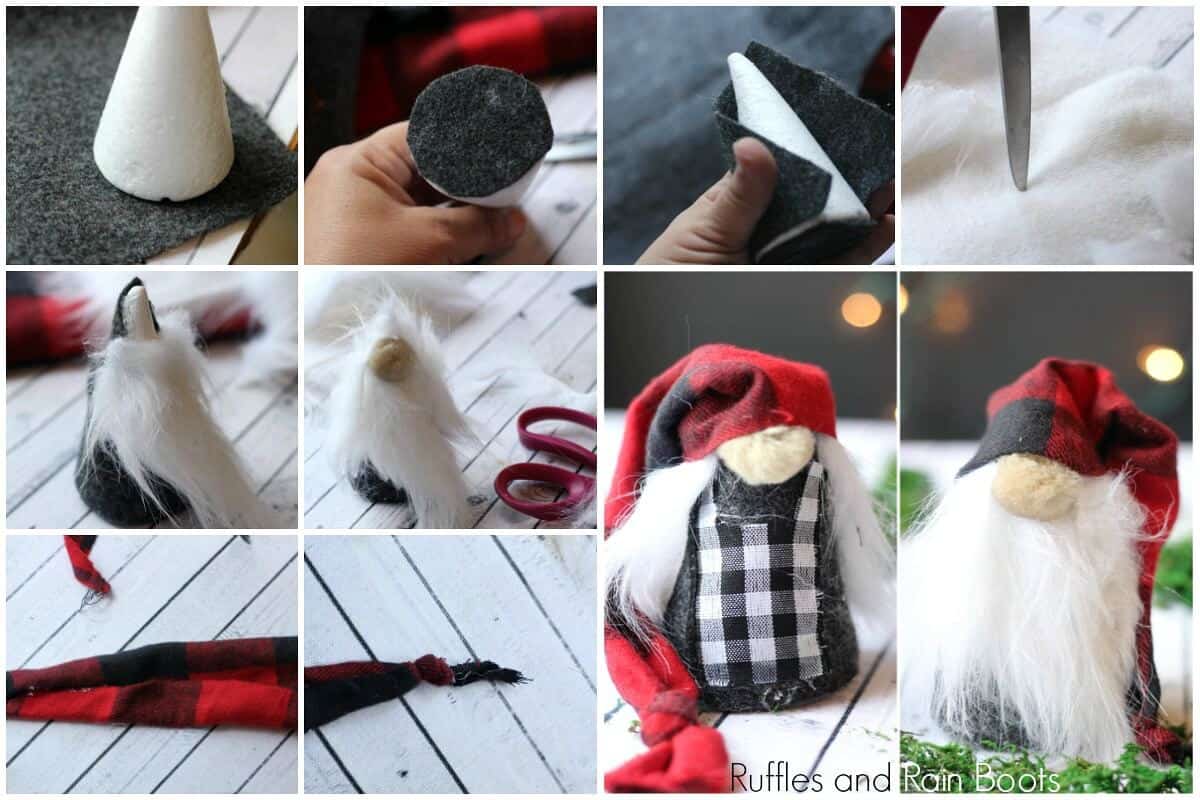
- Set your cone on a piece of felt and trace the bottom circle. Cut it out and glue it to the bottom of your cone.
- Starting at one edge of the felt, wrap it around the cone, glue it down, and trim off excess.
- For my 4-inch cones, I’m using an 8-inch high triangle with a base of 4.5-inches. To make any size simple gnome hat without a pattern, cut a triangle that is:
- twice as long as your cone
- half as wide at the widest end (measure about halfway down the cone).
- Fold the triangle of fabric in half lengthwise and secure with hot glue by folding the edges under just a bit to hide the seam. Set aside to cool and tie a knot at the end. It’s cute.
- Cut the gnome’s beard next. Measure about 1-inch down from the top of the cone to the length of beard you want. Flip the fur over to the back and draw a rough beard shape – both pointed or straight bottom beards look good. Use a razor blade to cut the FABRIC ONLY on the back. Do not cut through the fur or it will look odd. Cut the mustache pieces the same way.
- Hot glue the beard about an inch down from the top of the cone. Glue the pompom just above the beard and the mustache pieces just above the nose.
- Slide the hat onto the cone and secure with hot glue. Mr. DIY Christmas gnome is complete!

How to Make a Simple Girl Gnome
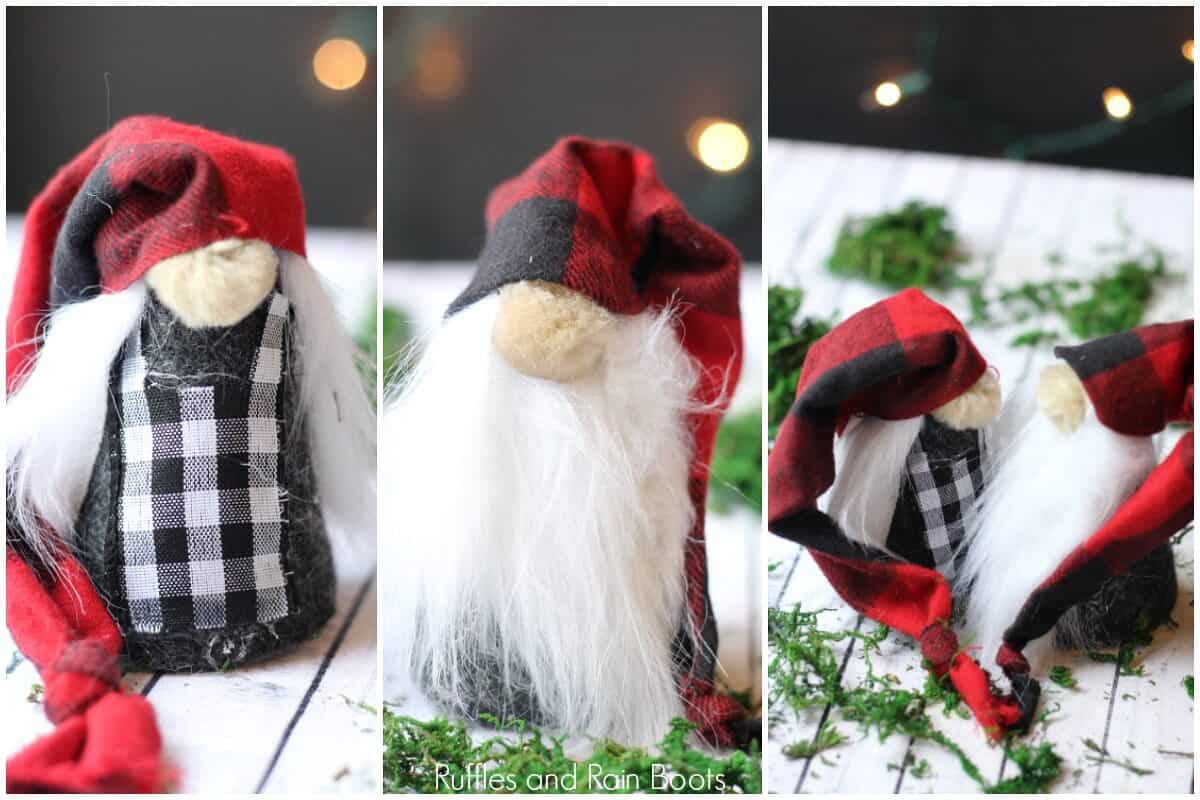
- Follow the steps above up until step 5. Instead of a beard, cut a rectangle for hair down her back. Or, you can cut two strips for ‘ponytails.’ Glue the hair in place about an inch from the top fo the cone. Glue on her nose between the pieces or in the center of the cone.
- To add an apron, cut out a rectangle and then notch the top to create straps. Glue it on top of the felt in the front.

DIY Christmas Gnomes - Adorable Mr. and Mrs. Gnome

These rustic DIY Christmas gnomes are a perfect project to add holiday cheer to your home, gift, or tree. The best thing is that they are easy and quick to make!
Materials
- small foam or paper mache cones (I used 4-inch for this set)
- flannel fabric (your choice)
- felt in coordinating colors to the fabric
- white craft fur (we got ours from Amazon)
- 2-inch scrap ribbon or coordinating fabric (for the Mrs.' apron)
- flesh-colored pompoms (or wooden or clay beads)
Tools
- razor blade or another straight-edge blade
- hot glue gun and sticks
Instructions
- Set your cone on a piece of felt and trace the bottom circle. Cut it out and glue it to the bottom of your cone.
- Starting at one edge of the felt, wrap it around the cone, glue it down, and trim off excess.
- For my 4-inch cones, I'm using an 8-inch high triangle with a base of 4.5-inches. To make any size simple gnome hat without a pattern, cut a triangle that is:
- twice as long as your cone
- half as wide at the widest end (measure about halfway down the cone).
- Fold the triangle of fabric in half lengthwise and secure with hot glue by folding the edges under just a bit to hide the seam. Set aside to cool and tie a knot at the end. It's cute.
- Cut the gnome's beard next. Measure about 1-inch down from the top of the cone to the length of beard you want. Flip the fur over to the back and draw a rough beard shape - both pointed or straight bottom beards look good. Use a razor blade to cut the FABRIC ONLY on the back. Do not cut through the fur or it will look odd. Cut the mustache pieces the same way.
- Hot glue the beard about an inch down from the top of the cone. Glue the pompom just above the beard and the mustache pieces just above the nose.
- Slide the hat onto the cone and secure with hot glue. Mr. DIY Christmas gnome is complete!
- To make a female gnome, follow the steps above up until step 5. Instead of a beard, cut a rectangle for hair down her back. Or, you can cut two strips for 'ponytails.' Glue the hair in place about an inch from the top fo the cone. Glue on her nose between the pieces or in the center of the cone.
- To add an apron, cut out a rectangle and then notch the top to create straps. Glue it on top of the felt in the front.
Notes
For more gnome crafts, visit Ruffles and Rain Boots.
RELATED READING: Scandinavian Gnome for Holiday Decor
Get Creativity Delivered Every Week
If you want to join the fun here on Ruffles and Rain Boots, sign up for the once-weekly newsletter. I’ll share freebies and anything new and you’ll be the first to get them all.
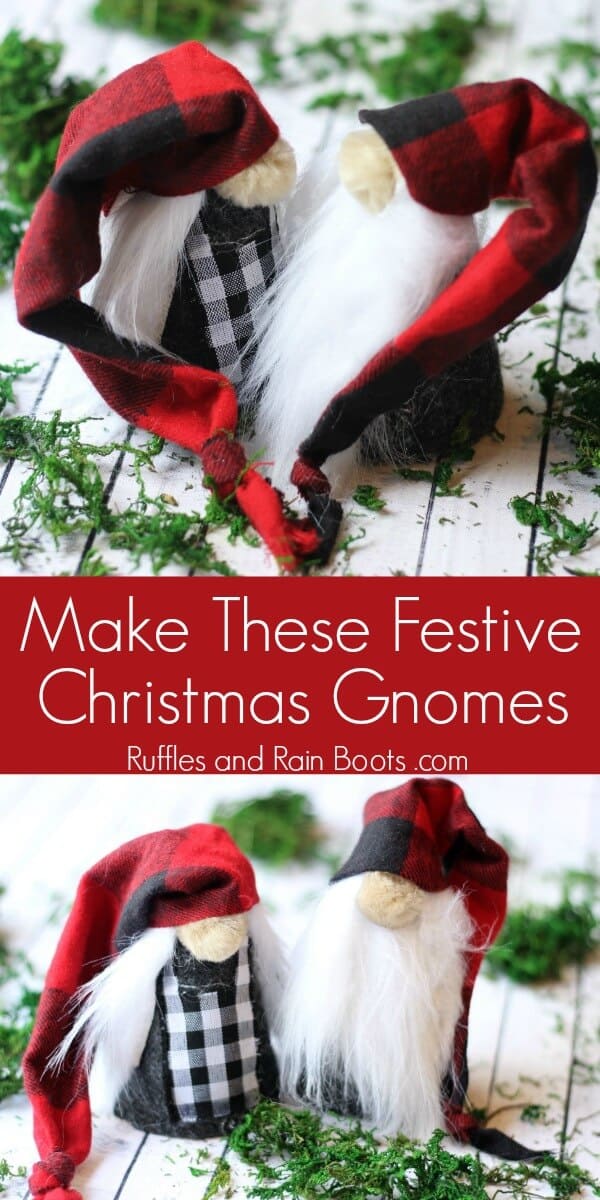
Please Save This to Pinterest or Share to Facebook
Your shares are how we grow and we are sincerely grateful.

How do I get the instructions for wine stopper gnome.
I have a couple of wine bottle TOPPERS but no wine stoppers. I’ll leave the links to the wine bottle toppers below, just in case.
– https://rufflesandrainboots.com/felt-gnome-wine-bottle-toppers/
– https://rufflesandrainboots.com/christmas-gnome-wine-bottle/
– and a wine bag https://rufflesandrainboots.com/gnome-wine-bag/