
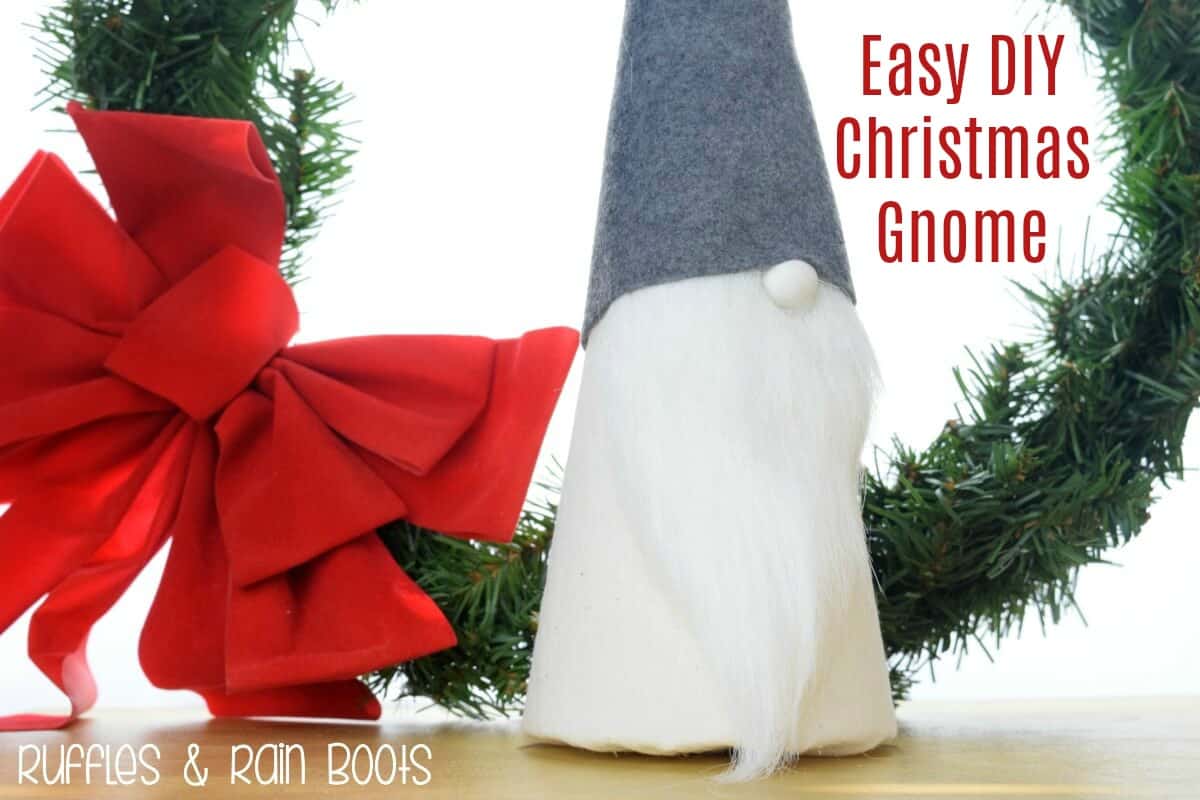
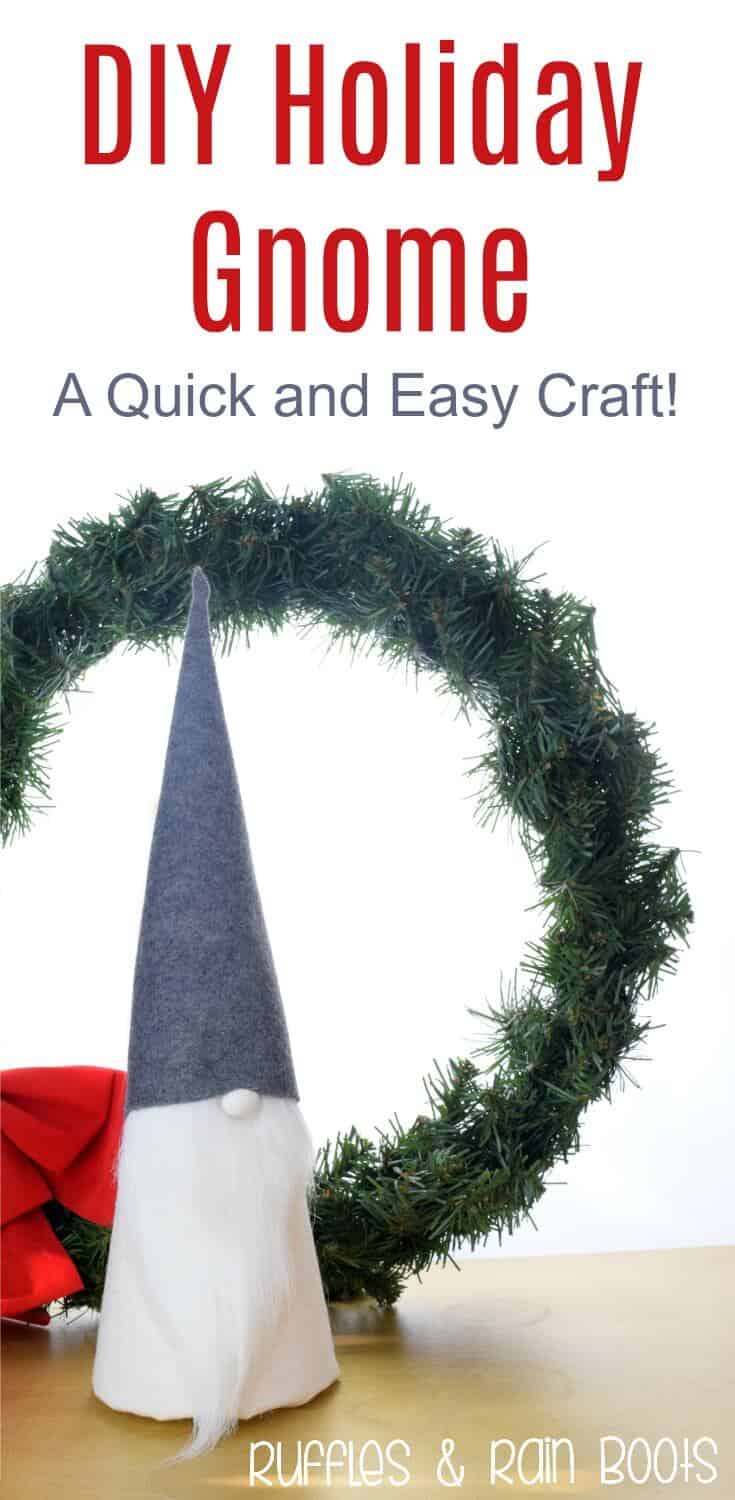
Easy DIY Christmas Gnome – Adorable Scandinavian Holiday Decor
I’m updating my holiday decor with this adorable and easy DIY Christmas gnome. He’s perfect for this season’s festivities and so easy to make with inexpensive craft supplies. Bring gnomes into your home this holiday season.
What You'll Find On This Page
Easy DIY Christmas Gnome (Felt Nordic Gnome)
I made the adorable little rice-filled gnome and was struck with the idea to create a family of them. In September, I pictured this little family on a shelf in my living room and set out to making them a few different ways.
This one was far less labor-intensive than the rice gnome (and that one was pretty darn easy). We’ve also made the adorable gnome with braids. There are affiliate links in this tutorial which means, at no additional cost to you, we could receive compensation for our recommendations. You can read our full disclosure policy.
Psst: if you love these little guys and don’t want to have to make your own (hey, you’re busy), look at these:
- this guy is adorable (look at his cute little feet!)
- love the bright color options for her gnomes
- the hat design on these popular Swedish gnomes is just the best thing ever
The fun one can have with a glue gun and some leftover craft supplies. Plug in your glue gun and let’s get crafting!
DIY Christmas Gnome Tutorials
If you’re looking for the best DIY Christmas gnome tutorials, you have come to the right place. Check out all of my favorite tomte tutorials for the holidays!
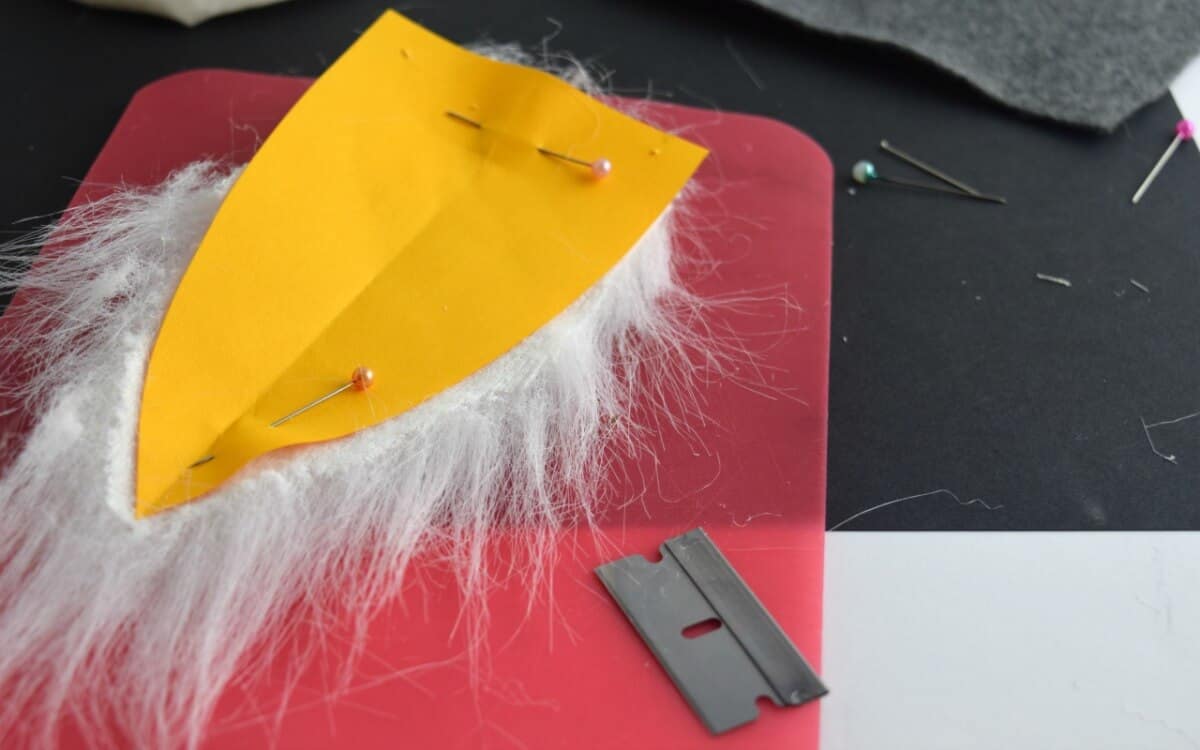
How to Cut Faux Fur
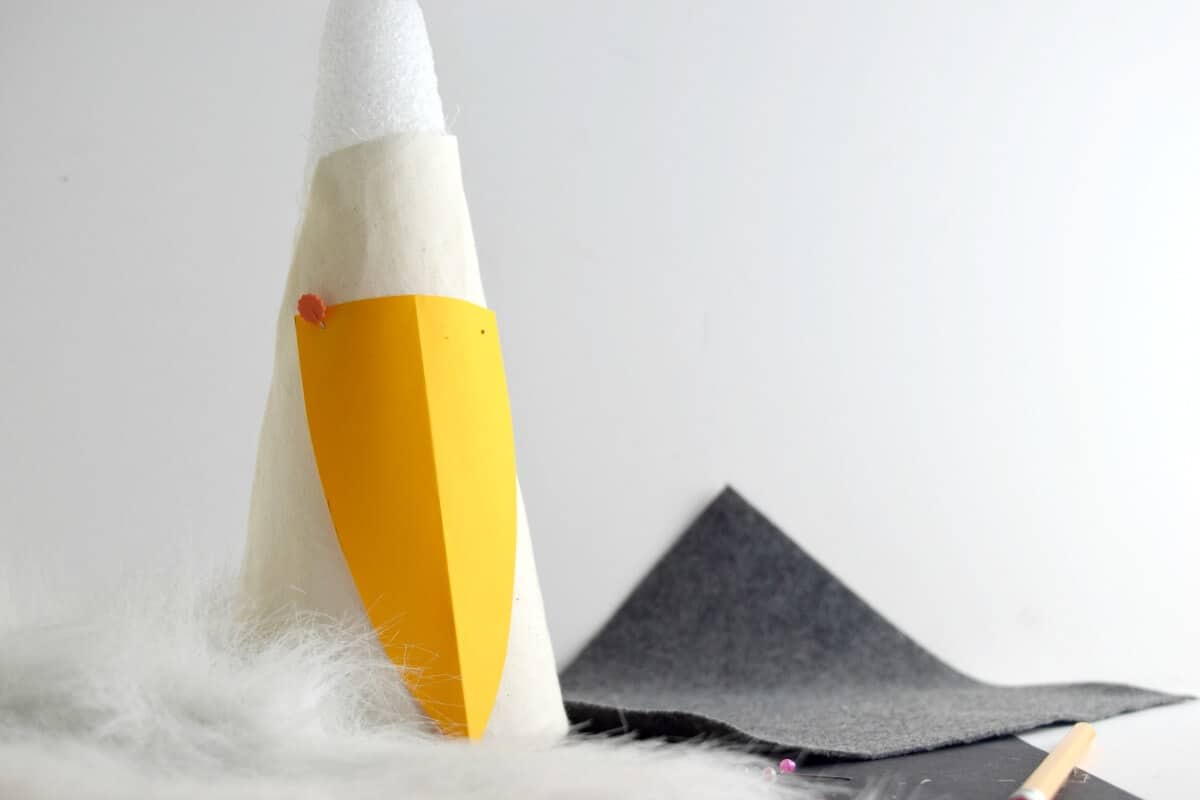
Make a template for your gnome's beard by folding a piece of scrap paper in half and then drawing a rough beard shape. Cut it out and test it against your gnome friend.
If you've never cut faux fur before, let me break it down:
- Never use scissors
- Cut from the back with a razor
- Cut only deep enough (pressing lightly) to cut through the connecting fabric. Do not cut the actual 'fur.'
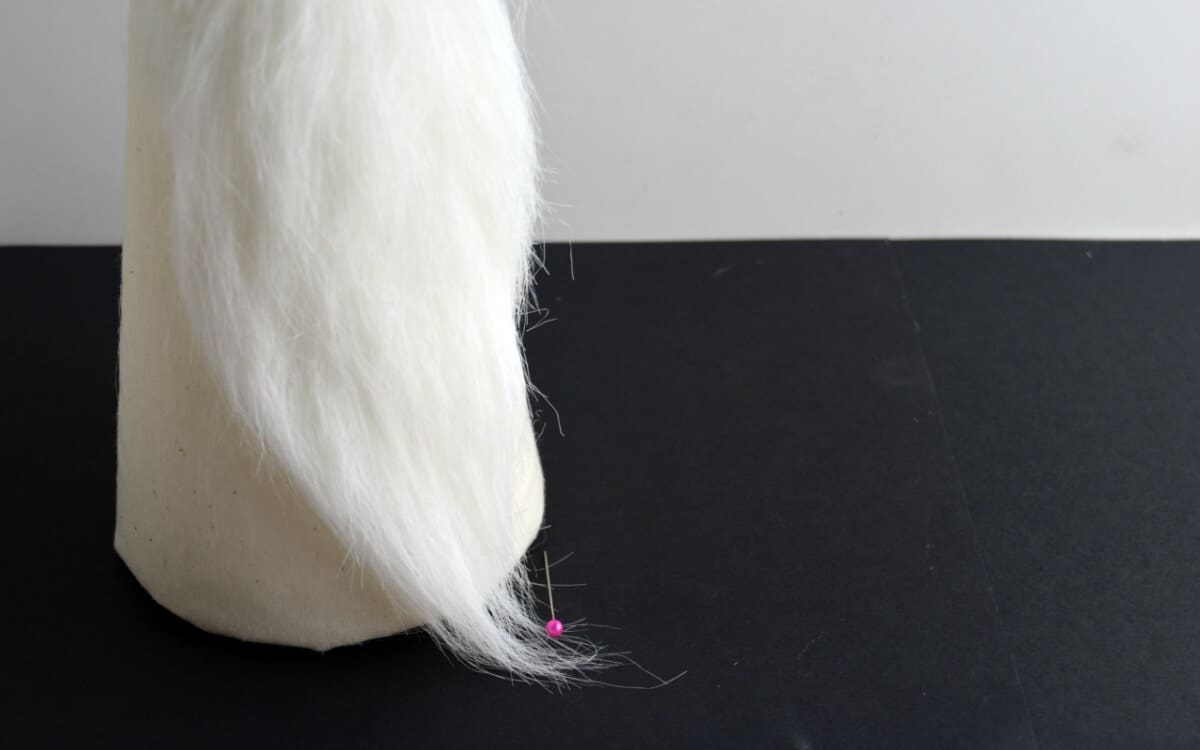
Hot glue your faux fur to your gnome. I liked the look of the beard juuuuuuuust dragging the ground, but hey - this is your gnome so you do what you want.
Cut and Attach the Gnome's Hat and "Face"
Wrap the felt around the head of your easy DIY Christmas gnome and decide the height you like best. From the nose to the top of the tip, my gnome's hat measures 9-inches.
Cut a rounded triangle and hot glue it into a cone shape. I liked the split to the hat in the back. If you prefer the rounded look, follow the instructions in the rice gnome instead.

To help you decide on the hat's position, try to pull it down in back a little. It looks so stinkin' adorable tipped back a bit.
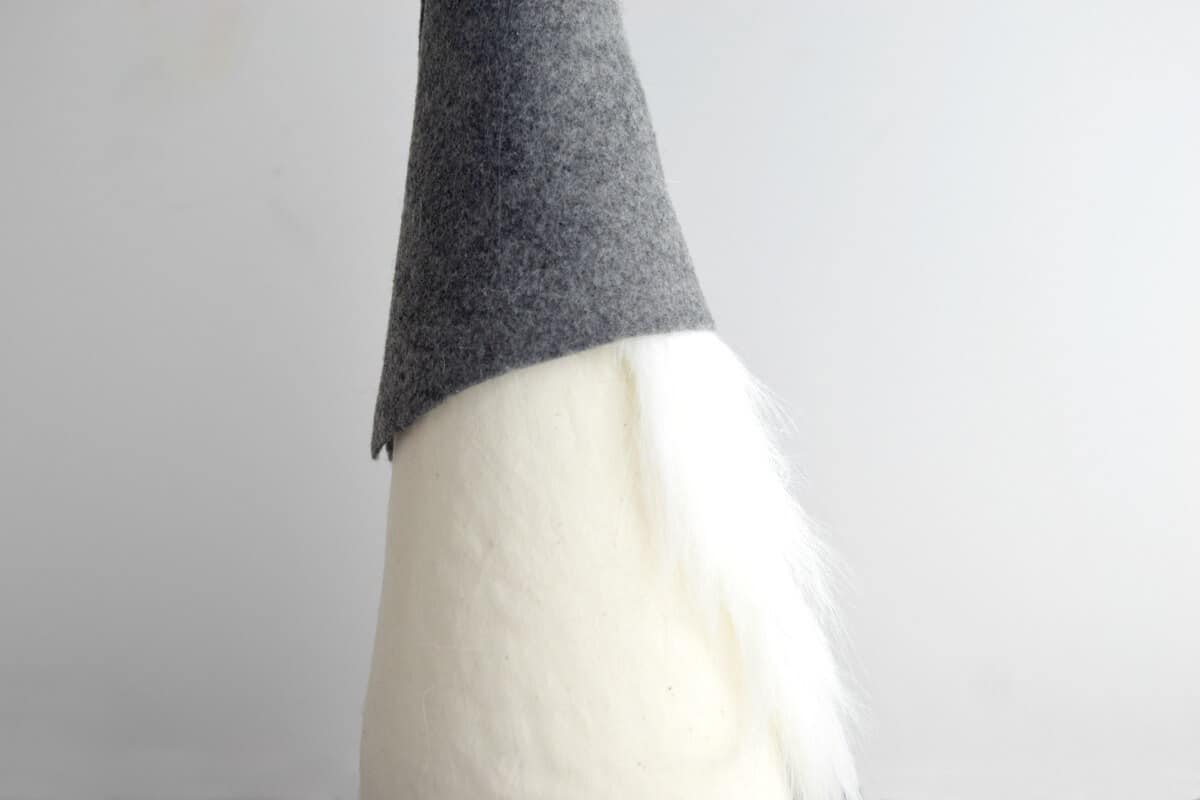
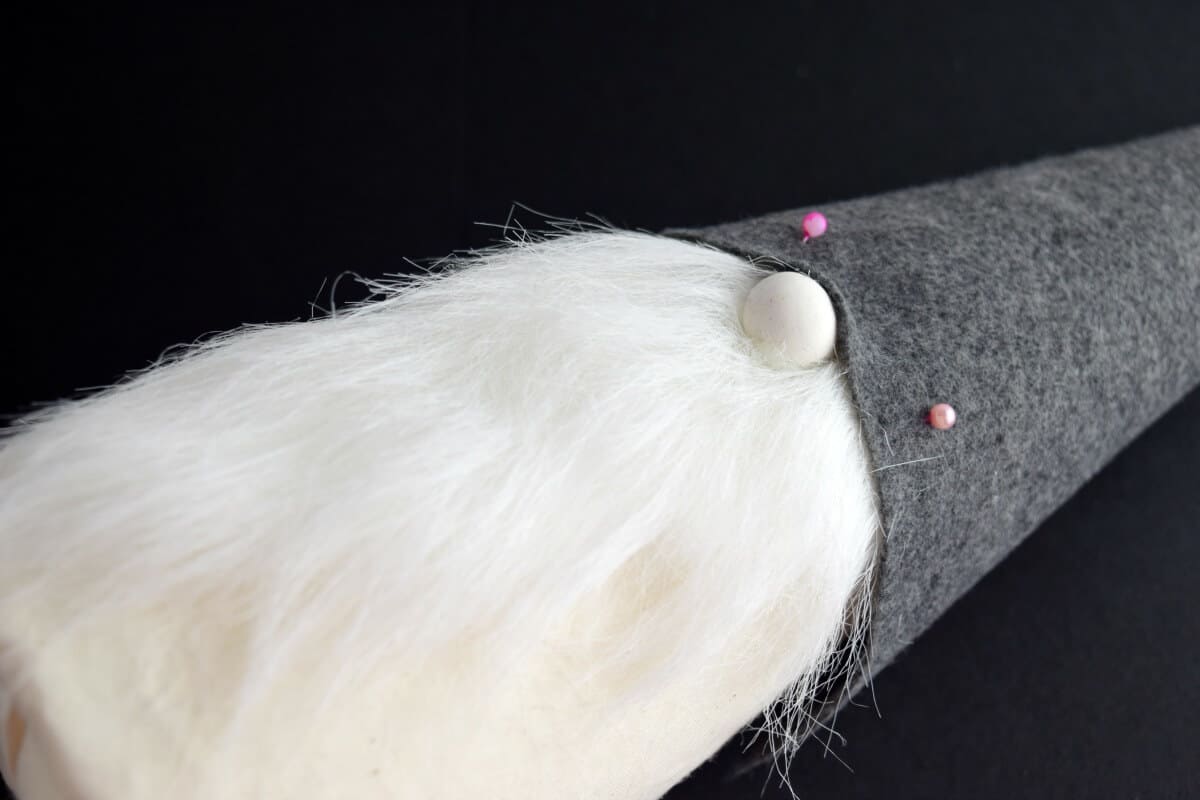
Next, estimate where your eyes would be and nose will go. Then, affix the gnome's hat and glue on the button nose.
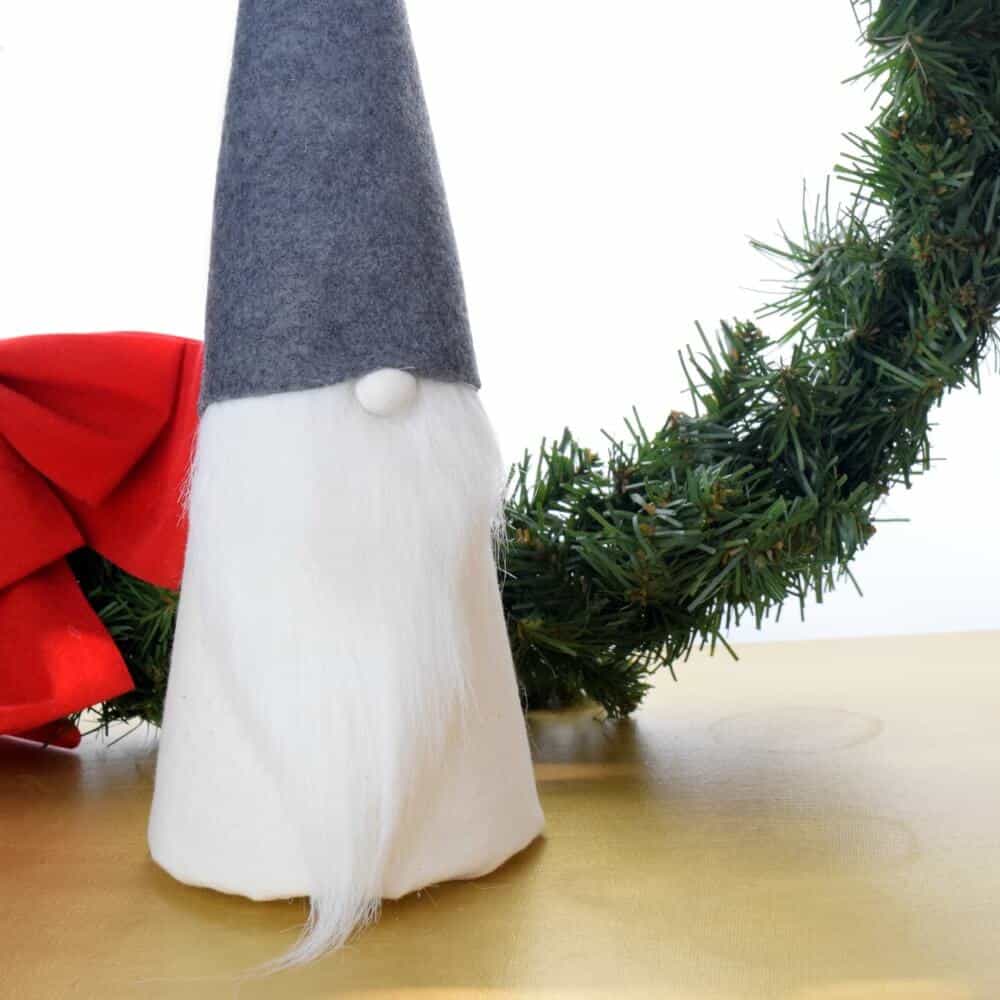
Easy DIY Christmas Gnome
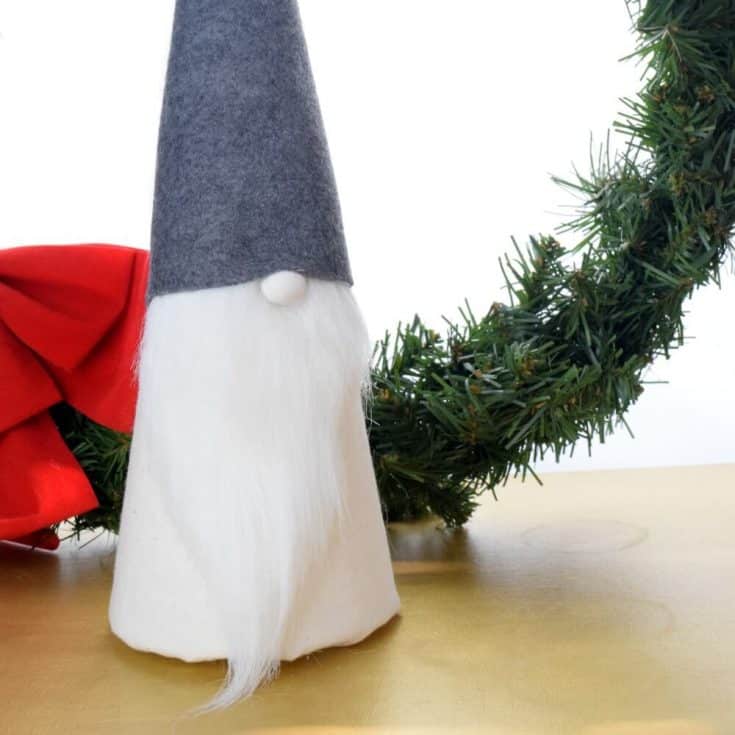
Easy DIY Christmas Gnome is so much fun!
Materials
- Cone (I've used 9-inches for this one, but any size works)
- Felt (8.5 x 11-inch craft felt will be fine)
- Faux Fur
- Muslin or other natural-looking fabric (I used scraps from sewing patterns)
- Bead, clay shape, or rounded button for the nose
Tools
- Glue gun, razor, and scissors
Instructions
- Wrap the majority of the cone in the muslin and hot-glue to secure. Note: you might have to wrap it twice or fold over the muslin so it's two layers (I did this because it was the easier of the two).
- Trim the muslin at the base of the cone so that you have just enough fabric to overlap the entire base. Your easy DIY Christmas gnome is going to come together quickly, but this is an area to spend a little time on - you want it relatively smooth(ish).
- Cut slits in the fabric at the base to help it lie flat. I didn't want it smooth and "perfect" because I wanted a more rustic look. To get that look, just glue some sections down a bit looser than others.
- Make a template for your gnome's beard by folding a piece of scrap paper in half and then drawing a rough beard shape. Cut it out and test it against your gnome friend. Hot glue your faux fur to your gnome.
- Wrap the felt around the head of your easy DIY Christmas gnome and decide the height you like best. From the nose to the top of the tip, my gnome's hat measures 9-inches.
- Cut a rounded triangle and hot glue it into a cone shape. I liked the split to the hat in the back. If you prefer the rounded look, follow the instructions in the rice gnome instead.
- To help you decide on the hat's position, try to pull it down in back a little.
- Next, estimate where your eyes would be and nose will go. Then, affix the gnome's hat and glue on the button nose.
Notes
For many more gnome crafts, visit Ruffles and Rain Boots.
Over to You
Have you made any easy DIY Christmas gnomes before? If so, are they now a staple in your holiday decorating? I do believe these little guys are going to be with us a long time.
Check Out More Scandinavian Gnome Fun
- Mr. and Mrs. Gnome Couple (Gorgeous Holiday Decor)
- Easy 30-Minute Gnome (Featuring an Easy-to-Make Rice Body)
- Fun Peek-a-Boo Gnome Paper Plate Craft for Kids

I love him. He is so dang cute. I want to make one for everyone I know. :)