
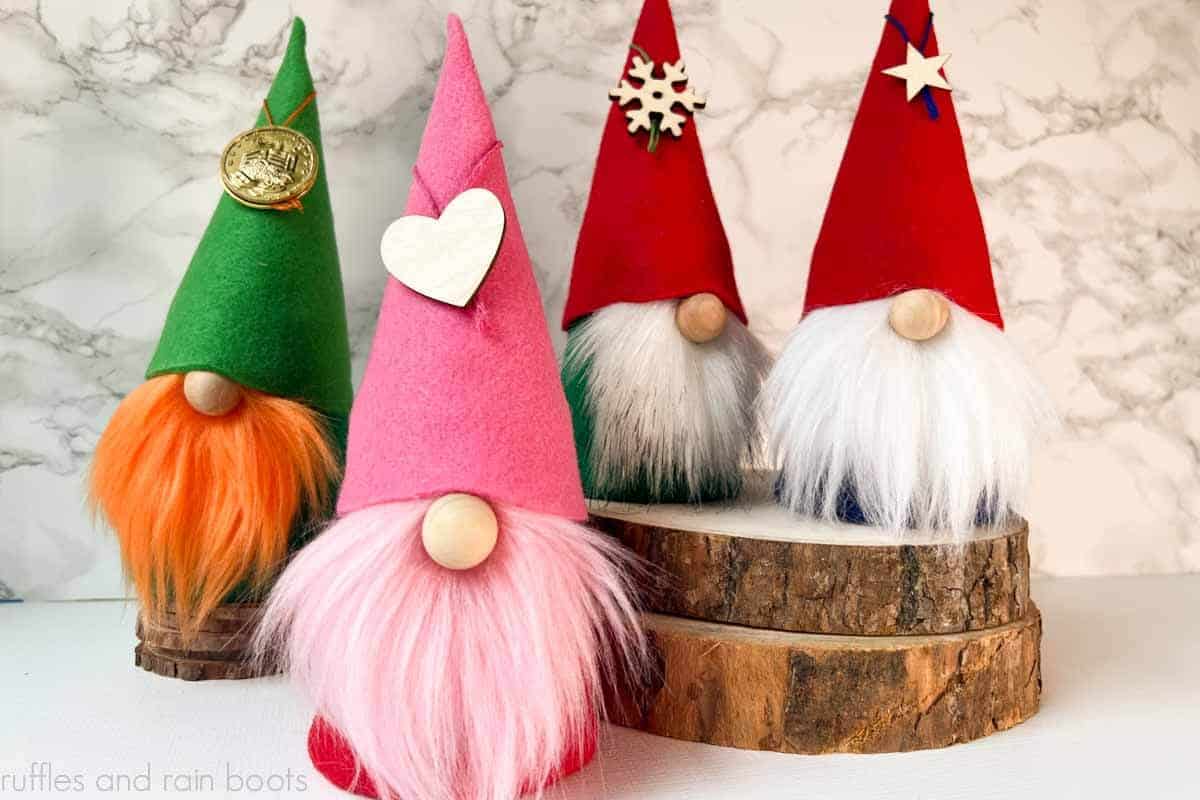
DIY Cup Gnome Free Pattern
This DIY cup gnome is made in 7 minutes using a free gnome pattern and it couldn’t be cuter! Use it create a gnome for every holiday or season.
These gnomes are also made into treat or party favors, making the pattern very versatile. Read through the quick steps below, download the pattern, and get started.
RELATED READING: How to Make a Sock Gnome
What You'll Find On This Page
Free Cup Gnome Pattern
Here at Ruffles and Rain Boots, I’ve been making gnomes for so long and love a good challenge to change things up. Recently, a reader asked if I could make a quick cup gnome pattern so could make a lot of gnomes as a giveaway for a class party.
Challenge accepted!
As part of my use or lose it resolution, I looked through my craft stash, found some paper cups and felt, and create this free gnome pattern for everyone. When designing it, I made sure it could be used as both a standing gnome and a treat or party favor, too.
RELATED READING: Gnome Sayings and Gnome Puns for Any Occasion
Please Share This Free Gnome Pattern
Your shares are how this site grows and I am sincerely grateful. Please use the sharing buttons to save this to a DIY pin board or share it on Facebook. Either will make it easy to find if you’re starting this project later, too.

As an Amazon Associate, I could earn from qualifying purchases. There could be affiliate links within this article.
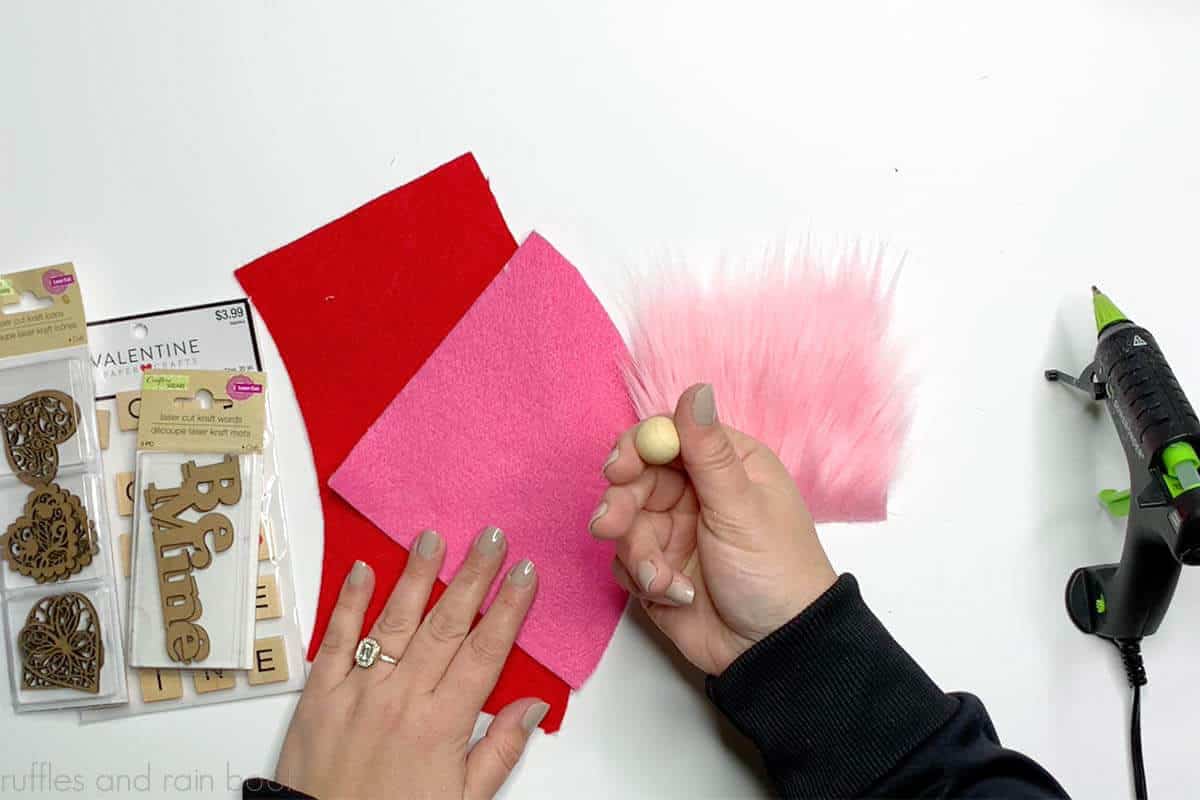
Supplies Needed for This Easy Gnome
Check your supplies to see if you have any of this on hand already.
- Cup – I used a 9 ounce paper cup from the Dollar Tree
- Felt – Premium felt is recommended over the thinner craft felt
- Faux Fur – I prefer fur gnome beards, but you can use yarn or make a mop beard using a Dollar Tree cotton mop head.
- Wood Ball – A 3/4 inch wood round works perfectly for a gnome nose.
- Poly-Fil – I stuffed the hat with this to make sure it wouldn’t get squished down once glued to the body.
- Hot Glue Gun and Glue Sticks
- Scissors
- Printer and Paper for the Pattern
Tips and Alternatives When Making a Cup Gnome
When making this gnome, I kept your options open. Use the same gnome pattern to create favors or treat jars, too.
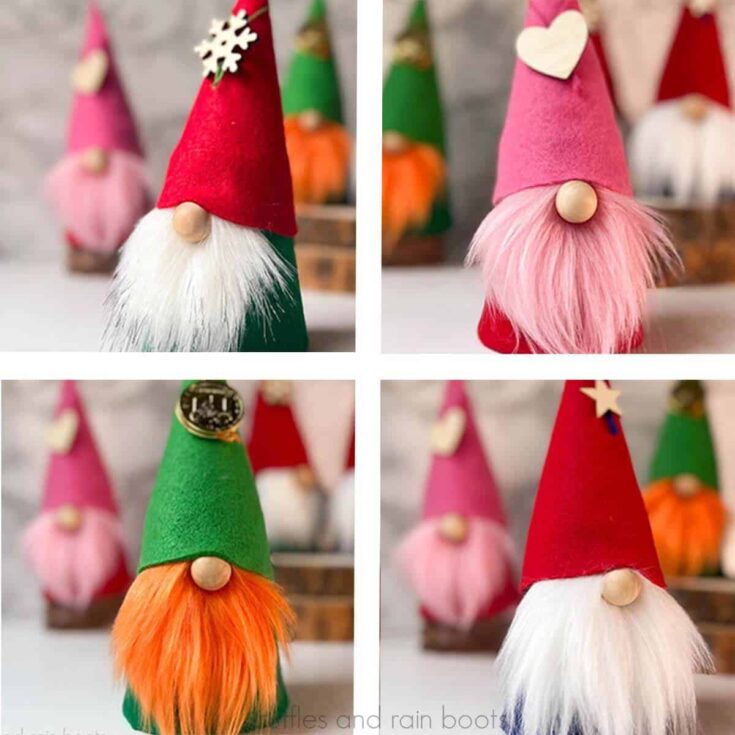
- Changing the colors of felt and decorations, you can make an easy Christmas gnome, birthday gnome, or any other theme or holiday.
- Always check the dollar store for decorations, but steer clear of the felt – it’s much too thin.
- If using craft felt (thinner than premium), be sure to spread it out so the hot glue doesn’t show through. The body will look bumpy.
- Use anything you have on hand for a gnome nose, it doesn’t have to be a wood ball. Pom poms, plastic or wood beads, or even fabric rolled into a ball will work.
- To create a bendable hat, glue part of a pipe cleaner in the hat before attaching to the body.
- Make this DIY gnome into a treat jar or party favor by adding candy to the top of the cup before slipping the hat onto the body.
- Decorate the gnomes with a hat brim using a thick yarn – it looks really cute.

RELATED READING: The Internet’s Most Popular Gnome Sewing Pattern
How to Make a Cup Gnome
Below are the step-by-step instructions on how to put this adorable gnome together. Keep this page open and follow along. Use the comments section for any questions.
If you’re a visual learner, watch the Valentine’s Day cup gnome video tutorial. Be sure to subscribe to the YouTube channel – we have a lot of fun over there.
First, print off the cup gnome pattern of this easy DIY gnome and cut out the body and hat pieces. Trace or pin to felt and cut them out.
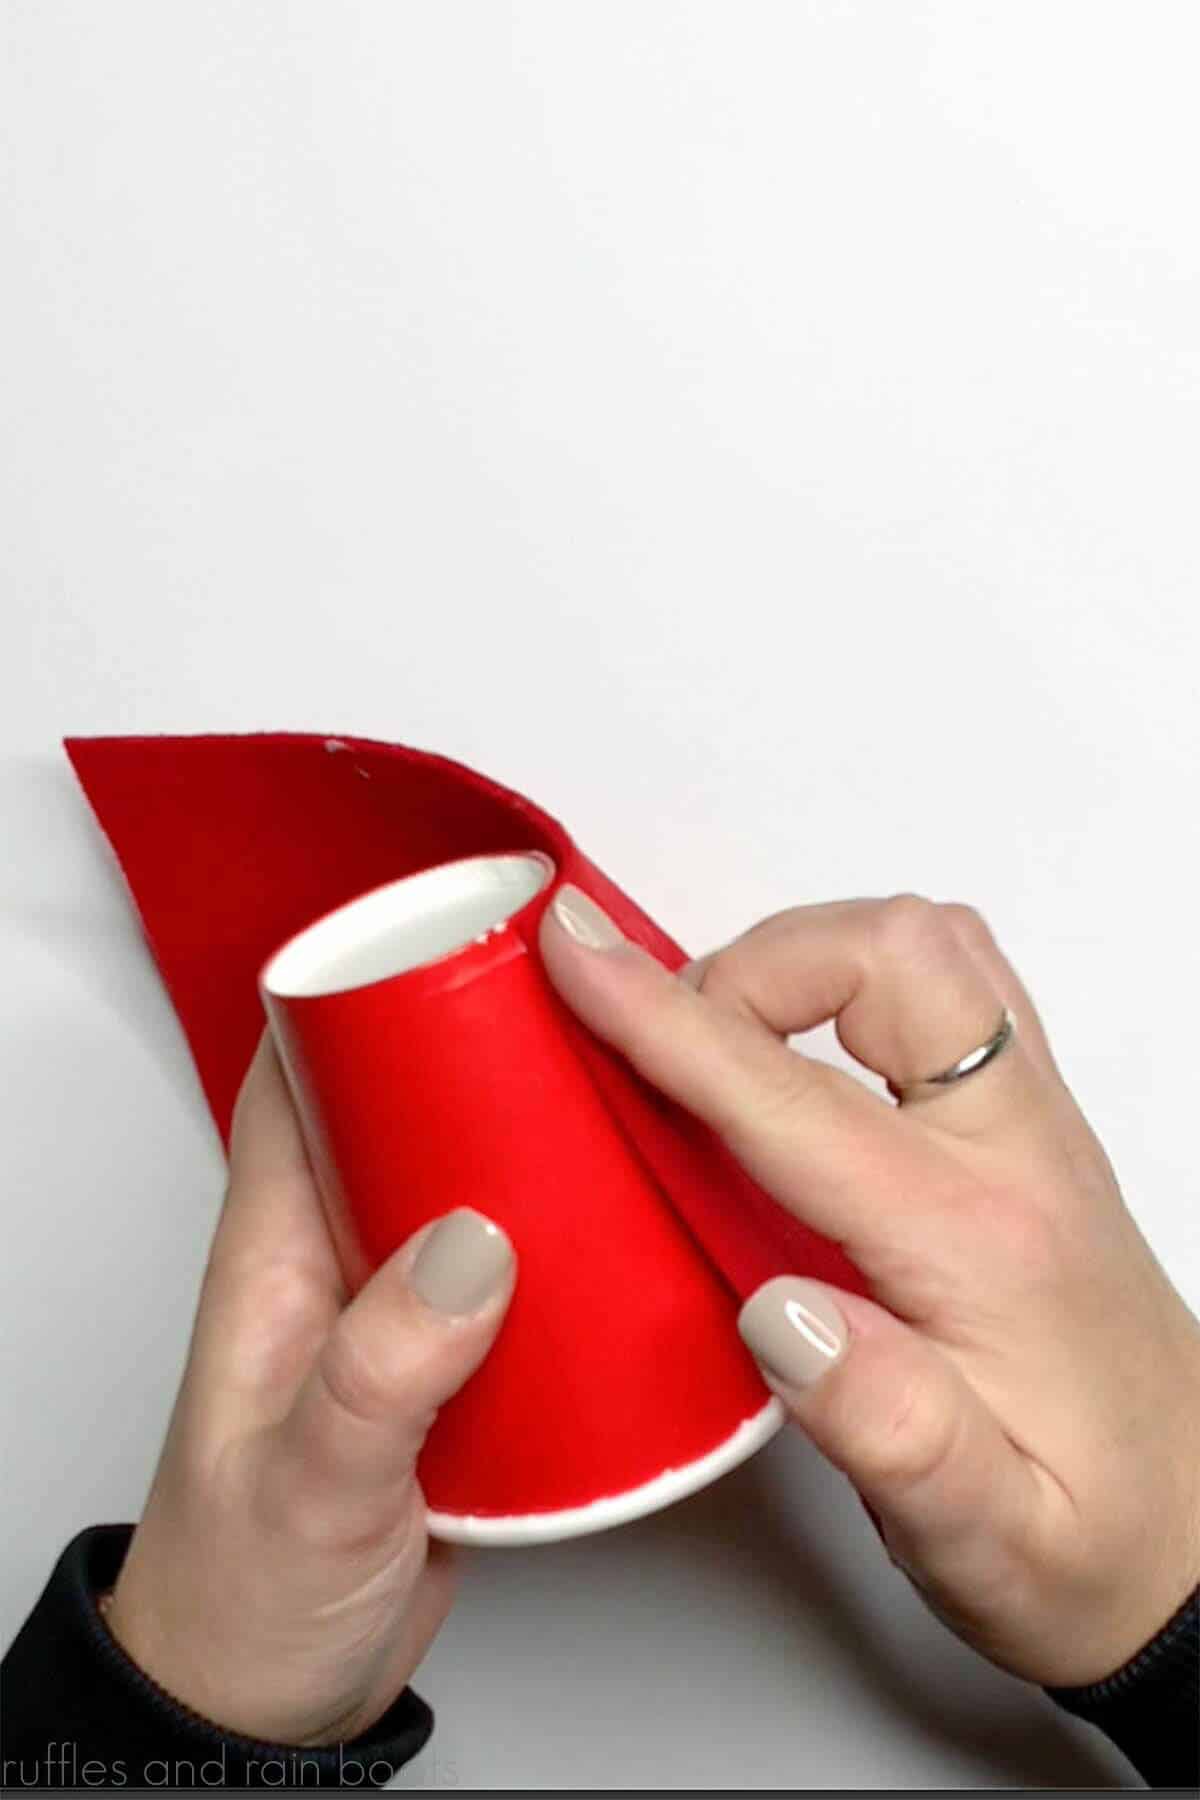
Turn the cup upside down (the bottom of the body will be open). Line the top of the body pattern with the bottom edge of the cup (now at the top) and secure around with hot glue.
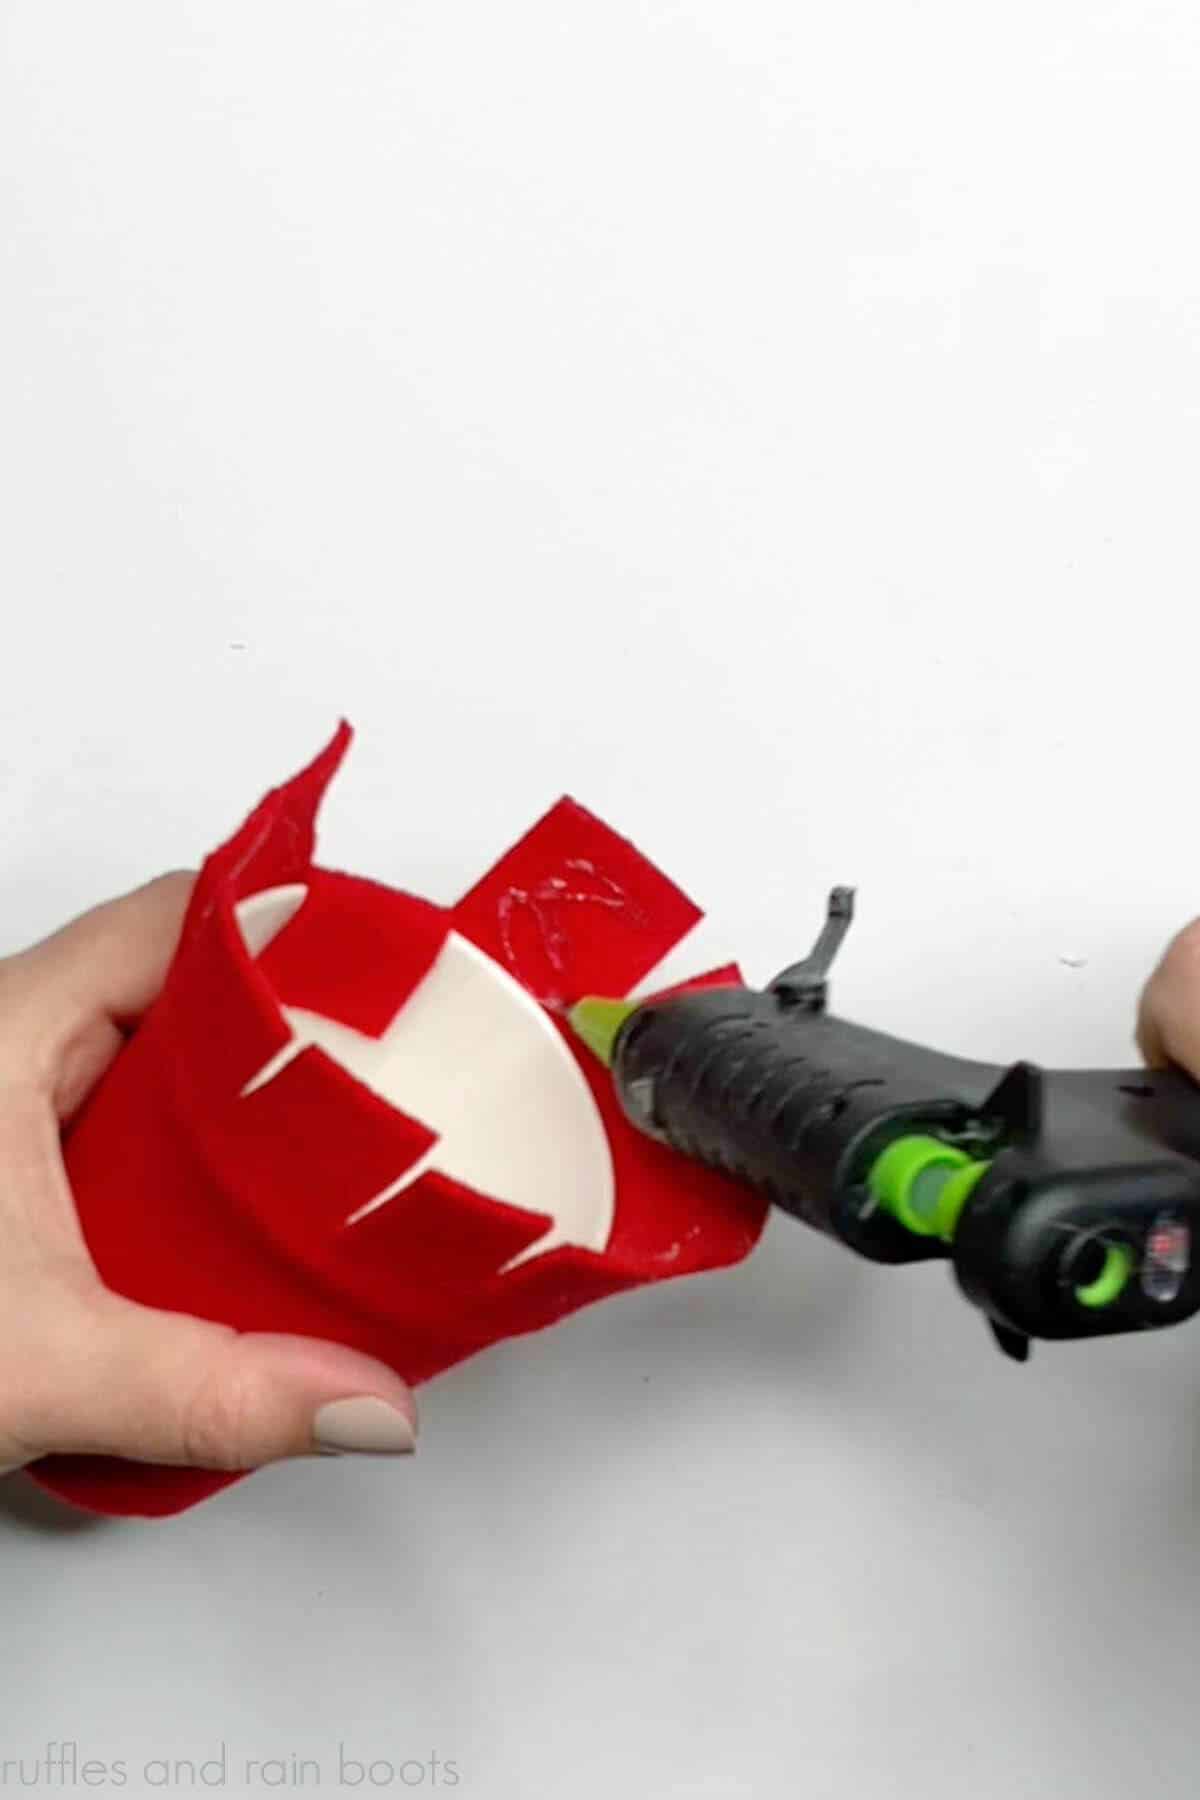
Cut tabs into the overhang and use hot glue to secure to the inside of the cup.
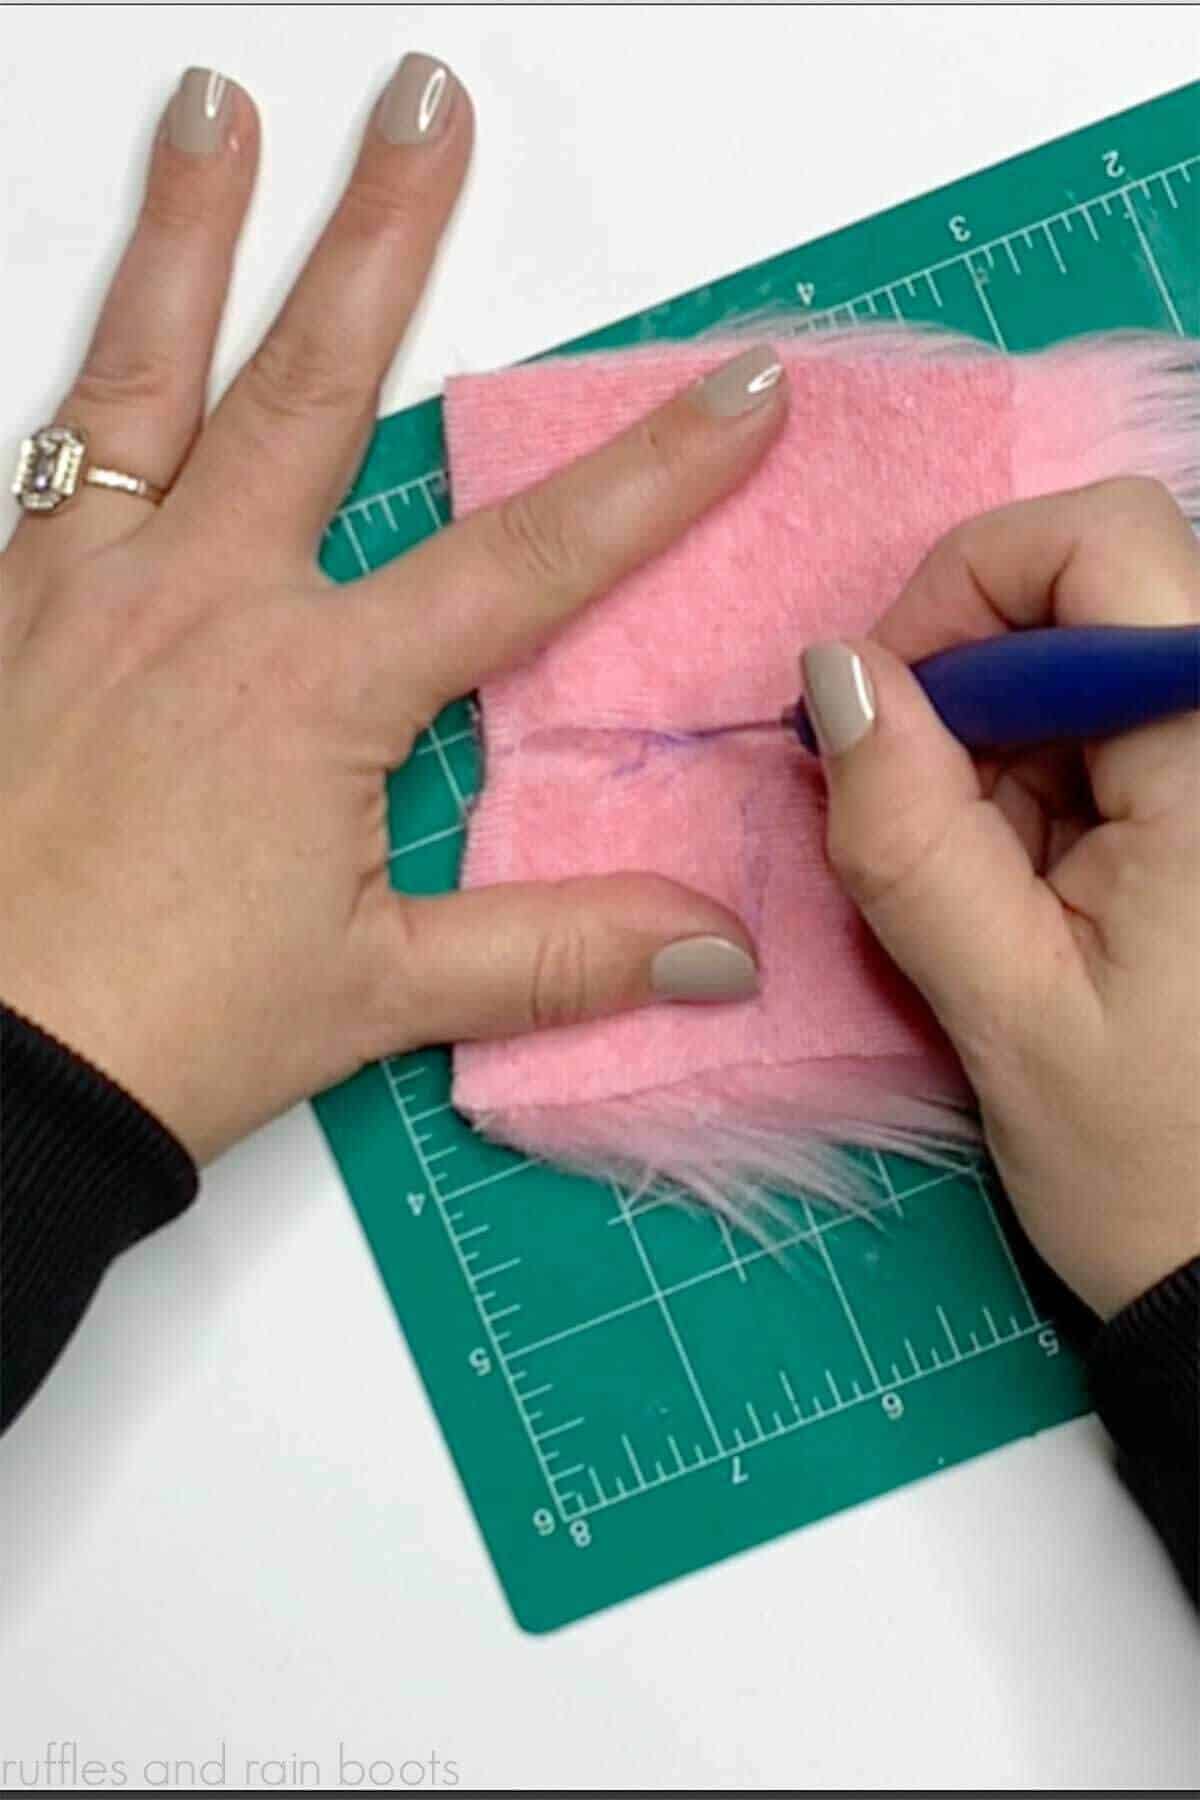
Make a 2×2 inch square of faux fur by cutting the fabric backing and use hot glue to secure it 1/2 inch down from the top of the body.
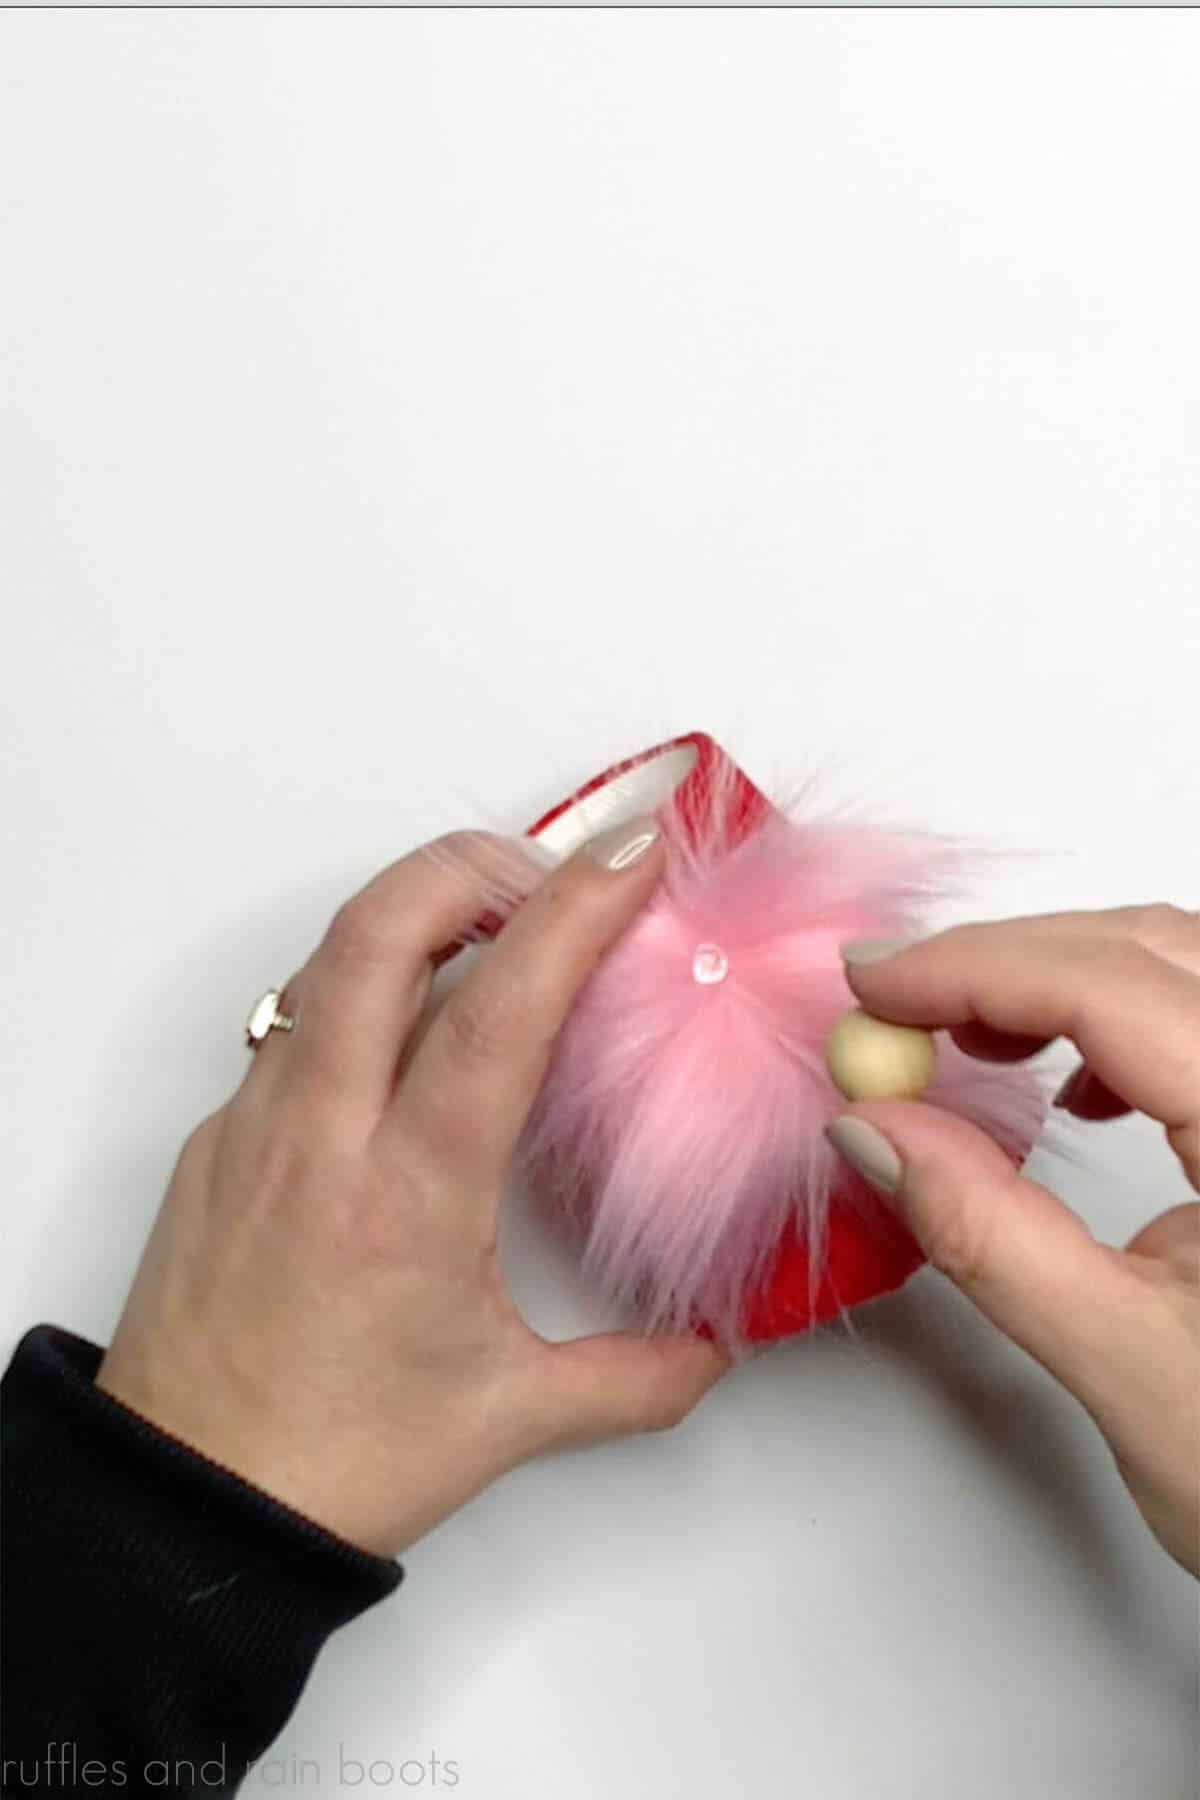
Split the fur to the fabric backing and add hot glue to secure the wood gnome nose.
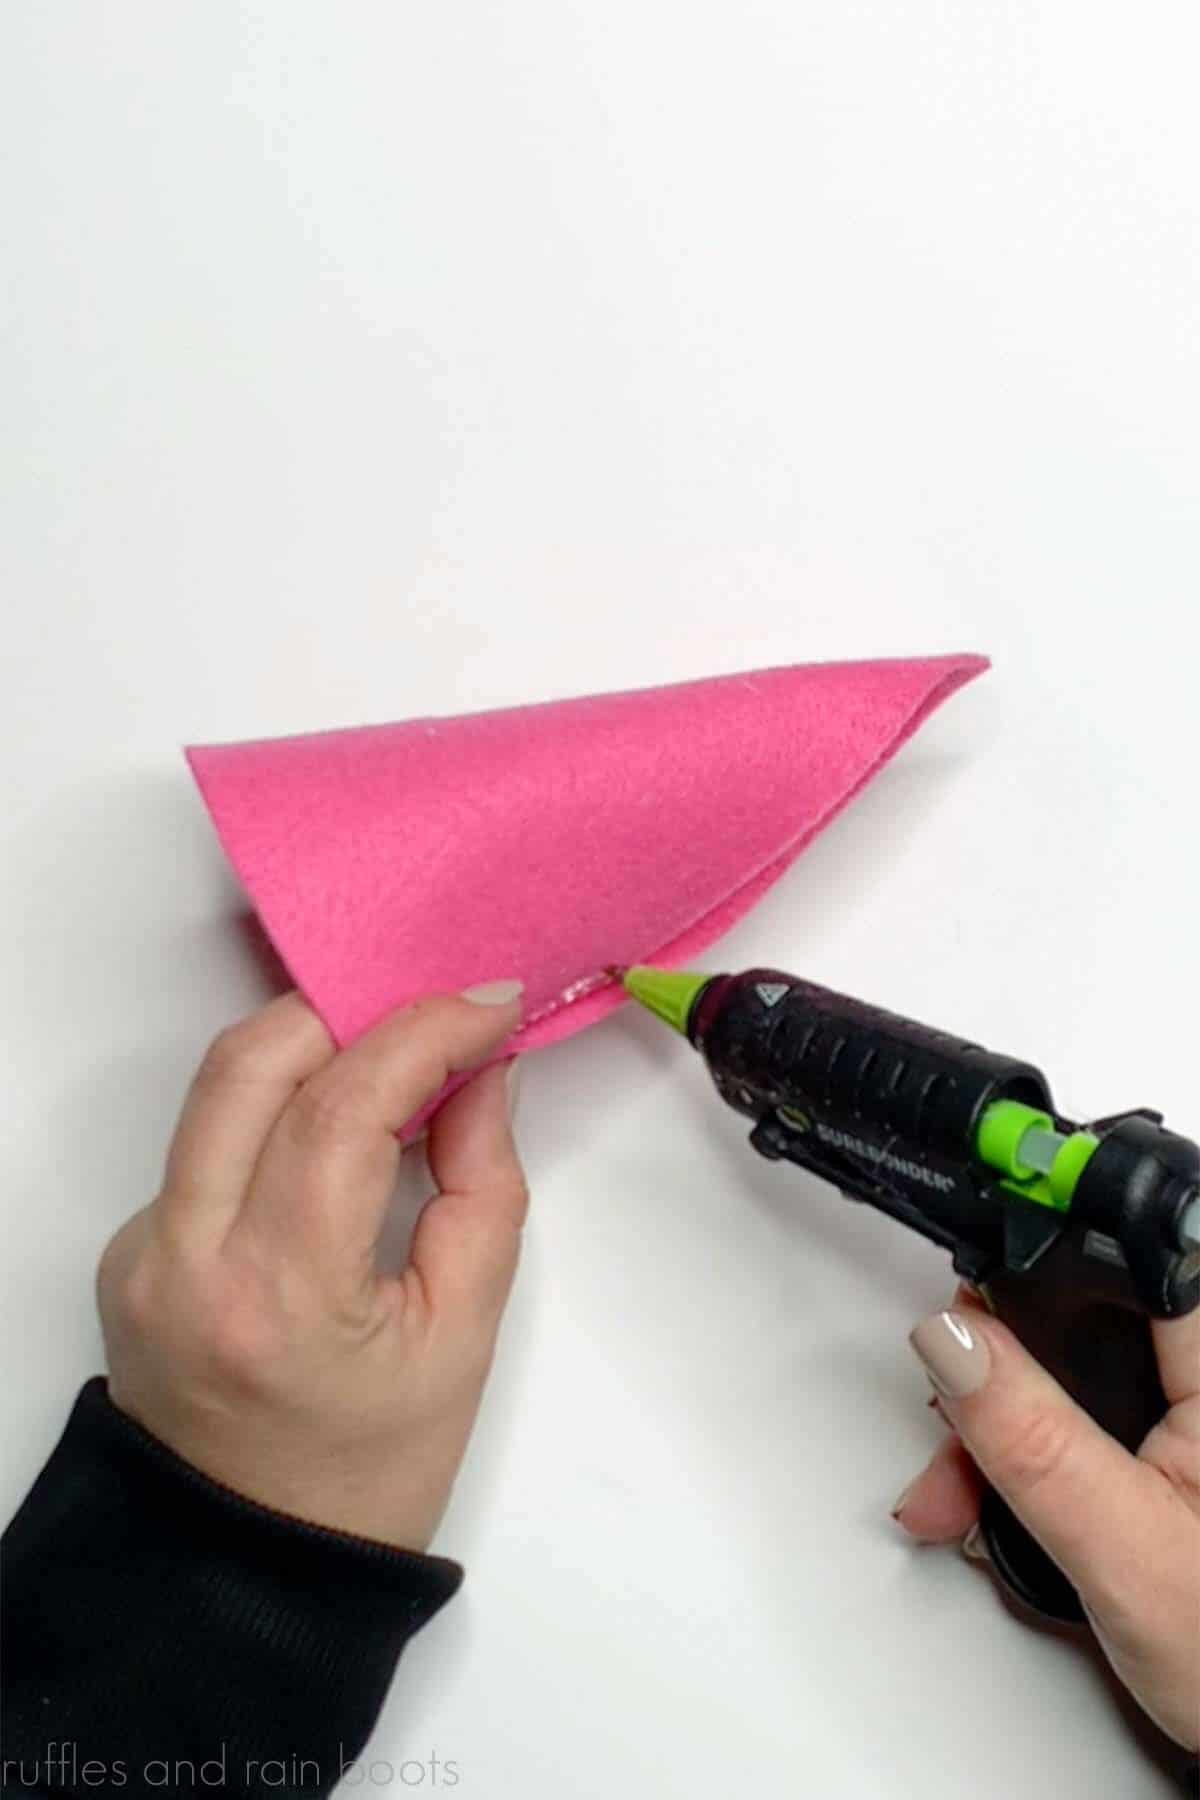
Wrap the hat around the top of the body and gnome nose and secure the bottom overlap with glue. Remove from the gnome body and glue the rest of the hat together.
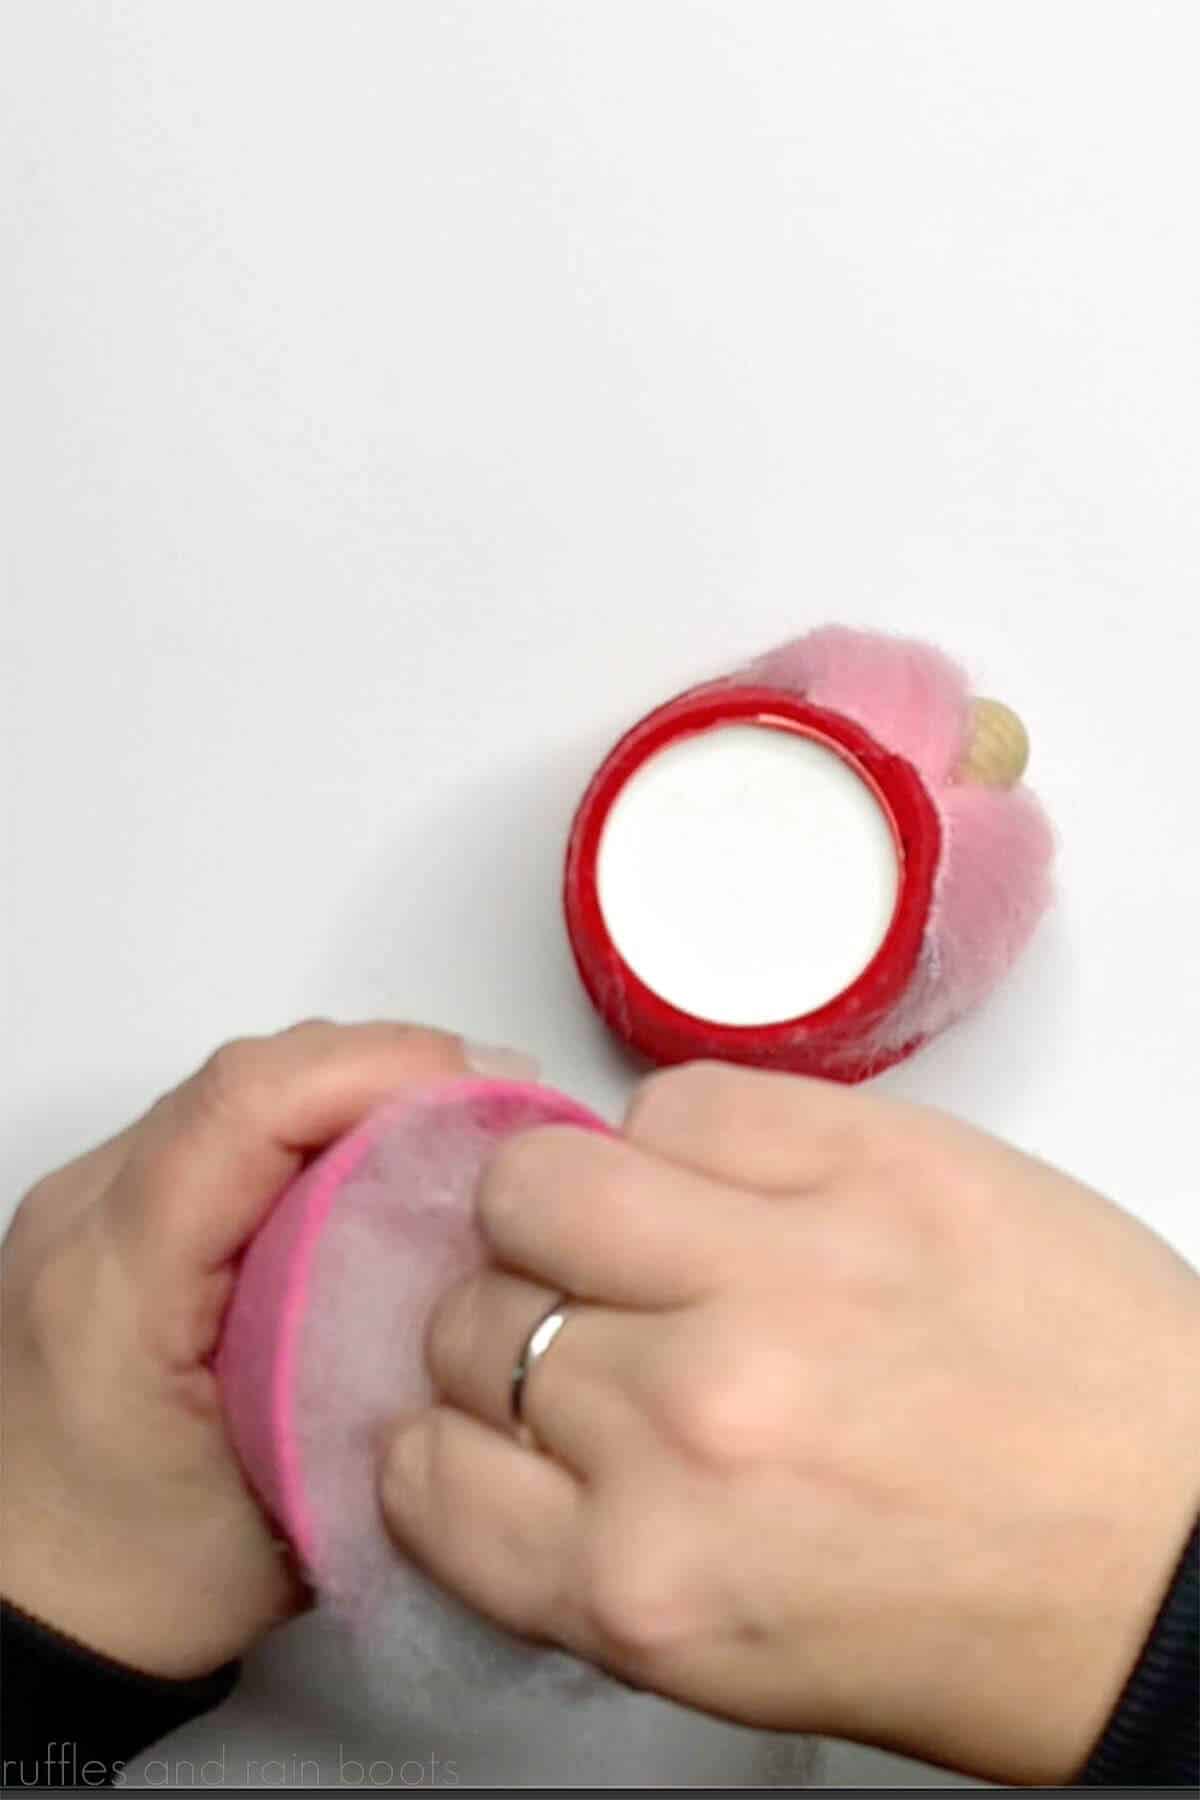
Fill the hat with Poly-Fil, secure the bottom of the hat to the gnome body with hot glue, and decorate. Be sure to read the tips section for alternatives here, such as a gnome treat jar or a bendable hat.
More No-Sew Gnome Ideas You Might Like
- How to Make a No Sew Gnome – Whether it’s Christmas or just a random Tuesday, learn how to create a fun gnome without any sewing.
- Farmhouse Sock Gnome – This humble sock gnome went crazy and all it takes it a ticking stripe fabric, some fur, and your trusty glue gun.
- No Sew Gnome with Legs – These dangling legs are a show stopper and a heart stealer (look at those feet).
Please Share This Fun Gnome Tutorial and DIY Project
I sincerely appreciate you visiting today and hope you have as much fun as I did making these gnomes. Please save or share this fun project to social media and spread the word.
How to Make Gnome with a Cup
Make these adorable gnomes using this free cup gnome pattern. Valentine's Day gnomes, St Patrick's Day gnomes, Christmas gnomes, and more all come together in just 7 minutes using a cup, felt, fur, and wood ball. This is a free hot glue gnome pattern created by Sarah with Ruffles and Rain Boots.
Materials
- Cup (I used 9 oz paper)
- Felt (2 colors)
- Faux Fur
- 3/4 inch Wood Ball
- Cup Gnome Pattern
Tools
- Glue Gun and Glue Sticks
- Scissors
Instructions
- Print off the free cup gnome pattern and use scissors to cut out the pieces.
- Trace or pin the pattern pieces to felt and cut out with scissors.
- Turn the cup upside down. Line the top of the body pattern with the bottom edge of the cup (now at the top) and secure around with hot glue.
- Cut tabs into the overhang and use hot glue to secure to the inside of the cup.
- Cut a 2x2 inch square of faux fur and use hot glue to secure it 1/2 inch down from the top of the body.
- Split the fur to the fabric backing and add hot glue to secure the wood gnome nose.
- Wrap the hat around the top of the body and gnome nose and secure the bottom overlap with glue. Remove from the gnome body and glue the rest of the hat together.
- Fill the hat with Poly-Fil and secure the bottom of the hat to the body with hot glue.
Notes
Place candy on the top (the bottom) of the cup and friction fit the hat to the body for a quick gnome treat option.
Glue a pipe cleaner to the inside of the hat to create a bendable gnome hat.
Meet the Creator
Hi there, I’m Sarah Nenni-Daher. I’m a crafty gal and always have at least 14 projects going at once. I am a crafter, designer, DIYer, and pattern maker. I share my creations here and in the Ruffles and Rain Boots® Shop.
Here at Ruffles and Rain Boots®, you’ll find DIY gnomes, crafts, gifts, cupcakes, laser crafts, and so much more. I love sharing video tutorials over on YouTube and chatting with other crafters in my Facebook groups. We’d love to have you!