
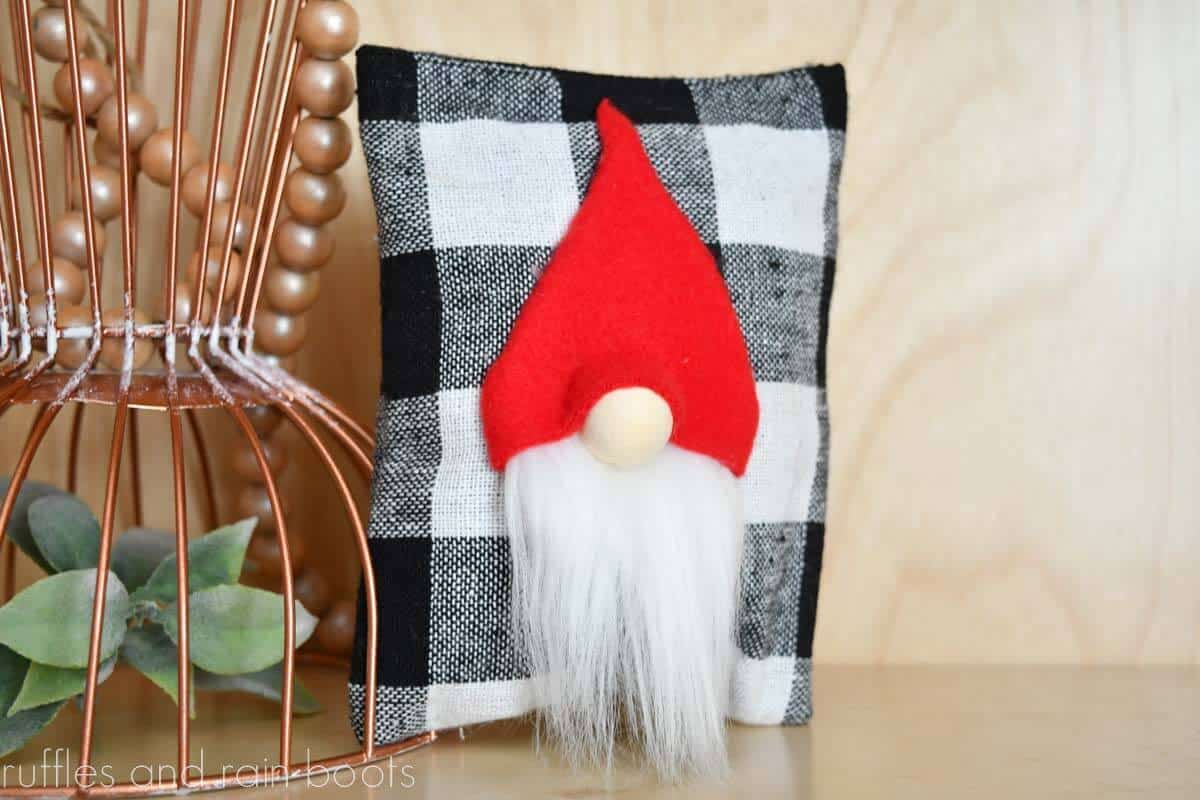
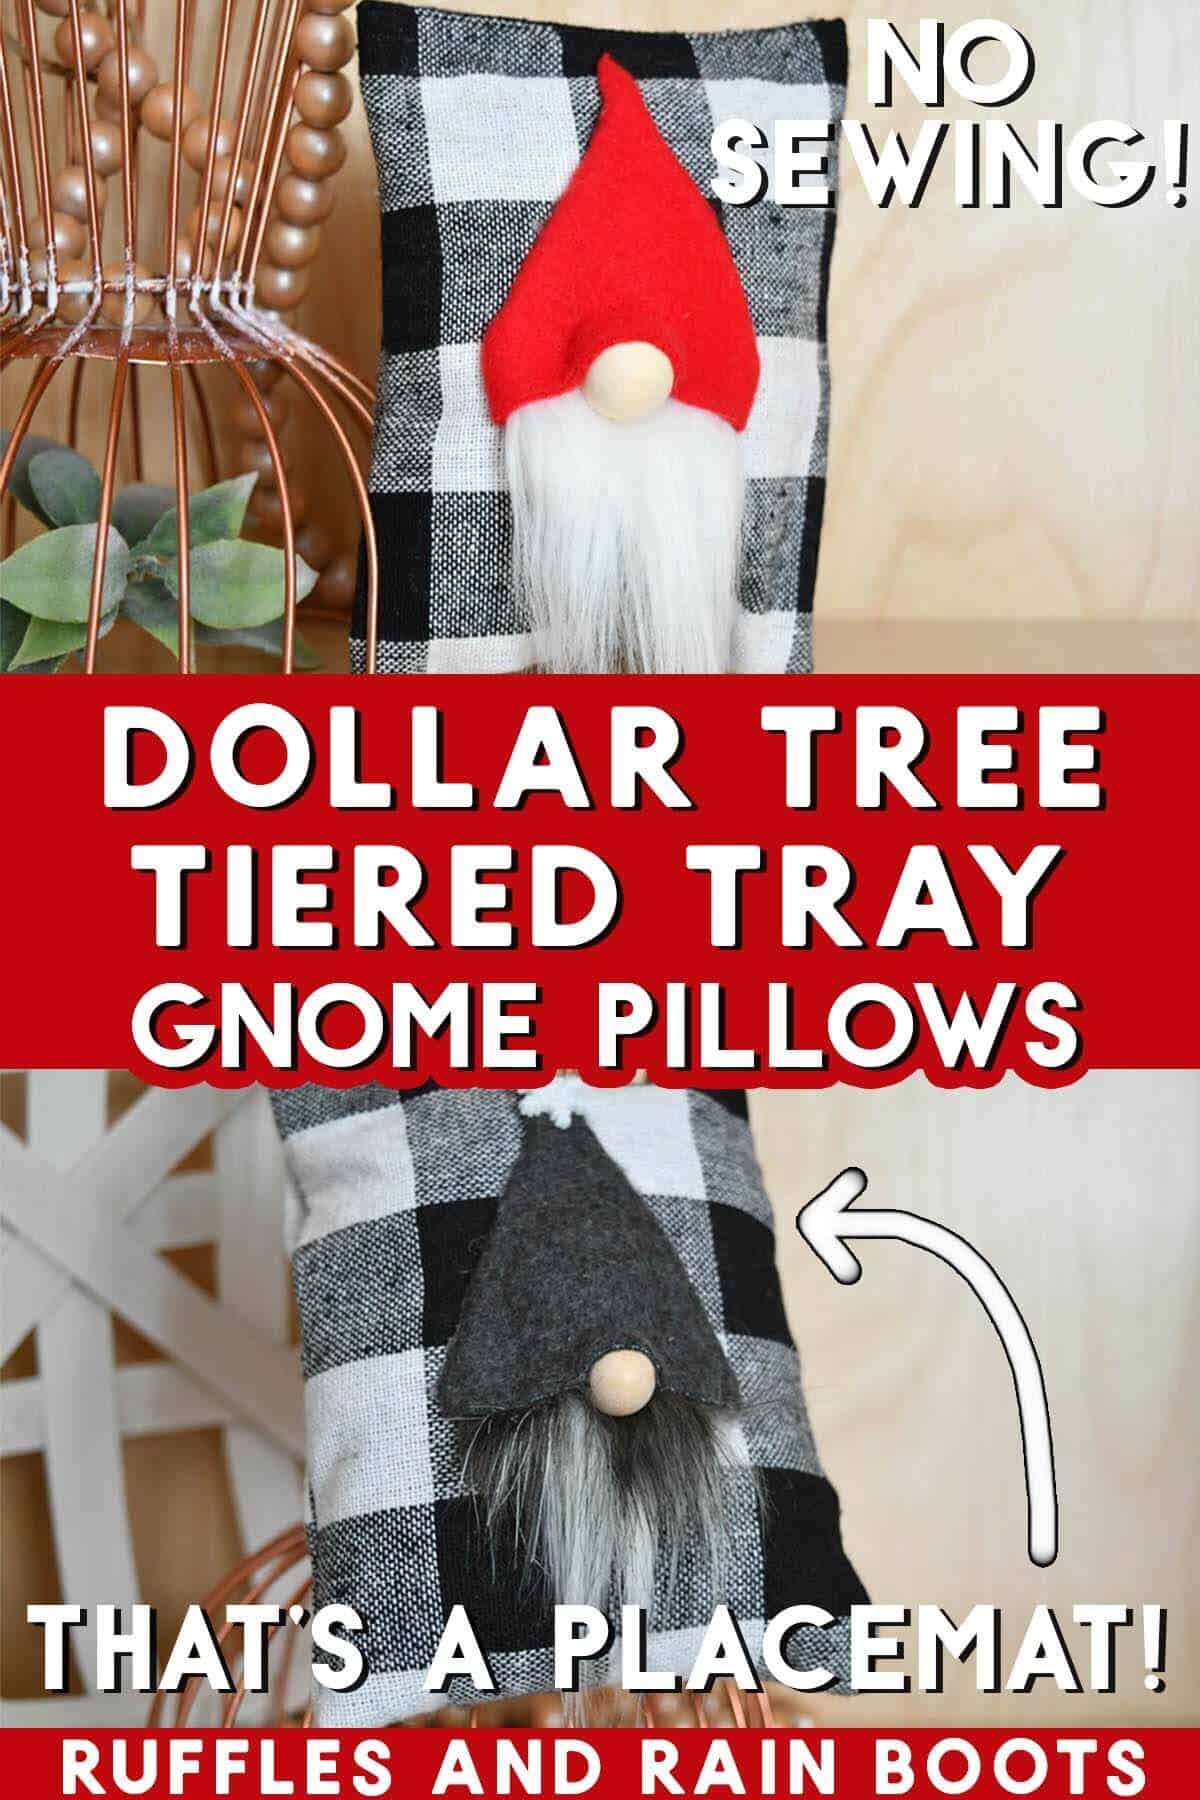
Tiered Tray Gnome Pillows for Christmas Decor
Using a Dollar Tree placemat, make these tiered tray gnome pillows for Christmas or any time of year. These easy holiday gnome accents will be perfect on a tray or tucked into a holiday display.
Included in this free gnome tutorial, I will give you options to create a hanging gnome pillow, perfect for a wreath or door hanger. Grab a glue gun, some scraps, and let’s get started.
RELATED READING: Easy Gnome Pillow with a Hot Glue Gun
Festive Christmas Gnome Pillow DIY
Here at Ruffles and rain Boots, I can put a gnome on anything. If you’re new here, it’s a bit of an obsession of mine to see how many ways I can create a gnome using anything I have on hand.
Making your own Christmas gnomes and gnome crafts are a great way to get into the holiday spirit, create trendy gifts, and even to decorate your home. There are a lot of DIY gnome tutorials here and it’s fun to look through all the pictures to get inspiration!
Before you go through those (it’s okay to open that in a new tab to look at later), I want to share this fun craft with you. I found a Buffalo check placemat (yes, only ONE) at the Dollar Tree the other day and knew I could turn it into a few projects. This set of pillows is one.
Although I am making three items from this placemat, you can use the entire thing to make a throw pillow cover with a gnome on it, too. In neutrals or classic holiday colors, it would be a perfect addition to a rustic modern or farmhouse style.
No Time to Make This Now? Save or Share for Later
If you are gathering ideas or need to gather some supplies, save this to a Christmas pin board or share it on Facebook. Both ways will help you to easily find it later and it really helps my site.
As an Amazon Associate, I could earn from qualifying purchases. There could be affiliate links within this article.
RELATED READING: Make a Christmas Sock Gnome in Just 3 Minutes!
Tips for Making Tiered Tray Mini Pillows
- If you have fabric on hand (or your dollar store doesn’t have any placemats), use a fabric with at least two layers or one with a thicker weight. A brushed felt, fleece, or flannel are good options.
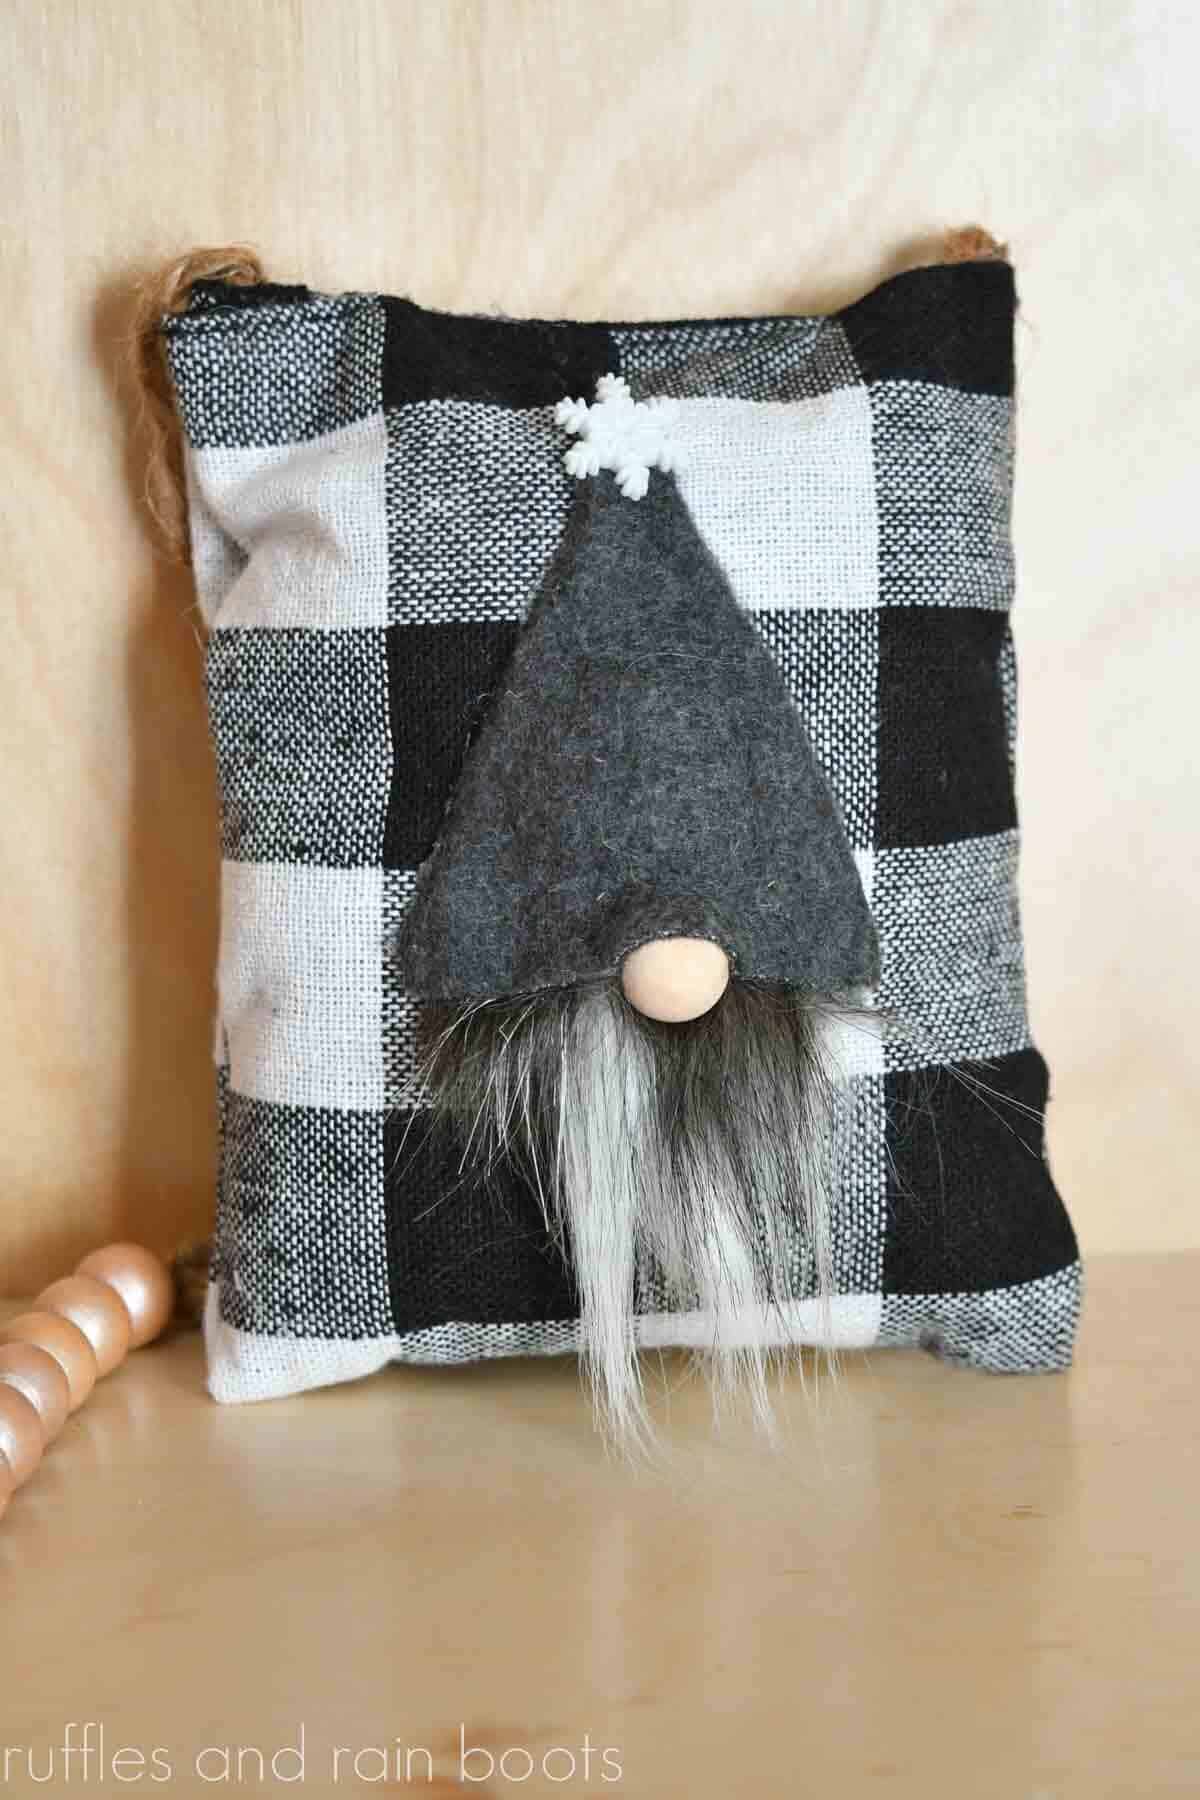
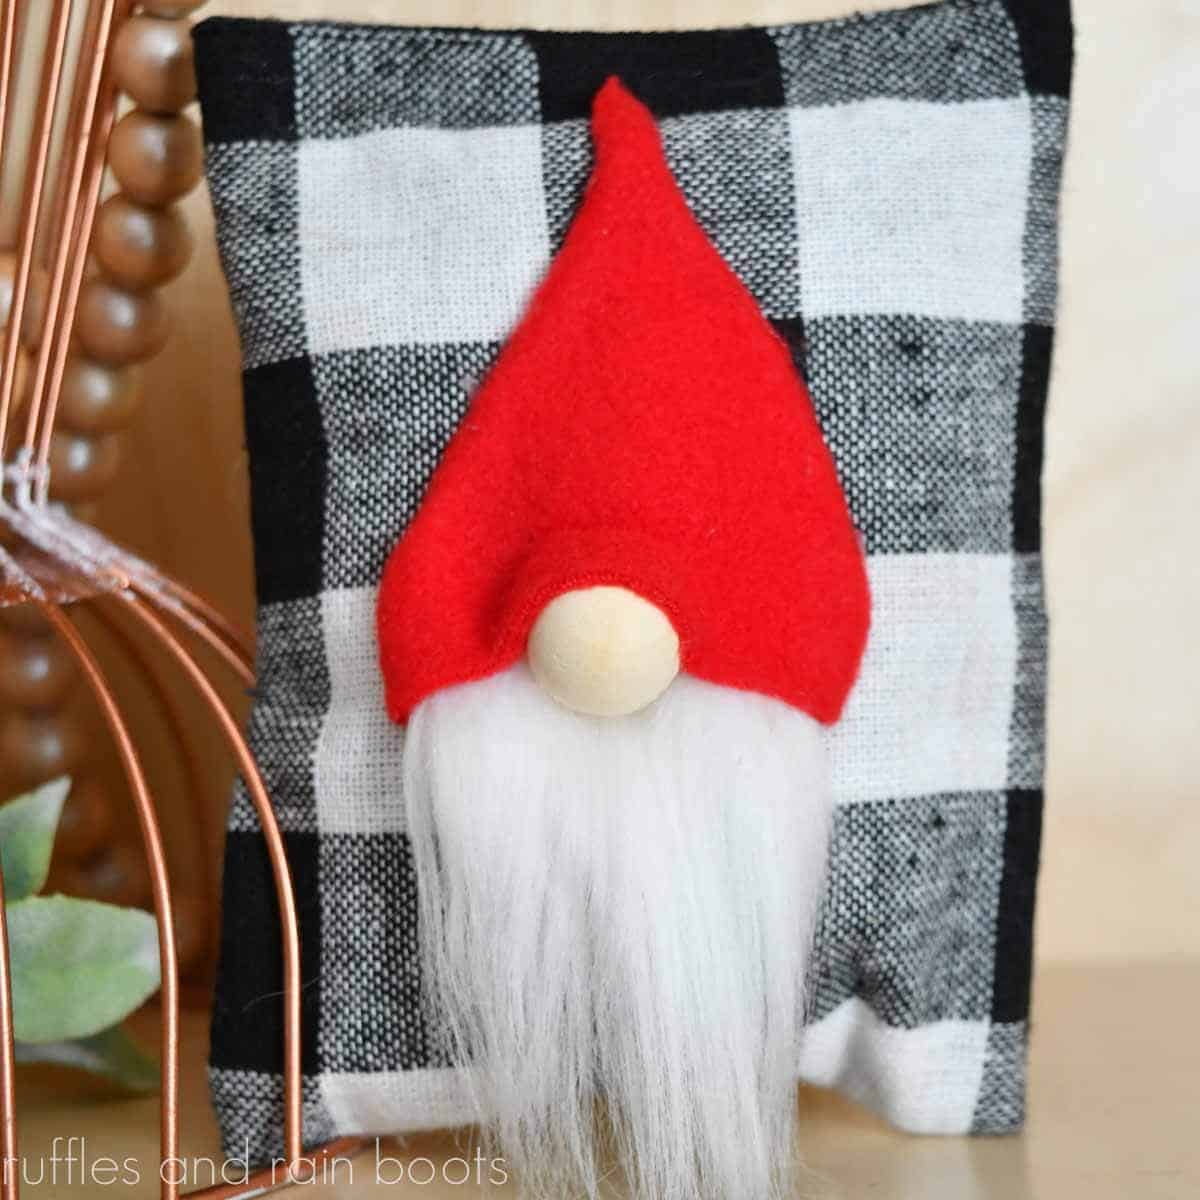
- In this craft, I used two types of faux fur: Mongolian Fur in white for the red hat gnome and a gorgeous Tibetan fox I got here for the gray hat gnome. Choosing a quality faux fur can make your DIY projects look very high end.
- More gnome beard material ideas are yarn, wool roving, raffia, macrame cord, or (dare I say it?), cut up stuffed animals from the dollar store. Just don’t let the kids see you doing that…
- For my tiered tray pillows, I used 1/2 inch wood beads for the gnome noses but you can use wool balls, wood rounds, fabric stuffed with poly stuffing, or even pompoms. Use what you have on hand.
- To style the a tiered tray with these, pair them with a small planter filled with greenery, a few Christmas ornaments, and maybe a fun holiday mini sign like these.
How to Make a Tiered Tray Gnome Pillow with a Hot Glue Gun
Below is the written and printable tutorial for this easy Christmas gnome craft. If you’re a visual learner or want to see the extras, watch the gnome pillow video tutorial here on the YouTube channel.
While you’re there, please subscribe. We do have a lot of fun over in that community and I’m a bit of a dork who is really surprised I get to do this for a living – it comes through in my videos!
Tiered Tray Gnome Pillows

These adorable gnome pillows for tiered trays are the perfect use for a fabric placemat from the Dollar Tree. Create two to three cute holiday gnomes using this easy to follow no-sew gnome tutorial.
Materials
- Fabric Placemat
- Fleece or Felt Scraps for Hat
- Scrap of Faux Fur for Beard
- Wood Bead for Nose
- Poly-Fil
- Optional, Embroidery Thread
- Optional, Button Accent
Tools
- Hot Glue Gun and Glue Sticks
- Scissors
- X-Acto Knife
- Optional, Needle
Instructions
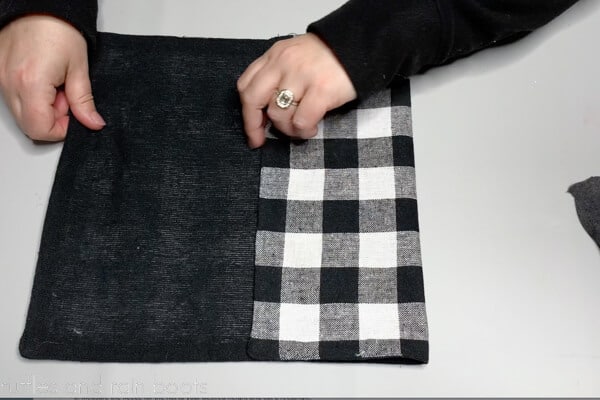
- Fold the placemat horizontally to the size desired for the tiered tray pillows. Cut vertically and cut in half to form two pieces.

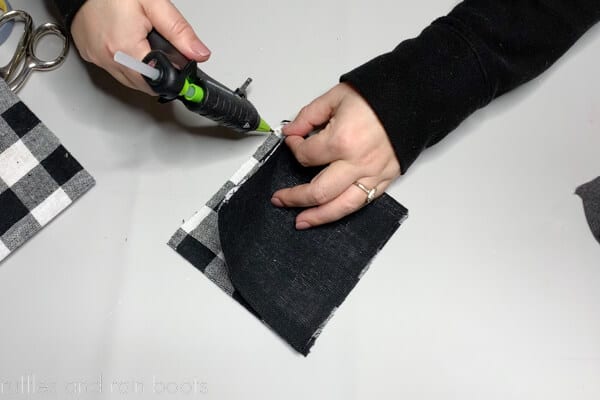
- Fold one piece right sides together and glue up the sides (leave the top open). Allow to dry and turn the pillow right-sides out and poke out the corners with scissors or a pencil. Set aside.
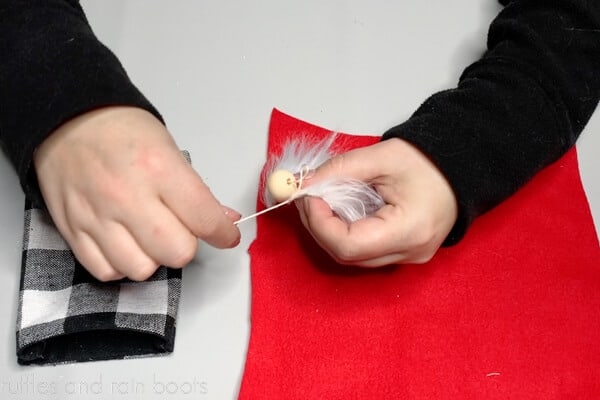
- Cut a gnome beard in a small triangle shape (size it to your pillow). Take care to cut the fabric backing only (refer to the video tutorial if you are new to working with fur).
- Glue or sew on the nose to the beard in the top center. I sewed the nose on because tiered trays get knocked around a lot in my house, but you can glue the nose to the fur beard, as well.
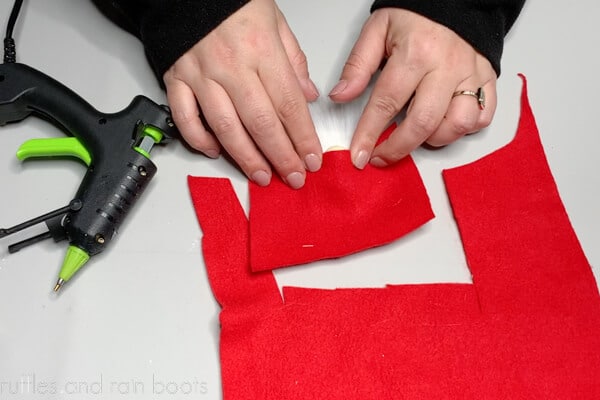
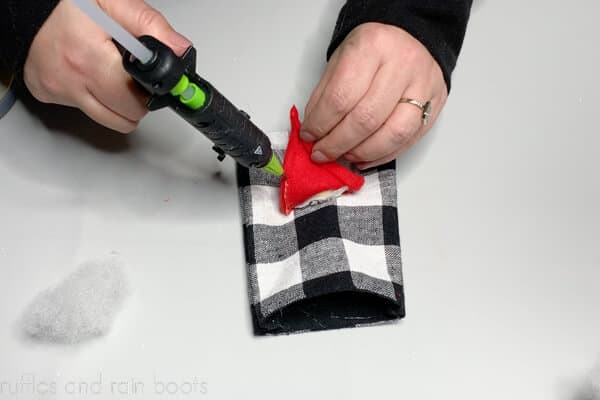
- Measure the fleece for the hat to your desired height and cut a rectangle. The width will be cut to where the fleece can wrap around the sides of the beard. Glue the brim of the hat to the top of the nose.
- Trim the hat, starting at the center aligned with the nose, into a triangle. Wrap the edges around the back of the beard and secure the hat to the fabric backing.
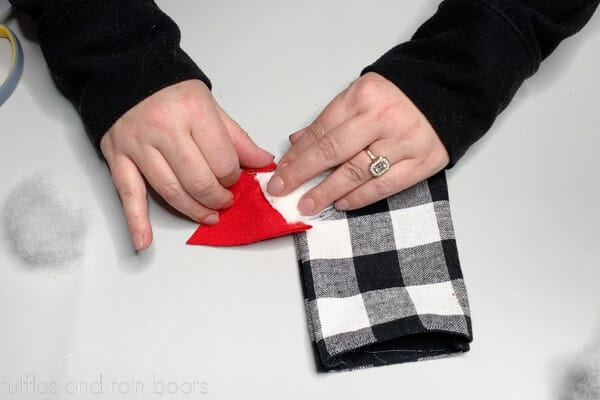
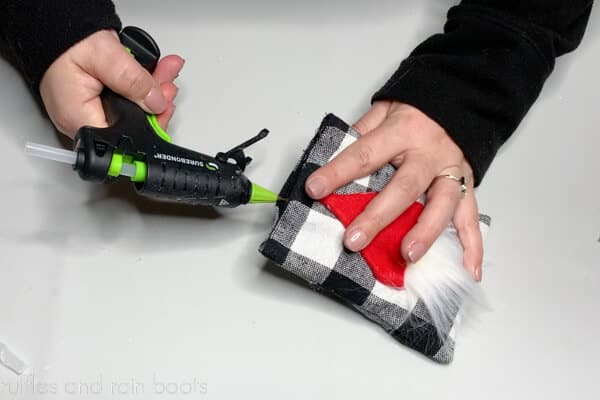
- Glue down the completed gnome to the pillow along the beard's fabric backing and one side of the hat to the tip.
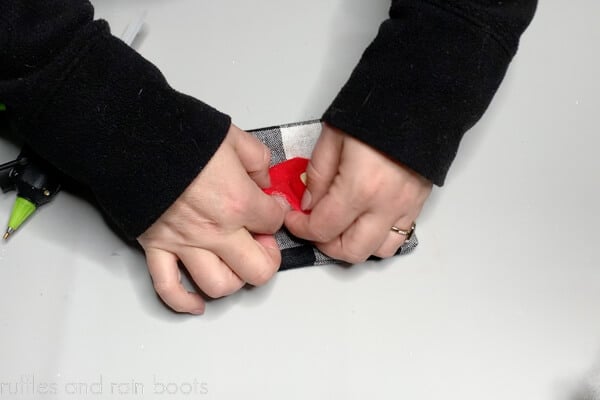
- Fill the hat with a small amount of Poly-Fil stuffing and glue down the other side of the gnome hat.
- Stuff the gnome pillow with Poly-Fill and glue up the top edge. See notes for optional steps.

Notes
Optional Step: fold under and secure the sides of the hat to the back of the fabric for a more finished look. This is shown in the video.
Optional Step: add a twine hanger to the stuffed pillow before closing the edge in step 10 above.
More Tiered Tray Decor Crafts You Might Like
- Tiered Tray Gnome – This Christmas gnome project is quick, fun, and even comes with a reversible hat!
- Christmas Gnome with Arms and Legs – This adorable gnome is the most popular gnome body style on the Internet because it comes out perfect EVERY TIME. You can sew or glue this gnome pattern.
- 10-Minute Santa Gnome (with a Slouchy Hat)! – Everyone loves the hat on this cute Christmas gnome and he’s perfectly sized for a tiered tray.
- Gnome Pillow Cover – If you need another gnome pillow project, follow Cara with the Inspired Workshop’s tutorial for a cutie.
Please Save or Share This DIY Christmas Gnome Idea
Your shares are how this site grows and I am sincerely grateful. Please save this to a DIY holiday pin board or share it with a crafty group on Facebook. After you do, join our kind, supportive Facebook group here.
Meet the Creator
Hi there, I’m Sarah Nenni-Daher. I’m a crafty gal and always have at least 14 projects going at once. I am a crafter, designer, DIYer, and pattern maker. I share my creations here and in the Ruffles and Rain Boots® Shop.
Here at Ruffles and Rain Boots®, you’ll find DIY gnomes, crafts, gifts, cupcakes, laser crafts, and so much more. I love sharing video tutorials over on YouTube and chatting with other crafters in my Facebook groups. We’d love to have you!