
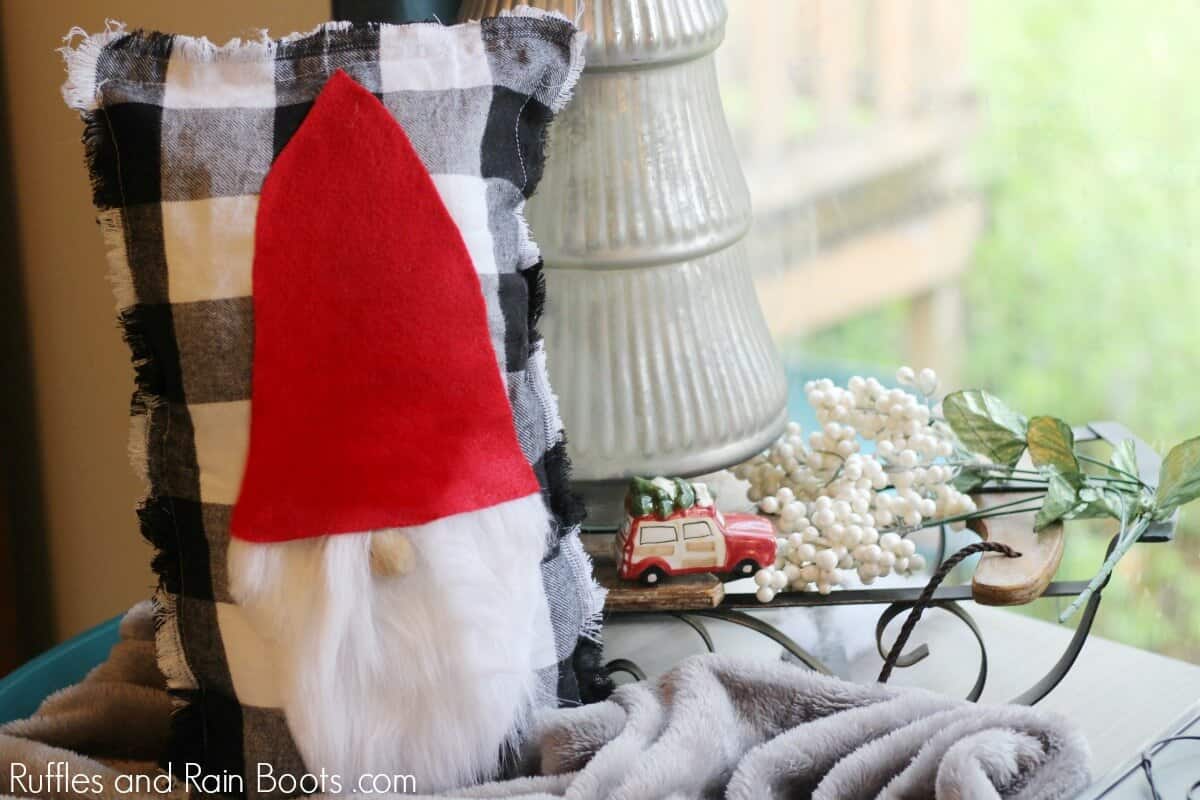
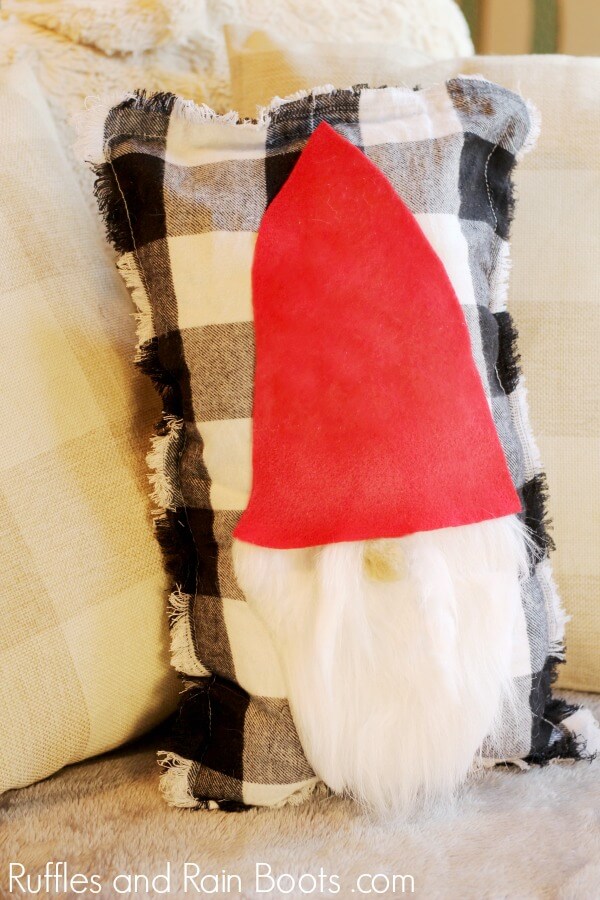
DIY Adorable Gnome Pillow for Easy Christmas Decor
This DIY gnome pillow tutorial will have you adding holiday cheer to any décor in just minutes. Grab your hot glue gun and let’s get started with this Christmas craft!
As an Amazon Associate, I could earn from qualifying purchases.
What You'll Find On This Page
DIY Gnome Pillow for Holiday Decorations or Gifts
Here at Ruffles and Rain Boots, we sure do like to share our DIY gnome tutorials. From Swedish gnomes for our homes to gnomes we paint on rocks and hide, it’s no secret we can’t get enough of the Scandinavian cutie. Tomte, nisse, or gnome – we love ’em all!
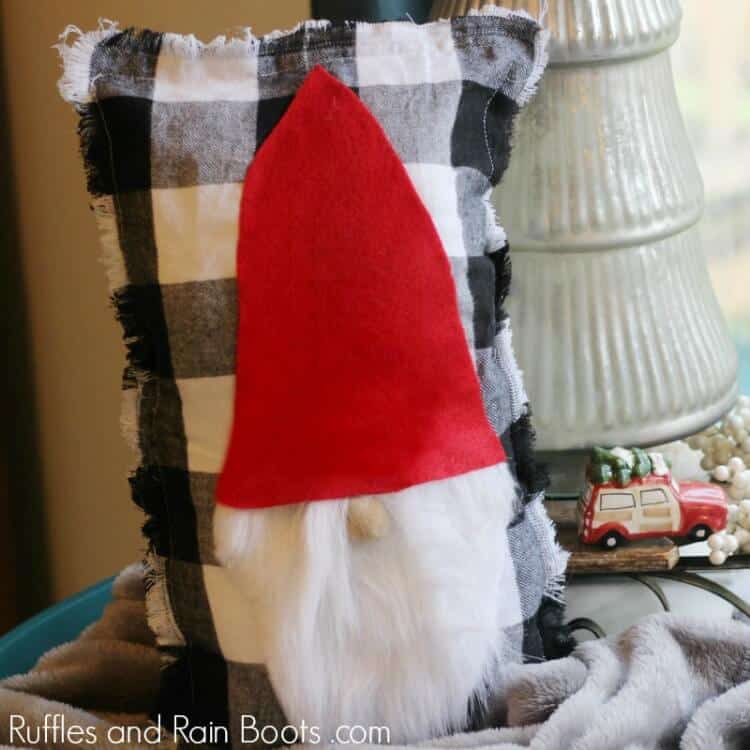
And we have two ways to make this adorable pillow: with light sewing or as a no-sew gnome pillow. I opt for the no-sew every time, however, I couldn’t find a Buffalo check plaid pillowcase in the size I wanted.
If you don’t know your way around a sewing machine, take advantage of Amazon Prime and buy this pillow cover (affiliate link). Easy-peasy Christmas crafting!
RELATED READING: Get the Buffalo Check Pillow Case from Amazon
DIY Christmas Gnome Tutorials
If you’re looking for the best DIY Christmas gnome tutorials, you have come to the right place. Check out all of my favorite tomte tutorials for the holidays!
Supplies to Make This Cute Swedish Gnome Craft
This fun Scandinavian Christmas gnome pillow can be done in under an hour if you’re making the pillow. If not, you’re only going to spend about 30-minutes on this fun holiday craft.
Psst: we have a Christmas gnomes tutorial list on Amazon – check it out because it has all of our favorite supplies for making Swedish gnomes.
- Buffalo check fabric or a premade pillow cover
- Faux fur
- Red felt
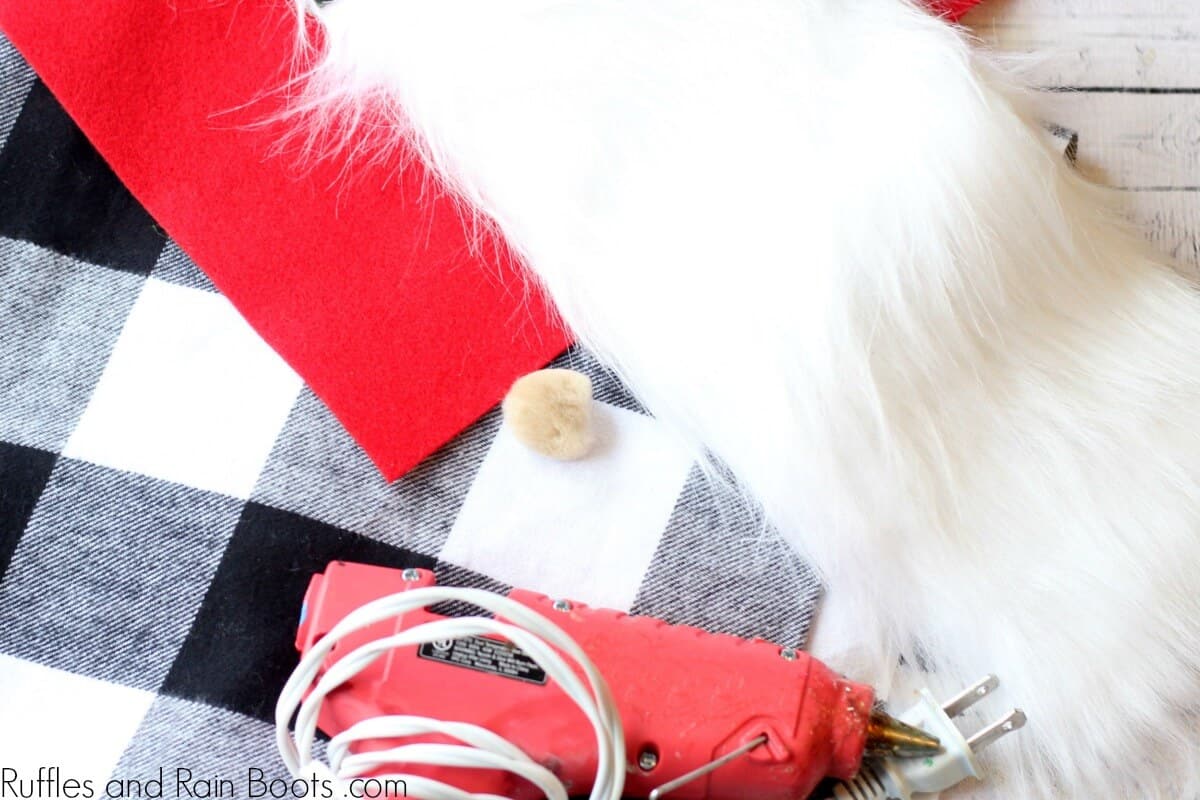
- Flesh-colored pompom (for the nose)
- Pillow form or fiberfill to stuff
- Hot glue gun and scissors
- Optional, sewing machine
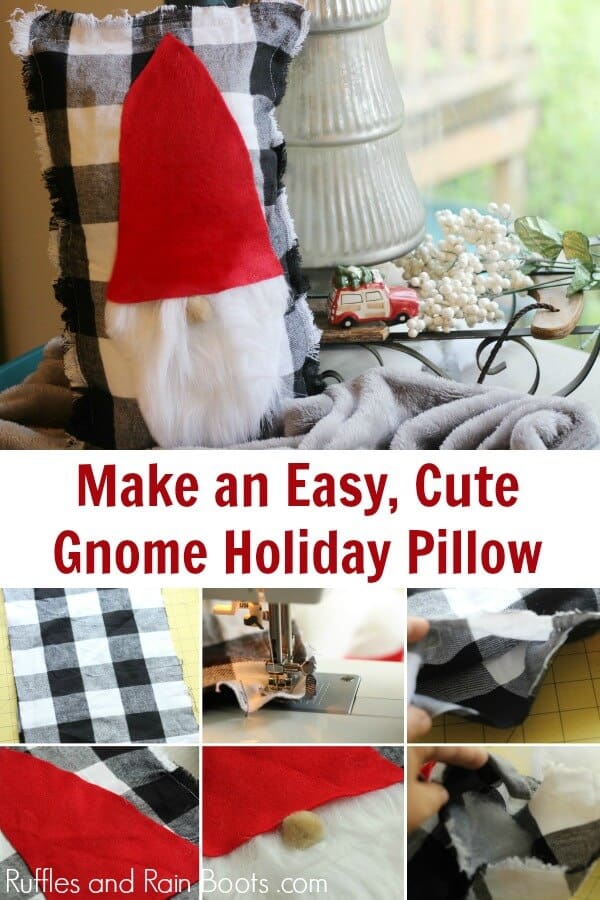
How to Make a Gnome Pillow Cover for Christmas Decor
This is a quick DIY Christmas project friends and with the pillow cover, you’re done in about 20 minutes. If you’re sewing the pillow cover, it’s about 35-minutes (if you’re a beginner like me).
DIY Gnome Pillow Tutorial

This DIY gnome pillow tutorial will have you adding holiday cheer to any décor in just minutes. Grab your hot glue gun and let’s get started with this Christmas craft!
Materials
- Buffalo check fabric or a premade pillow cover
- Faux fur
- Red felt
- Flesh-colored pompom (for the nose)
- Pillow form or fiberfill to stuff
Tools
- Hot glue gun and scissors
- Optional, sewing machine
Instructions
- If you’re making the pillow, decide on the size. If not, skip to step 3. This one is 10-inches wide by 16-inches tall so we could really emphasize the adorable, tall hat. Cut the two pieces of Buffalo check fabric to the same size.
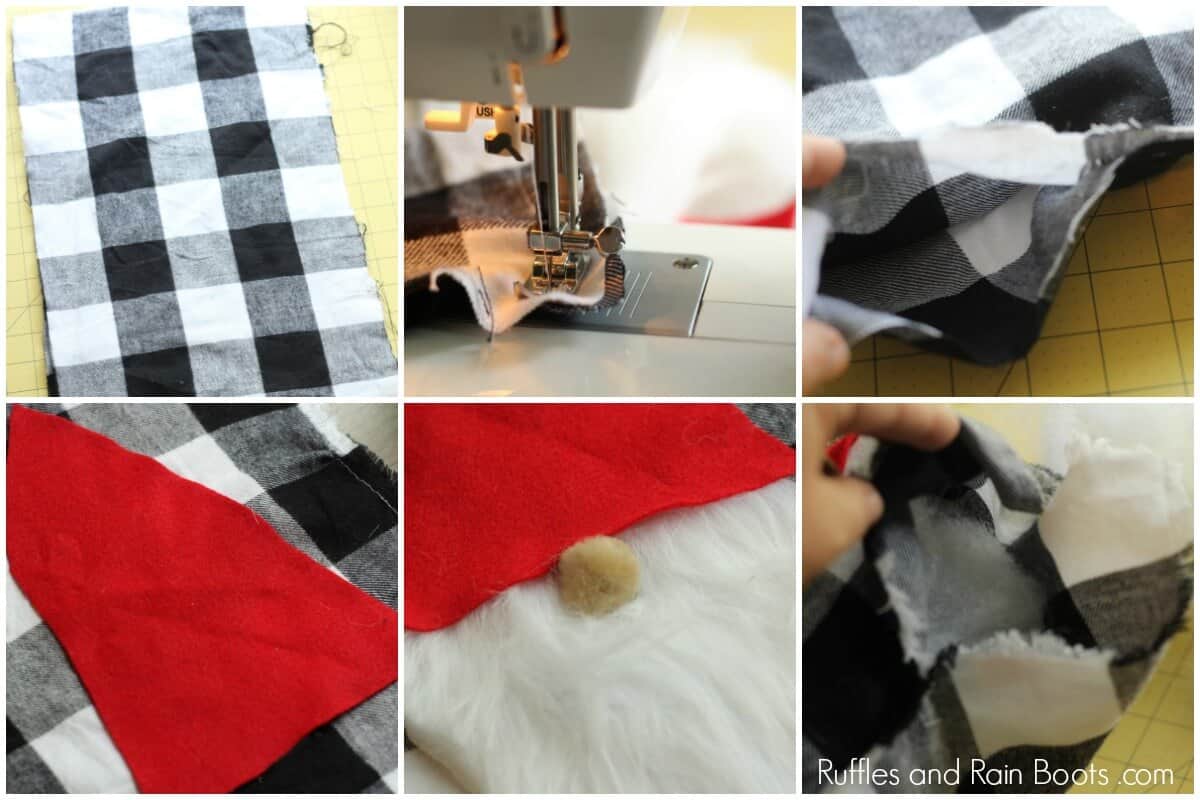
- Because we are making a fringed pillow, keep the wrong sides together and sew all sides together using a straight stitch about an inch from the edge (more if you want a longer fringe). Be sure to LEAVE ABOUT 4 INCHES to stuff.
- Cut a cone shape from red felt – an easy way to do it is fold the felt in half so you can get them relatively even.
- Now it’s time to cut the faux fur – see below for how if this is your first time.
- WIDTH: Cut the beard just slightly smaller than the base of your hat.
- LENGTH: To determine the length of your gnome beard, lay it out on your pillow.
- CUT BEARD: Draw the shape loosely on the back of the fur. Cut along the lines.
- MAKE MUSTACHE: Cut two narrow strips about half the length of the beard.
- Glue the hat to the pillow by placing it onto the pillow and lifting up the edges. Start at the top and work your way down the sides (except for the bottom corners).
- Place the beard just under the hat and secure down with glue and glue on the pompom nose.
- Glue the mustache pieces just under the nose (one on each side).
- Stuff the pillow and sew the stuffing hole.
- Pull threads from the edges of the fabric all the way to the seam in order to get the fringe.

Notes
For more Christmas gnome crafts, visit Ruffles and Rain Boots.
How to Cut Faux Fur
If you’re new to working with faux fur, there are a few tricks to learn so that you will have a clean, natural-looking beard.
- Shake out the faux fur and brush it down with your fingers.
- Flip the fur over to the back (the non-furry side).
- Use a razor blade or other straight-edged blade to separate the backing only. Do not use scissors to cut faux fur unless you’re ONLY cutting the backing.
Tip: for mustaches, you can use extra pieces and, depending on the type of faux fur you’re using, you can even use pieces as mustaches that don’t lay in the same direction. So don’t throw away those pieces!
RELATED READING: How to Make Swedish Gnomes – So Many Fun Projects!
Please Save This to Pinterest or Share on Facebook
Your shares are how this site grows and I am sincerely grateful.

Is it possible to hot glue pillow together then turn right side out and either hot glue it together after stuffing, or craft stitch.
That sounds like it could work–when gluing together fabric, I like to use fabric glue or hot glue made for fabric, and either of those would work just fine.